Upcycling Wine Corks into Festive Pumpkins
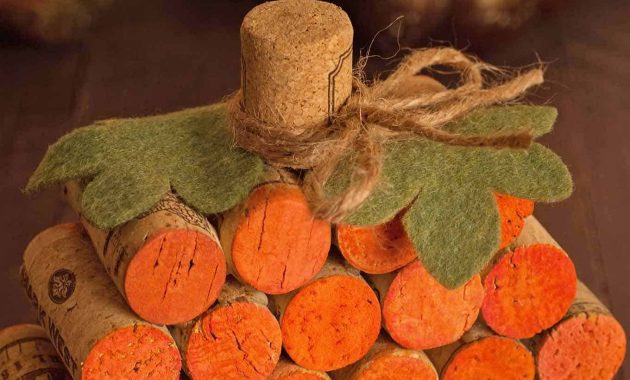
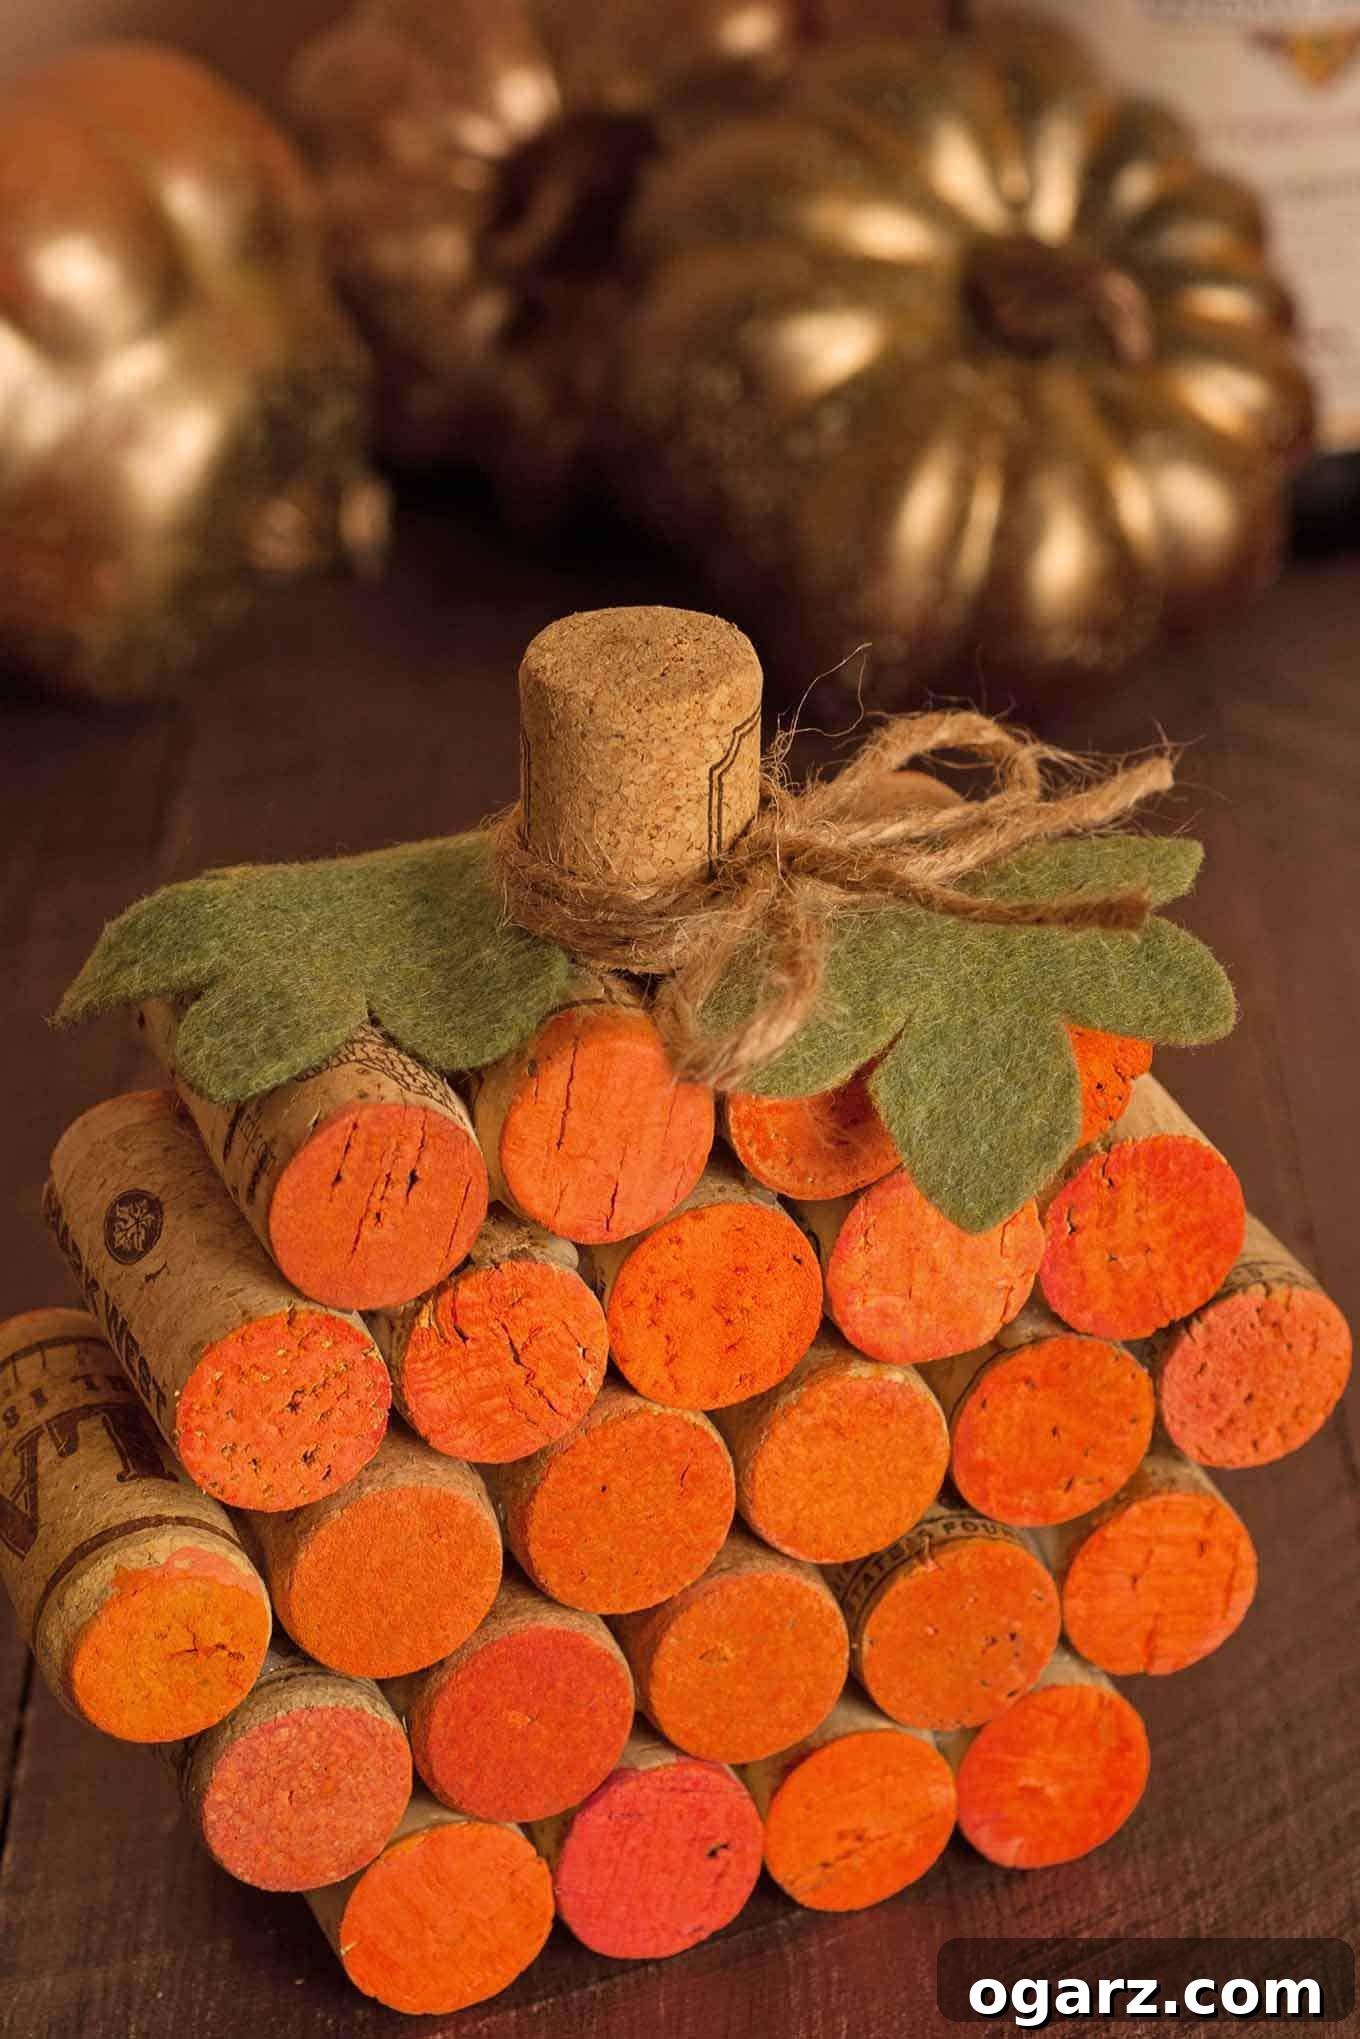
As the crisp autumn air arrives and leaves begin to display their vibrant hues, our thoughts naturally turn to decorating our homes for the season. Fall is a time for cozy gatherings, warm drinks, and celebrating the harvest. What better way to embrace this magical time than by creating your own unique and sustainable fall decor? If you’ve been collecting wine corks, wondering about their potential beyond the bottle, you’re in for a treat. This guide will show you how to transform those humble corks into an adorable and lasting wine cork pumpkin, a perfect centerpiece or accent for your autumn festivities.
Creating a DIY wine cork pumpkin is not just a craft; it’s an act of sustainable creativity. It’s an opportunity to upcycle materials that might otherwise be discarded, giving them a new life as a charming piece of seasonal decor. This project is surprisingly simple, requiring minimal supplies and even less time, making it an ideal craft for a relaxing afternoon. Imagine a delightful pumpkin, handcrafted by you, gracing your dining table or mantlepiece, sparking conversation and admiration from guests. Best of all, unlike real pumpkins, your wine cork creation will last for years to come, becoming a cherished part of your fall traditions.
Crafting Your Own Eco-Friendly Wine Cork Pumpkin: A Step-by-Step Guide
Embrace the spirit of autumn and sustainability by embarking on this delightful DIY project. In just about 30 minutes, with a handful of readily available materials, you can create a charming wine cork pumpkin that adds a touch of rustic elegance to any fall setting. This unique decoration is not only budget-friendly but also a wonderful way to recycle and personalize your seasonal home decor. It’s an accessible craft for beginners and a satisfying project for experienced crafters alike, promising an adorable result you’ll be proud to display season after season.
Why This Fall Craft is a Must-Try
- Sustainable Decor: Give old wine corks a beautiful second life, reducing waste and contributing to eco-friendly living.
- Unique & Personalized: Unlike mass-produced decor, your handmade pumpkin carries a personal touch, making your home truly unique.
- Long-Lasting: Enjoy your durable wine cork pumpkin year after year, saving money and reducing the need for new decorations each season.
- Budget-Friendly: Most materials are inexpensive, and many people already have wine corks on hand, making this an economical choice.
- Quick & Easy: Perfect for a relaxed afternoon project, this craft requires minimal time and effort for maximum decorative impact.
- Versatile Display: Ideal for table centerpieces, mantle decorations, shelf accents, or even a thoughtful handmade gift.
Essential Tools for Your Cork Pumpkin Project
Gathering your tools beforehand makes the crafting process smoother and more enjoyable. While most of these are common household items, ensuring they are in good working order will help you achieve the best results for your wine cork pumpkin.
- Paintbrush: A small to medium-sized brush is perfect for applying acrylic paint to the cork ends. Consider a flat brush for even coverage.
- Hot Glue Gun: An absolute essential for quickly and securely bonding the corks. Make sure you have extra glue sticks on hand!
- Craft Knife: Useful for precise cutting of felt leaves, offering cleaner edges than scissors for intricate shapes.
- Scissors: For general cutting, especially useful for felt and twine.
Materials to Bring Your Pumpkin to Life
The beauty of this project lies in its simplicity and the use of recycled materials. These items are generally easy to find at craft stores, or you might already have them in your home.
- 25 Recycled Wine Corks: The star of our show! Natural corks are ideal as they absorb paint better, but synthetic corks can also work with proper priming. Collect them from your own bottles, ask friends, or purchase craft corks online. You’ll need this specific number for the classic pumpkin shape.
- Orange Acrylic Paint: The quintessential pumpkin color! Acrylic paint is fast-drying and easy to work with. You can experiment with different shades of orange, or even try white, gold, or muted pastels for a modern twist on the traditional pumpkin.
- Green Felt: For crafting the pumpkin leaves. A standard dark or medium green felt works perfectly, but feel free to explore olive green or even a subtle patterned felt for added character.
- Jute Twine: This rustic string will create the charming vine effect. Natural jute twine adds an authentic touch, but you could also consider thin green ribbon or raffia for a different aesthetic.
- A small cup of water (for diluting paint): Essential for achieving a smoother, less streaky paint finish on the corks.
- Paper towels or old newspaper: For protecting your work surface and cleaning up any spills.
Detailed Instructions: Assembling Your Rustic Wine Cork Pumpkin
Follow these steps carefully to ensure your wine cork pumpkin turns out sturdy, beautiful, and ready to adorn your fall decor collection. Remember to work in a well-ventilated area, especially when using a hot glue gun.
- Prepare and Paint the Corks: Begin by diluting your orange acrylic paint with a small amount of water. This creates a smoother consistency, allowing the paint to spread more evenly and dry without thick brush strokes. Paint both flat ends of twenty-four of your wine corks. The side of the corks typically isn’t painted as it adds a nice rustic contrast. Ensure you paint all the way to the edges for a clean look. Set the painted corks aside on newspaper or a disposable surface to dry completely. Drying time may vary, but acrylic paint usually dries within 15-30 minutes. Keep one cork unpainted; this will be your pumpkin’s “stem.”
- Construct the Pumpkin Body: This is where your pumpkin starts to take shape! The structure will be built in an arching pattern to mimic the natural curve of a pumpkin. You will create five rows of corks, carefully gluing them together.
- Bottom Row: Lay out four painted corks side by side. Apply a thin line of hot glue along the side of one cork and press it firmly against another. Repeat until all four corks are securely glued together in a straight line.
- Second Row: Arrange five painted corks. Apply hot glue to the sides of each cork and carefully glue them on top of the first row, ensuring they are centered. Each cork in this row should bridge the gap between two corks in the row below, creating a staggered, stable structure.
- Third Row (Center): Create a row of six painted corks. This will be the widest part of your pumpkin. Glue these corks on top of the second row, again ensuring they are centered and staggered over the gaps below. This row adds volume and a realistic pumpkin belly.
- Fourth Row: Revert to five painted corks. Glue them on top of the third row, maintaining the staggered pattern.
- Top Row: Finish the main body with a row of four painted corks, glued securely on top of the fourth row.
Throughout this process, take your time to align the corks neatly. For the best structural integrity and aesthetic appeal, try to match corks of similar length within each row. Apply adequate hot glue for a strong bond, but avoid excessive amounts that might squeeze out and be visible. Allow each row to set for a few moments before adding the next.
- Attach the Stem: Take your one unpainted wine cork (which you set aside earlier). Apply a generous amount of hot glue to one end of this cork. Carefully center it on the top row of your pumpkin (the row with four corks) and press down firmly. Hold it in place for a few seconds until the glue cools and sets, ensuring the stem is stable and upright. The natural cork color adds an authentic, earthy touch, contrasting beautifully with the orange body.
- Craft and Attach the Leaves: Using your green felt, carefully cut out two or three leaf shapes. You can freehand a simple pumpkin leaf design or use a stencil for more intricate detailing. Aim for leaves that are proportionate to your pumpkin, typically about 1-2 inches long. Once cut, apply a small dab of hot glue to the base of each felt leaf and carefully position them around the base of the cork stem on top of your pumpkin. You can layer them slightly for a fuller, more natural look.
- Add the Twine Vine: Take a short length of jute twine, approximately 6-8 inches long. Tie it into a loose knot or small bow around the base of the stem, just above where your felt leaves are attached. You can gently curl the ends of the twine around a pencil or your finger to resemble a natural pumpkin vine. If desired, secure the twine with a tiny dot of hot glue to prevent it from unraveling or shifting. This final detail adds a lovely touch of rustic authenticity to your DIY wine cork pumpkin.
Displaying and Personalizing Your Wine Cork Pumpkin
Once your wine cork pumpkin is complete, the possibilities for display are endless. Place it as a stunning centerpiece on your Thanksgiving table, surrounded by autumnal foliage and candles. It can adorn your mantle alongside other fall treasures like pinecones, gourds, and scented candles, creating a warm and inviting atmosphere. Use it to add a festive touch to a bookshelf, a kitchen island, or an entryway console table. This charming craft also makes an thoughtful hostess gift or a unique present for friends and family who appreciate handmade and sustainable decor.
Don’t be afraid to experiment with variations to truly make this project your own. Consider painting your corks in different hues like white for a chic farmhouse look, or metallic gold or silver for a touch of glamour. You could use real twigs or cinnamon sticks as alternative stems, adding a natural scent and texture. Embellish your pumpkin with small buttons, beads, or even a tiny fabric bow for added charm. For a distressed look, lightly sand the painted corks or dab them with a darker paint color before they fully dry. You can even create pumpkins of varying sizes by adjusting the number of corks in each row (e.g., 3-4-5-4-3 for a smaller pumpkin). The beauty of DIY lies in the freedom to customize and create something that perfectly reflects your personal style.
Care and Storage for Lasting Beauty
One of the greatest advantages of your wine cork pumpkin is its durability. To keep it looking its best year after year, occasional light dusting with a soft cloth or a gentle brush is usually all that’s needed. Avoid harsh chemical cleaners, as they may damage the paint or felt. When the fall season concludes, simply store your pumpkin in a dry, cool place, perhaps in a decorative box or wrapped gently in tissue paper. Its compact size makes it easy to store, ensuring it will be ready to bring joy and autumnal cheer to your home for many seasons to come.
In conclusion, creating a DIY wine cork pumpkin is more than just a craft project; it’s a celebration of creativity, sustainability, and the beauty of the autumn season. It transforms discarded materials into a cherished piece of decor that not only enhances your home but also tells a story of mindful living. So, gather your corks, unleash your inner crafter, and enjoy the satisfaction of making something beautiful with your own hands. Happy crafting, and may your home be filled with the warmth and charm of fall!