
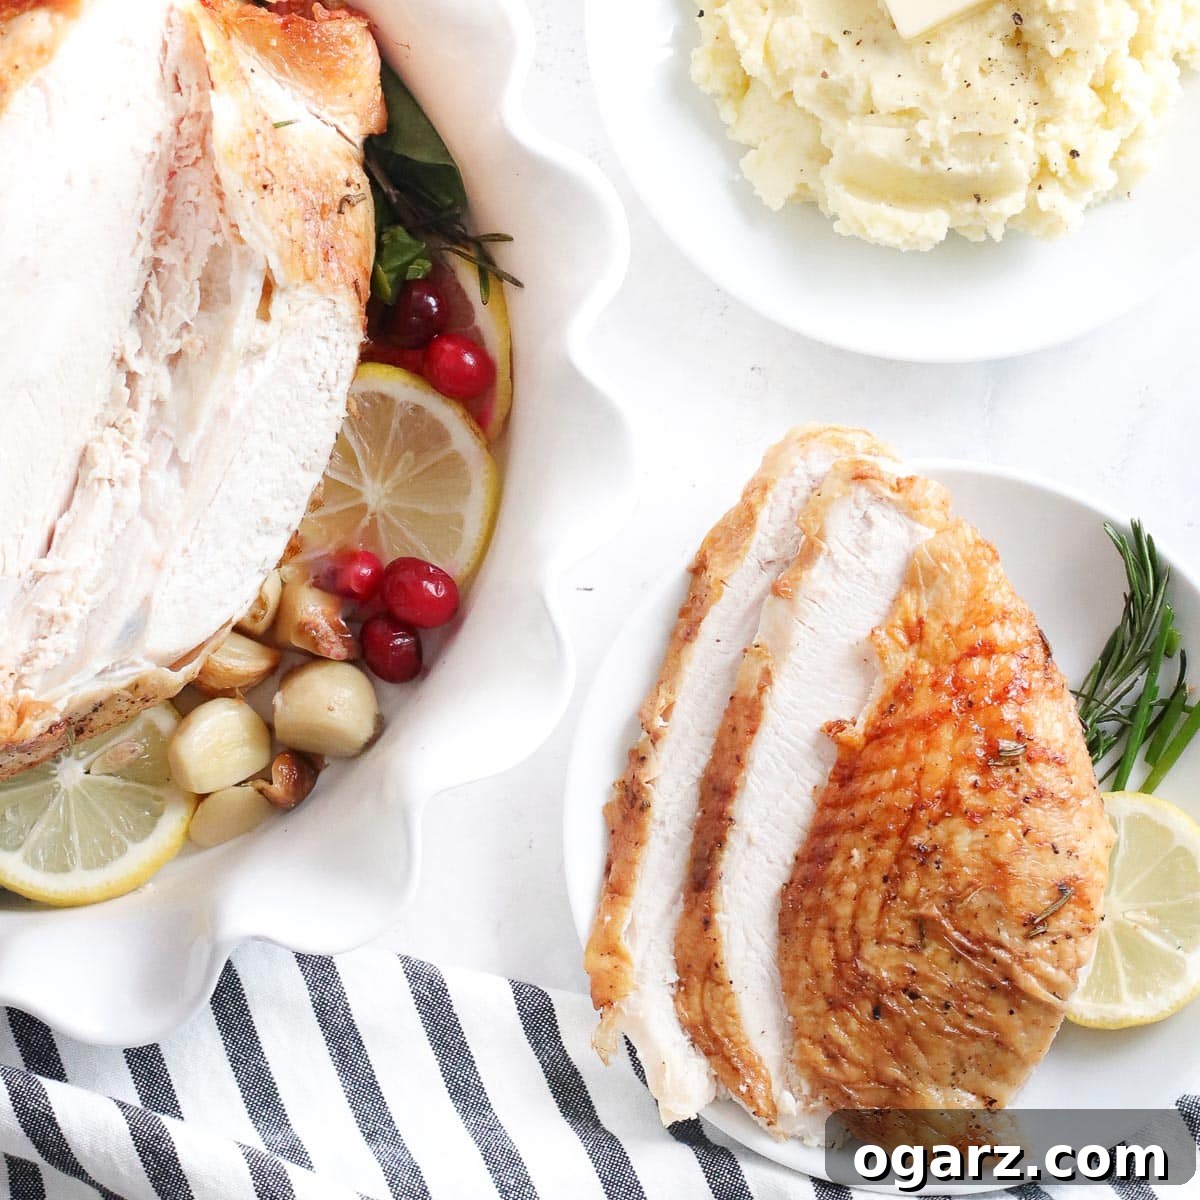
Transform your mealtime with the ultimate Air Fryer Turkey Breast recipe! Achieve perfectly cooked turkey every single time: incredibly moist and juicy on the inside, crowned with a golden, irresistibly crispy skin, and bursting with savory flavor. As an added bonus, preparing your turkey breast in the air fryer drastically cuts down on cooking time and frees up valuable oven space, making it an ideal choice for holidays or any weeknight.
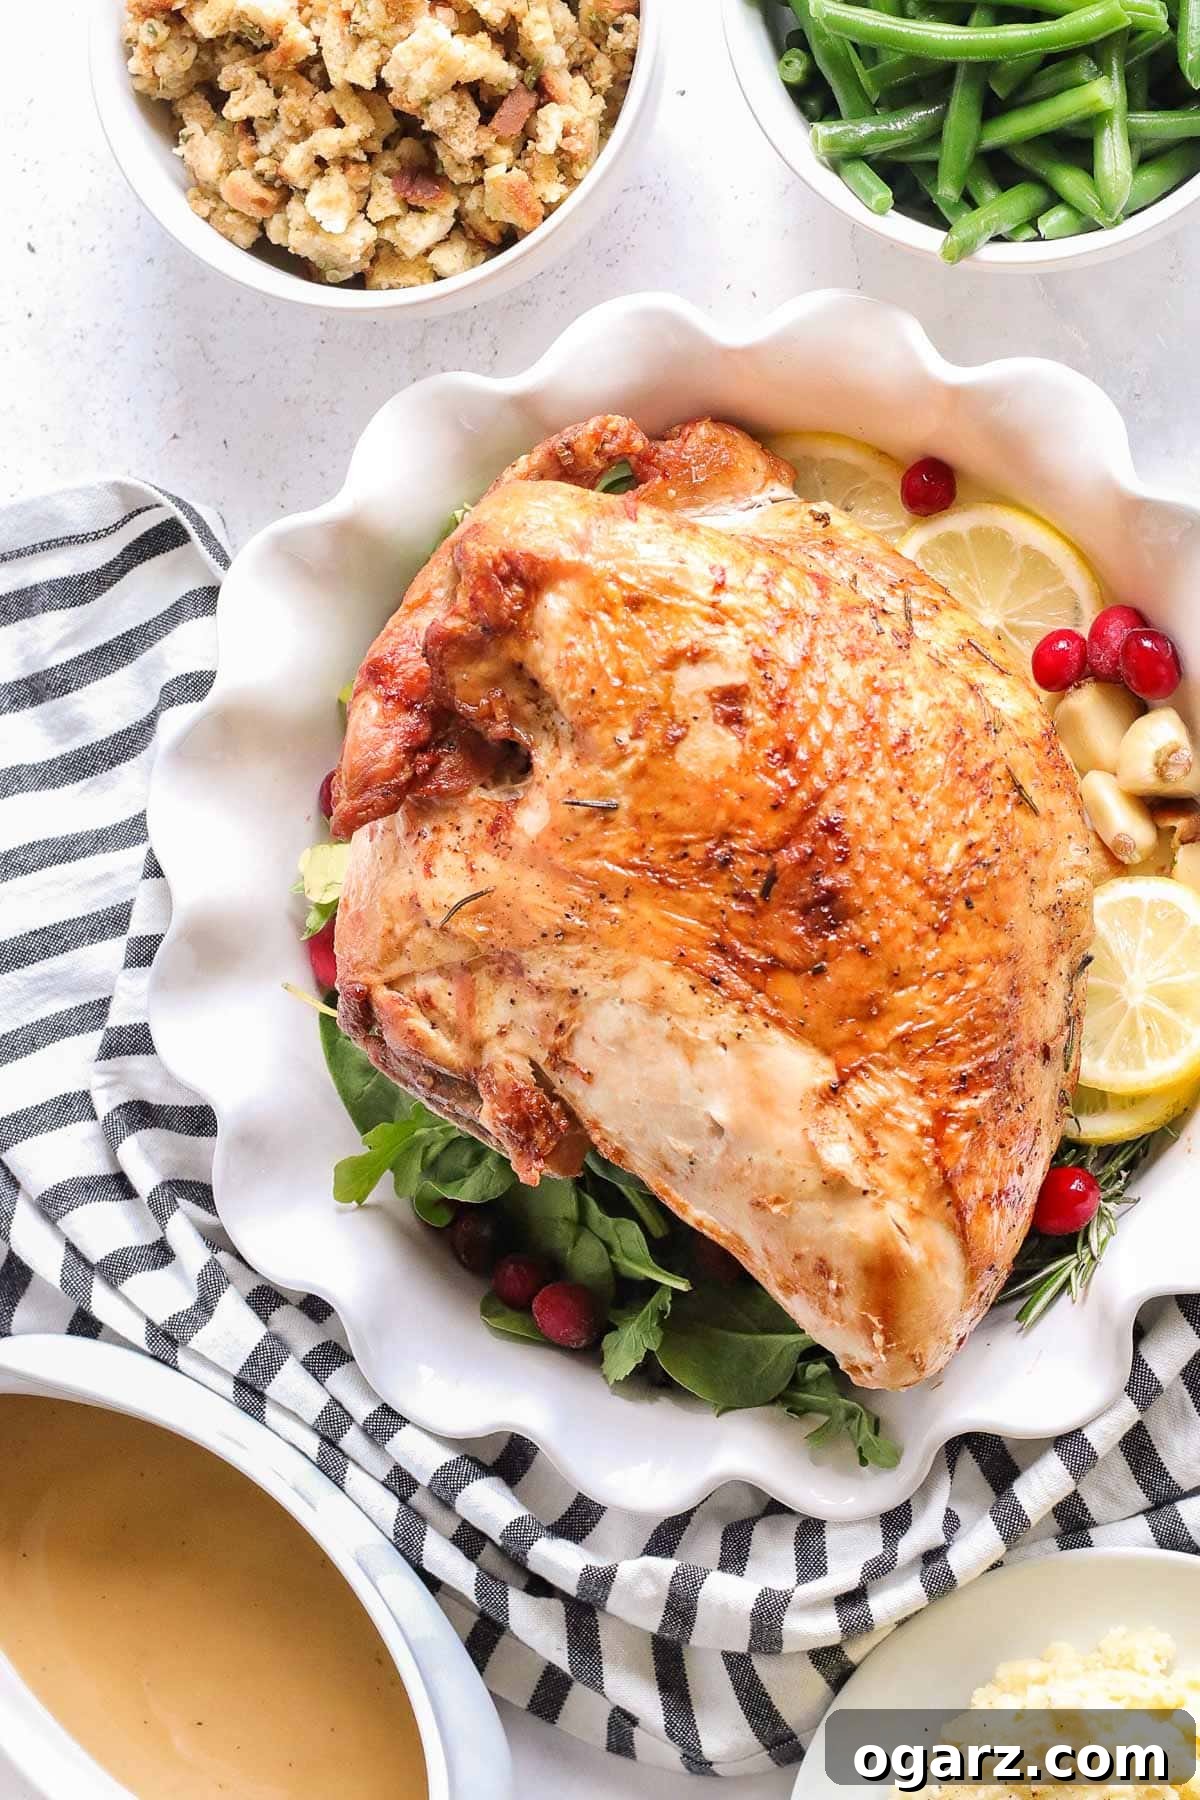
Are you yearning for a juicy, crispy turkey that’s cooked in half the time of traditional methods? Look no further! This simple yet sensational air-fried turkey breast delivers exceptional tenderness and juiciness with minimal effort. It’s an absolute game-changer, perfect for intimate Thanksgiving gatherings, smaller family dinners, or even as an extra turkey breast to satisfy a larger crowd. Designed for culinary success, this recipe is so straightforward that even novice cooks in the kitchen can achieve flawless results every single time!
This recipe is a genuine time-saver, allowing you to spend more precious moments enjoying the holidays rather than being tethered to the kitchen. Whether you opt for a bone-in or boneless turkey breast, you can expect it to be perfectly cooked in less than an hour, depending on its size. Dive into our expert tips below to master the art of making the most flavorful, succulent air fryer turkey breast imaginable!
Exploring other delightful turkey preparations? Be sure to check out our Smoked Turkey recipe for a rich, smoky twist, and our elegant Stuffed Turkey Breast for a festive and flavorful presentation.
Why Choose the Air Fryer for Turkey Breast?
Embracing the air fryer for your turkey breast offers a multitude of benefits, elevating your cooking experience and the final dish. Here’s why this method stands out:
- Ideal for Smaller Gatherings: Perfectly sized for smaller families or when you don’t need to roast a whole bird, providing just enough delicious turkey.
- Unbeatable Texture: Consistently delivers incredibly juicy meat complemented by wonderfully crispy, golden skin – the best of both worlds!
- Maximizes Oven Space: Especially during holiday cooking, the air fryer frees up your conventional oven for other essential dishes like casseroles, pies, and roasted vegetables.
- No Brining Required: With the air fryer’s efficient cooking, you can skip the lengthy brining process without sacrificing moisture or flavor.
- Significantly Faster Cooking: Enjoy a perfectly cooked turkey breast in a fraction of the time it would take in a traditional oven.
- Convenience and Ease: A hands-off approach that’s simple enough for beginners, ensuring stress-free meal preparation.
- Energy Efficient: Smaller appliances like air fryers generally use less energy than a large oven, especially for smaller dishes.
Essential Ingredients for Your Air Fryer Turkey Breast
Crafting a delicious air-fried turkey breast begins with high-quality ingredients. Here’s a breakdown of what you’ll need and why each component is key to achieving that perfect flavor and texture. Scroll down to the printable recipe card at the bottom of the page for exact quantities.
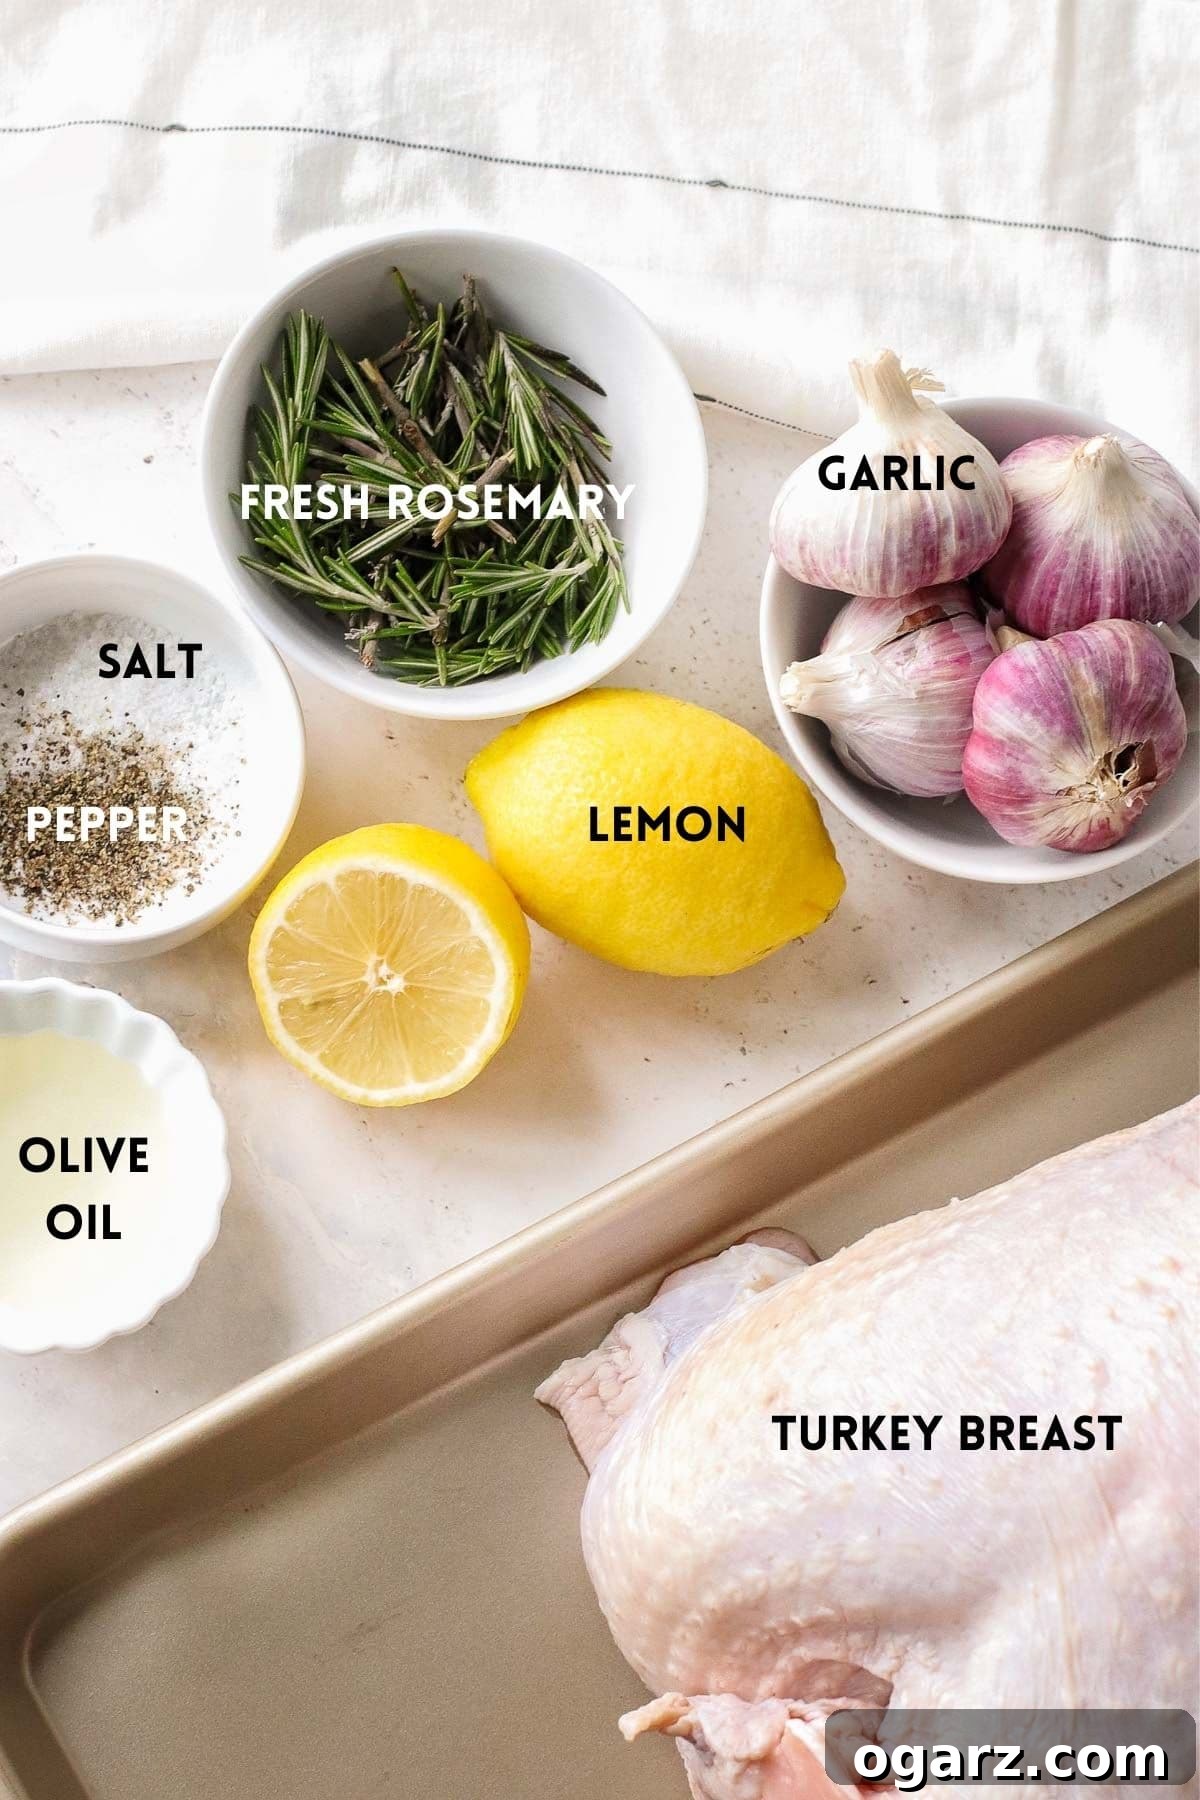
- Turkey Breast: This recipe primarily utilizes a whole, bone-in, skin-on turkey breast. Bone-in breasts tend to stay moister due to the bone insulation, and the skin is crucial for that desirable crispiness. Depending on the capacity of your air fryer basket, a 3-5 lb breast is usually ideal. For those preferring convenience, a boneless breast can also be used; refer to the recipe card for specific adjustments to cooking times.
- Olive Oil: A light coating of olive oil serves multiple purposes. It acts as a binder, ensuring that your seasonings adhere beautifully to the turkey. More importantly, it helps render the turkey skin to a glorious golden crisp and contributes to an even, attractive color. Avocado oil is an excellent alternative if you prefer.
- Garlic: Fresh minced garlic infuses the turkey with an aromatic, savory depth. The recipe calls for one head of garlic, but feel free to adjust the amount based on the size of your turkey breast and your personal preference for garlic intensity.
- Fresh Rosemary: The fragrant, earthy notes of freshly chopped rosemary are indispensable, adding a classic, robust flavor profile that pairs wonderfully with turkey. If fresh rosemary is unavailable, you can substitute with 1 1/2 teaspoons of dried rosemary needles, though fresh is highly recommended for optimal aroma and taste.
- Salt and Pepper: Basic yet essential, these seasonings are critical for enhancing the natural flavors of the turkey and the herbs. Season generously to ensure every bite is well-balanced.
- Lemon: Half a lemon is used to squeeze fresh juice over the turkey, adding a bright, zesty acidity that cuts through the richness of the meat and helps tenderize it. The lemon half can then be placed in the cavity during cooking for added aroma.
- Whole Garlic Head (Optional): For an extra layer of subtle roasted garlic flavor, placing a whole garlic head (top cut off) in the turkey cavity is a fantastic option. It slowly roasts, releasing its sweet, mellow essence into the turkey.
Step-by-Step Guide to Air Frying Turkey Breast
Achieving a perfectly cooked turkey breast in your air fryer is straightforward with these detailed instructions. Remember, detailed measurements and full instructions can be found on the printable recipe card at the very bottom of this page.
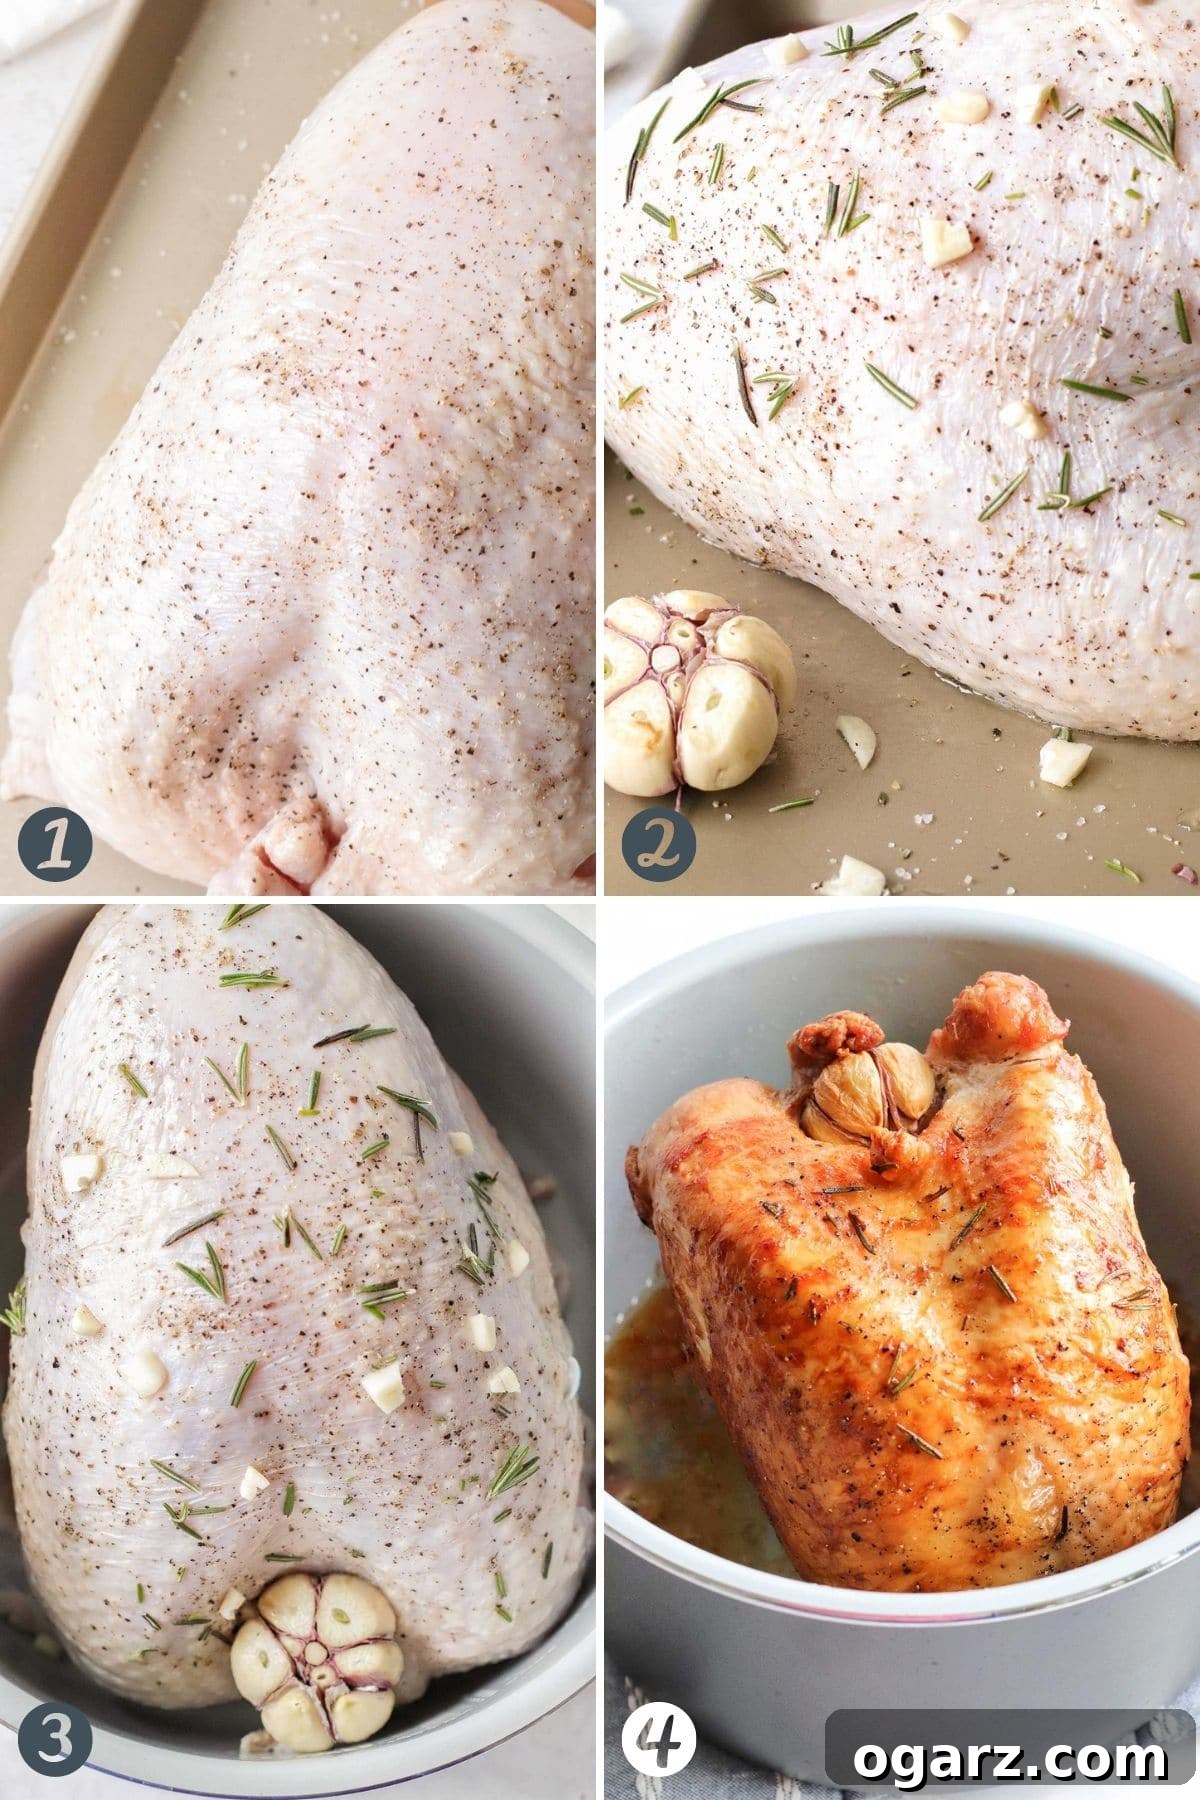
- Prepare the Turkey Breast: Begin by patting the turkey breast thoroughly dry with paper towels; this helps achieve crispy skin. Rub 1 tablespoon of olive oil evenly all over the turkey breast, paying special attention to covering the skin. Season the turkey breast generously with salt and pepper on all sides. In a small bowl, combine the minced garlic, chopped rosemary, and the remaining olive oil to create an aromatic herb mixture. Carefully lift the skin of the turkey breast and spread half of this garlic-herb mixture directly over the meat underneath the skin. Then, spread the remaining garlic mixture over the exterior of the breast. Finally, squeeze fresh lemon juice over the seasoned meat. For an optional aromatic touch, place the squeezed lemon half and a whole garlic head (with the top cut off) into the turkey’s cavity.
- Air Fryer Cooking: Preheat your air fryer to 350 degrees F (175 degrees C). Once preheated, carefully place the seasoned turkey breast into the air fryer basket, skin side down. Cook for 20 minutes to allow the underside to brown. After 20 minutes, flip the turkey breast so it is skin side up. Continue cooking for another 30 to 35 minutes. The precise cooking time will vary depending on the size of your turkey breast and the specific model of your air fryer. The turkey is done when the skin is beautifully golden and crispy, and an instant-read thermometer inserted into the thickest part of the breast (without touching the bone) registers an internal temperature of 160 degrees F (71 degrees C).
- Rest and Serve: Once the turkey breast reaches the target internal temperature, carefully remove it from the air fryer basket and transfer it to a cutting board or serving platter. It is crucial to let the turkey rest for 10 to 15 minutes before carving. This resting period allows the juices to redistribute evenly throughout the meat, ensuring a remarkably moist and tender result. After resting, carve and serve immediately.
Expert Tips for the Best Air Fryer Turkey Breast
To ensure your air fryer turkey breast turns out perfectly juicy and flavorful every time, keep these expert tips in mind:
- Air Fryer Size Matters: The capacity of your air fryer dictates the size of the turkey breast you can comfortably cook. For instance, a Ninja Foodi, known for its larger capacity, can easily accommodate the breast shown in the pictures. Generally, the meat should sit below the top of the air fryer basket to allow for proper air circulation. A 5-quart or larger air fryer should comfortably fit a 4-5 pound turkey breast.
- Basket Removal (Ninja Foodi Specific): If using a Ninja Foodi and your breast is slightly too large for the basket, you might be able to remove the basket entirely and place the turkey directly into the pot (refer to your specific model’s manual). However, I do not recommend attempting this with other air fryer models, as it could damage the appliance or prevent proper cooking.
- Boneless Turkey Breast Adaptation: This recipe is highly versatile and works wonderfully with boneless turkey breasts as well. Just be aware that boneless breasts often cook faster, so monitor the internal temperature closely to prevent overcooking.
- Monitor Internal Temperature: Cooking times are approximate and will vary based on breast size and air fryer model. The most reliable way to ensure your turkey is perfectly cooked and safe to eat is by using an instant-read meat thermometer.
- Avoid the Bone When Measuring: When checking the internal temperature with your thermometer, always ensure the probe is inserted into the thickest part of the breast meat, avoiding contact with the bone. Touching the bone can give an inaccurate, higher reading.
- Thaw Frozen Turkey Completely: If you’re starting with a frozen turkey breast, it’s absolutely essential to thaw it completely in the refrigerator before seasoning and air frying. Attempting to cook a partially or fully frozen turkey in the air fryer will result in uneven cooking and potentially unsafe temperatures.
- Consider Compound Butter: For an extra layer of richness and flavor, prepare a compound butter by mixing softened butter with finely chopped herbs (like rosemary, thyme, or sage) and minced garlic. Spread this aromatic butter generously under the skin of the turkey breast before cooking. This method bastes the meat from the inside out, yielding incredibly moist and flavorful results.
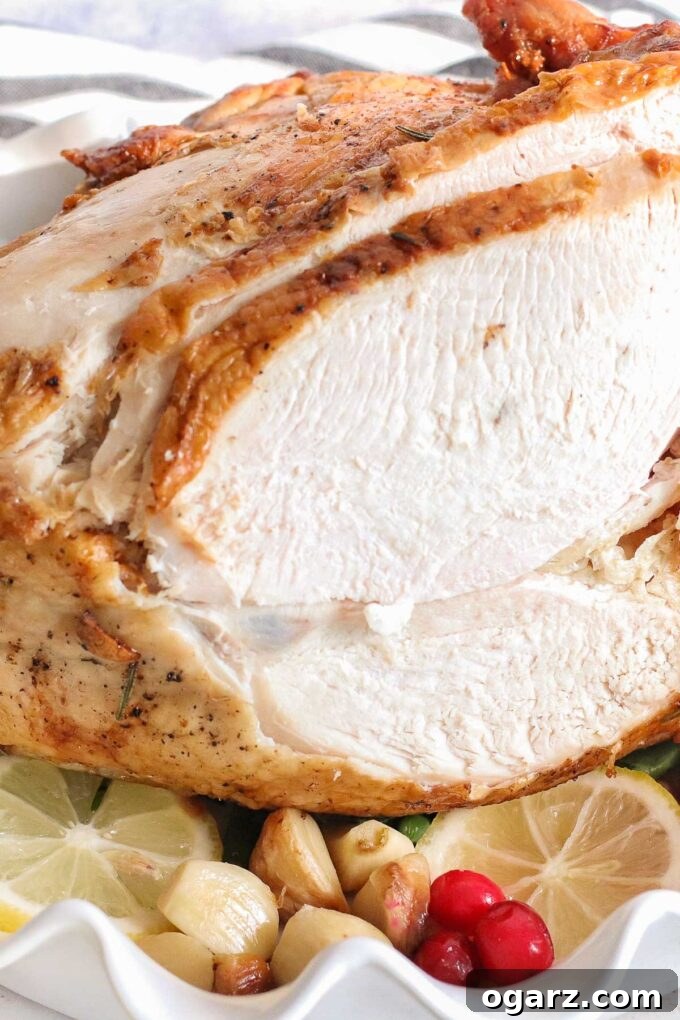
Frequently Asked Questions About Air Fryer Turkey Breast
The USDA recommends an internal temperature of at least 165°F (74°C) for food safety. However, for a truly juicy turkey breast, I highly recommend removing it from the air fryer when your instant-read thermometer registers 160°F (71°C). The turkey will continue to cook as it rests (this is called carryover cooking), reaching the safe temperature and ensuring it stays moist rather than becoming dry.
The air fryer offers several compelling advantages for cooking turkey breast. It cooks significantly faster than a traditional oven, making it a great time-saver. It also frees up valuable oven space, which is especially beneficial when preparing multi-course meals. Furthermore, the air fryer’s convection cooking method excels at crisping up the skin to golden perfection, a texture often harder to achieve consistently in a conventional oven. It’s an excellent appliance for any skin-on poultry, from turkey breast to chicken wings or even a whole small chicken.
A dry turkey breast is typically a result of overcooking. If you wait until the internal temperature officially reaches 165°F (74°C) while still in the air fryer, the carryover cooking during resting will push the temperature even higher, leading to dry meat. Always aim to pull the turkey out at 160°F (71°C). Additionally, failing to let the meat rest adequately after cooking can also contribute to dryness. Resting for at least 10-15 minutes allows the muscle fibers to relax and reabsorb the juices, ensuring a more tender and moist outcome.
The exact cooking duration will depend on the size of your turkey breast and the specific model of your air fryer. However, in general, you can expect the cooking time to be less than an hour. A smaller turkey breast, weighing approximately 2-3 lbs, will typically take about 45-50 minutes to cook through. A larger breast, in the 4-5 lbs range, usually requires around 50-55 minutes. Always cook until the internal temperature reaches 160°F (71°C) before resting.
Achieving the Juiciest Air Fryer Turkey Breast: Key Tips
Ensuring your turkey breast remains incredibly juicy is paramount for a delicious meal. Here are the most crucial tips to guarantee a succulent result every time:
- Start Checking Early: Begin checking the turkey breast’s internal temperature well before the estimated cooking time is up. This proactive approach helps you catch it just as it reaches perfection, effectively preventing overcooking.
- Target 160 Degrees F: Remove the turkey breast from the air fryer once its internal temperature reaches 160 degrees F (71 degrees C). The residual heat will continue to cook the meat as it rests, bringing it to the safe 165 degrees F (74 degrees C) without drying it out.
- Allow Ample Resting Time: Once cooked, transfer the turkey to a cutting board and let it rest undisturbed for a full 10-15 minutes before you begin carving. This critical step allows the hot juices, which have gathered at the center of the meat during cooking, to redistribute throughout the entire breast, resulting in maximum moisture and tenderness.
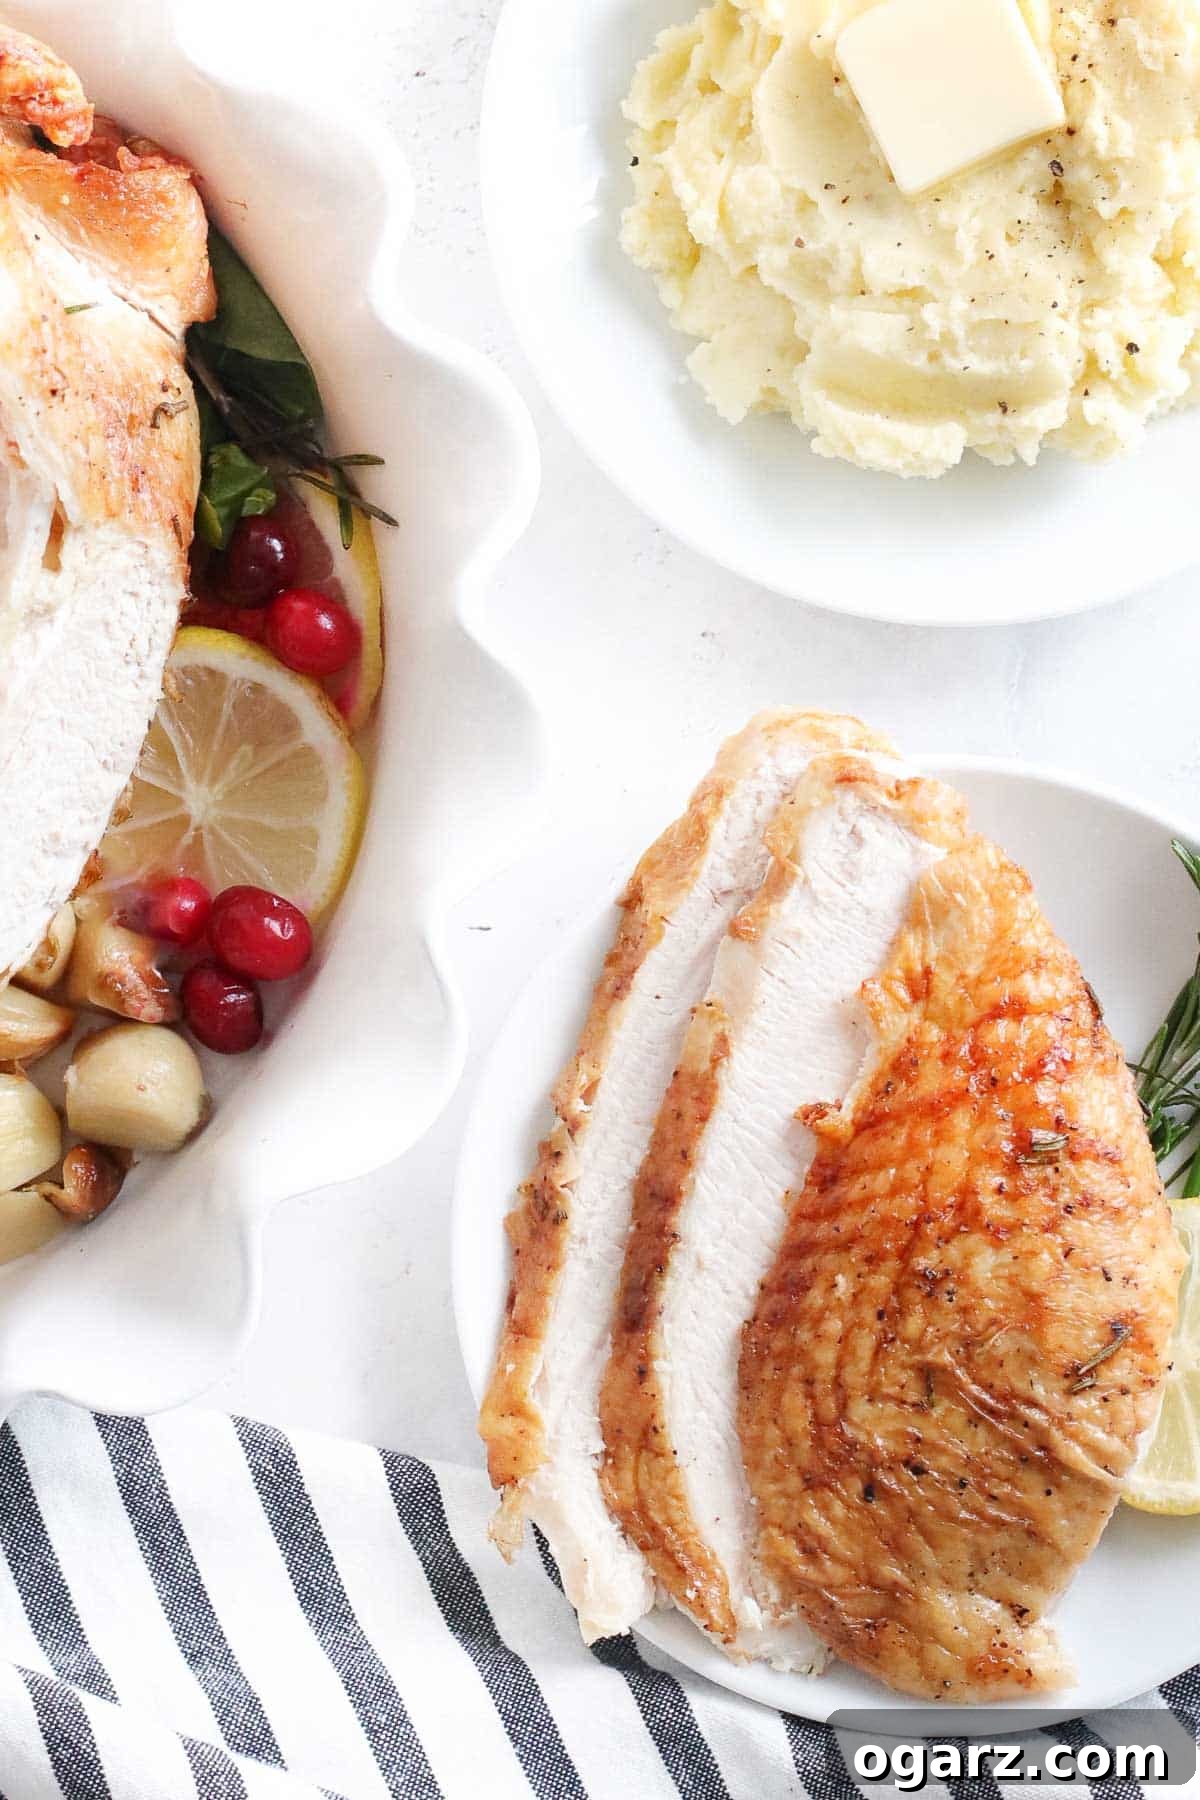
Mastering the Art of Carving a Bone-in Turkey Breast
Proper carving is essential not only for presentation but also for preserving the juiciness of your perfectly cooked turkey breast. Remember to let the turkey breast rest for at least 10-15 minutes before carving to allow the juices to redistribute.
There are generally two effective ways to carve a bone-in turkey breast, and I personally lean towards removing the breast from the bone first, then slicing it into thicker pieces. This method ensures that everyone gets a generous portion of that coveted crispy skin and simplifies the overall carving process.
- For Thick, Even Pieces: Place the rested turkey breast on a stable cutting board. Using a sharp chef’s knife, carefully cut along one side of the breast bone, running the knife down to separate the entire half of the breast from the bone. Repeat this process on the other side. Once both halves are removed, place one half skin-side up on the board and slice it crosswise into thick, uniform pieces. This technique yields substantial slices, each with a perfect ratio of meat and crispy skin.
- For Thin, Elegant Slices: If you prefer thinner, more delicate slices, you can leave the breast attached to the breast bone. With the turkey still on the bone, use a long, sharp carving knife (an electric knife works exceptionally well for this) to make thin, even slices by cutting downwards on each side of the breast bone. This method creates beautiful, fanned-out slices directly from the bone.
Storage and Creative Uses for Leftover Turkey Breast
If you’re fortunate enough to have some delicious leftover Air Fryer Turkey Breast, storing it properly ensures you can enjoy it for days to come. Store any cooled leftovers in an airtight container in the refrigerator for up to 5 days.
Don’t let those tasty leftovers go to waste! Here are some fantastic ways to repurpose your cooked turkey breast:
- Classic Sandwiches: Slice or shred the turkey for delectable sandwiches, perhaps with a touch of cranberry sauce and stuffing.
- Hearty Soups: Incorporate diced or shredded turkey into comforting soups. Try our Creamy Leftover Turkey Soup or a quick Instant Pot Turkey Soup for a warm, nourishing meal.
- Fresh Salads: Add lean protein to your salads by topping them with sliced or cubed turkey breast. It’s perfect for a light lunch or dinner.
- Quick Wraps: Create flavorful wraps with turkey, your favorite vegetables, and a creamy dressing.
- Stir-Fries: Dice the turkey and toss it into a quick stir-fry with fresh vegetables and a savory sauce.
- Casseroles: Layer turkey into your favorite casserole recipes for an easy, comforting dinner.
Perfect Pairings: What to Serve with Air Fried Turkey Breast
A beautifully cooked Air Fryer Turkey Breast deserves equally delicious companions. Whether you’re planning a holiday feast or a simple weeknight dinner, these side dishes complement the rich flavors and tender texture of the turkey perfectly.
Complementary Side Dishes
Sides & Salads
Roasted Garlic Mashed Potatoes
Sides & Salads
Honey Glazed Carrots
Air Fryer
Air Fryer Brussels Sprouts
Cakes
Cranberry Upside Down Cake
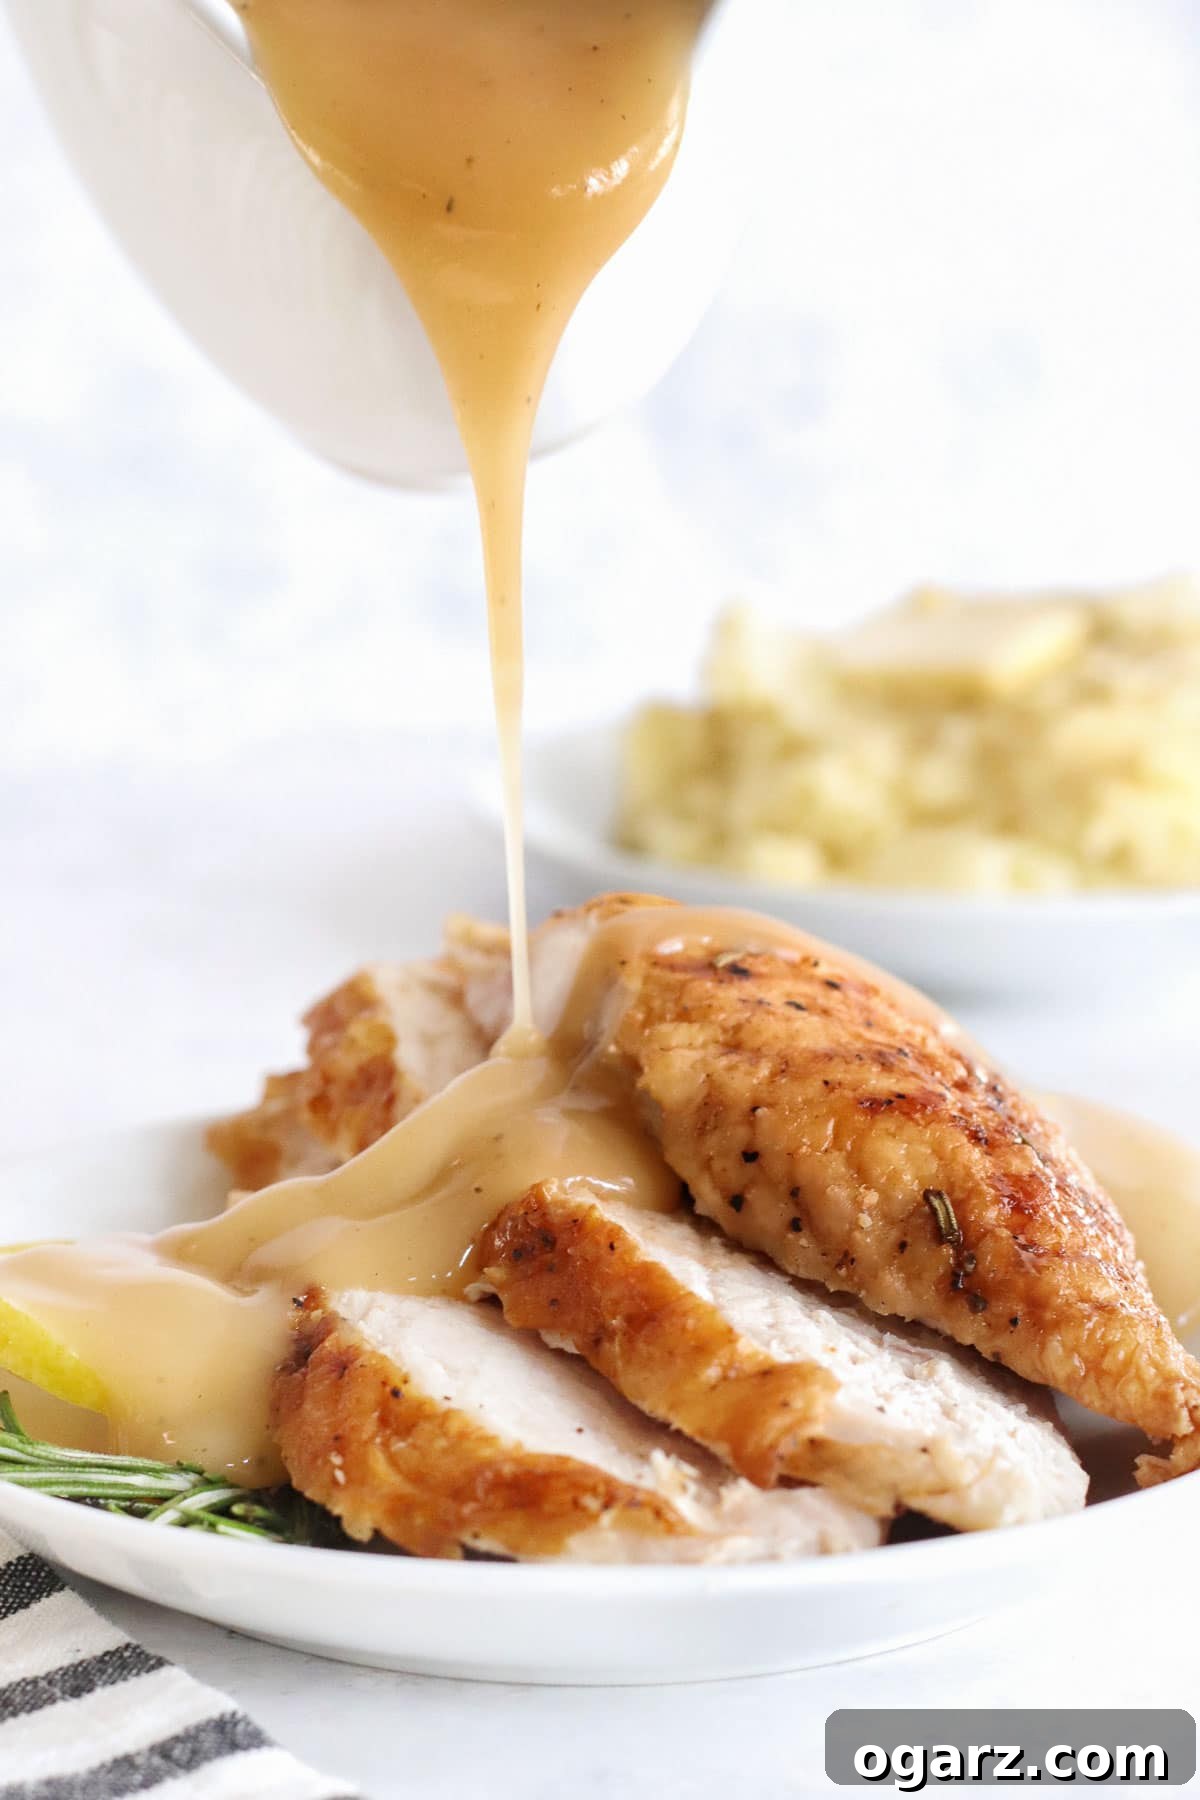
More Irresistible Air Fryer Recipes to Explore
If you love the convenience and results of air frying, you’re in for a treat! Here are more fantastic recipes designed for your air fryer, perfect for expanding your culinary repertoire and enjoying quick, delicious meals.
Discover More Air Fryer Delights
Air Fryer
Air Fryer Hot Dogs
Air Fryer
Air Fryer Chicken Wings
Air Fryer
Air Fryer Garlic Bread
Air Fryer
Air Fryer Meatloaf
Never Miss A Recipe! Subscribe to my newsletter and follow along on Facebook, Instagram, and Pinterest for more great recipes and all of the latest updates.
Pin
Air Fryer Turkey Breast
Our Air Fryer Turkey Breast comes out perfectly cooked every time! Moist and juicy on the inside with golden crisp skin and so tasty. Bonus, roasting it in the Air Fryer takes less time and frees up space in the oven.
Equipment
-
Air Fryer
Ingredients
- 4-5 lb turkey breast, skin-on and bone-in
- 1.5 Tablespoon olive oil
- 1.5 teaspoon salt
- 1 teaspoon ground black pepper
- 8 garlic cloves, peeled and minced
- 2 Tbsp fresh rosemary, chopped
- ½ lemon
- 1 whole garlic head, top cut off (optional)
Instructions
-
Rub 1 tablespoon olive oil all over the turkey breast, focusing on the skin. Season turkey breast with salt and pepper from all sides. Combine minced garlic, chopped rosemary, and remaining olive oil and spread half over the meat under skin. Spread remaining garlic mixture all over the breast. Squeeze lemon juice over the meat and put the lemon half in the cavity together with 1 whole garlic head (optional)
-
Preheat the Air Fryer to 350 degrees F. Cook turkey breast skin side down for 20 minutes, then flip it skin-side up and cook 30 to 35 minutes more until the internal temperature is 160 degrees F and the skin is golden and crispy, cooking time depends on the size of the breast.
-
Take the breast out and let it rest for 10 to 15 minutes before carving.
Notes
- The size of breast you can make depends on the size of your Air Fryer, I used a Ninja Foodie which has a big capacity for the breast shown in the pictures. The meat should be below the top of the basket. A 5 quart or bigger Air Fryer should easily fit a 4-5 pound breast.
- This recipe also works with boneless turkey breasts
- Cooking time will vary depending on the size of the breast. I recommend using an Instant-read thermometer to check the internal temperature
- A smaller breast takes about 45-50 min in total, a larger breast 50-55 min
- Avoid touching the bone when you measure the temperature
- If your turkey breast is frozen, you need to thaw it first
- You can also make a compound butter with herbs, garlic, and butter, and spread it under the skin of the turkey
- If you don’t have an Air Fryer but still want to save time or make something different from a traditional turkey check out my Stuffed Turkey Breast
- Leftovers keep up to 5 days in an airtight container in the fridge
Nutrition
Calories: 265kcal
|
Carbohydrates: 3g
|
Protein: 49g
|
Fat: 6g
|
Saturated Fat: 1g
|
Polyunsaturated Fat: 1g
|
Monounsaturated Fat: 3g
|
Trans Fat: 1g
|
Cholesterol: 122mg
|
Sodium: 905mg
|
Potassium: 591mg
|
Fiber: 1g
|
Sugar: 1g
|
Vitamin A: 63IU
|
Vitamin C: 6mg
|
Calcium: 48mg
|
Iron: 1mg
Like this recipe? Rate and comment below!