
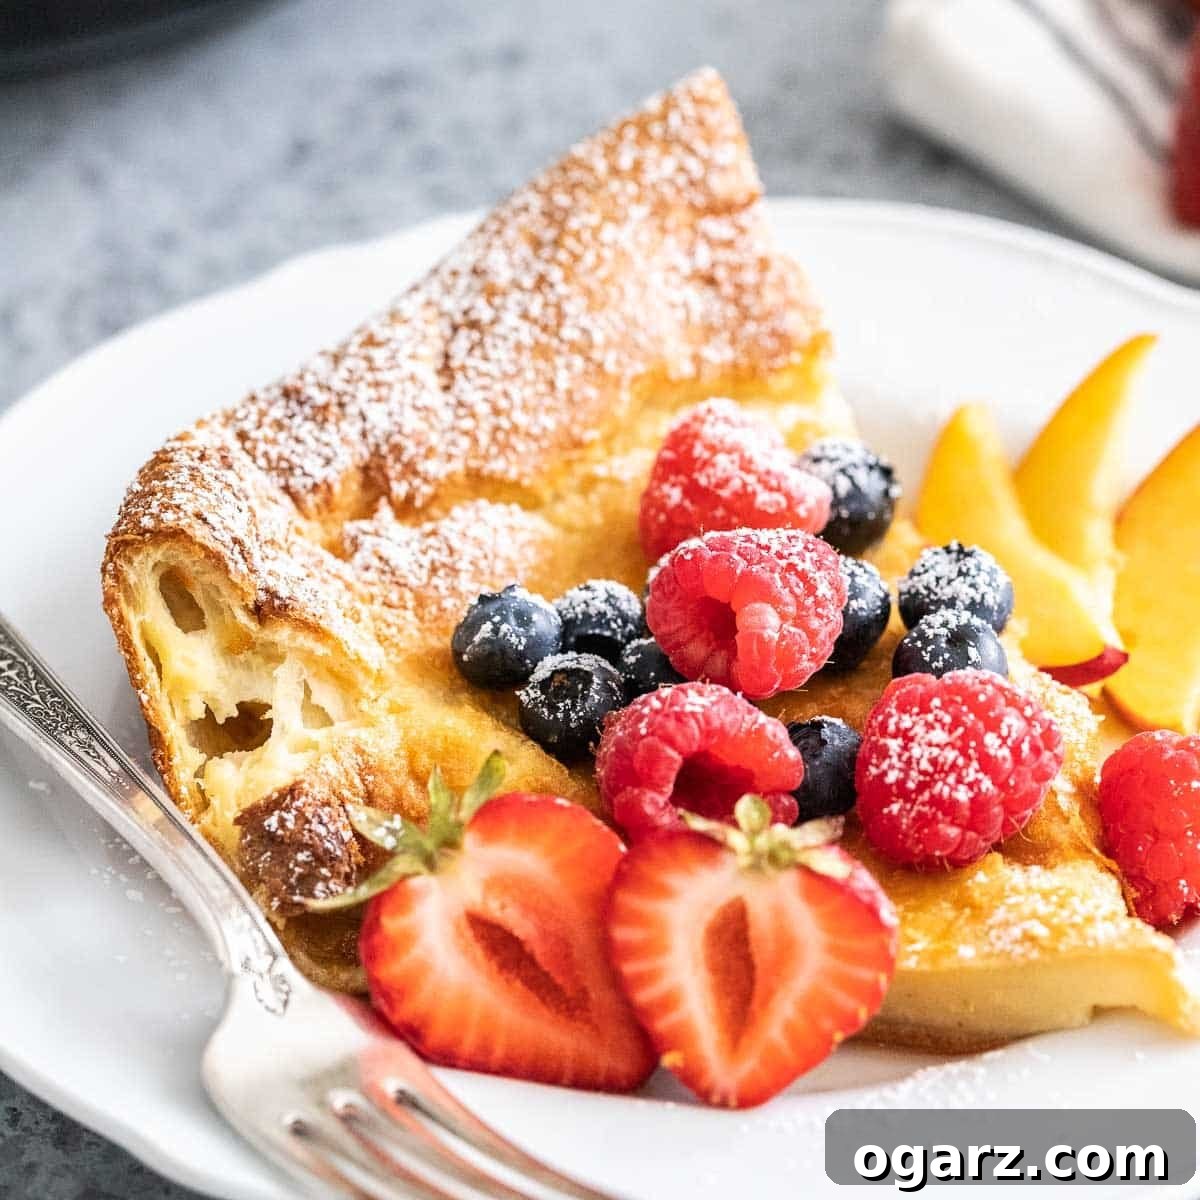
This Dutch Baby Pancake is the ultimate family-style breakfast, brunch, or even dessert! It’s delightfully light, wonderfully fluffy, and boasts perfectly crispy edges, all infused with a hint of comforting vanilla. With just 7 simple ingredients and a mere 10 minutes of prep time, you’ll be able to create a show-stopping dish that will impress everyone at your table.
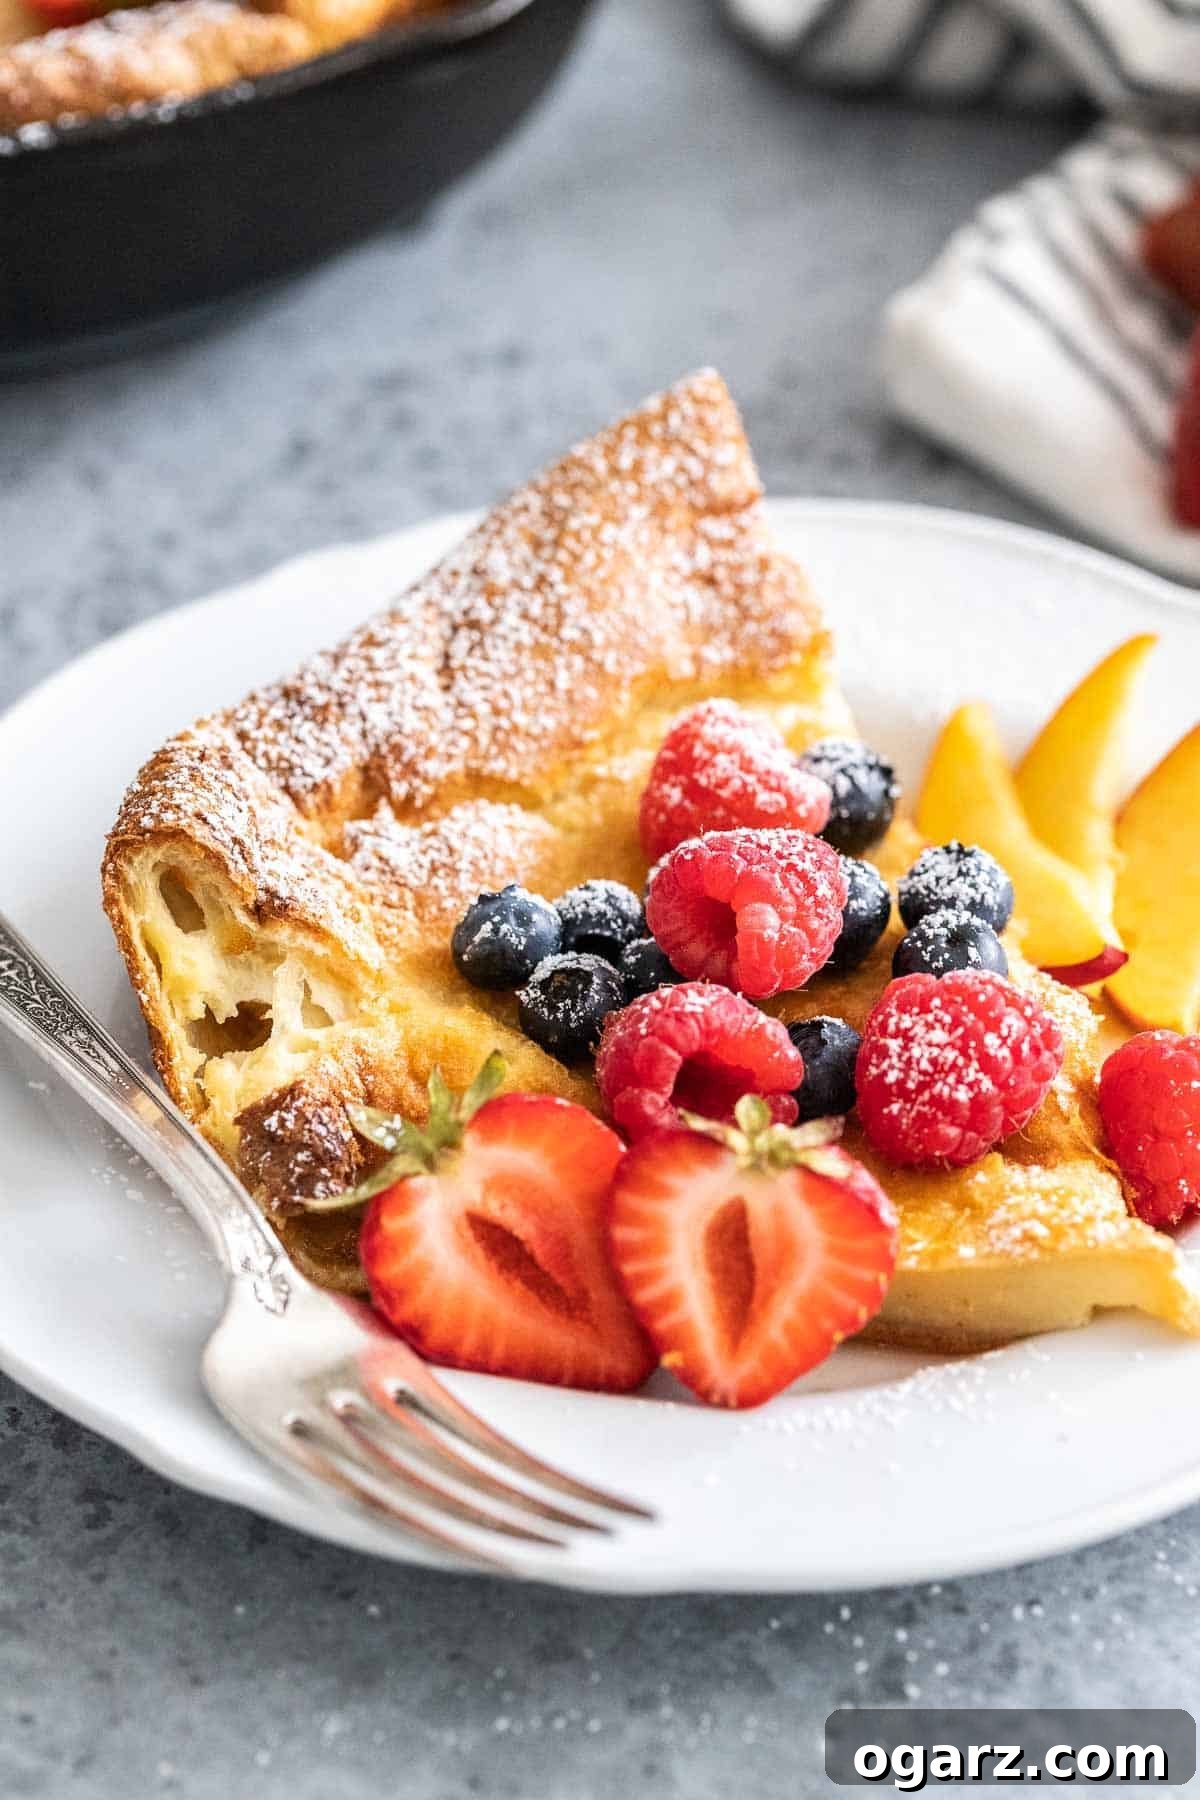
The Irresistible Charm of a Dutch Baby Pancake
Prepare to discover your new favorite brunch sensation! This incredible Dutch Baby Pancake recipe is destined to become a beloved staple in your kitchen. Often referred to as a German pancake, this impressive dish is a delightful fusion, borrowing the delicate thinness of a crêpe, the airy puff of a popover, and the comforting essence of a classic pancake. What sets it apart is its unique texture: a wonderfully soft and custardy center gracefully framed by a light, airy, and spectacularly puffed-up outer edge that rises dramatically during baking.
Imagine serving this golden-brown masterpiece in elegant slices, adorned with a vibrant medley of your favorite seasonal fruits and a delicate dusting of powdered sugar. Or, for a truly satisfying experience, simply grab a fork and dive right in! The beauty of the Dutch Baby lies in its versatility and its ability to transform a simple meal into a memorable occasion. It’s not just a pancake; it’s an experience that’s surprisingly easy to achieve.
Why This Dutch Baby Pancake Will Become Your Go-To Recipe
- Effortlessly Quick to Make: Forget complicated recipes that demand hours in the kitchen. This German pancake requires only about 10 minutes of active prep time. The blender does most of the heavy lifting, mixing your batter to perfection in mere seconds, leaving you more time to enjoy your morning.
- Bakes Hands-Off in the Oven: Say goodbye to standing over a hot stove, meticulously flipping individual pancakes. Once your Dutch Baby is in the oven, it’s completely hands-off. This frees you up to prepare other breakfast accompaniments, set the table, or simply relax while your kitchen fills with an enticing aroma. The oven-baked method also ensures even cooking and that signature dramatic puff.
- Perfect for Family-Style Serving: This recipe yields a generously sized pancake that’s ideal for sharing. One delicious Dutch Baby can easily serve four people, making it perfect for family breakfasts, weekend brunches with friends, or any gathering where you want a communal, inviting dish. Just bring the cast-iron skillet straight to the table and let everyone serve themselves – it’s a wonderful way to create a warm and engaging mealtime atmosphere.
- Impressive Presentation, Minimal Effort: The towering, golden edges and soft, inviting center of a freshly baked Dutch Baby pancake are inherently beautiful. It looks far more complex to make than it actually is, guaranteeing a “wow” factor with every serve.
- Highly Customizable: Whether you prefer sweet or savory, the Dutch Baby acts as a perfect canvas for a wide array of toppings. This versatility means it can adapt to any craving or meal preference.
Essential Ingredients for Your Perfect Dutch Baby Pancake
Creating this magnificent Dutch Baby Pancake relies on a handful of simple, everyday ingredients. While the quantities are detailed in the recipe card at the bottom of the page, here’s a closer look at each component and its role in achieving that signature fluffy, custardy perfection.
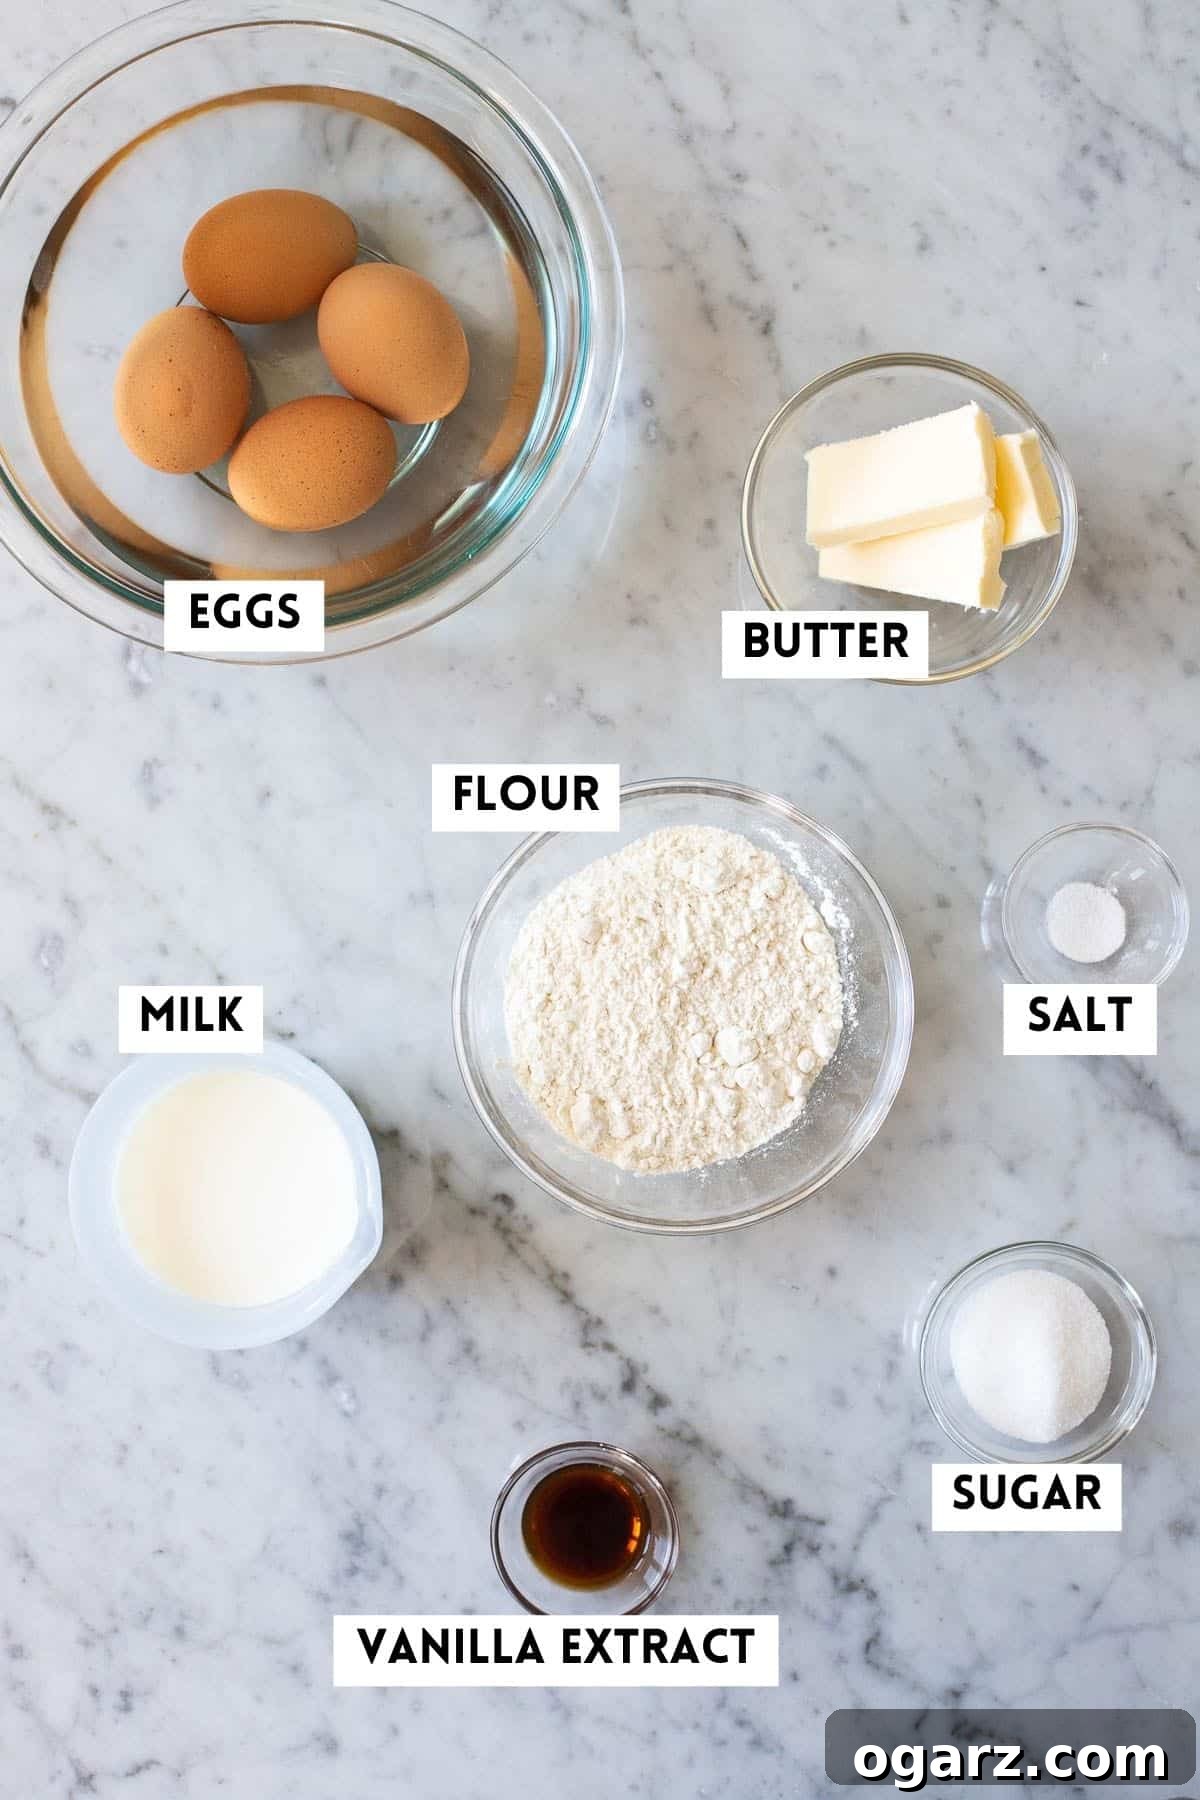
- All-Purpose Flour: This is the backbone of your pancake, providing the necessary structure and contributing to its ultra-fluffy texture. For best results, I highly recommend using the “spoon and level” method when measuring your flour. Spoon the flour into your measuring cup and then level it off with the back of a knife. This prevents over-packing the flour, which can lead to a dense pancake.
- Eggs: The star of the show! A generous amount of eggs in the batter is crucial. They contribute significantly to the Dutch Baby’s classic eggy flavor, rich custardy center, and especially its spectacular puffy, airy edges when baked. Using room temperature eggs also helps them incorporate more easily and create a smoother batter.
- Milk: Milk serves to thin the batter to the perfect consistency, ensuring your pancake is moist, tender, and evenly cooked. Whole milk is generally recommended for its rich flavor, but you can use other milk varieties if preferred. Ensure it’s at room temperature for optimal blending.
- Granulated Sugar: Just a touch of sugar is added to the batter to provide a subtle sweetness that balances the rich flavors of the other ingredients. It enhances the overall taste without making the pancake overly sweet, allowing toppings to shine.
- Vanilla Extract: A key flavor enhancer, vanilla extract infuses the Dutch Baby pancake with its subtle, warm, and inviting vanilla flavor. Use a good quality pure vanilla extract for the best taste.
- Salt: A small pinch of salt is essential for enhancing all the other flavors in the pancake. It brings out the sweetness and richness, making every bite more delicious.
- Unsalted Butter: Melted butter is incorporated into the batter and also used to coat the hot skillet. It’s vital for achieving a wonderfully moist and tender pancake with crispy, golden edges. Using unsalted butter allows you to control the overall saltiness of the dish.
- Powdered Sugar: This is purely for dusting! A final shower of powdered sugar after baking adds a beautiful presentation and a delicate touch of extra sweetness.
Step-by-Step Guide: Crafting Your Perfect Dutch Baby Pancake
Making this impressive Dutch Baby Pancake in the oven is remarkably straightforward. Follow these detailed steps to achieve a perfectly puffed and golden pancake every time. Detailed measurements and instructions can also be found on the printable recipe card below.
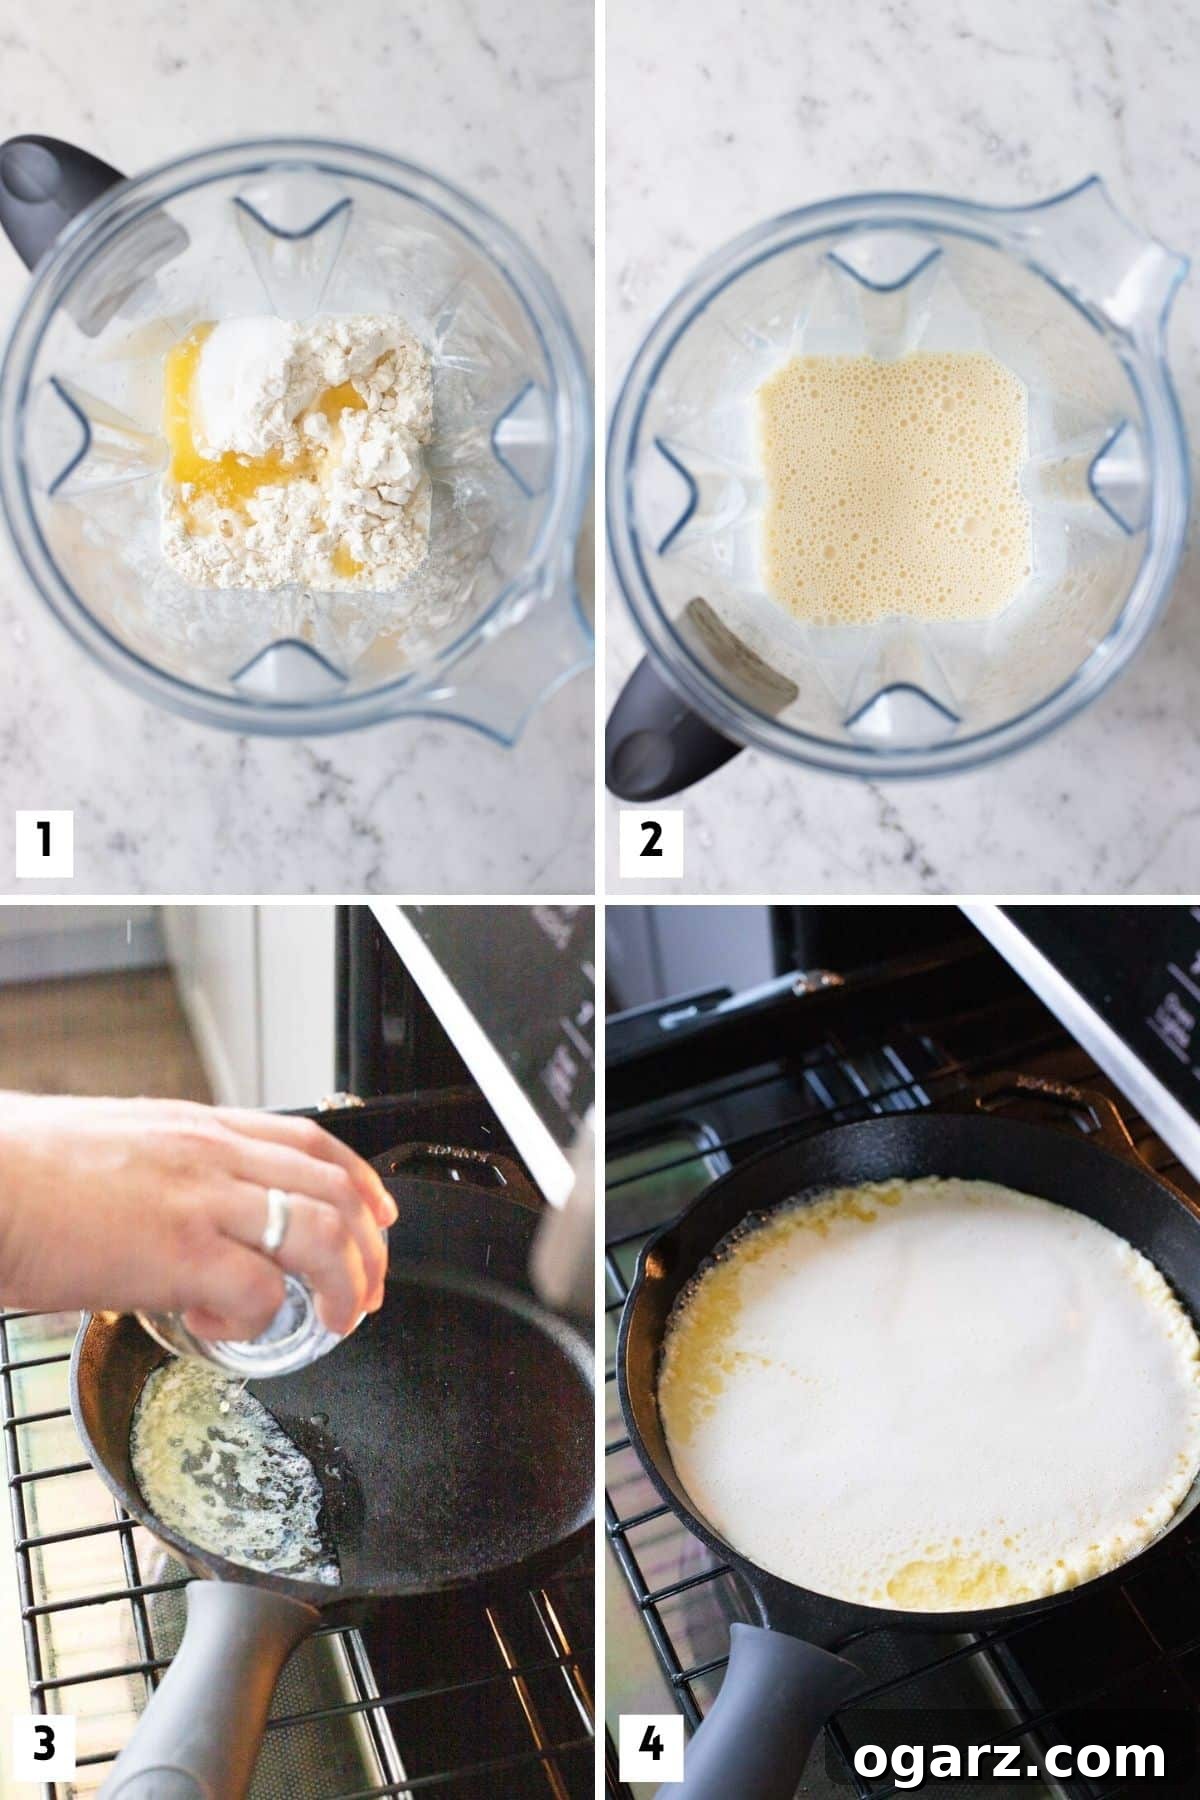
- Prepare Your Oven and Skillet: The first crucial step is to properly preheat your cooking vessel. Place a 10-inch cast-iron skillet (or other oven-safe pan) into your oven. Set the oven temperature to 400ºF (200ºC) and allow both the oven and the skillet to preheat for at least 10-15 minutes. This ensures the skillet is piping hot, which is fundamental for achieving that signature dramatic puff.
- Combine and Blend the Batter: While your oven and skillet are preheating, prepare the batter. In a blender, combine the all-purpose flour, room temperature eggs, milk, granulated sugar, vanilla extract, salt, and half of the measured melted butter. Blend on medium-high speed for approximately 20-30 seconds, or until the batter is completely smooth with no visible lumps. The vigorous blending also incorporates air, which contributes to the pancake’s rise.
- Pour into the Hot Skillet: Carefully remove the now hot skillet from the oven using oven mitts. Immediately pour the remaining melted butter into the hot skillet. Swirl the skillet gently to ensure the butter evenly coats the bottom and sides. Then, quickly pour the prepared batter directly into the center of the hot, buttered skillet.
- Bake to Golden Perfection: Place the skillet with the batter back into the preheated oven. Bake for approximately 25–27 minutes. Resist the urge to open the oven door during this time, as releasing heat can cause the pancake to deflate. You’ll know it’s ready when the edges are dramatically puffed, golden brown, and delightfully crispy, and the center is set.
- Finish and Serve Immediately: Once baked, carefully remove the Dutch Baby from the oven. Allow it to cool on a wire rack for just a few minutes (2-3 minutes) to prevent a soggy bottom and maintain its crispy texture. Then, slice it into wedges, garnish with your desired toppings, and serve while it’s still warm for the best experience.
Mastering Your Dutch Baby: Expert Tips for Consistent Success
Achieving the perfect Dutch Baby pancake is simple when you know a few tricks. These expert tips will help you ensure your pancake always comes out beautifully puffed, golden, and delicious.
- Bring Ingredients to Room Temperature: This is a crucial step for the best batter consistency and rise.
- To **quickly bring milk to room temperature**, heat it gently in the microwave for 20–30 seconds.
- To **quickly bring eggs to room temperature**, place them in a bowl of warm (not hot) water for 5-10 minutes. Room temperature eggs emulsify better with other ingredients, creating a smoother batter and a more consistent texture.
- Invest in a Cast-Iron Skillet: A good quality 10-inch cast-iron skillet is highly recommended. Cast iron retains and distributes heat exceptionally well, which is key for achieving those perfectly golden, dramatically puffed, and crispy edges. If you don’t have one, a regular 9×13 baking pan or any other oven-safe, heavy-bottomed skillet can be used, but the cast iron truly makes a difference.
- Always Preheat the Pan: This step is non-negotiable for success. The scorching hot pan creates an immediate burst of steam when the batter is poured in, causing the edges to puff up dramatically and quickly set, giving the Dutch Baby its characteristic shape and texture. Ensure the skillet is in the oven for at least 10-15 minutes during the preheating phase.
- Resist Opening the Oven Door: Once your Dutch Baby is baking, avoid peeking! Opening the oven door allows valuable heat to escape, which can cause the pancake to deflate and prevent it from reaching its full puffy potential. Trust the process and your oven.
- Cool on a Wire Rack: After baking, remove the pancake from the oven and carefully transfer it (still in the skillet if using cast iron, or carefully remove if using a baking dish) to a wire cooling rack. This allows air to circulate underneath, preventing steam from accumulating and making the bottom soggy. Nobody wants a soggy Dutch Baby!
- Don’t Overmix the Batter: While blending is important for smoothness, stop as soon as lumps disappear. Overmixing can develop the gluten in the flour too much, leading to a tougher pancake rather than a tender one.
No Blender? No Problem! Hand-Mixing Your Dutch Baby Batter
Don’t have a blender or prefer a more hands-on approach? No problem at all! You can easily prepare this delicious Dutch Baby batter by hand with just a whisk and a bowl. The process is slightly different but yields equally fantastic results.
To mix by hand, start by whisking the room temperature eggs vigorously with the milk in a large bowl until the mixture is light yellow, smooth, and no longer stringy. This step is important for incorporating air and breaking down the egg structure. Then, gradually add in the all-purpose flour, granulated sugar, vanilla extract, and salt. Continue to whisk vigorously until all the ingredients are well combined and no lumps of flour remain. Be sure to scrape down the sides of the bowl to ensure everything is incorporated. From there, simply proceed with the rest of the recipe instructions as outlined, pouring your hand-mixed batter into the preheated, buttered skillet.

Frequently Asked Questions About Dutch Baby Pancakes
While both are delicious, Dutch Baby pancakes and “regular” American-style pancakes have distinct characteristics. The most notable differences include:
- Batter Composition: Dutch Baby batter typically contains a higher ratio of eggs to flour and liquid compared to standard pancakes. This extra egginess contributes to its rich, custardy texture and distinctive flavor, often resembling a large, thin crêpe.
- Cooking Method: Traditional American pancakes are cooked individually on a griddle. Dutch Babies, on the other hand, are baked in a single, large piece in a hot oven, usually in a cast-iron skillet. The intense heat of the preheated skillet is what causes the pancake’s dramatic rise and puffy edges.
- Texture: A Dutch Baby features a unique dual texture: a thin, soft, and somewhat custardy center, surrounded by tall, airy, and crispy puffed edges. Regular pancakes are uniformly soft and fluffy throughout.
- Serving Style: Dutch Babies are typically served “family-style,” cut into wedges directly from the skillet, allowing everyone to add their desired toppings.
A Dutch Baby pancake offers a delightful flavor profile that marries the best elements of its pancake cousins. You’ll primarily taste the rich, classic buttery notes reminiscent of a traditional pancake. However, due to its higher egg content, it also carries a slightly more pronounced eggy flavor, similar to a crêpe or a rich custard. The touch of vanilla extract adds a subtle sweetness and aromatic depth. It’s a perfect flavor mashup that serves as an excellent base for both sweet and savory toppings, allowing its versatility to truly shine.
The impressive, theatrical rise of a Dutch Baby pancake is a result of two primary elements working in harmony:
1. The Super-Hot, Preheated Skillet: This is arguably the most critical factor. When the cold batter is poured into an already scorching hot cast-iron skillet, the liquid in the batter instantly turns to steam. This steam rapidly expands, forcing the batter upwards and outwards, creating those iconic puffed and crispy edges.
2. The Whipped Eggs in the Batter: Blending the batter vigorously (or whisking by hand) incorporates a significant amount of air into the eggs. As the pancake bakes, this trapped air expands further in the hot oven, contributing to the overall lightness and puffiness of the structure. The eggs also provide structural integrity, allowing the pancake to hold its puffed shape as it cooks.
While it’s best to bake a Dutch Baby immediately after preparing the batter for the most dramatic puff, you can prepare the batter up to an hour in advance and store it in the refrigerator. However, note that it might not rise quite as high as freshly made batter because the trapped air begins to dissipate over time. Always ensure the skillet is perfectly hot regardless of batter resting time.
This recipe is optimized for a 10-inch cast-iron skillet. Using a smaller pan might result in a thicker pancake that doesn’t puff as much, while a larger pan could yield a very thin pancake with less dramatic edges. Consistency with pan size is key for the best results.
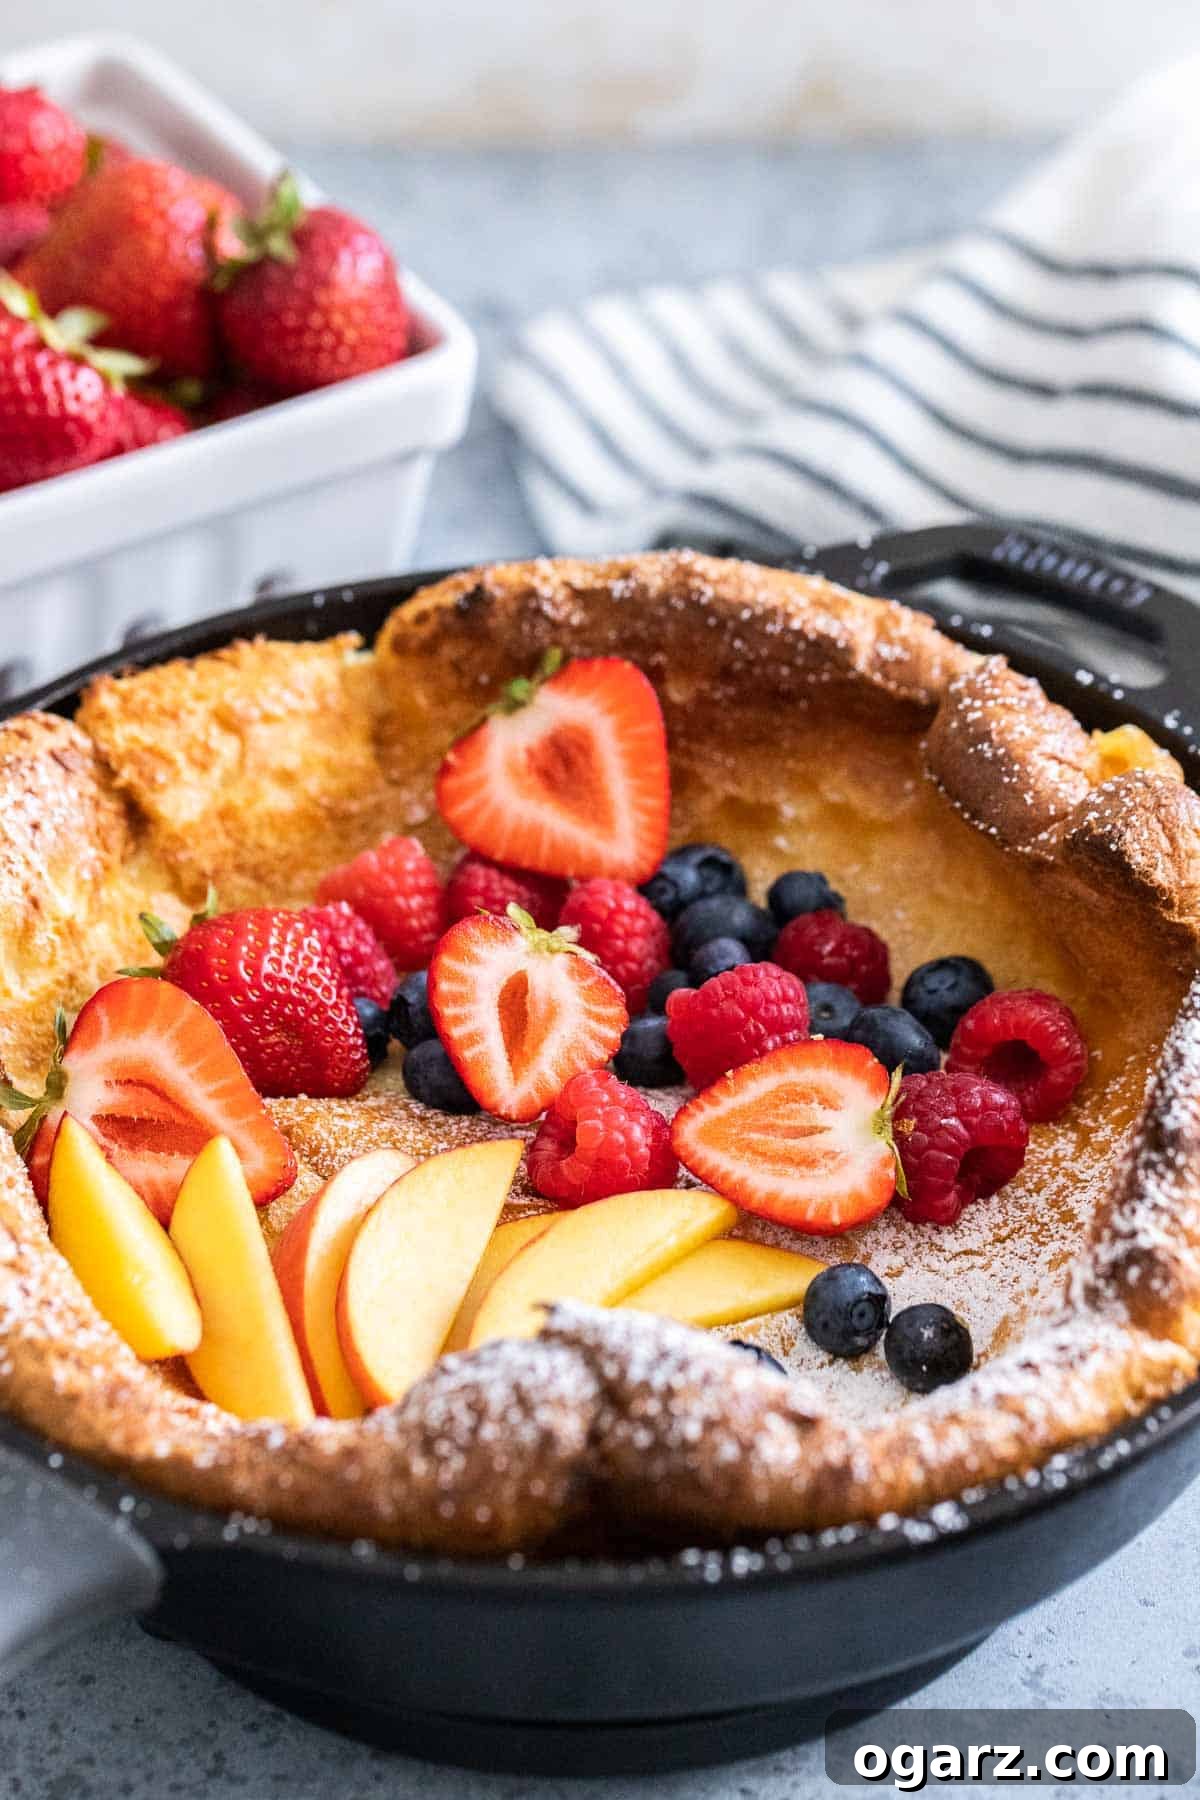
Delicious Ways to Serve Your Dutch Baby Pancake
The beauty of the Dutch Baby lies in its versatility as a culinary canvas. I highly recommend serving your Dutch Baby hot and fresh, directly from the oven, family-style. Simply cut it into wedges right in the skillet and let everyone customize their slice with an array of delectable toppings. It’s truly a dish that caters to every palate, whether you crave something sweet or savory!
Sweet Serving Suggestions:
For those with a sweet tooth, the possibilities are endless! Begin with a foundational dusting of confectioners’ sugar, then explore these delightful additions:
- Classic Syrups: A generous drizzle of pure maple syrup or honey.
- Fresh Fruit Medley: An abundance of fresh berries (blueberries, raspberries, strawberries are my personal favorites), sliced bananas, peaches, or thinly sliced apples.
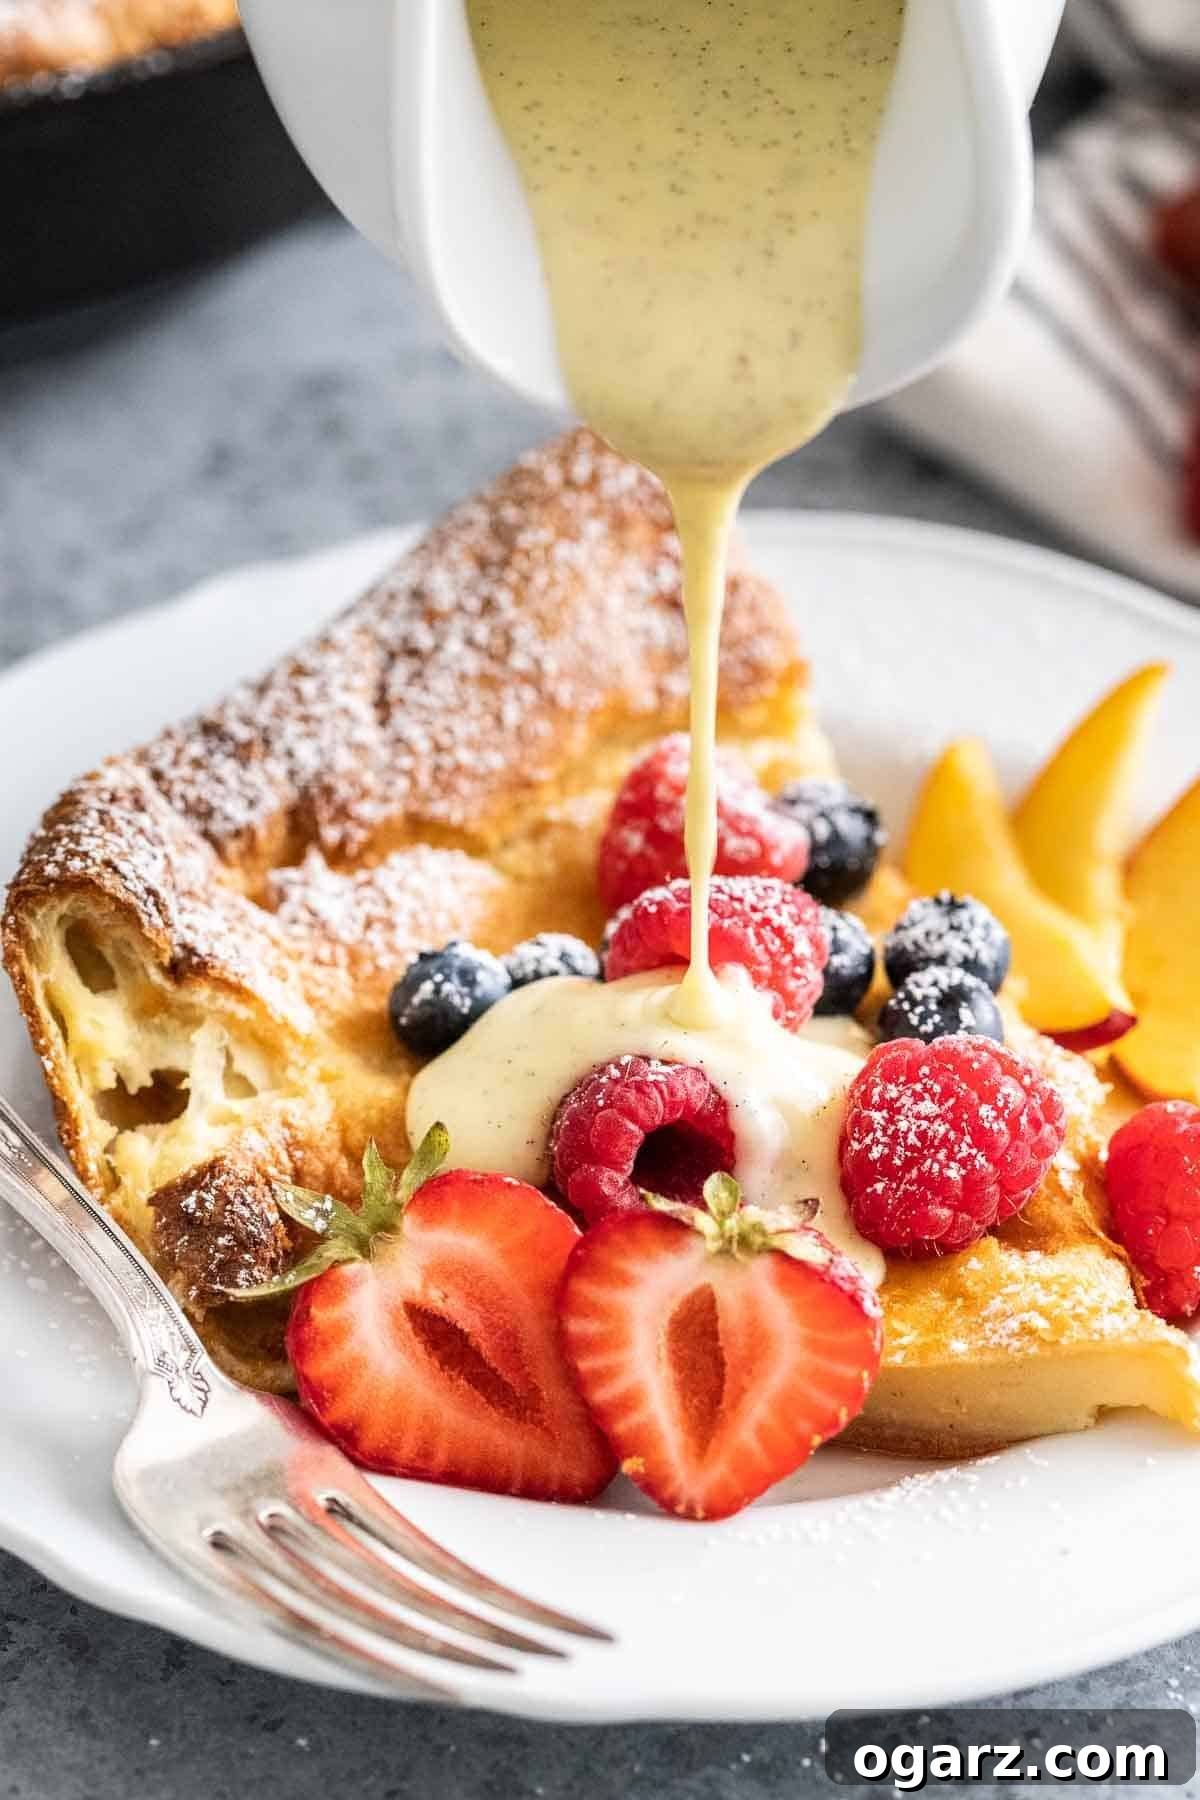
- Creamy Indulgences: A dollop of homemade whipped cream, a scoop of vanilla ice cream, or even a rich vanilla sauce for an extra touch of decadence.
- Fruit Preserves: A spoonful of your favorite jam or jelly, such as strawberry, apricot, or mixed berry.
- Nutty Crunch: A sprinkle of toasted chopped nuts like pecans or walnuts.
- Citrus Brightness: A squeeze of fresh lemon juice or a sprinkle of lemon zest, especially delicious with powdered sugar.
Savory Serving Suggestions:
Don’t limit your Dutch Baby to just sweet options! It also makes a fantastic base for savory meals. Think of it as a giant, airy popover or Yorkshire pudding. Some exciting savory ideas include:
- Herbal Freshness: A sprinkle of freshly chopped green onions, chives, or parsley.
- Cheesy Goodness: A generous amount of your favorite shredded cheese, such as cheddar, Gruyere, or a blend.
- Protein Power: Crumbled crispy bacon, cooked sausage, or even thinly sliced smoked salmon.
- Vibrant Veggies: Sliced avocado, sautéed mushrooms, caramelized onions, or roasted cherry tomatoes.
- Hearty Sides: A fried egg on top, a spoonful of crème fraîche, or a drizzle of hot sauce for a kick.
Storing and Reheating Your Dutch Baby Pancake
While a Dutch Baby is undeniably best enjoyed fresh from the oven, you can certainly store leftovers and reheat them. This makes it a convenient option for meal prepping or enjoying a quick breakfast later in the week.
A baked Dutch Baby will maintain its quality when stored in an airtight container in the fridge for 2–3 days. To best preserve its texture, allow the pancake to cool completely before transferring it to the container.
When it comes to reheating, the goal is to restore some of that lovely crispness without making it soggy. I highly recommend reheating in the oven or an air fryer for the best results:
- Oven Reheating: Preheat your oven to 300ºF (150ºC). Place the Dutch Baby pancake (or slices) directly on a baking sheet. Warm for 5-10 minutes, or until heated through and the edges begin to crisp up again.
- Air Fryer Reheating: If you have an air fryer, it’s an excellent tool for quick and crispy reheating. Preheat your air fryer to 300ºF (150ºC). Place the Dutch Baby slices in the air fryer basket in a single layer. Cook for 2-4 minutes, or until heated through and crispy.
I do not recommend microwaving your Dutch Baby pancake. While it will heat it up, the microwave will inevitably make it soft and soggy, losing all the desirable crispy texture that makes this dish so special.
More Delicious Breakfast & Brunch Recipes to Try
If you loved this Dutch Baby Pancake, you’re in for a treat! Explore more delightful breakfast and brunch recipes that are perfect for starting your day right or impressing guests. From quick air fryer solutions to decadent French toast, there’s something for everyone to enjoy.
Air Fryer
Air Fryer Toast
Breakfast & Brunch
Brioche French Toast
Air Fryer
Air Fryer Bacon
Breakfast & Brunch
Breakfast Burritos
Dutch Baby Pancake
Equipment
-
10-inch Cast Iron Pan
Ingredients
- 1 cup all-purpose flour
- 4 eggs, room temperature
- 1 cup milk, room temperature
- 1 tablespoon sugar
- 2 teaspoons vanilla extract
- ¼ tsp salt
- ¼ cup unsalted butter, melted
- powdered sugar, for dusting
Instructions
-
Put a 10-inch cast iron skillet in the oven and preheat the oven to 400 degrees F.
-
In a blender, combine the flour, eggs, milk, sugar, vanilla extract, salt, and half of the melted butter. Blend on medium-high speed until no lumps remain, about 20 seconds.
-
Carefully remove the skillet from the oven. Pour in the remaining butter and swirl it around to coat the skillet, then pour the batter into the hot skillet and put it back into the oven.
-
Bake until the Dutch baby is puffed and golden along the edges, about 24–27 minutes.
-
Remove the pancake from the skillet and place it on a cooling rack for a few minutes.
-
Dust with powdered sugar and cut into four wedges. Serve with berries, maple syrup, or vanilla sauce.
Notes
- To quickly bring the milk to room temperature, you can heat it in the microwave for 20–30 seconds.
- To quickly bring the eggs to room temperature, place them in a bowl with warm water.
- Use a cast-iron skillet. Cast iron cooks better than other materials, so you’ll get a better texture. If you don’t have a cast-iron skillet, a regular 9×13 baking pan can be used too.
- Don’t forget to preheat the pan! This is key for achieving those golden, fluffy edges. It should be in the oven for at least 10 minutes so it’s properly preheated.
- Don’t open the oven when you’re baking. This will allow heat to escape and will affect the texture of the pancake.
- When cooling the pancake, place it on a cooling rack. This gives the steam a place to escape, so the texture remains crispy. No one likes a soggy Dutch baby.
- A baked Dutch baby will last in an airtight container in the fridge for 2–3 days. To reheat, you can warm it in the oven or air fryer!