
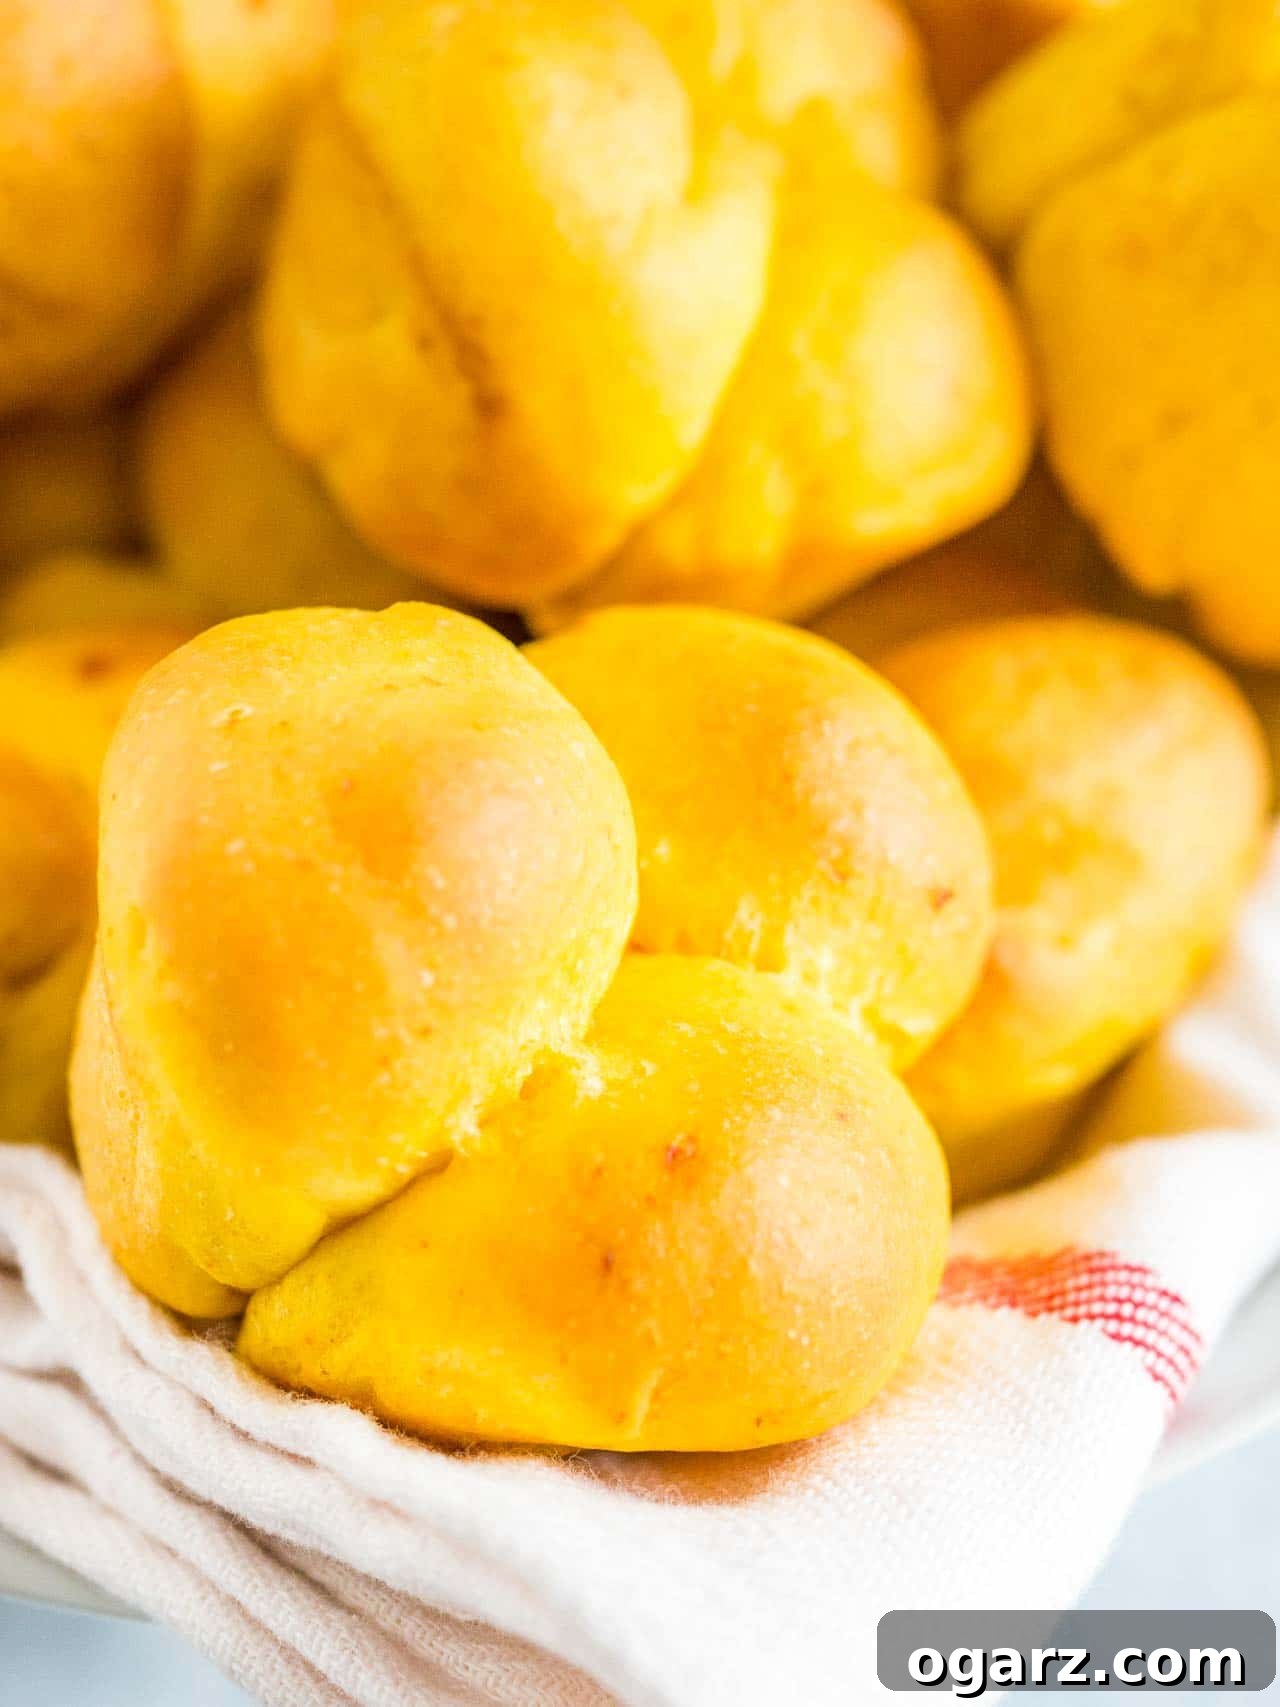
Welcome to your new favorite fall baking tradition: these incredibly Pumpkin Dinner Rolls! Imagine sinking your teeth into a roll that’s not just soft and fluffy, but also infused with the warm, inviting essence of pumpkin and a delightful savory hint of cheddar. These aren’t just any dinner rolls; they are a culinary celebration, perfect for elevating any meal from a simple weeknight dinner to a grand holiday feast like Thanksgiving.
This recipe has quickly become my indispensable go-to for autumn. It strikes the perfect balance between being special enough for the most important occasions, yet surprisingly easy to prepare even for novice bakers. Plus, they are wonderfully freezer-friendly, making holiday meal prep a breeze. The subtle sweetness of pumpkin combined with the unexpected savory note of shredded cheddar creates a harmony of flavors that will have everyone reaching for a second, or even a third, roll. Get ready to experience the ultimate comfort food that tastes like autumn in every bite!
Why These Pumpkin Cheddar Rolls Are Unforgettable
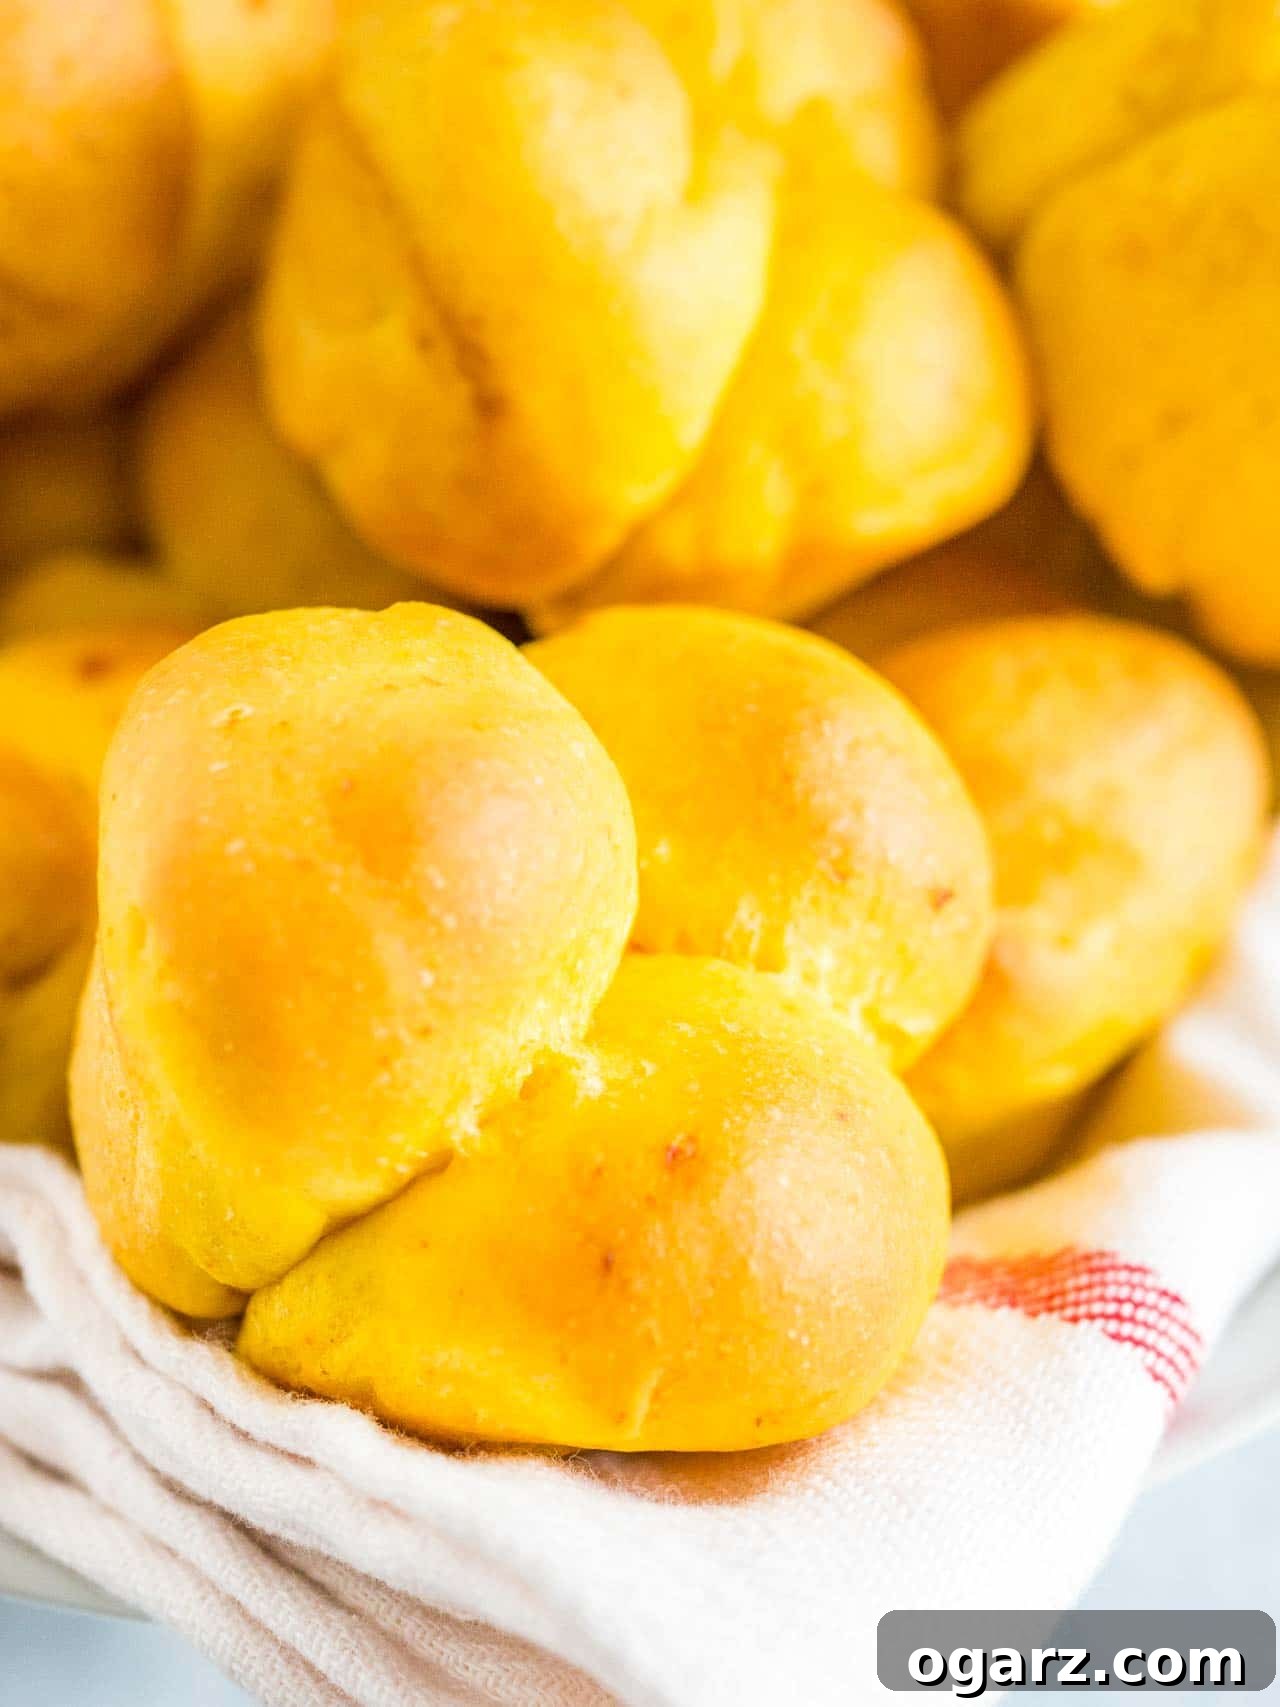
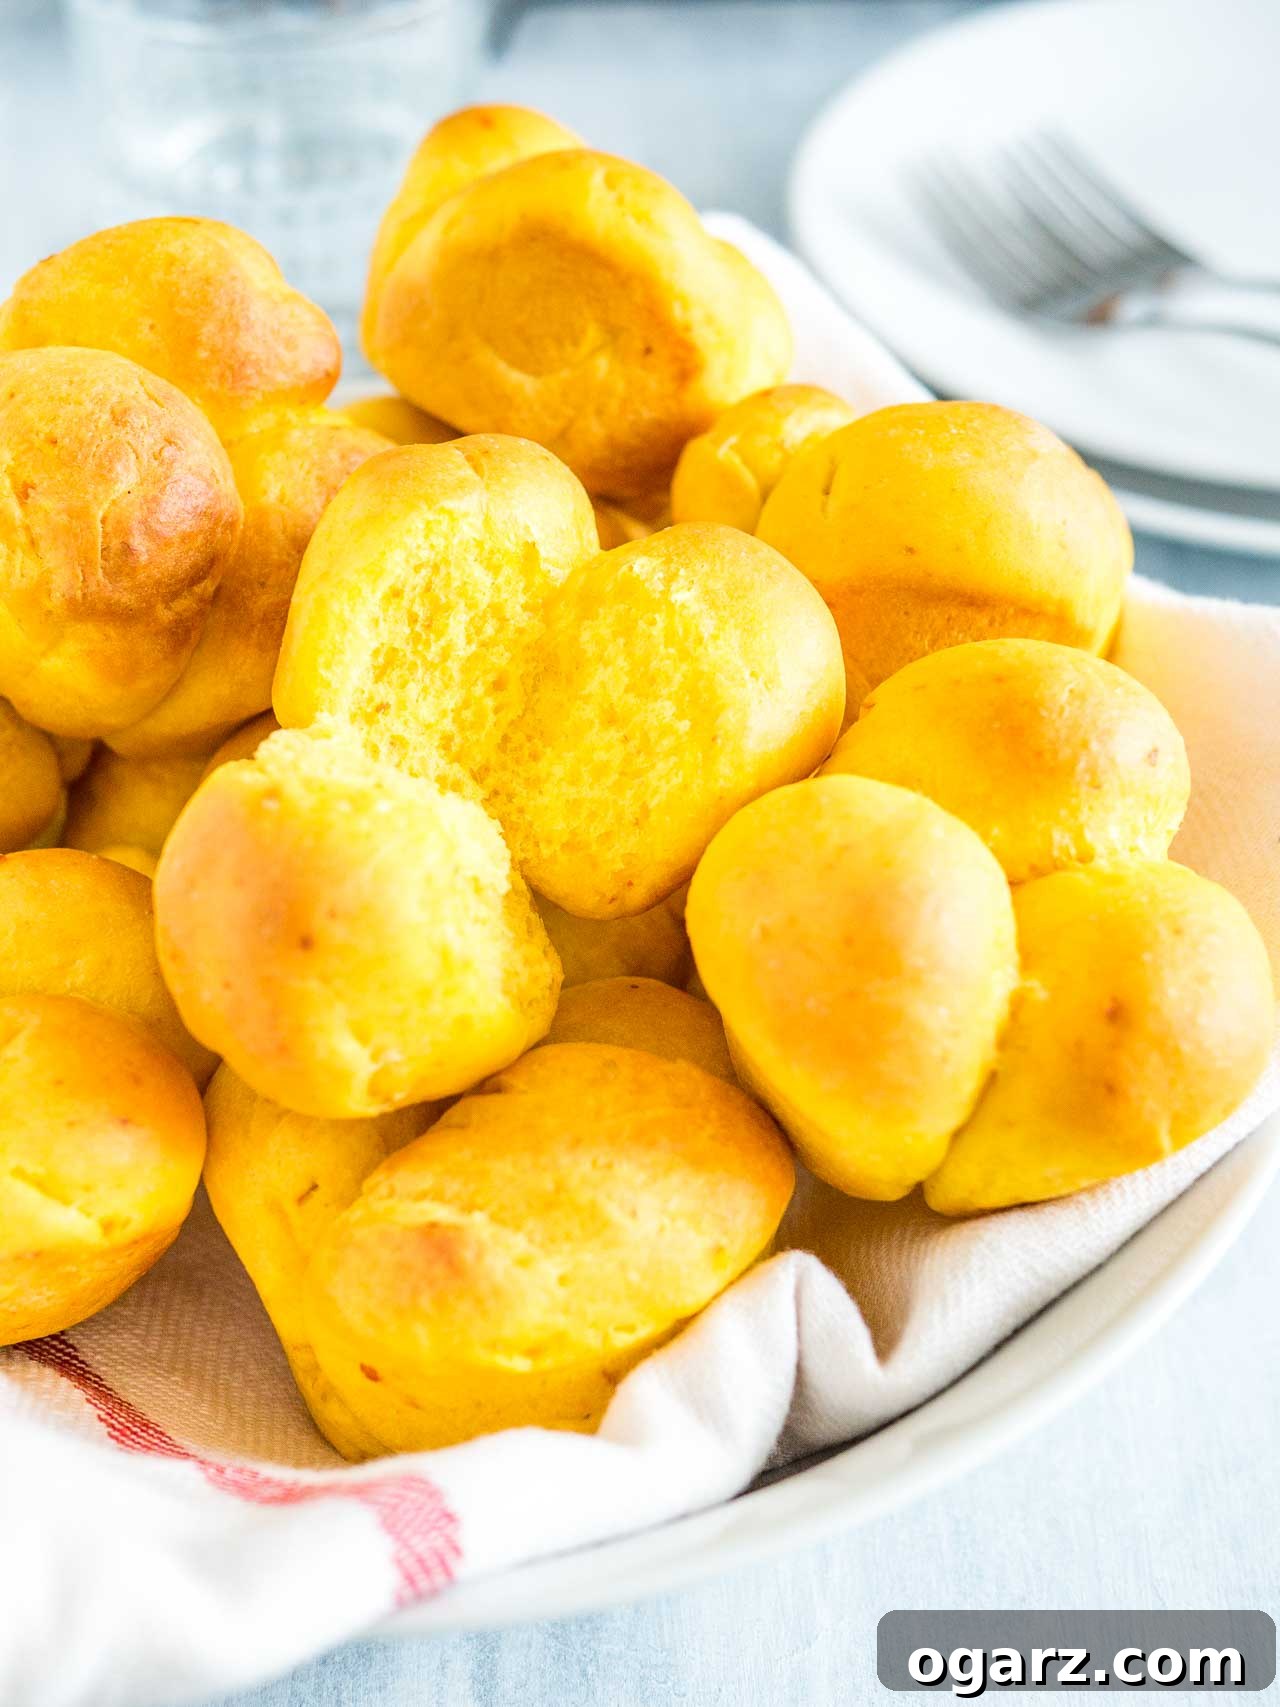
While a fresh batch of warm, homemade white bread is always a treat, these Pumpkin Dinner Rolls take the humble side dish to an entirely new level. Their exceptional softness and melt-in-your-mouth texture set them apart. The secret lies in the clever combination of pumpkin puree and shredded cheddar cheese. The pumpkin doesn’t just impart a gorgeous, natural golden hue; it also adds incredible moisture, ensuring each roll remains tender and light for days. The sharp cheddar, on the other hand, introduces a delightful savory depth, creating a balanced flavor profile that makes these rolls utterly irresistible.
But the allure doesn’t stop there. These rolls are designed for convenience, especially during busy holiday seasons. They are remarkably easy to make, even if you’re new to yeast baking. Once baked, leftovers freeze beautifully, allowing you to prepare them well in advance. Simply thaw and warm, and they’ll taste as good as freshly baked! This feature alone makes them an invaluable addition to your holiday menu, freeing up precious time when you need it most. My family devoured these rolls three times just last week – alongside roasted tomato soup, with a creamy butternut squash soup, and even as a delicious snack topped with Boursin cheese. The ease of reheating them from the freezer truly makes them a perfect time-saver!

Crafting the Perfect Cloverleaf Shape
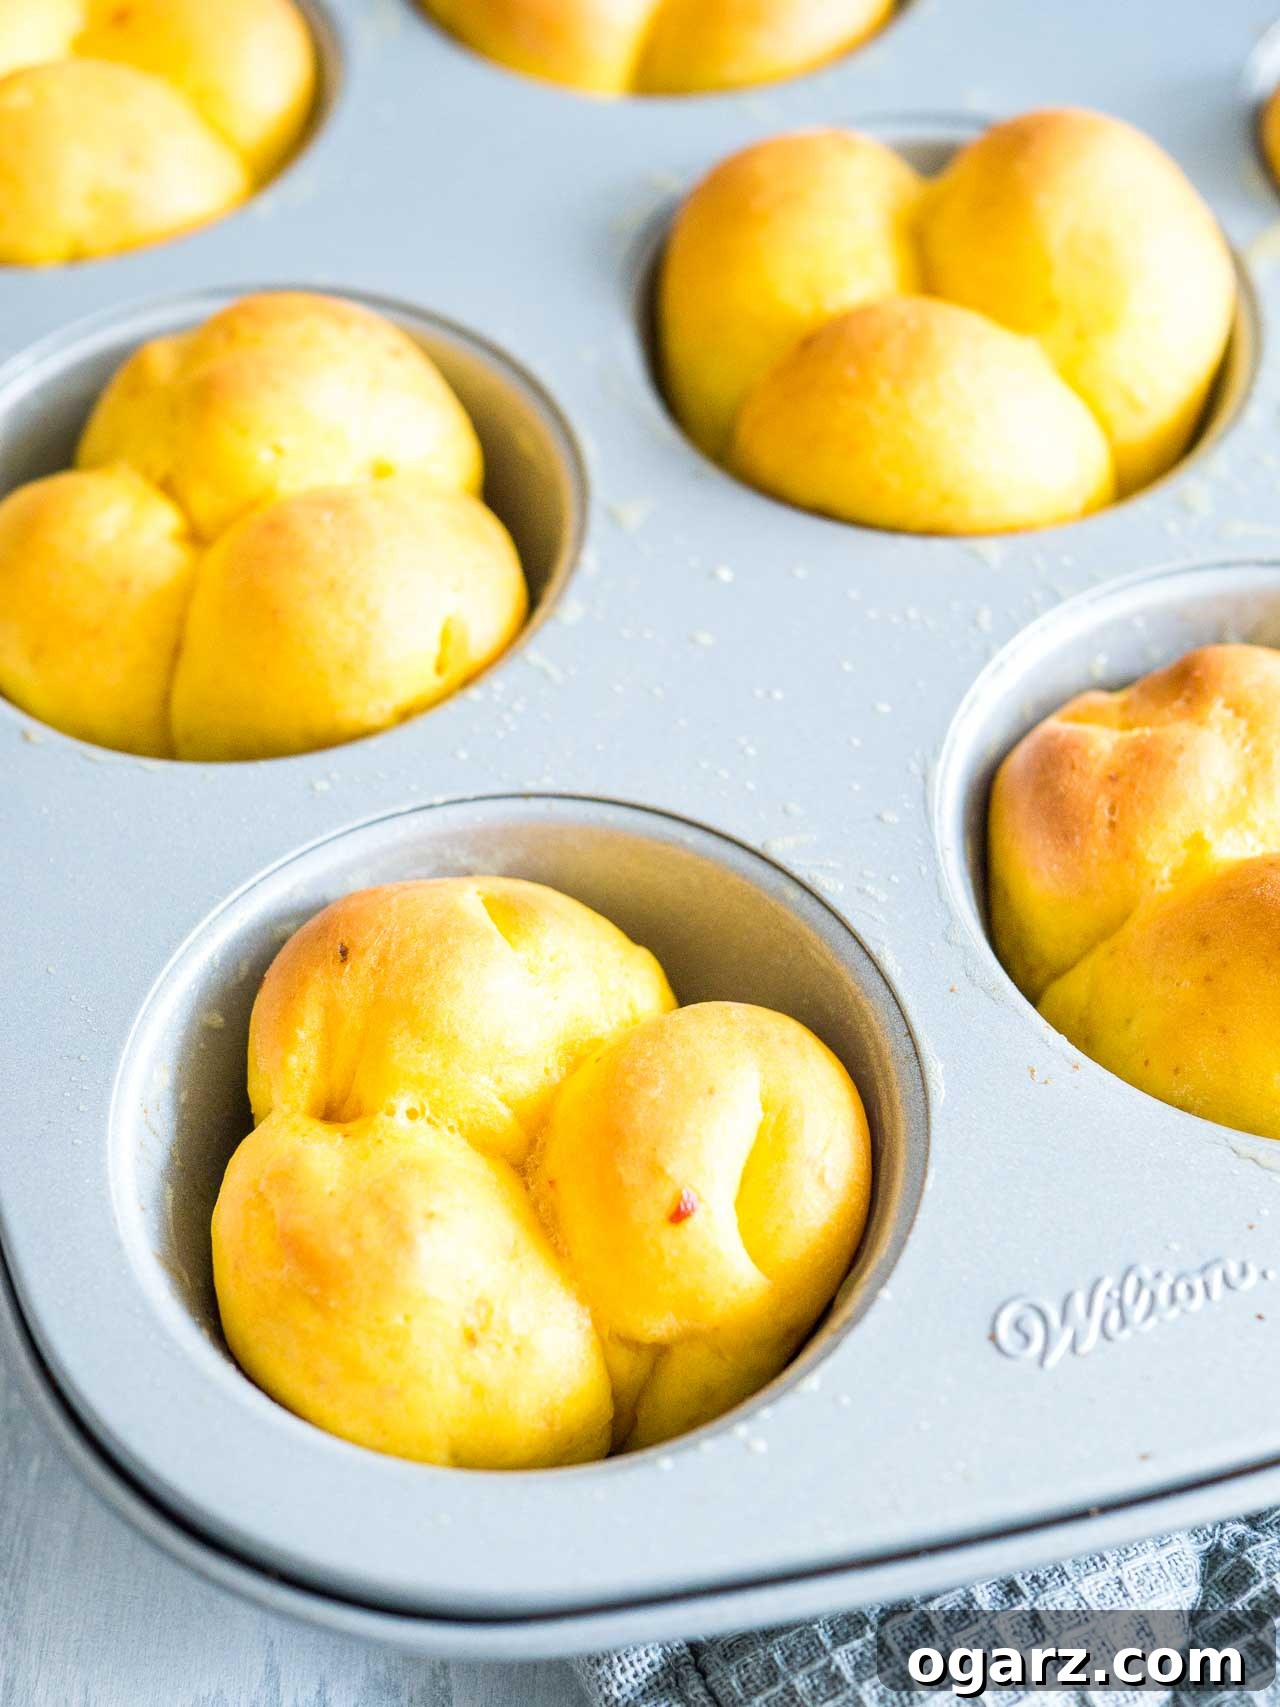
Beyond their incredible flavor and texture, these cheesy Pumpkin Rolls boast a light and airy consistency that’s simply divine. I wanted to give them a shape that not only looks appealing but is also practical for freezing and serving. That’s why I opted for the charming cloverleaf design. By forming smooth, small balls of dough and placing three into each muffin cup, you create individual rolls that easily pull apart, much like the beloved pull-apart bread. There’s something inherently satisfying about tearing into a warm, buttery roll, and the cloverleaf shape enhances this experience, making them fun to eat and share. Each segment offers a crispy exterior with a soft, pillowy interior, ensuring every bite is a textural delight.
Demystifying Yeast: Your Guide to Confident Baking
Many aspiring bakers feel a twinge of apprehension when it comes to working with yeast, and if that sounds like you, rest assured, you’re not alone. Yeast can seem intimidating, but there’s truly nothing to fear. With a few simple guidelines, you’ll discover the immense satisfaction of pulling a fresh loaf of bread or a batch of homemade rolls straight from your oven. Baking with yeast is an incredibly rewarding experience, and it’s easier than you might think, even if this is your very first time!
Expert Tips for Working with Yeast:
- Storage is Key: Dry yeast has a surprisingly long shelf life, especially when stored correctly. For maximum longevity, keep your dry yeast in the freezer. It can last almost indefinitely when frozen, ensuring you always have active yeast on hand for your baking adventures.
- Cultivate a Yeast-Friendly Kitchen: Believe it or not, the more you bake with yeast, the more “yeast-friendly” your kitchen environment can become. Consistency helps too – using the same bowls for your yeast dough can sometimes encourage a quicker, more robust rise. Think of it as developing a familiar and inviting space for your microscopic helpers!
- Temperature Matters: This is perhaps the most crucial rule for successful yeast activation. Always ensure that any liquid you add to your yeast, such as milk or water, is lukewarm – not hot. Liquid that is too hot will kill the yeast, preventing your dough from rising. Aim for a temperature around 105-115°F (40-46°C), which feels pleasantly warm to the touch, like a baby’s bathwater, but never scalding.
- Testing for Activity (Proofing): While instant yeast generally doesn’t require proofing before mixing with other ingredients, it’s a wise step if you’re uncertain about your yeast’s freshness. To proof, simply dissolve the yeast and a small pinch of sugar (which acts as food for the yeast) in lukewarm milk or water. Let this mixture sit for 5-10 minutes. If the yeast is active and healthy, it will begin to bubble up and form a foamy layer on the surface, indicating it’s ready to work its magic. If no bubbles appear, your yeast may be old or inactive, and it’s best to start with a fresh packet.
The Baking Journey: From Dough to Delightful Rolls
Once your yeast is happily bubbling, the real fun begins! In the bowl of your stand mixer, fitted with a dough hook, combine the activated yeast mixture with the remaining ingredients: flour, softened butter, salt, pumpkin puree, and shredded cheddar cheese. Begin kneading at a medium speed. Watch as the ingredients transform, coming together into a cohesive mass. Continue kneading until the dough is smooth, elastic, and pulls away cleanly from the sides of the bowl. This usually takes about 5-7 minutes. For an extra touch and to truly feel the dough, I like to turn it out onto a lightly floured surface and knead it by hand for a short moment. The warmth from your hands helps to further develop the gluten, making the dough even more pliable and elastic.
Next, place your beautifully kneaded dough into a lightly greased bowl, turning it once to coat all sides, then cover it with plastic wrap or a clean kitchen towel. Now, it’s time for the first rise, where the yeast works its magic, causing the dough to double in size. I have a little secret for ensuring a perfect rise: I like to place the bowl in my bed, tucked snugly under the covers! The ambient warmth provides an ideal environment. Alternatively, you can place it in a slightly warm, draft-free oven (turned off, of course!) or a warm spot in your kitchen. This first rise typically takes about 1 hour, or until the dough has noticeably doubled.
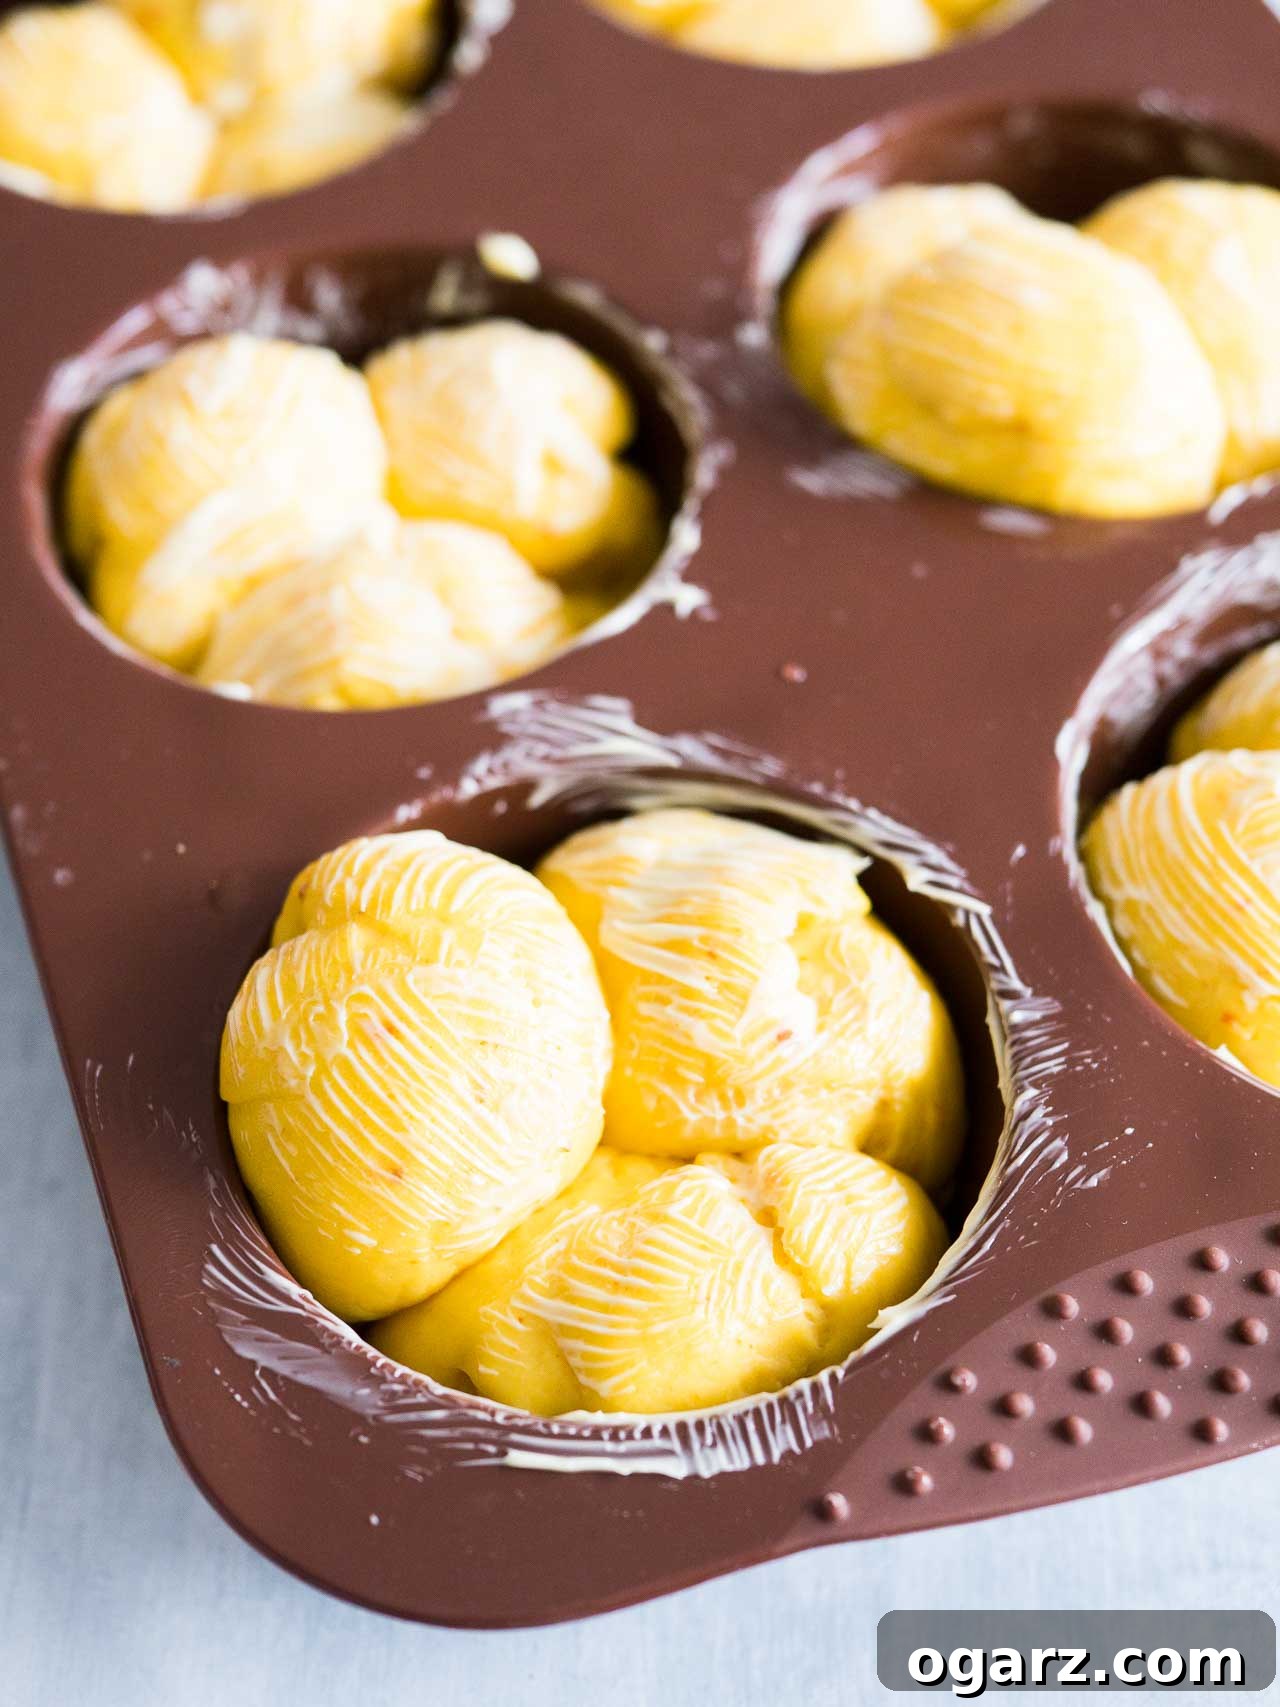
Once risen, gently punch down the dough to release the air. Lightly grease two 12-count muffin pans with butter. Divide the dough into small, approximately 1-inch diameter balls. Place three of these small dough balls into each muffin cup to create the charming cloverleaf shape. Brush the tops of these unbaked rolls generously with melted butter – this contributes to their golden color and rich flavor. Now, allow them to rise for a second time. This final proofing takes place while your oven preheats. For my oven, reaching 375°F (190°C) takes about 20 minutes, which is usually just enough time for the dough balls to puff up beautifully in their muffin cups.
Bake the rolls for 16-20 minutes, or until their tops are gloriously golden brown. The aroma filling your kitchen will be absolutely incredible! As soon as they emerge from the oven, I recommend giving them a second brush with melted butter. This not only enhances their glossy appearance but also adds another layer of delicious, buttery flavor, making them even more tender and soft. These Pumpkin Dinner Rolls are undeniably special – elegant enough for festive holiday tables at Halloween or Thanksgiving, yet comforting and simple enough to grace your everyday dinner spread. Prepare to impress!
Serving Suggestions & The Secret to Freshness
These incredible pumpkin dinner rolls are versatile companions to so many meals. Naturally, they shine brightest during the autumn and winter months, making them perfect alongside roasted turkey, ham, or a hearty pot roast for your holiday dinners. Beyond the main course, consider serving them with warming bowls of chili, beef stew, or any creamy soup – their ability to soak up delicious broths is unmatched. For a simple pleasure, split them open, spread with extra butter or a dollop of cream cheese for a comforting breakfast or an afternoon snack. The savory cheddar makes them particularly good with more robust, savory dishes, balancing out richer flavors.
Make-Ahead & Freezing Wisdom
One of the best features of this recipe is its make-ahead and freezer-friendly nature, a true lifesaver for busy hosts and meal planners. If you’re preparing for a special occasion, you can assemble the rolls in the muffin pan, cover them tightly with plastic wrap, and refrigerate them overnight after the first rise. On baking day, simply remove them from the fridge about 30 minutes before baking to allow them to come to room temperature and complete their second rise before popping them into the preheated oven.
For even greater convenience, fully baked leftover Pumpkin Dinner Rolls freeze wonderfully. Allow them to cool completely, then store them in an airtight freezer bag or container. When you’re ready to enjoy them, simply take them out of the freezer a few hours in advance to thaw. For that “freshly baked” experience, reheat them in a 300°F (150°C) oven for about 5-10 minutes, or until warmed through and soft. They’ll emerge tasting as if they were just pulled from the oven, making them perfect for unexpected guests or quick side dishes.
How to Make Homemade Pumpkin Puree
While canned pumpkin puree is convenient, making your own at home can elevate the flavor and freshness of your rolls, especially if you have access to good quality pumpkins. I personally love using Hokkaido pumpkins for their naturally sweet flavor and vibrant color, but this method works beautifully with any pie pumpkin or winter squash.
- Prepare the Pumpkin: Begin by cutting a pumpkin in half or quarters, depending on its size. Using a spoon or ice cream scoop, thoroughly scrape out all the seeds and fibrous pulp from the center.
- Roast for Tenderness: Place the pumpkin pieces, cut-side down, on a baking sheet. Roast them in a preheated 350°F (180°C) oven for 45-60 minutes. The pumpkin is ready when it’s fork-tender and the skin begins to soften. Roasting brings out the natural sweetness of the pumpkin.
- Puree to Perfection: Once cooled slightly, peel off the soft skin (it should come off easily). Transfer the roasted pumpkin flesh to a food processor or use a handheld blender. Process until completely smooth. If your puree appears too thick or dry, add a tablespoon or two of water until you reach the desired consistency.
- Store or Freeze: Your homemade pumpkin puree is now ready to use immediately in this dinner roll recipe or other pumpkin delights. For longer storage, freeze the puree in 1-cup portions. This measurement is incredibly convenient, as most recipes, including this one, call for around 1 cup of pumpkin puree, making future baking sessions even quicker.
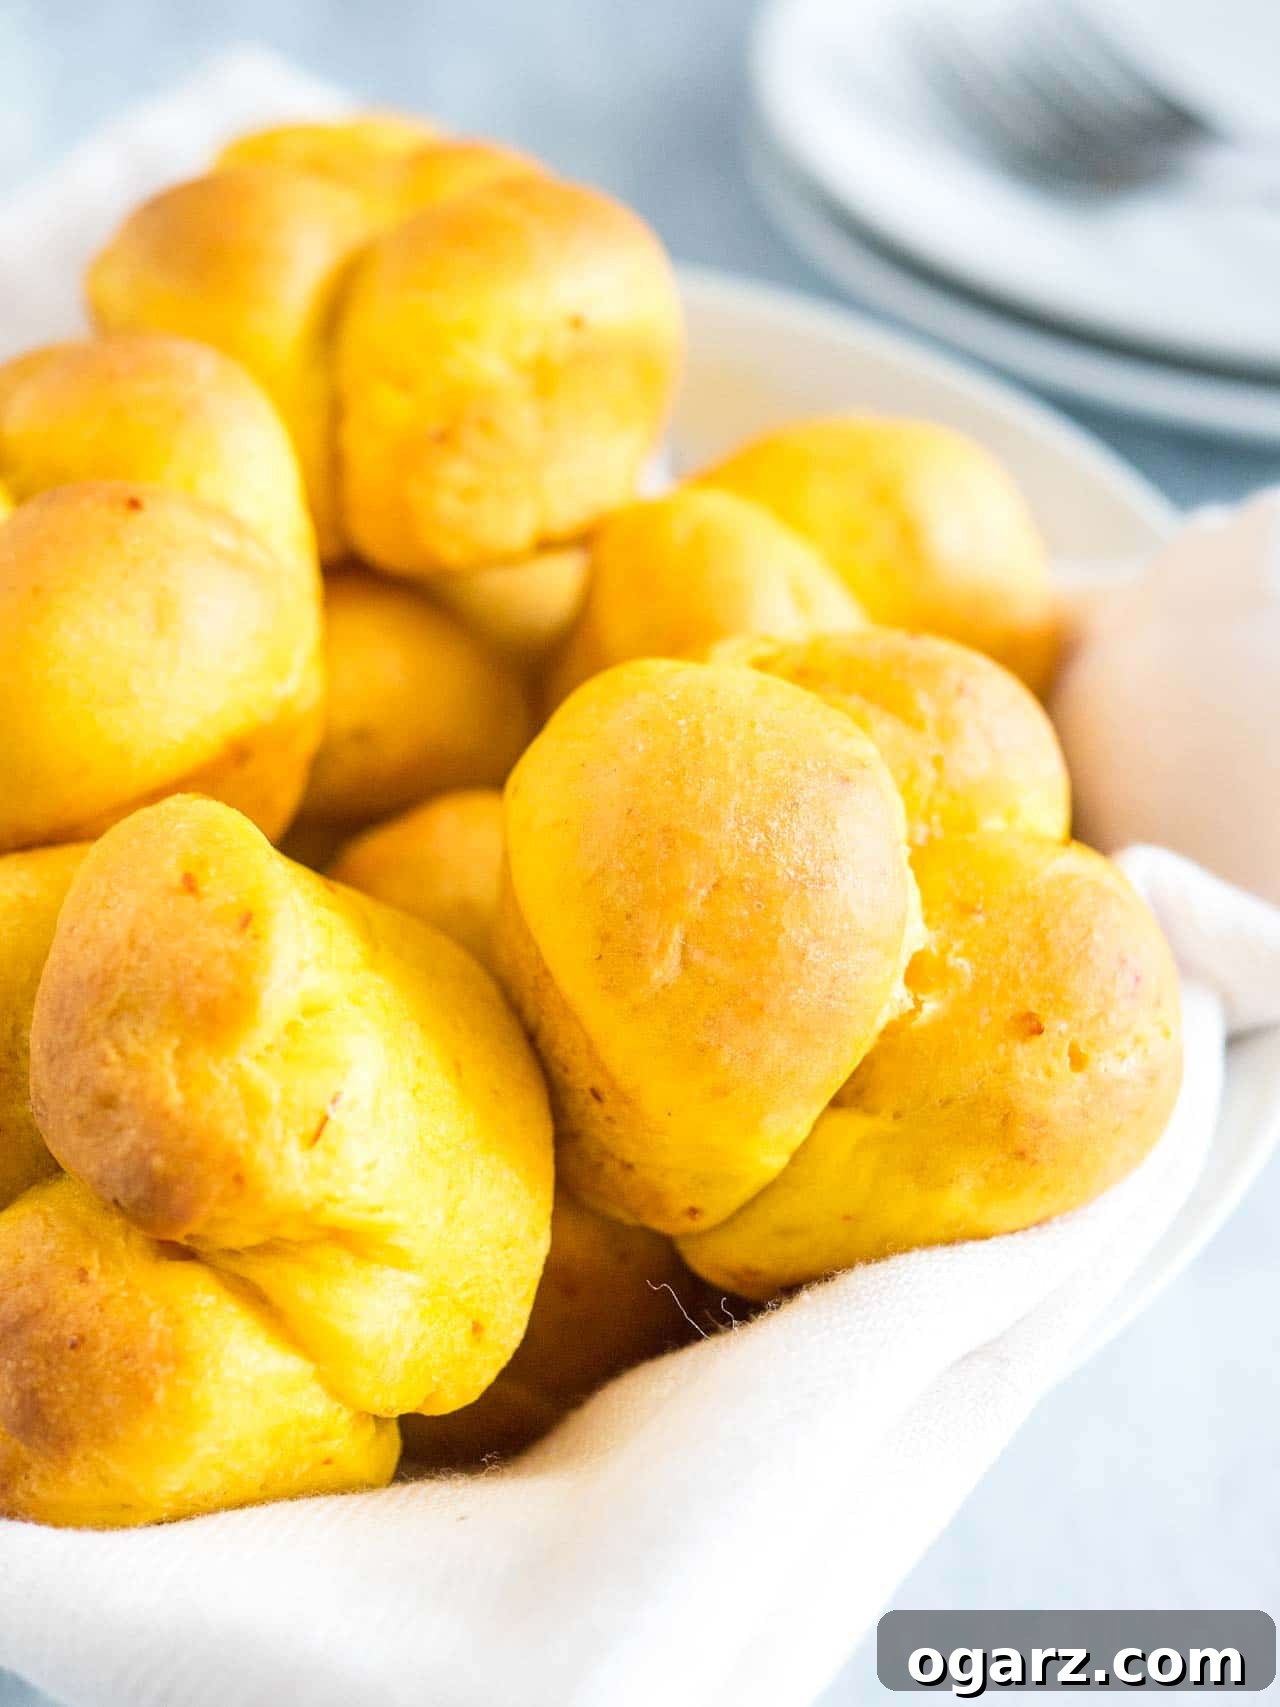
I sincerely hope you and your loved ones enjoy this go-to fall pumpkin dinner roll recipe as much as my family and I do. It truly brings a taste of autumn warmth and comfort to any table.
More Delightful Pumpkin Recipes for Fall
- Pumpkin Chocolate Chip Muffins
- Pumpkin Bundt Cake with Rum Glaze and Pecans
- Pumpkin Spice Muffins
- Easy Pumpkin Bread
- Pumpkin Cream Cheese Muffins
Essential Tools for Baking Success
While you don’t need a professional kitchen setup, having the right tools can make your baking experience smoother and more enjoyable. For these pumpkin dinner rolls, a good muffin pan is key:
Muffin Pan: A high-quality muffin pan is essential for achieving perfectly shaped cloverleaf rolls. I particularly love muffin pans that come with a lid, as they make transporting baked goods incredibly easy. Furthermore, a non-stick coating is a game-changer for cleaning; everything simply slides right off, making cleanup a breeze.
Pumpkin Dinner Rolls
By: Julia Foerster
Pumpkin Dinner Rolls, made with savory Cheddar cheese, are incredibly soft and fluffy! This recipe is perfect for holiday parties, easy to make, and freezes beautifully for convenience.
Prep Time: 20 minutes
Cook Time: 20 minutes
Proofing Time: 1 hour
Total Time: 1 hour 40 minutes
Servings: 24 rolls
Ingredients
- 1 ½ cups milk, lukewarm
- 2 tbsp sugar
- 2 ¼ tsp instant dry yeast
- 4 cups all-purpose flour
- 4 tbsp unsalted butter, room temperature
- 1 tsp salt
- 1 cup pumpkin puree
- ¾ cup shredded cheddar cheese
Instructions
- In the bowl of a stand mixer fitted with the dough hook, dissolve the sugar in the lukewarm milk. Sprinkle the yeast over the milk and stir gently. Let it sit for 3 minutes until light and foamy.
- Add flour, 3 tbsp butter, salt, pumpkin puree, and shredded cheddar cheese. Knead at medium speed until the dough is smooth and elastic.
- Turn out the dough onto a lightly floured surface and knead for a few more minutes by hand.
- Place dough in a greased bowl, cover, and let rise in a warm place for about 1 hour until doubled in size.
- Lightly grease two 12-count muffin pans with butter. Set aside.
- Punch down the dough. Break off small pieces and roll into balls (about 1-inch diameter). Place three dough balls into each muffin cup.
- Cover the muffin pans loosely with plastic wrap and let rise in a warm, draft-free area until doubled, about 20-30 minutes.
- Meanwhile, preheat your oven to 375°F (190°C).
- Brush the tops of the dinner rolls with butter and bake for 16-20 minutes until the tops are golden brown. Take the rolls out and brush with more butter, if desired, for extra shine and flavor.
- Serve warm and enjoy!
Notes
- Make-Ahead Note: The assembled muffin pans can be wrapped in plastic wrap and refrigerated overnight. Let the dough come to room temperature for 30 minutes before baking to ensure a good rise.
- Freezing: Leftover Pumpkin Dinner Rolls freeze exceptionally well. Take them out of the freezer a few hours before you plan to serve them to thaw. Reheat them in the oven at 300°F (150°C) for about 5-10 minutes, or until thoroughly warmed.
- Dry yeast will last almost indefinitely when frozen.
- The more you bake with yeast, the more ‘yeast-friendly’ your kitchen will become, often leading to better dough rises. Always using the same bowls for yeast dough can also encourage quicker rising.
- Ensure the liquid you add is lukewarm, not hot, as excessive heat will kill the yeast.
- While instant yeast typically doesn’t need to be activated, if you are unsure about its freshness, dissolve the yeast with a little sugar in lukewarm milk/water and let it sit for a few minutes. If active, it will bubble up.
Nutrition
Calories: 124kcal | Carbohydrates: 19g | Protein: 4g | Fat: 4g | Saturated Fat: 2g | Polyunsaturated Fat: 0.2g | Monounsaturated Fat: 1g | Trans Fat: 0.1g | Cholesterol: 10mg | Sodium: 142mg | Potassium: 72mg | Fiber: 1g | Sugar: 2g | Vitamin A: 1707IU | Vitamin C: 0.4mg | Calcium: 50mg | Iron: 1mg