
The Ultimate Guide to Perfectly Soft and Chewy Butterscotch Cookies
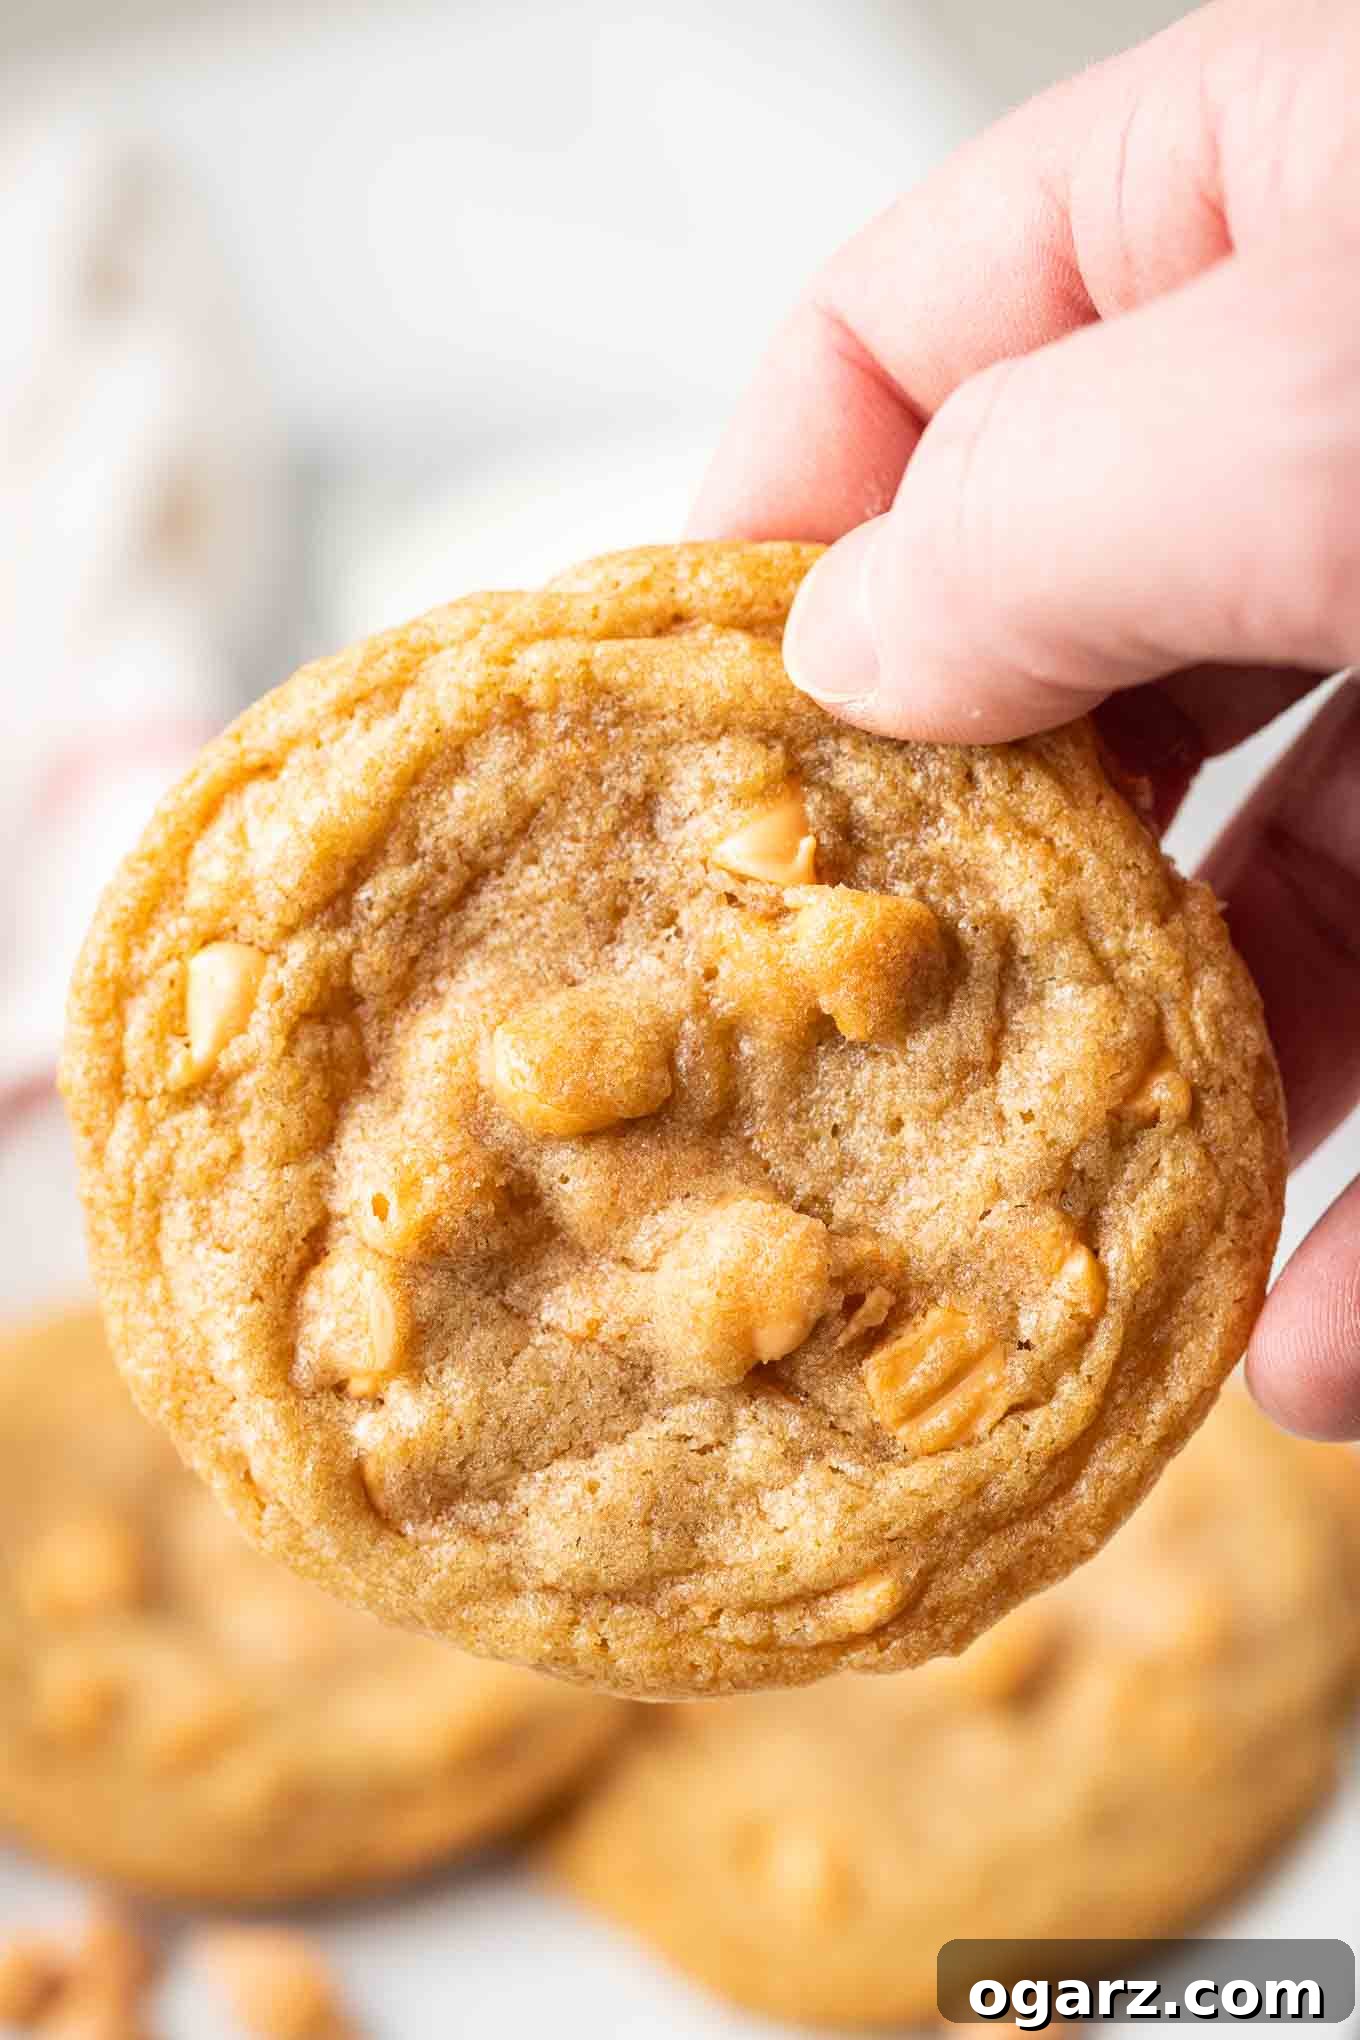
There’s something truly magical about a freshly baked cookie – that perfect blend of warmth, sweetness, and comforting aroma. Among the vast universe of delightful treats, Butterscotch Cookies hold a special place. These aren’t just any cookies; they’re an irresistible symphony of soft, chewy texture and rich, caramel-like butterscotch flavor, crafted with only a handful of everyday ingredients. Imagine whipping up a batch of these golden discs of happiness in no time, with a prep process so quick you’ll wonder why you haven’t made them sooner. After a mere 20 minutes chilling in the freezer, your dough is ready to transform into pure bliss. This simple and easy cookie recipe promises a delightful experience for both the baker and the lucky recipients.
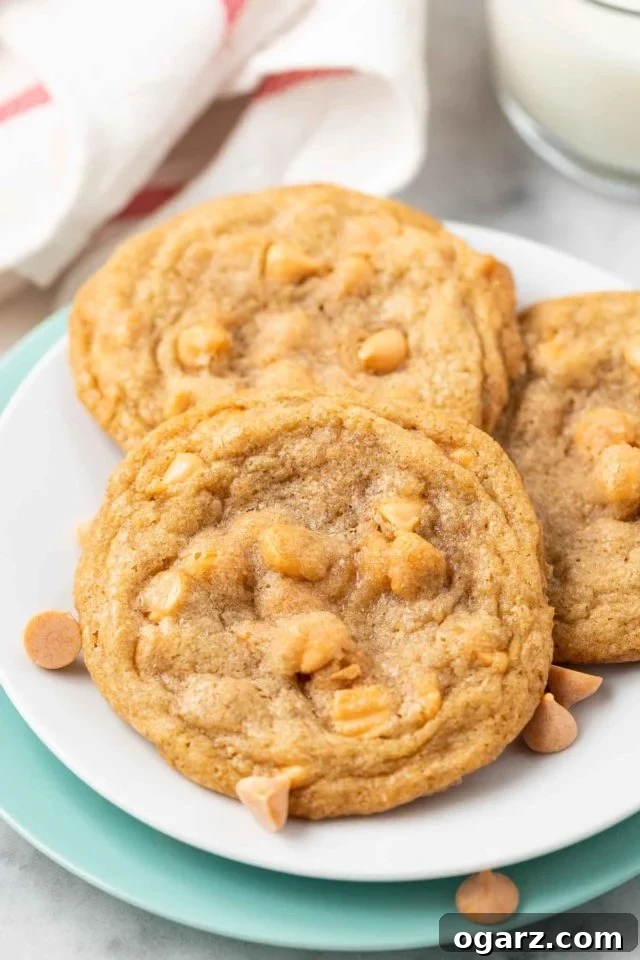
In our home, a plate of homemade cookies is a cherished counter staple, always ready to accompany a cold glass of milk for a perfect dessert or an afternoon pick-me-up. While we often indulge in favorites like our rich Nutella Cookies, elegant Linzer Cookies, or charming Valentine’s Day Chocolate Sugar Cookies (which make fantastic edible gifts!), these butterscotch gems continually emerge as a crowd-pleaser. They embody everything you crave in a classic cookie: ease of preparation, familiar ingredients, and a taste that transports you straight back to childhood.
Why Butterscotch Cookies Are an All-Time Favorite
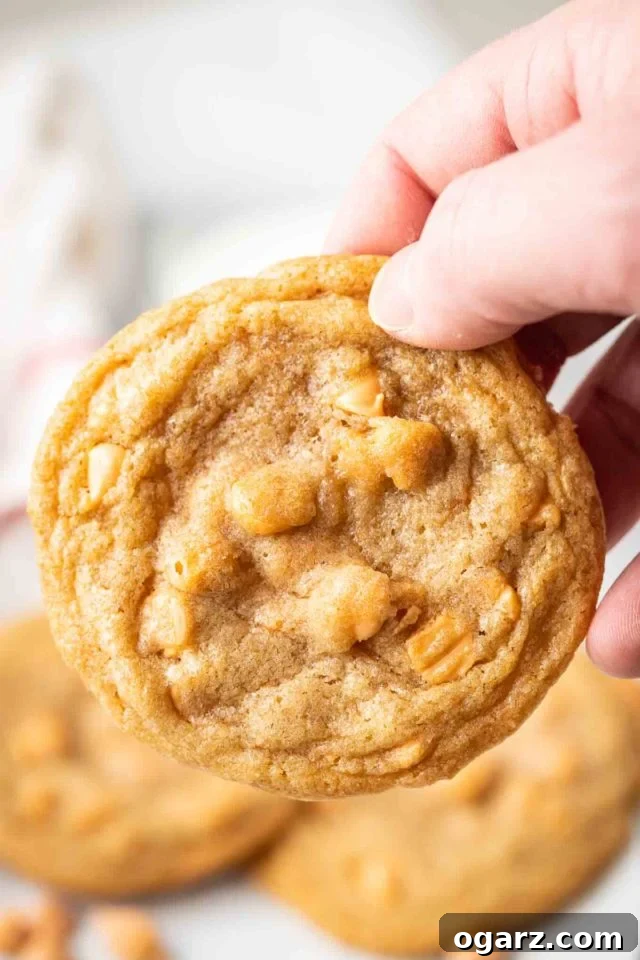
Butterscotch Cookies are not just a recipe; they’re a baking revelation. They consistently rank as one of my absolute favorite cookie recipes for countless reasons. The ingredients required are almost always on hand in my pantry – think butter, sugar, flour, eggs, and, of course, those delectable butterscotch chips. This makes them the ultimate last-minute treat to bake when unexpected friends or family drop by. There’s no need for a special grocery run; pure delight is just a few steps away.
Who can resist the allure of a gloriously chewy and soft cookie, still warm from the oven? The texture is paramount, offering that satisfying give with every bite. To elevate the experience even further, I sometimes like to introduce a playful twist by adding a mix of butterscotch chips and chocolate chips. This combination creates an even more indulgent flavor profile, a symphony of rich caramel and deep cocoa that’s truly unforgettable. For those who prefer smaller, more manageable bites, transforming the dough into mini cookies is a fantastic idea, perfect for portion control or a charming platter. These versatile butterscotch cookies are truly perfect for every occasion, whether it’s a fun activity to enjoy with kids on a rainy afternoon or an elegant party favor to send home with your grateful guests. Their universal appeal makes them a star at any gathering, promising smiles and satisfied palates.
Crafting the Perfect Butterscotch Chip Cookies: The Secret to Success
Achieving that coveted soft and chewy texture in your Butterscotch Chip Cookies isn’t just about mixing ingredients; it’s about understanding the foundational elements and techniques that make them truly exceptional. The fundamental secret lies in a trio of key components: using real, high-quality butter, the perfect balance of brown sugar, and allowing the cookie dough to chill properly before baking. These steps are non-negotiable for anyone aspiring to bake the best butterscotch cookies that boast an incredible chewiness and a delightful softness.
Real butter contributes significantly to the cookie’s rich flavor and helps create that tender, melt-in-your-mouth quality. Brown sugar, with its molasses content, is crucial for moisture and chewiness, giving the cookies a deep, caramelized note that granulated sugar alone cannot provide. But perhaps the most overlooked, yet vital, step is chilling the dough. This essential resting period in the freezer or refrigerator prevents the cookies from spreading too much in the oven, ensuring they maintain their shape and develop that desirable thick, chewy center. Without adequate chilling, your cookies risk turning out flat and crispy, losing the very characteristics that make butterscotch cookies so beloved. By embracing these core principles, you’re well on your way to baking a batch of butterscotch cookies that will be the envy of every cookie connoisseur.
Mastering Your Butterscotch Cookie Bake: Expert Tips & Tricks for Scratch Baking
Baking delicious butterscotch cookies from scratch is a rewarding experience, and with a few expert tips and tricks, you can elevate your homemade treats to bakery-quality perfection. Pay close attention to these guidelines to ensure your cookies are consistently soft, wonderfully chewy, and bursting with flavor.
- The Power of Sugar Combination: Don’t underestimate the impact of your sugar choices. Using a balanced combination of brown sugar and white granulated sugar is key. Brown sugar, with its molasses content, adds essential moisture and contributes significantly to the chewy texture we all love. Granulated sugar, on the other hand, helps with crisp edges and provides the overall sweetness. Together, they create a harmonious balance that yields the ideal cookie consistency and flavor profile.
- Embrace Real Butter: For superior flavor and texture in your cookie recipes, always reach for real butter. Butter not only imparts a rich, creamy taste but also plays a crucial role in making your cookies wonderfully chewy. Ensure your butter is softened to room temperature for optimal creaming, allowing it to incorporate smoothly with the sugars and create an airy, uniform dough.
- Avoid Over-mixing the Dough: This is a common pitfall for many bakers. Once you’ve added the flour, mix the dough only until the ingredients are just combined. Over-mixing develops the gluten in the flour, which can lead to tough, dense cookies rather than the desired soft and chewy texture. I find it helpful to use a spatula at the very end to gently scrape down the sides of the bowl and fold in any remaining dry streaks, ensuring everything is evenly incorporated without overworking the dough.
- Get Creative with Mix-ins: While butterscotch chips are the star, feel free to experiment with other delicious additions. A fantastic variation is to use a combination of butterscotch chips and chocolate chips (or even chocolate chunks) for a delightful flavor contrast. White chocolate chips also pair beautifully with butterscotch. You could also try adding chopped nuts like pecans or walnuts for an extra layer of texture and nutty flavor.
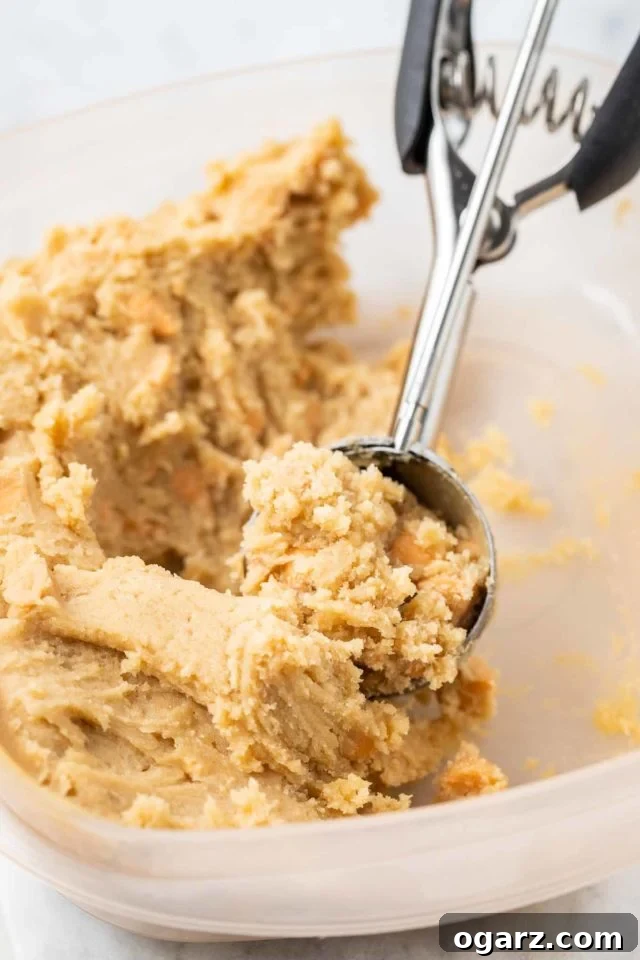
- Prioritize Chilling the Cookie Dough: This step is non-negotiable for preventing your cookies from spreading excessively in the oven. During the mixing process, the friction can warm the dough and butter, causing the butter to melt too quickly during baking. Chilling solidifies the butter, which then melts more slowly, resulting in thicker, chewier cookies. I highly recommend freezing the dough for 20 minutes for a quicker chill or refrigerating it for at least 40 minutes, or even longer for enhanced flavor development.
- Advanced Dough Storage: If you’re planning ahead, your cookie dough can be refrigerated for up to two days. This allows the flavors to meld beautifully. For longer storage, you can also freeze the dough in an airtight container for up to three months (see detailed instructions below). This makes freshly baked cookies a convenient reality anytime you desire!
- Know Your Oven: Every oven is different, and temperature accuracy can vary. If you know your oven tends to run hot, keep a close eye on your cookies and consider setting your timer for a minute or two less than the recipe suggests initially. Adjust baking time as needed for subsequent batches to prevent burning.
- Prepare Your Baking Sheet: You can bake these cookies on an ungreased baking sheet, but for easier cleanup and to prevent sticking, I highly recommend covering your baking sheet with parchment paper. Silicone baking mats also work wonderfully.
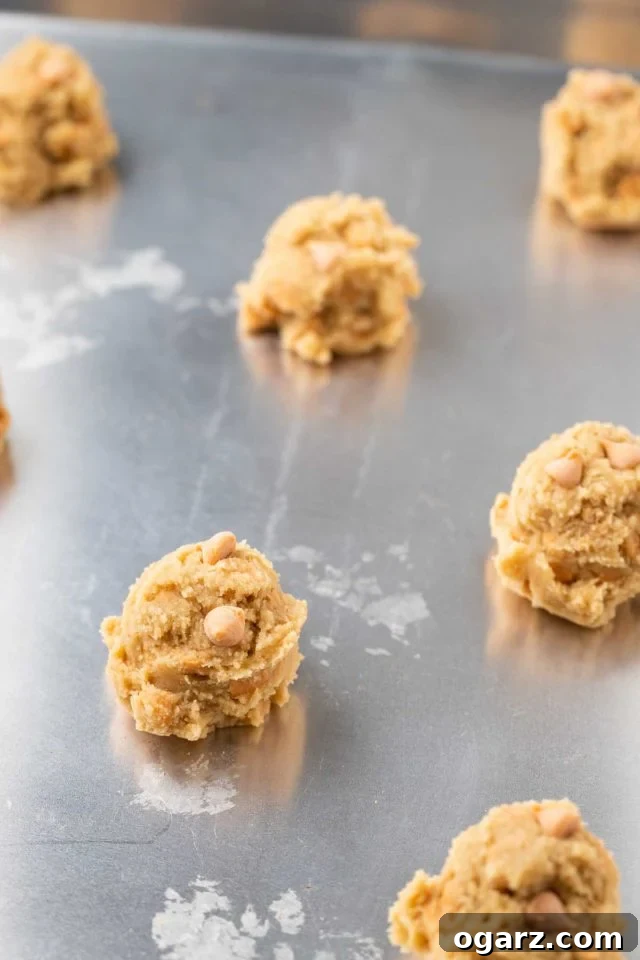
- Don’t Flatten the Dough Balls: Once you’ve scooped your cookie dough, resist the urge to flatten the balls. They will naturally spread out during baking, achieving that perfect thickness. Leaving them as rounded balls ensures a chewier center.
- Ensure Adequate Spacing: Leave enough room between each cookie dough ball on the baking sheet. They will spread out during baking, and ample space prevents them from merging into one giant cookie. Aim for about 2 inches between each dough ball.
- The Golden Rule: Avoid Overbaking: This is arguably the most crucial tip for achieving soft and chewy cookies. Take the cookies out of the oven when their edges are lightly golden brown, but the centers still look slightly undercooked or soft. The cookies will continue to cook and firm up from the residual heat as they rest on the hot cookie sheet after being removed from the oven. If you bake them until the centers are completely golden or fully set in the oven, you will inevitably end up with hard and crispy cookies once they cool. Trust the process and pull them out early!
- Gentle Transferring: Once out of the oven, let the cookies cool on the baking sheet for about 5 minutes. They will still be very soft and delicate right after baking. Use a sturdy cookie spatula to carefully transfer them to a cooling rack to cool completely. This prevents them from breaking apart.
Can You Freeze Butterscotch Cookies? Absolutely!
Freezing is a fantastic way to enjoy homemade butterscotch cookies whenever a craving strikes, or to prepare ahead for events. You can freeze both the unbaked dough and the baked cookies, offering incredible flexibility.
Freezing Butterscotch Cookie Dough
Freezing cookie dough allows you to bake fresh cookies on demand, straight from the freezer. Here’s how to do it effectively:
- Scoop and Flash Freeze: Once your dough is mixed, use a tablespoon-sized cookie scoop to portion out individual dough balls. Arrange these dough balls on a baking sheet lined with parchment paper, making sure they don’t touch. Place the baking sheet in the freezer for about 30 minutes. This “flash freezing” step prevents the dough balls from sticking together once transferred to a container.
- Transfer and Store: After the dough balls are firm, transfer them to an airtight freezer-safe container or a heavy-duty freezer bag. Label with the date. Frozen cookie dough can be stored for up to 3 months.
- Baking from Frozen: When you’re ready to bake, simply pull the desired number of dough balls from the freezer. There’s no need to thaw them! Preheat your oven to 350 degrees F (175 degrees C). Place the frozen dough balls on a parchment-lined baking sheet and bake for 1-2 minutes longer than the recipe calls for, typically 11-14 minutes total. Keep a close eye on them during the first batch and adjust the cooking time as necessary, looking for those lightly golden edges and slightly unset centers.
Freezing Baked Butterscotch Cookies
If you have leftover baked cookies or want to prep a large batch, freezing them after they’re baked is also a great option:
- Cool Completely: Ensure your baked butterscotch cookies are entirely cooled to room temperature before freezing. Any residual warmth can lead to condensation and freezer burn.
- Layer and Store: Place the cooled cookies in an airtight freezer-safe ziplock bag or container. If layering multiple cookies, place a piece of parchment paper between each layer to prevent sticking. Seal tightly, removing as much air as possible to prevent freezer burn.
- Thawing: Frozen baked cookies can be stored for up to 3 months. To enjoy, simply let them thaw at room temperature for an hour or two. For a “fresh from the oven” feel, you can gently warm them in a preheated oven (around 275°F/135°C) for a few minutes.
How to Store Your Delicious Butterscotch Chip Cookies for Maximum Freshness
Once your irresistible Butterscotch Chip Cookies are baked and cooled, proper storage is key to maintaining their delightful soft and chewy texture and preserving their rich flavor. Follow these simple guidelines to keep your cookies fresh and enjoyable for as long as possible:
- Cool Completely: Before storing, ensure your cookies have cooled entirely to room temperature on a wire rack. Storing warm cookies will create condensation inside the container, leading to soggy cookies and potentially mold.
- Choose the Right Container: The best way to store these cookies is in an airtight container or a cookie jar with a tight-fitting lid. This prevents air from reaching the cookies, which is the main culprit for them drying out and becoming stale.
- Room Temperature Storage: Butterscotch Chip Cookies will stay wonderfully fresh and soft at room temperature for about 1 to 2 weeks when stored correctly in an airtight container. Keep the container in a cool, dry place away from direct sunlight or heat sources, which can alter their texture and flavor.
- Avoid Refrigeration (Generally): While it might seem counterintuitive, refrigerating baked cookies can actually dry them out and make them harder, especially if they contain a lot of butter. Room temperature storage is usually preferred for maintaining their signature soft and chewy texture. If you live in a very humid climate or your house is exceptionally warm, you might consider it for very short periods, but typically it’s not necessary or recommended for freshness.
- Extend Freshness with a Bread Slice (Optional): For an old-school trick to keep soft cookies soft, you can place a slice of plain bread (like white bread) inside the airtight container with your cookies. The cookies will absorb moisture from the bread, helping them stay soft and moist. Replace the bread slice every day or two as it hardens.
By following these storage tips, you can ensure every butterscotch cookie you enjoy tastes as fresh and delicious as the moment it came out of the oven.
Frequently Asked Questions About Butterscotch Cookies
Q: Can I use margarine instead of butter in this recipe?
A: While margarine can sometimes be substituted for butter in baking, for these Butterscotch Cookies, I highly recommend sticking to real unsalted butter. Butter contributes significantly to the flavor, richness, and especially the chewy texture that makes these cookies so good. Margarine often has a higher water content and different fat composition, which can result in cookies that spread more, have a less rich flavor, and a tougher texture. For the best results, use butter.
Q: What if I don’t have butterscotch chips? Can I use something else?
A: If you don’t have butterscotch chips, you can certainly substitute them with other mix-ins! Chocolate chips (milk, semi-sweet, or dark) are a classic and delicious alternative. White chocolate chips would also be fantastic. You could also try chopped nuts like pecans, walnuts, or even macadamia nuts for a different twist. Keep in mind that the “butterscotch” flavor will be absent, but you’ll still have a delicious, chewy cookie base.
Q: Why are my butterscotch cookies flat and crispy?
A: Flat and crispy cookies are a common issue, and it’s usually due to a few factors. The most likely culprits are:
- Insufficient Chilling: Warm dough, especially butter, melts too quickly in the oven, causing cookies to spread out thin. Ensure you chill your dough for the recommended 20 minutes in the freezer or 40+ minutes in the fridge.
- Too Much Butter/Not Enough Flour: Check your measurements carefully. If there’s too much butter or too little flour, the dough will be too wet.
- Over-Creaming Butter and Sugar: Creaming for too long incorporates too much air, which can cause cookies to puff up and then collapse, leading to flatness. Cream until just light and fluffy.
- Oven Temperature Too Low: If your oven isn’t hot enough, the cookies spread before they set. Use an oven thermometer to ensure accuracy.
- Greased Baking Sheet: If your baking sheet is greased, it can encourage spreading. Use parchment paper or an ungreased sheet.
Revisit the “Tips and Tricks” section for detailed advice on preventing these issues.
Q: Can I make these butterscotch cookies gluten-free?
A: While this recipe uses all-purpose flour, you can often adapt it to be gluten-free. The most straightforward way is to substitute the all-purpose flour with a 1:1 gluten-free baking flour blend that contains xanthan gum. Ensure the blend is specifically designed for baking. Be aware that the texture might vary slightly, but many bakers have success with this substitution. As with any gluten-free adaptation, some experimentation might be needed.
The Ultimate Butterscotch Cookie Recipe: Bake Your Own Batch Today!
Ready to bake these irresistible cookies? Here’s the detailed recipe to guide you every step of the way!

Butterscotch Cookies
Ingredients
- 3/4 cup unsalted butter, softened
- 3/4 cup brown sugar
- 3/4 cup granulated sugar
- 1 teaspoon vanilla
- 2 large eggs
- 2 1/2 cups all-purpose flour
- 1 teaspoon baking soda
- 1/2 teaspoon salt
- 11 ounces butterscotch chips, one package
Instructions
-
Cream together butter, brown sugar, and granulated sugar until smooth, about 3-4 minutes. Add the vanilla extract. Then add one egg at a time, mixing until combined between additions.
-
In a separate measuring cup, combine flour, baking soda, and salt. With the mixer running on low, slowly add the flour mixture to the wet ingredients. Mix until just combined. Then add butterscotch chips and mix until evenly distributed throughout the dough.
-
Chill the dough for 20 minutes in the freezer or for 40 minutes in the refrigerator. This step is crucial for preventing spread and ensuring a chewy texture.
-
Preheat your oven to 350 degrees F (175 degrees C). Use a tablespoon-sized cookie scoop to drop rounded balls of dough onto a baking sheet covered with parchment paper. Bake for 10-12 minutes, or until the edges are just lightly golden and the middle still looks slightly uncooked. Remember, they will continue to set as they cool.
-
Let the cookies cool on the baking sheet for 5 minutes. They will be very soft initially. Then, carefully transfer them with a cookie spatula to a cooling rack to cool completely.
Nutrition
Love this recipe? Share your thoughts below!
NEVER MISS A RECIPE!
PINTEREST/ FACEBOOK / INSTAGRAM / TWITTER
If you’ve tried this or any other of my recipes, don’t forget to leave a comment. I love hearing from you!