
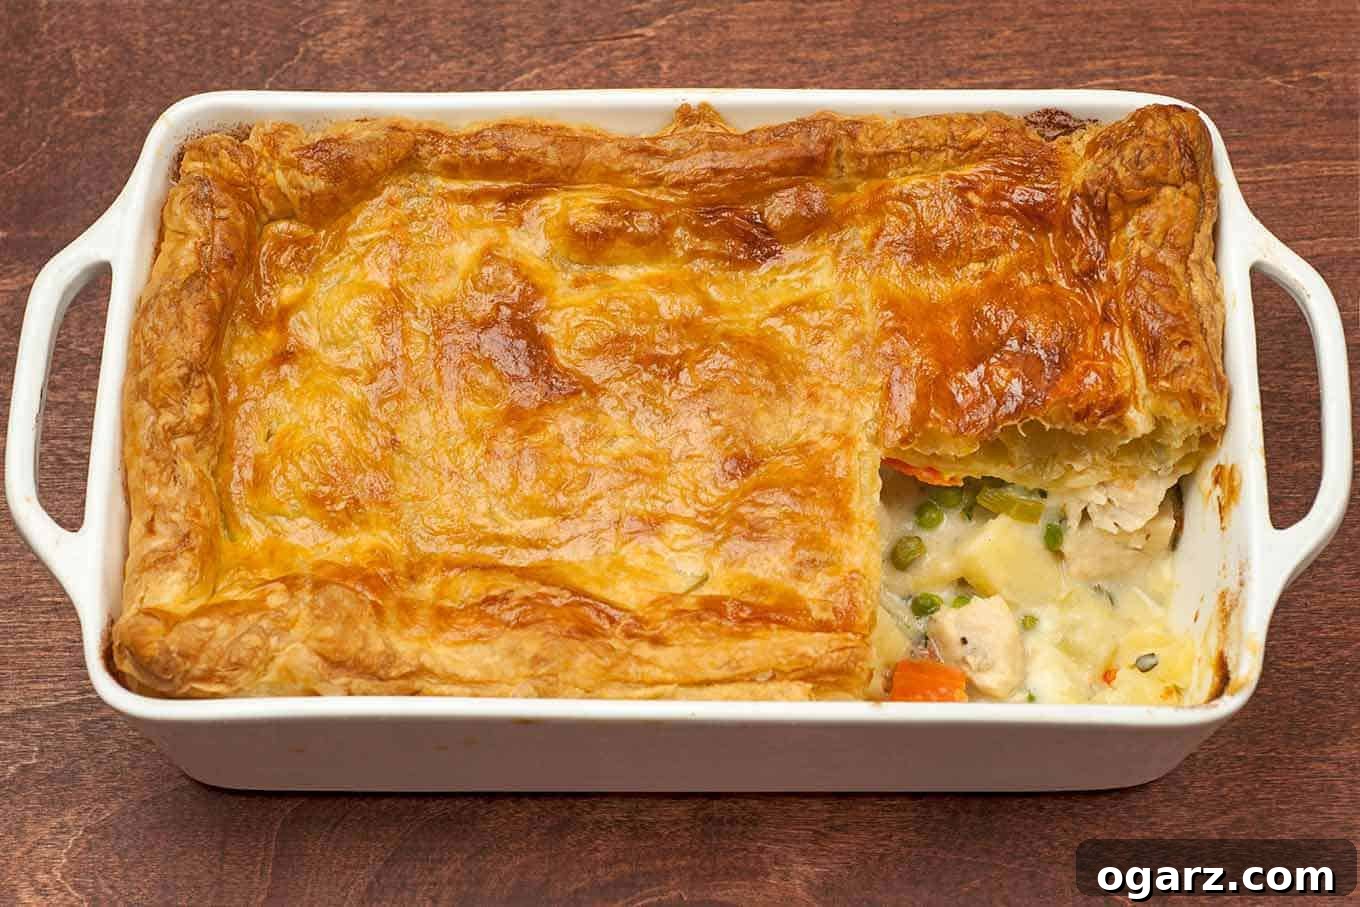
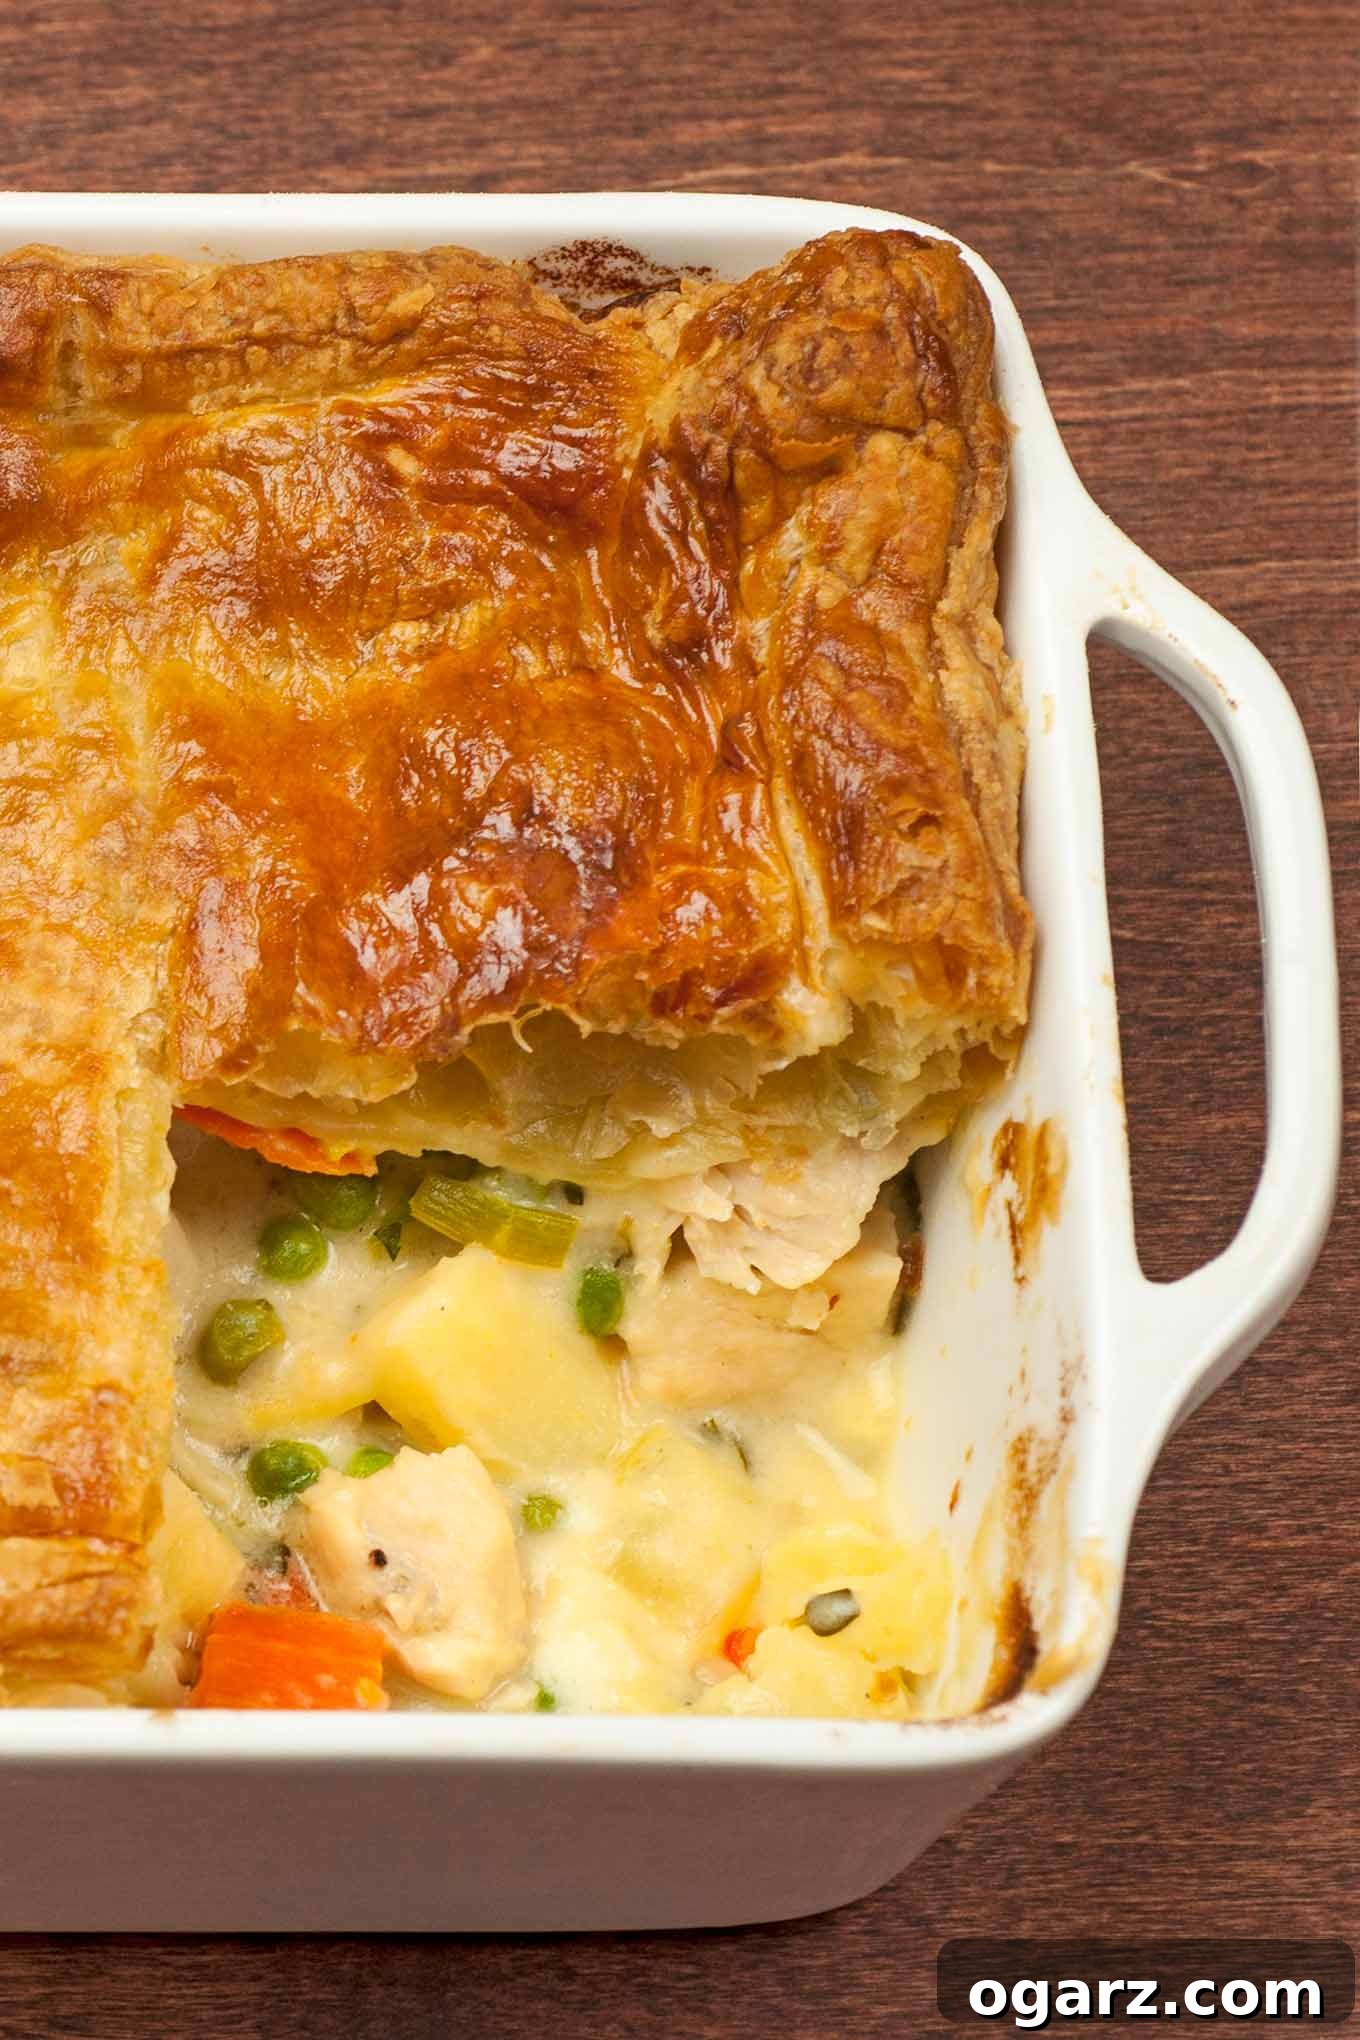
Ultimate Flaky Chicken Pot Pie with Golden Puff Pastry
A Culinary Delight: The Lighter Take on Classic Chicken Pot Pie
There’s nothing quite like the comforting embrace of a warm chicken pot pie. It’s a timeless classic that evokes memories of family dinners and cozy evenings. However, our recipe introduces an elegant twist to this beloved dish, elevating it beyond the ordinary. By replacing the traditional pie crust with light, ethereal puff pastry, we transform a hearty meal into a sophisticated yet simple culinary experience. The result is a pot pie that is both incredibly satisfying and surprisingly lighter, offering a delicate flakiness that perfectly complements the rich, savory filling.
This recipe isn’t just about a lighter crust; it’s about crafting an unforgettable flavor profile within. Our pot pie begins with succulent boneless chicken breasts, simmered in a creamy white wine sauce infused with aromatic garlic and fresh thyme. This luxurious base is then studded with tender spring vegetables like vibrant carrots, sweet parsnips, and delicate leeks, ensuring every bite is a harmonious blend of textures and tastes. It’s a dish that proves comfort food can be refined, without sacrificing an ounce of its heartwarming appeal. Prepare to delight your senses with every golden, flaky spoonful.
The Magic of Puff Pastry: Elevating Your Pot Pie Experience
Using puff pastry to crown your chicken pot pie is more than just a convenience; it’s a gastronomic game-changer for both texture and flavor. Unlike denser, more traditional pie crusts, puff pastry’s intricate layers, formed by countless folds of butter and dough, expand dramatically in the oven. This creates an irresistibly flaky, golden-brown crust that practically melts in your mouth with every bite. Its light, airy quality offers a delightful contrast to the rich, creamy filling below, adding a buttery richness without the heaviness that can sometimes accompany classic pot pies. This textural interplay is key to our recipe’s appeal, making the entire dish feel more refined and gourmet.
Furthermore, frozen puff pastry is a true hero for home cooks. It’s incredibly simple to work with, allowing you to bypass the time-consuming process of making dough from scratch. A quick thaw, a gentle roll, and it’s ready to top your pie, saving you precious time and effort in the kitchen while consistently delivering a professional, artisanal finish that will impress any diner. Its versatility and ease make it an ideal choice for anyone looking to add a touch of elegance and extraordinary flakiness to their comfort food repertoire.
Key Ingredients: Crafting a Flavorful & Balanced Filling
The secret to an exceptional chicken pot pie lies in the quality and harmony of its ingredients. Our recipe carefully selects components that contribute to a balanced, savory, and profoundly satisfying filling. Here’s a closer look at the stars of our dish and how they contribute to its unique character, along with recommended substitutions for flexibility. Please refer to the complete recipe card at the end of this article for precise quantities.
- Puff Pastry: As the crowning glory of this dish, puff pastry is chosen for its unparalleled flakiness and rich, buttery flavor. It provides a delicate, airy texture that is far lighter than a traditional pie crust, perfectly encapsulating the creamy filling. Its convenience as a frozen product saves significant preparation time while delivering a gourmet result. (Approx. 1/2 sheet, thawed)
- Boneless, Skinless Chicken Breasts: We opt for lean chicken breasts to ensure the filling is light yet incredibly satisfying. Cut into uniform bite-sized pieces (about 3/4-inch), they cook quickly and absorb the deep flavors of the sauce. For those who prefer a slightly richer taste and a more tender, forgiving texture, boneless, skinless chicken thighs can be used as an excellent alternative. Always remember to trim any excess fat for a cleaner finish in either case. (Approx. 3/4 lb)
- Carrots: A beloved staple in most pot pies, carrots bring a natural sweetness and vibrant orange hue to the dish. Their firm-tender texture adds a pleasing bite, offering a classic counterpoint to the softer ingredients in the creamy filling. (Approx. 2 medium, peeled and 1/2-inch pieces)
- Parsnips: Often underappreciated, parsnips are a stellar addition to this pot pie. They boast a distinct sweet and slightly nutty flavor, a delightful cross between a carrot and a potato but with an earthier, more profound undertone. Crucially, when cooked, parsnips develop an incredibly creamy and velvety texture, significantly enriching the overall mouthfeel and depth of the filling. If parsnips are unavailable or not to your liking, simply use an equal amount of additional carrots to maintain volume and sweetness. (Approx. 2 medium, peeled and 1/2-inch pieces)
- Leeks: Leeks contribute a subtle, sweet onion flavor that is far more delicate and refined than regular onions, making them ideal for a balanced pot pie. This gentle earthiness adds complexity without overpowering the other ingredients. Ensure thorough cleaning to remove any hidden grit between their layers. If leeks are difficult to source, thinly-sliced sweet onion can be used as a suitable substitute, though the overall flavor profile will be slightly altered. (Approx. 1 large, cleaned and chopped)
- Fresh Thyme: This fragrant herb is indispensable for its warm, earthy, and slightly minty aroma that perfectly balances the richness of the chicken and vegetables. Fresh thyme is highly recommended for its vibrant and pungent flavor. If dried thyme is your only option, remember that it is more concentrated; use only one-third of the fresh quantity (e.g., 1/3 tablespoon dried for 1 tablespoon fresh) to avoid an overly herbaceous taste. (Approx. 1 tablespoon fresh thyme leaves)
- Dry White Wine: The inclusion of dry white wine is a critical step in developing a deeper, more nuanced sauce. Its acidity brightens the overall flavors, helps to cut through the richness of the cream, and adds a sophisticated layer of complexity. Choose a crisp, dry white wine like Sauvignon Blanc, Pinot Grigio, or even a dry vermouth. For an alcohol-free version, simply substitute with an equal amount of additional low-sodium chicken broth, though you might miss a subtle depth. (Approx. 1/4 cup)
- Low-Sodium Chicken Broth: This forms a vital flavorful liquid base, not only for cooking the initial vegetables but also as a key component of the creamy sauce. Using a low-sodium variety allows you precise control over the overall saltiness of your finished dish, which is essential for perfect seasoning. (Approx. 3/4 cup)
- Unsalted Butter: Essential for sautéing the aromatics and chicken, and for creating the roux that thickens the sauce. Unsalted butter allows for better control over the dish’s salt content while providing a rich, foundational flavor. (Approx. 2 tablespoons)
- Garlic: Minced garlic adds a powerfully fragrant and pungent kick, which is crucial for building a savory depth of flavor in the pot pie filling. It serves as an aromatic cornerstone. (Approx. 1 clove, minced)
- Dijon-Style Mustard: A small but mighty addition, Dijon mustard introduces a tangy, slightly spicy, and complex note that enhances the savory elements of the filling, lifting the overall profile without being overtly mustardy. (Approx. 2 teaspoons)
- Worcestershire Sauce: This classic savory condiment contributes a significant boost of umami, along with a subtle tang and hint of sweetness, rounding out and deepening the flavors of the creamy sauce beautifully. (Approx. 1/2 teaspoon)
- Frozen Baby Peas: Added towards the end of the cooking process, these small, sweet peas provide a delightful burst of freshness, vibrant color, and tender texture, completing the vegetable medley. They do not need to be thawed before adding. (Approx. 1/3 cup)
- All-Purpose Flour: This is our thickening agent, crucial for creating the velvety, smooth, and creamy texture of the pot pie sauce, binding all the delicious components together. (Approx. 2 tablespoons)
- Milk: The primary liquid component for achieving the desired creamy consistency and rich mouthfeel of the sauce. It is divided to ensure gradual and smooth incorporation. (Approx. 1 cup, divided)
- Fresh Parsley: Stirred in at the very end, fresh parsley adds a burst of bright, clean, herbaceous flavor and a touch of appealing green color, providing a fresh contrast to the rich filling. (Approx. 1/4 cup, chopped)
- Egg Wash: A simple mixture of one beaten large egg with a teaspoon of water, this is brushed over the puff pastry. It’s not just for aesthetics; it imparts that irresistible golden-brown sheen and helps the pastry crisp up perfectly during baking. (Approx. 1 large egg + 1 teaspoon water)
- Salt and Freshly Ground Black Pepper: These fundamental seasonings are essential for adjusting the flavors to perfection, enhancing all the natural tastes of the high-quality ingredients used in the pot pie.
How to Make Chicken Pot Pie with Puff Pastry: A Step-by-Step Culinary Journey
Creating this delightful chicken pot pie is a straightforward and rewarding process, designed to bring gourmet flavors to your table with ease. Follow these detailed steps to ensure a perfectly flaky crust and a wonderfully creamy, savory filling every time. Each step is crafted to build flavor and achieve the ideal texture, guaranteeing a stunning and satisfying result.
- Prepare Your Baking Dish and Oven: Begin by preheating your oven to a precise 400°F (200°C). Accurate preheating is crucial for the puff pastry to rise correctly and achieve its signature flakiness from the moment it enters the oven. Generously butter an oblong baking dish (a 9 x 5.5 x 2-inch dish or a similar size pie plate works perfectly for two servings). Buttering the dish not only acts as a non-stick agent but also adds a subtle, savory flavor and helps the puff pastry securely adhere to the rim, preventing slippage during baking.
- Blanch the Root Vegetables: In a small saucepan, combine the peeled and 1/2-inch diced carrots with the low-sodium chicken broth. Bring this mixture to a rolling boil over medium-high heat. Once boiling, reduce the heat to a gentle simmer, cover the saucepan tightly, and cook for 3 minutes to begin tenderizing the carrots. Next, add the 1/2-inch diced parsnips to the saucepan and continue cooking, covered, until both vegetables are crisp-tender, typically requiring another 5 to 6 minutes. They should be tender enough to pierce easily with a fork but still retain a slight bite, ensuring they don’t turn mushy in the pie. Drain the blanched vegetables thoroughly and set them aside.
- Prepare the Chicken: While your vegetables are blanching, take this opportunity to prepare your chicken. Trim any visible fat or gristle from the boneless, skinless chicken breasts. Cut the chicken into uniform, bite-sized pieces, aiming for approximately 3/4-inch cubes. Consistent sizing is vital for even cooking and a pleasant texture throughout the pot pie.
- Sauté Chicken and Aromatics: Melt the unsalted butter in a large, deep pan or a Dutch oven over medium-high heat. Once the butter is shimmering and fragrant, add the minced garlic and sauté just until it becomes aromatic, which should only take about 30 seconds. Be very careful not to let the garlic brown or burn, as it can quickly turn bitter. Immediately add the bite-sized chicken pieces to the pan. Season the chicken generously with salt and freshly ground black pepper. Sauté the chicken, stirring occasionally, until it is no longer pink on the outside, typically 2 to 3 minutes. The chicken doesn’t need to be fully cooked through at this stage, as it will continue cooking and become tender within the pie’s filling in the oven.
- Build the Sauce Base: Stir in the dry white wine, Dijon-style mustard, and Worcestershire sauce into the chicken mixture. Reduce the heat to medium. Add the chopped leeks and fresh thyme leaves to the pan. Continue cooking, stirring frequently, until most of the liquid from the wine has evaporated, which should take approximately 2 to 3 minutes longer. This crucial step allows the alcohol to cook off, concentrating the wine’s flavor and forming a rich, complex foundation for your creamy sauce.
- Create the Creamy Roux: In a separate small bowl, whisk the all-purpose flour into 1/2 cup of the milk until the mixture is completely smooth and free of any lumps. This creates a “slurry” or “roux” that will thicken your sauce effectively without forming unsightly clumps. Gradually add this flour-milk mixture to the chicken and vegetable base in the pan, stirring constantly until it is well blended and begins to thicken slightly. The gradual addition and continuous stirring are key to achieving a smooth sauce.
- Finish the Sauce: Pour in the remaining milk using the same gradual method, continuing to stir constantly until the sauce is smooth, velvety, and creamy, coating the back of a spoon. This process typically takes another 2 to 3 minutes. Season the sauce generously to taste with additional salt and pepper, adjusting as needed to perfect the flavor balance. Finally, stir in the freshly chopped parsley, the previously drained carrots, and parsnips. Add the frozen baby peas and gently combine all ingredients well, ensuring everything is evenly distributed within the luxurious creamy sauce.
- Assemble the Pot Pie: Carefully transfer the prepared chicken and vegetable filling into the buttered baking dish, spreading it into an even, level layer. Set the dish aside, ready for its flaky topping.
- Prepare the Puff Pastry Top: On a lightly floured surface, gently roll out your thawed puff pastry sheet to a uniform thickness of approximately 1/8 inch. You want the pastry to be slightly larger than your baking dish. Lightly butter the top edge or rim of your baking dish; this creates a secure bond for the pastry. Carefully lay the rolled puff pastry over the filling, ensuring the edges generously overhang the dish by about 1 inch on all sides.
- Seal and Vent the Pastry: Gently press down on the puff pastry to ensure it is snug against the filling and makes good contact with the buttered rim of the baking dish. This creates a tight seal. Crimp the overhanging edges of the pastry decoratively to seal it securely to the dish, trimming any excess pastry with a sharp knife or kitchen shears for a neat appearance. This not only looks elegant but also helps to seal in the steam during baking. In a small bowl, whisk together the large egg with 1 teaspoon of water to create a golden egg wash. Lightly brush the entire surface of the puff pastry with this egg wash; it will impart a beautiful golden-brown color and a desirable glossy finish. Finally, using the tip of a sharp paring knife, carefully cut a few small steam vents (typically 3-4 slits) into the center of the pastry. These vents are absolutely crucial as they allow steam to escape during baking, preventing the pastry from becoming soggy underneath and ensuring it puffs up evenly and beautifully.
- Bake to Golden Perfection: Place the assembled pot pie into your preheated 400°F (200°C) oven. Bake for 20 to 25 minutes, or until the puff pastry is dramatically puffed, deeply golden brown, and beautifully crisp. The exact baking time may vary slightly depending on the nuances of your oven, so keep an eye on it. Once baked to perfection, carefully remove the pot pie from the oven.
- Cool and Serve: Allow the chicken pot pie to cool for at least 5 to 10 minutes before attempting to slice and serve. This cooling period is essential as it allows the hot, creamy filling to set and firm up, making it much easier to portion neatly without it spreading or falling apart. More importantly, it allows the delicate puff pastry to “set” and retain its coveted crisp, flaky texture. Cutting it too soon can result in a slightly deflated or soggy crust. Dive in and savor this exquisite comfort food!
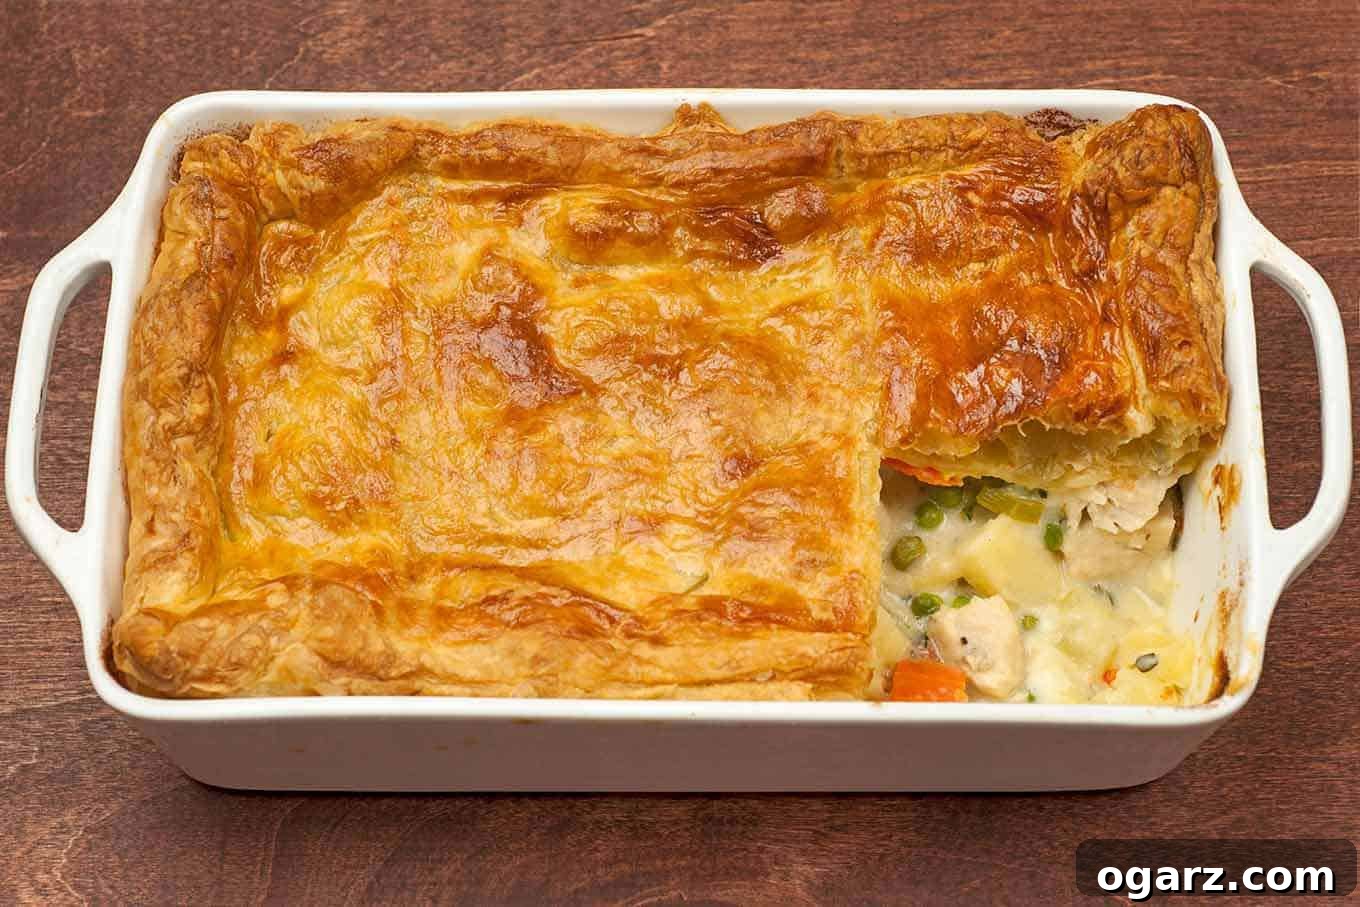
Puff Pastry Perfection: Expert Tips for a Flawless Crust
Working with puff pastry is remarkably straightforward, but a few key techniques can ensure your pot pie crust turns out beautifully crisp, golden, and perfectly puffed every single time. Mastering these simple yet crucial tips will elevate your baking and guarantee a stunning result that will impress everyone at your table.
- Always Thaw Puff Pastry Properly: This is arguably the most critical step for puff pastry success. Pastry that is not thawed correctly—either too cold and brittle, causing it to crack when unrolled, or too warm and sticky, leading to butter leakage—will not rise as expected. Always follow the specific thawing instructions on your puff pastry package precisely. This typically involves thawing in the refrigerator overnight or at room temperature for about 30-40 minutes until it’s pliable enough to unroll without breaking but still cool to the touch.
- Work Quickly and Keep it Cool: Puff pastry performs at its best when it remains cold throughout the handling process. The numerous thin layers of butter within the dough are what create its signature airy flakiness. If the pastry gets too warm, the butter can melt out before baking, resulting in a less airy, dense, and less flaky crust. Try to work quickly when rolling and transferring the pastry, and if your kitchen is particularly warm or the pastry starts to feel too soft, don’t hesitate to chill it for 10-15 minutes in the refrigerator to firm it up before continuing.
- Prick Holes in the Pastry Before Baking: Before brushing with the egg wash, it is essential to use the tip of a sharp paring knife or a fork to create a few small steam vents (holes or slits) in the top of your puff pastry. These vents are crucial because they allow steam to escape not only from the creamy filling below but also from within the intricate pastry layers themselves. Without proper venting, trapped steam can cause the pastry to puff up unevenly, or worse, become soggy and collapsed from moisture accumulation.
- Always Preheat Your Oven Thoroughly: A properly preheated oven is non-negotiable for achieving the perfect puff pastry. Placing cold puff pastry into an insufficiently hot oven can lead to a disappointing, dense, and chewy crust rather than a light, ethereal one. The initial blast of high heat is precisely what causes the water in the butter layers to rapidly turn to steam, creating those distinct, separated, and flaky layers. Ensure your oven has reached the target temperature (400°F or 200°C) and maintained it for at least 10-15 minutes before baking to ensure even heat distribution.
- Avoid Over-handling the Dough: Just like with traditional pie crusts, puff pastry benefits significantly from minimal handling. Excessive kneading, stretching, or re-rolling can overdevelop the gluten in the dough, making the pastry tough and reducing its ability to rise into those desirable flaky layers. Handle it gently and only as much as needed to shape it for your dish.
- Ensure a Secure Seal for the Edges: When placing the puff pastry over the filling, gently press the edges down onto the buttered rim of the baking dish and carefully crimp them. Creating a good, tight seal not only prevents the savory filling from bubbling over the sides during baking but also helps to trap the steam underneath the pastry (before it escapes through the vents), which is vital for encouraging it to rise effectively and evenly.
- Brush with Egg Wash for a Golden Finish: The egg wash, a simple mixture of a beaten egg with a little water, is not merely for aesthetics. While it certainly contributes to a beautiful, glossy, golden-brown crust, it also aids in achieving an extra crispy exterior, enhancing the overall appeal and delightful texture of your pot pie.
- Cool Slightly Before Serving: While the aroma of a freshly baked pot pie is incredibly tempting, allowing it to cool for at least 5-10 minutes before slicing and serving is a crucial step. This cooling period serves a dual purpose: it gives the hot, creamy filling a chance to set and thicken further, making it much easier to portion neatly without it spilling. More importantly, it allows the delicate puff pastry to “set” and retain its crisp, flaky texture. Cutting into it too soon can result in a slightly deflated or even soggy crust.
The Complete Recipe: Chicken Pot Pie with Puff Pastry

Chicken Pot Pie with Puff Pastry
Lynne Webb
20 mins
45 mins
1 hr 5 mins
2 servings
Ingredients
- 3/4 lb chicken breasts, boneless and skinless
- 2 carrots, peeled and cut into 1/2-inch pieces
- 2 parsnips, peeled and cut into 1/2-inch pieces
- 3/4 cup low-sodium chicken broth
- 2 tablespoons unsalted butter
- 1 clove garlic, minced
- 1/4 cup dry white wine
- 2 teaspoons Dijon-style mustard
- 1/2 teaspoon Worcestershire sauce
- 1 leek, cleaned and chopped
- 1/3 cup frozen baby peas
- 1 tablespoon fresh thyme leaves
- 2 tablespoons flour
- 1 cup milk, divided
- Salt and freshly ground black pepper
- 1/4 cup fresh parsley, chopped
- 1/2 sheet frozen puff pastry, thawed
- 1 large egg, beaten with 1 teaspoon water
Instructions
-
Preheat the oven to 400°F and generously butter a pie plate or oblong baking dish (ours measures 9 x 6 x 2-1/2-inch).
-
Place the carrots and parsnips in a small saucepan, add the chicken broth, and bring to a boil. Reduce the heat to a simmer, cover, and cook until both vegetables are crisp-tender, 5 to 6 minutes. Drain and set aside.
-
While the vegetables cook, trim any fat from the chicken and cut it into small pieces (about 3/4-inch).
-
Melt the butter in a large pan over medium-high heat. Add the garlic and sauté until fragrant, 30 seconds. Add the chicken, season with salt and pepper and continue cooking until it is no longer visibly pink, about 3 minutes.
-
Stir in the wine, mustard, and Worcestershire sauce. Reduce the heat to medium and add the leeks and thyme. Continue cooking until most of the liquid evaporates, 2 to 3 minutes longer.
-
Whisk the flour into 1/2 cup of the milk until smooth. Gradually add it to the chicken mixture, stirring until well blended and somewhat thickened.
-
Add the remaining milk in the same manner, stirring until the sauce is smooth and creamy, 2 to 3 minutes more. Season to taste with salt and pepper, then add the parsley, carrots, and parsnips. Combine well.
-
Transfer the chicken and vegetables to the prepared baking dish in an even layer and set aside.
-
Roll the puff pastry to a thickness of about 1/8 inch. Butter the top edge of the baking dish, then lay the pastry on top with the edges overhanging by about 1 inch.
-
Press down gently on the pastry to be sure it’s snug against the filling. Crimp the edges of the pastry and trim any excess. Brush the pastry with the egg wash and cut a few steam vents with the tip of a paring knife.
-
Bake for 20 to 25 minutes or until the pastry is puffed and golden. Remove from the oven and allow the pot pie to cool for 5 minutes before serving.
Notes
- Always thaw puff pastry properly: Puff pastry that hasn’t been thawed properly may not rise as expected. Be sure to follow the thawing instructions on the package for your particular brand.
- Prick holes in the pastry before baking: Pricking holes in the pastry before baking allows steam to escape and prevents the pastry from becoming unevenly puffed.
- Always preheat your oven: Never put puff pastry in an insufficiently preheated oven. Proper preheating ensures that your pastry will rise and brown evenly.
- Cool slightly before serving: Allowing your puff pastry to cool slightly before cutting and serving helps it to retain its crisp, flaky texture.
Nutrition
Total Fat: 41g,
Cholesterol: 232mg,
Sodium: 600mg,
Carbohydrates: 73g,
Fiber: 10g,
Sugar: 17g,
Protein: 55g
Nutrition information is automatically calculated, so should only be used as an approximation.