
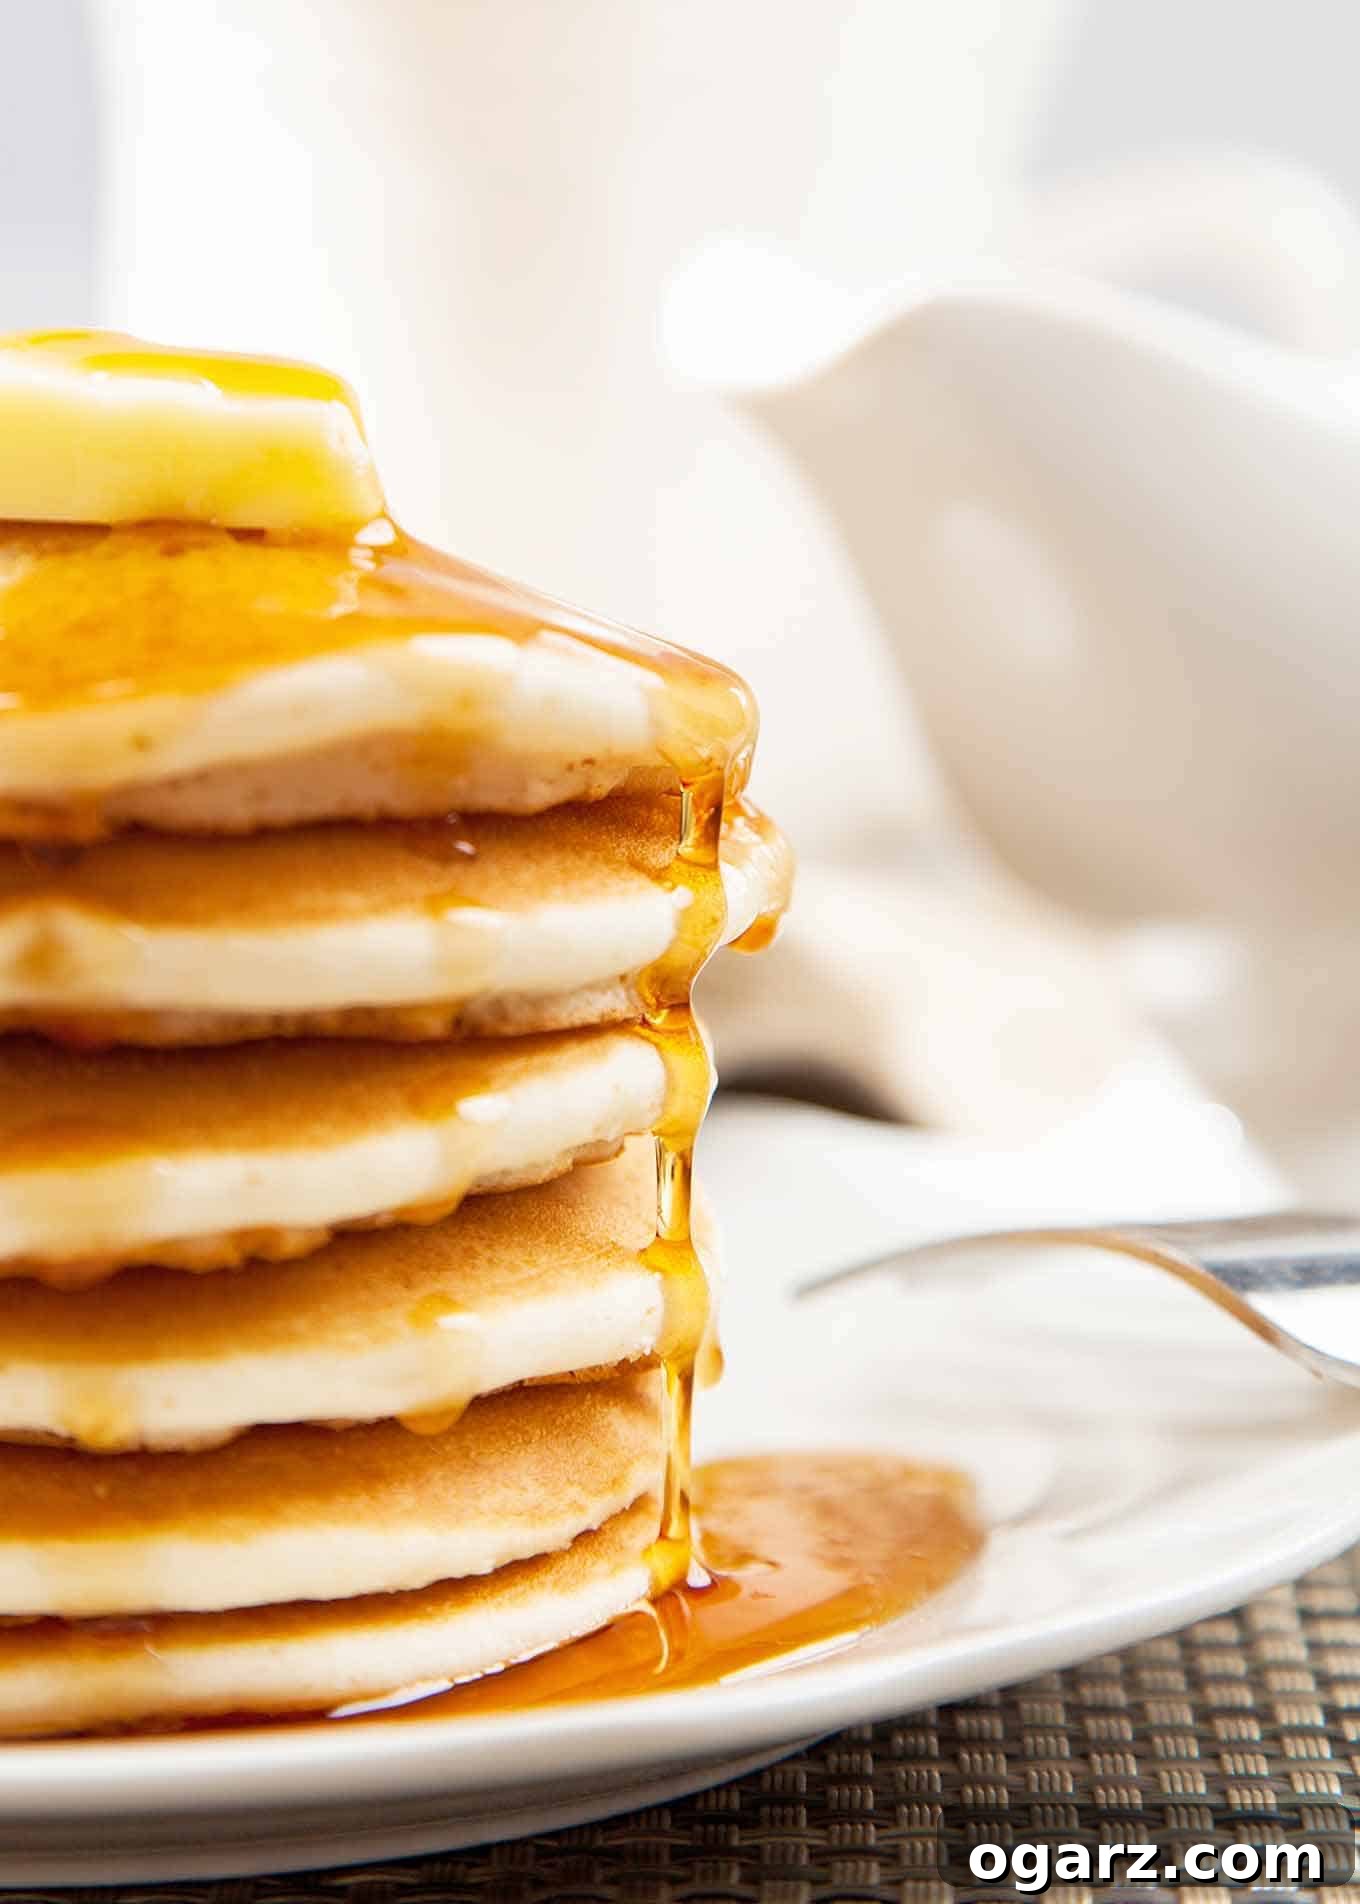
Pancakes, a beloved breakfast staple, hold a special place in morning routines worldwide. Whether it’s a leisurely weekend brunch or a quick weekday treat, the promise of golden, fluffy discs stacked high and drizzled with syrup is universally appealing. While seemingly simple, achieving consistently perfect pancakes—those that are light, airy, and beautifully browned—requires more than just mixing ingredients. It demands a touch of culinary finesse, a sprinkle of patience, and adherence to key techniques. This comprehensive guide will transform your pancake-making skills, ensuring every batch is a triumph. Forget flat, rubbery, or unevenly cooked pancakes; we’re about to unlock the secrets to breakfast perfection.
Expert Tips for Crafting Fluffy, Golden Pancakes
Mastering pancakes is an incredibly rewarding endeavor. Once you understand the fundamentals, you’ll be able to whip up a batch of delicious pancakes anytime. Beyond our foundational “Basic Pancake Recipe,” these expert tips delve into the crucial nuances that elevate a good pancake to a great one. From the moment you combine ingredients to the final flip, each step plays a vital role in the end result. By following these tried-and-true methods, you’ll gain the confidence to make perfect pancakes from scratch, consistently and effortlessly.
Mastering the Batter: The Foundation of Fluffiness
The secret to light and airy pancakes begins with how you handle the batter. Many common pancake pitfalls, such as dense or tough texture, can be traced back to improper mixing. Here’s how to achieve a perfectly balanced batter:
Dry Ingredients First: Ensuring Even Leavening
Always start by combining all your dry ingredients in one spacious bowl. This typically includes flour, baking powder, sugar, and salt. The key here is thoroughness. Whisk these ingredients together vigorously for about 30 seconds to a minute. This isn’t just about combining them; it’s about aerating the flour and evenly distributing the leavening agent (baking powder) and salt. If the baking powder isn’t evenly spread, you could end up with some pancakes that rise beautifully and others that remain stubbornly flat. Sifting the flour beforehand can further enhance aeration, leading to an even lighter texture in your final product.
Wet Ingredients Separate: For Smooth Consistency
In a separate bowl, whisk together your wet ingredients: eggs, milk, and melted butter. Ensure these are very well-blended until smooth and uniform. Mixing the wet ingredients separately before introducing them to the dry components prevents overmixing later on. It guarantees that the fats and liquids are thoroughly incorporated, which is essential for a rich flavor and moist interior. Imagine trying to dissolve a lump of butter directly into a flour mixture—it’s much harder than whisking it into liquid first.
The Gentle Embrace: Combining Wet and Dry
Once both sets of ingredients are perfectly blended in their respective bowls, pour the wet mixture into the dry ingredients. Now, here’s where the magic (or disaster) happens: mix gently with a rubber spatula or a wooden spoon. The cardinal rule of pancake batter is: do NOT overmix. Overmixing develops the gluten in the flour, leading to tough, chewy pancakes rather than the soft, fluffy ones you desire. A few small lumps here and there are not just acceptable; they are often a sign of a properly mixed batter. The goal is just to combine until no streaks of dry flour remain. The batter should appear somewhat thick and slightly lumpy. This delicate approach ensures the activated leavening agents can do their job, creating those beautiful air pockets that define a perfect pancake.
The Perfect Pan: Your Canvas for Golden Deliciousness
The right cooking surface is as crucial as the batter itself. A properly chosen and prepared pan ensures even heat distribution, consistent browning, and effortless flipping.
Choosing Your Weapon: Griddle vs. Skillet
For making traditional, evenly sized pancakes, a heavy, flat griddle is undoubtedly the best choice. Electric griddles offer consistent temperature control across their surface, making them ideal for cooking multiple pancakes simultaneously. Cast iron griddles, while requiring more attention to temperature, offer superior heat retention and a wonderfully crisp crust. If a dedicated griddle isn’t available, any large, heavy skillet will work, including nonstick varieties. The key is “heavy,” as heavier pans distribute heat more evenly, preventing hot spots that can lead to unevenly cooked or burnt pancakes.
Preheating Perfection: The Science of Sizzle
Always preheat your pan over medium-high heat. Achieving the correct temperature is paramount for that beautiful golden-brown exterior and a fully cooked interior. To test the temperature, flick a few drops of water onto the pan’s surface. If they immediately spatter, dance around, and evaporate within a couple of seconds, your pan is perfectly preheated and ready. If the water simply sits or sizzles slowly, the pan isn’t hot enough. If it evaporates instantly with a loud hiss, it might be too hot, risking burnt outsides and raw insides. For electric griddles, a setting of 375°F (190°C) is generally ideal. This temperature provides enough heat to quickly cook the batter and create a delightful crust without scorching.
Lightly Oiling the Surface: Preventing Stickiness, Not Greasiness
Once your pan is preheated, use a paper towel dipped in a neutral-flavored vegetable oil (like canola or grapeseed) to lightly oil the surface. The emphasis here is on “lightly.” You want a thin, almost invisible film of oil, not a slick puddle. Too much oil will result in greasy pancakes with uneven browning, potentially creating a lacey or fried texture rather than a smooth, golden surface. A subtle wipe ensures just enough lubrication to prevent sticking and promote uniform browning.
The Cooking Dance: From Batter to Bliss
With a perfectly mixed batter and a preheated pan, it’s time to bring your pancakes to life. The cooking process is a delicate balance of observation and timing.
The All-Important Test Pancake: Your Culinary Thermometer
Before committing to a full batch, always start by making a single test pancake. Pour about 1/3 cup of batter onto the preheated pan. This first pancake is your calibration tool. It allows you to assess both the pan’s temperature and the batter’s consistency. Observe it carefully for cues on how to proceed with the rest of your batch. This small sacrifice ensures the success of all subsequent pancakes.
Reading the Bubbles: When to Flip
As the test pancake cooks, watch it closely. Wait until the edges begin to look dry and firm, and bubbles start to appear and burst on the top surface of the pancake. These bubbles are crucial indicators: they signal that the bottom is cooking and the leavening agents are actively working to create an airy interior. The appearance of these bursting bubbles, especially around the center, signifies the perfect moment to flip. Flipping too early can lead to uncooked batter spilling, while flipping too late can result in a burnt bottom and a dry, dense pancake.
The Art of the Flip: Quick and Confident
When the time is right, use a thin spatula or a dedicated pancake turner to quickly and confidently slide it under the pancake and flip it over. Aim for a single, swift motion to keep the pancake intact and prevent any tearing. The goal is to cook the second side until it matches the beautiful golden-brown hue of the first, ensuring a thoroughly cooked interior. This usually takes slightly less time than the first side.
Heat Management: Adjusting for Perfection
Based on your test pancake, you can now fine-tune your heat. If the pancake is too brown or even scorched on the bottom while the top is still wet, lower the heat a bit. If it’s taking too long to brown and the bubbles aren’t forming quickly enough, increase the heat slightly. Once you achieve that desirable golden color and a perfectly cooked, fluffy interior, you can confidently cook the remaining pancakes a few at a time, depending on your pan size. Remember, consistent heat is key to consistent results across all your pancakes.
Fine-Tuning Your Batter for Optimal Results
Even with careful mixing, sometimes the batter needs a slight adjustment. The ideal pancake batter should yield a pancake roughly 4 to 4-1/2 inches in diameter when using about 1/3 cup of batter. The consistency directly impacts the spread and fluffiness.
Addressing Thin Batter: The Flour Paste Method
If your test pancake spreads too much, resulting in a larger, thinner pancake than desired, your batter may be too thin. This can happen if your flour absorbs less liquid than anticipated or if your liquid measurements were slightly off. To remedy this without creating new lumps, whisk 1 or 2 tablespoons of all-purpose flour with just enough water (or milk) to create a smooth, thick paste. Once this paste is lump-free, gently stir it into your main batter. This method allows you to thicken the batter without overmixing it or introducing dry flour directly, which can cause unappetizing pockets of uncooked flour.
Correcting Thick Batter: Small Additions of Liquid
Conversely, if your batter is too thick, making it difficult to pour or spread, simply add a small amount of water or milk, one tablespoon at a time, until it reaches the desired, pourable consistency. Stir gently after each addition to assess the texture. The aim is to achieve a batter that flows smoothly from your measuring cup but still has enough body to hold its shape on the griddle.
Keeping Them Warm: Serve Every Pancake Perfectly
When cooking pancakes in batches, it’s a common challenge to keep the first pancakes warm while the rest are still cooking. Serving cold pancakes simply won’t do. Here’s a simple, effective method:
The Oven Method: Preventing Soggy Pancakes
Preheat your oven to a low temperature, around 200°F (95°C). As each pancake finishes cooking, place it in a single layer on a wire rack that has been set on a baking sheet. Transfer this setup to the preheated oven. The wire rack is crucial because it allows air to circulate around the pancakes, preventing them from becoming soggy on the bottom due to steam. The low oven temperature keeps them warm without continuing to cook them or drying them out. This method ensures that every pancake, from the first to the last, arrives at the table perfectly warm and ready to be enjoyed.
Storing and Reheating: Enjoy Pancakes Anytime
Pancakes are not just a fresh-off-the-griddle delight; they can also be made ahead of time or enjoyed as leftovers. Proper storage and reheating techniques preserve their texture and flavor.
Freezer-Friendly Secrets: Planning for Future Cravings
If you have leftover pancakes or intentionally make a large batch for future use, proper storage is key to maintaining their quality. First, allow the cooked pancakes to cool completely to room temperature. Stacking warm pancakes will trap steam and make them soggy. Once cool, place a piece of parchment paper or wax paper between each pancake. This barrier prevents them from sticking together, making it easy to grab just one or a few at a time. Stack them and then place them into airtight freezer bags or containers. Label and date them. Stored this way, pancakes can remain fresh in the freezer for up to two weeks.
Reheating for Freshness: Multiple Methods
The beauty of frozen pancakes is that they can often be reheated without defrosting first, making them an excellent quick breakfast option.
- Oven Method: For a batch, place frozen pancakes in a single layer on a wire rack set over a baking sheet. Reheat in a preheated 325°F (160°C) oven for 8 to 10 minutes, or until warmed through. This method keeps them soft and slightly crisp.
- Toaster Method: For individual pancakes, a toaster is your best friend. Pop one or two frozen pancakes directly into the toaster on a medium setting. Toast until lightly golden and heated through. This provides a wonderfully crisp exterior.
- Microwave Method: While quick, the microwave can sometimes make pancakes slightly chewier. Place 1-2 pancakes on a microwave-safe plate and heat for 30-60 seconds, or until warm. This is best for a very quick reheat when texture is less of a concern.
Beyond the Basic: Explore More Pancake Adventures
Once you’ve mastered the basic art of pancake making, an exciting world of variations awaits! Pancakes are incredibly versatile and can be adapted to suit any flavor profile or dietary preference. From elegant French classics to hearty, savory twists, these recipes will inspire you to experiment and discover new favorites. Dive into these delightful creations and expand your pancake repertoire.
- Crêpes Suzette: A sophisticated French classic featuring thin, delicate crepes drenched in a caramelized butter, sugar, tangerine or orange juice, and Grand Marnier sauce, flambéed for a dramatic finish.
- Fluffy Ricotta Pancakes with Strawberry-Orange Sauce: Experience unparalleled lightness and richness with these ricotta-infused pancakes, perfectly complemented by a vibrant, fresh strawberry and orange zest sauce.
- Hearty Cornmeal Pancakes: For a comforting and textured alternative, these cornmeal pancakes offer a slightly coarser crumb and a delightful, subtle sweetness. Perfect with savory toppings or classic maple syrup.
- Decadent Chocolate Chip and Candied Bacon Pancakes: Indulge in a sweet and savory symphony with rich chocolate chips and crispy, caramelized candied bacon integrated into the batter. A truly unforgettable brunch experience.
Basic Pancake Recipe: Your Go-To for Fluffy Perfection
Lynne Webb
10 mins
15 mins
25 mins
16 pancakes
Rate Recipe
Print Recipe
Ingredients
- 2 cups all-purpose flour
- 1 tablespoon baking powder
- 1/2 teaspoon salt
- 1 tablespoon sugar
- 2 large eggs
- 1-1/2 cups whole milk
- 2 tablespoons melted butter
Instructions
-
In a large mixing bowl, combine the all-purpose flour, baking powder, salt, and sugar. Whisk thoroughly to ensure all dry ingredients are well-distributed and aerated.
-
In a separate medium bowl, whisk the eggs, whole milk, and melted butter together until the mixture is smooth and evenly blended.
-
Pour the wet ingredients into the dry ingredients. Mix gently with a rubber spatula or wooden spoon until just combined. A few small lumps are perfectly fine and even desirable; avoid overmixing to prevent tough pancakes.
-
Preheat your griddle or heavy pan over medium-high heat. If using an electric griddle, set it to 375°F (190°C). Test the temperature by flicking a few drops of water onto the surface; if they spatter and evaporate immediately, the pan is ready.
-
Lightly oil the surface of the preheated pan using a paper towel dipped in a neutral cooking oil. You want a thin film, not excess grease.
-
Pour the batter onto the pan in 1/3 cup increments for each pancake. We recommend starting with a single test pancake to confirm your griddle temperature and batter consistency. Adjust heat if the pancake browns too quickly or too slowly.
-
Cook the pancakes for 2-3 minutes, or until the edges appear dry and firm, and bubbles form and burst across the top surface. These are your cues that it’s time to flip.
-
Use a thin, wide spatula to quickly flip the pancakes. Continue cooking for another 1-2 minutes on the second side, until they are golden brown and cooked through. To keep finished pancakes warm while you cook additional batches, place them in a single layer on a wire rack set over a baking sheet in a preheated 200°F (95°C) oven.
Notes & Pro Tips
Batter Consistency Matters:
For a perfectly sized pancake, about one-third cup of batter should yield a pancake roughly 4 to 4-1/2 inches in diameter. This indicates ideal fluidity.
If your test pancake spreads significantly larger, your batter might be too thin. To thicken it, prepare a paste by whisking 1 to 2 tablespoons of flour with just enough water (or milk) until smooth. Stir this paste gently into your main batter.
If your batter feels too thick and is difficult to pour or spread, gradually thin it out by adding small amounts (1 tablespoon at a time) of milk or water, stirring gently after each addition until the desired consistency is achieved.
Storing Cooked Pancakes for Later Enjoyment:
To maximize freshness and convenience, allow any leftover pancakes or those made in advance to cool completely. Place a piece of parchment or wax paper between each pancake before stacking them. This prevents sticking and freezer burn. Store the stack in zip-top freezer bags or an airtight container in the freezer for up to two weeks.
Frozen pancakes can be reheated directly without thawing. For the best results, place them on a wire rack set on a baking sheet and warm in a preheated 325°F (160°C) oven for 8-10 minutes, or pop them in a toaster until heated through and lightly crisp.
Nutrition Information (Approximate per pancake)
Calories: 201
,
Total Fat: 6g
,
Cholesterol: 60mg
,
Sodium: 382mg
,
Carbohydrates: 29g
,
Fiber: 1g
,
Sugar: 5g
,
Protein: 7g
Nutrition information is automatically calculated, so should only be used as an approximation. It may vary based on ingredients and specific preparation methods.
Enjoyed this recipe? Share your thoughts and rate it below!