
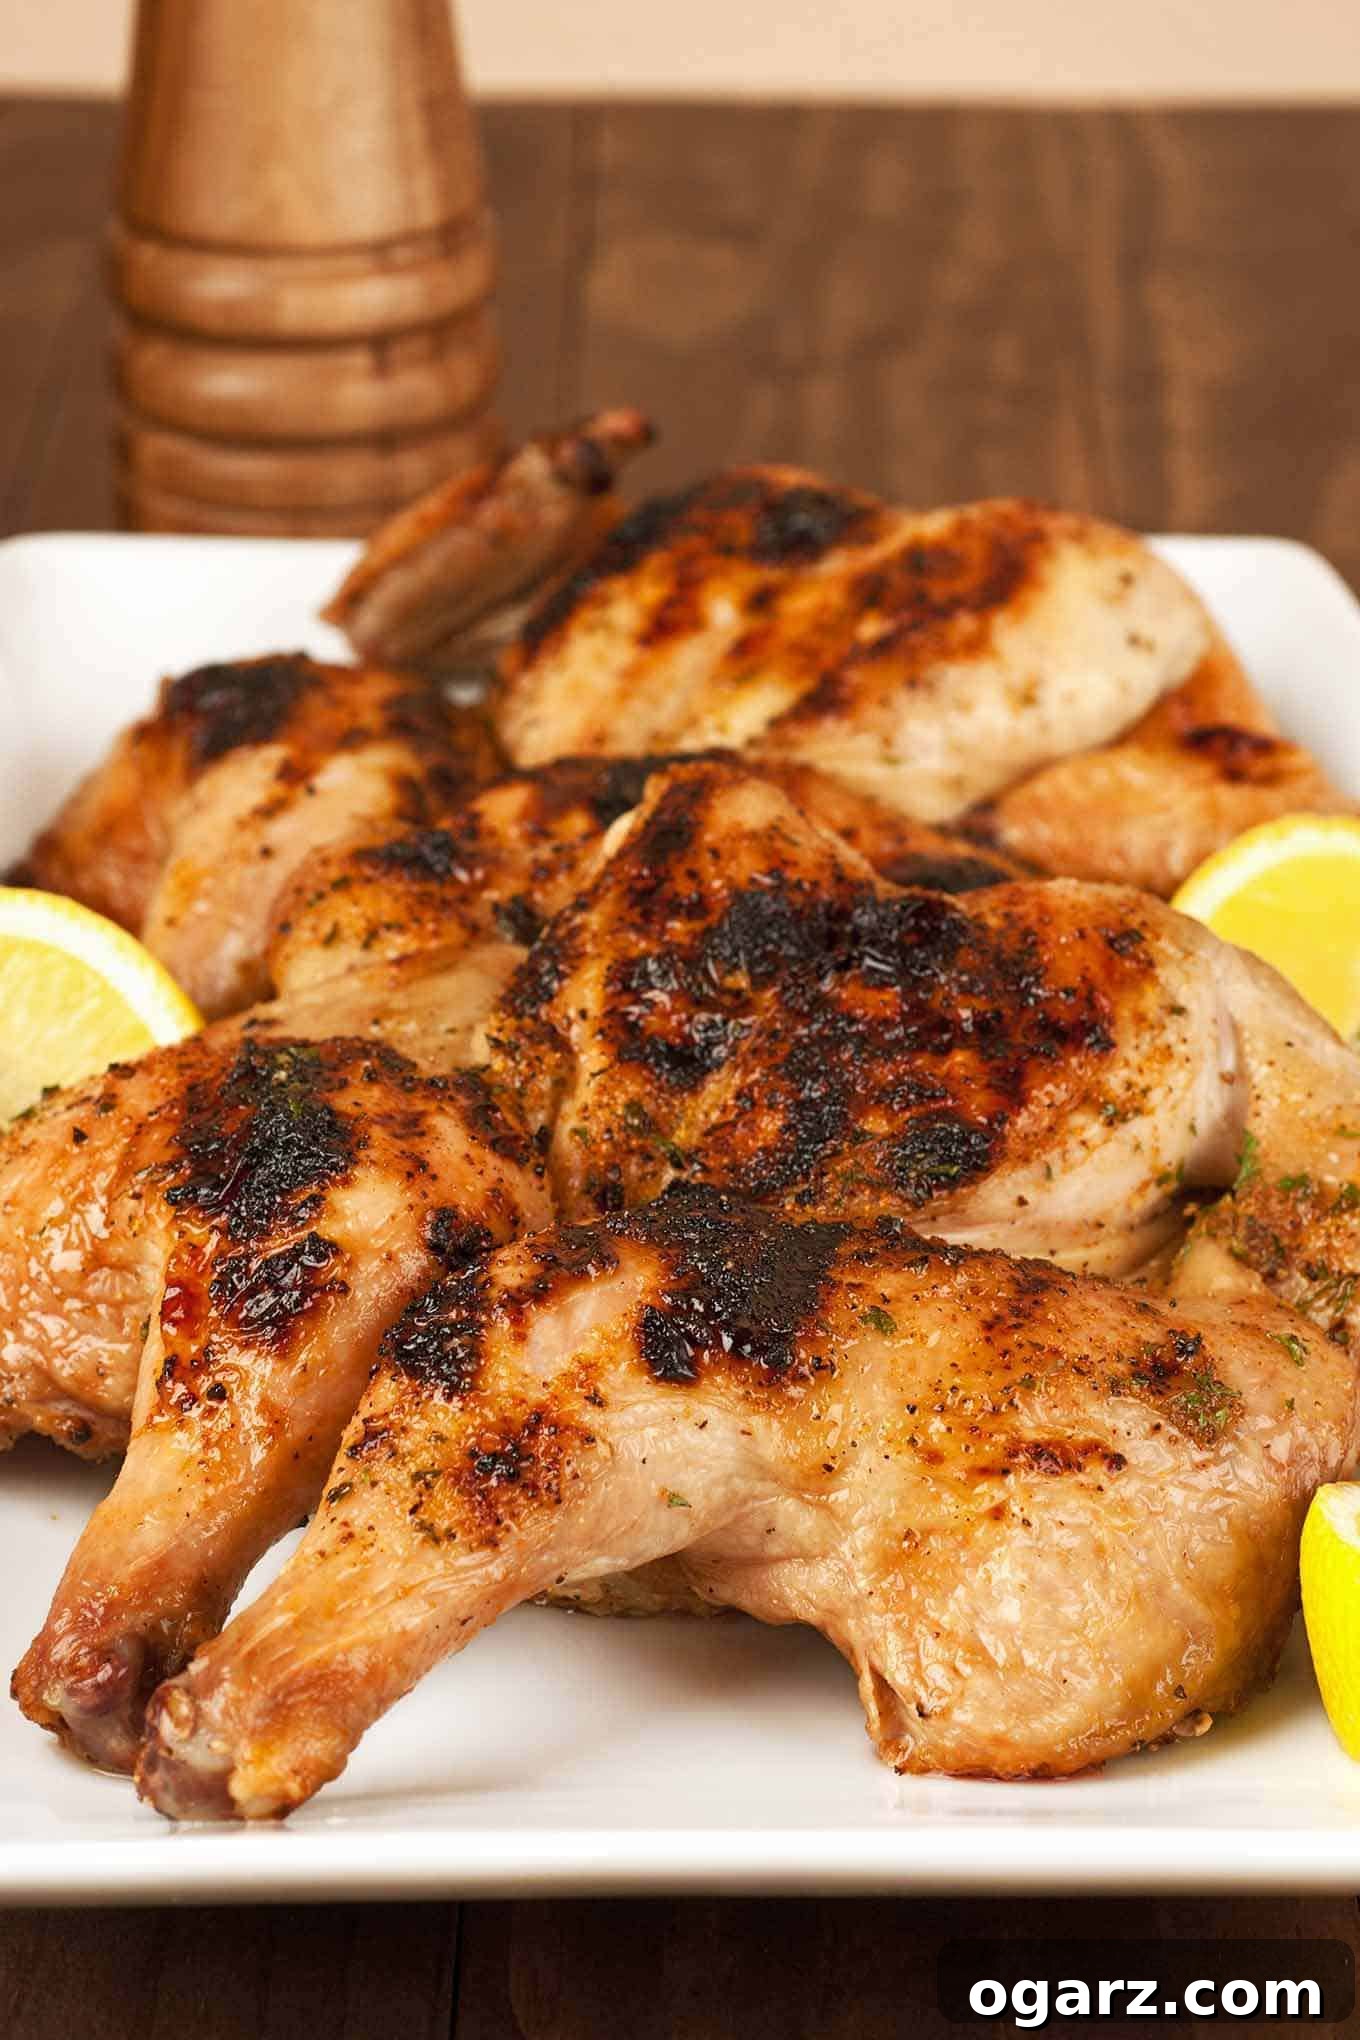
Grilled Honey-Lemon Spatchcocked Cornish Hens: Your New Favorite Fast Feast
Transform your grilling game with this incredibly easy and remarkably flavorful recipe for spatchcocked Cornish hens, finished with a bright and sticky honey-lemon glaze. Perfect for a quick weeknight dinner or an impressive gathering, these petite birds cook to tender perfection in no time, promising a juicy interior and deliciously crispy skin.
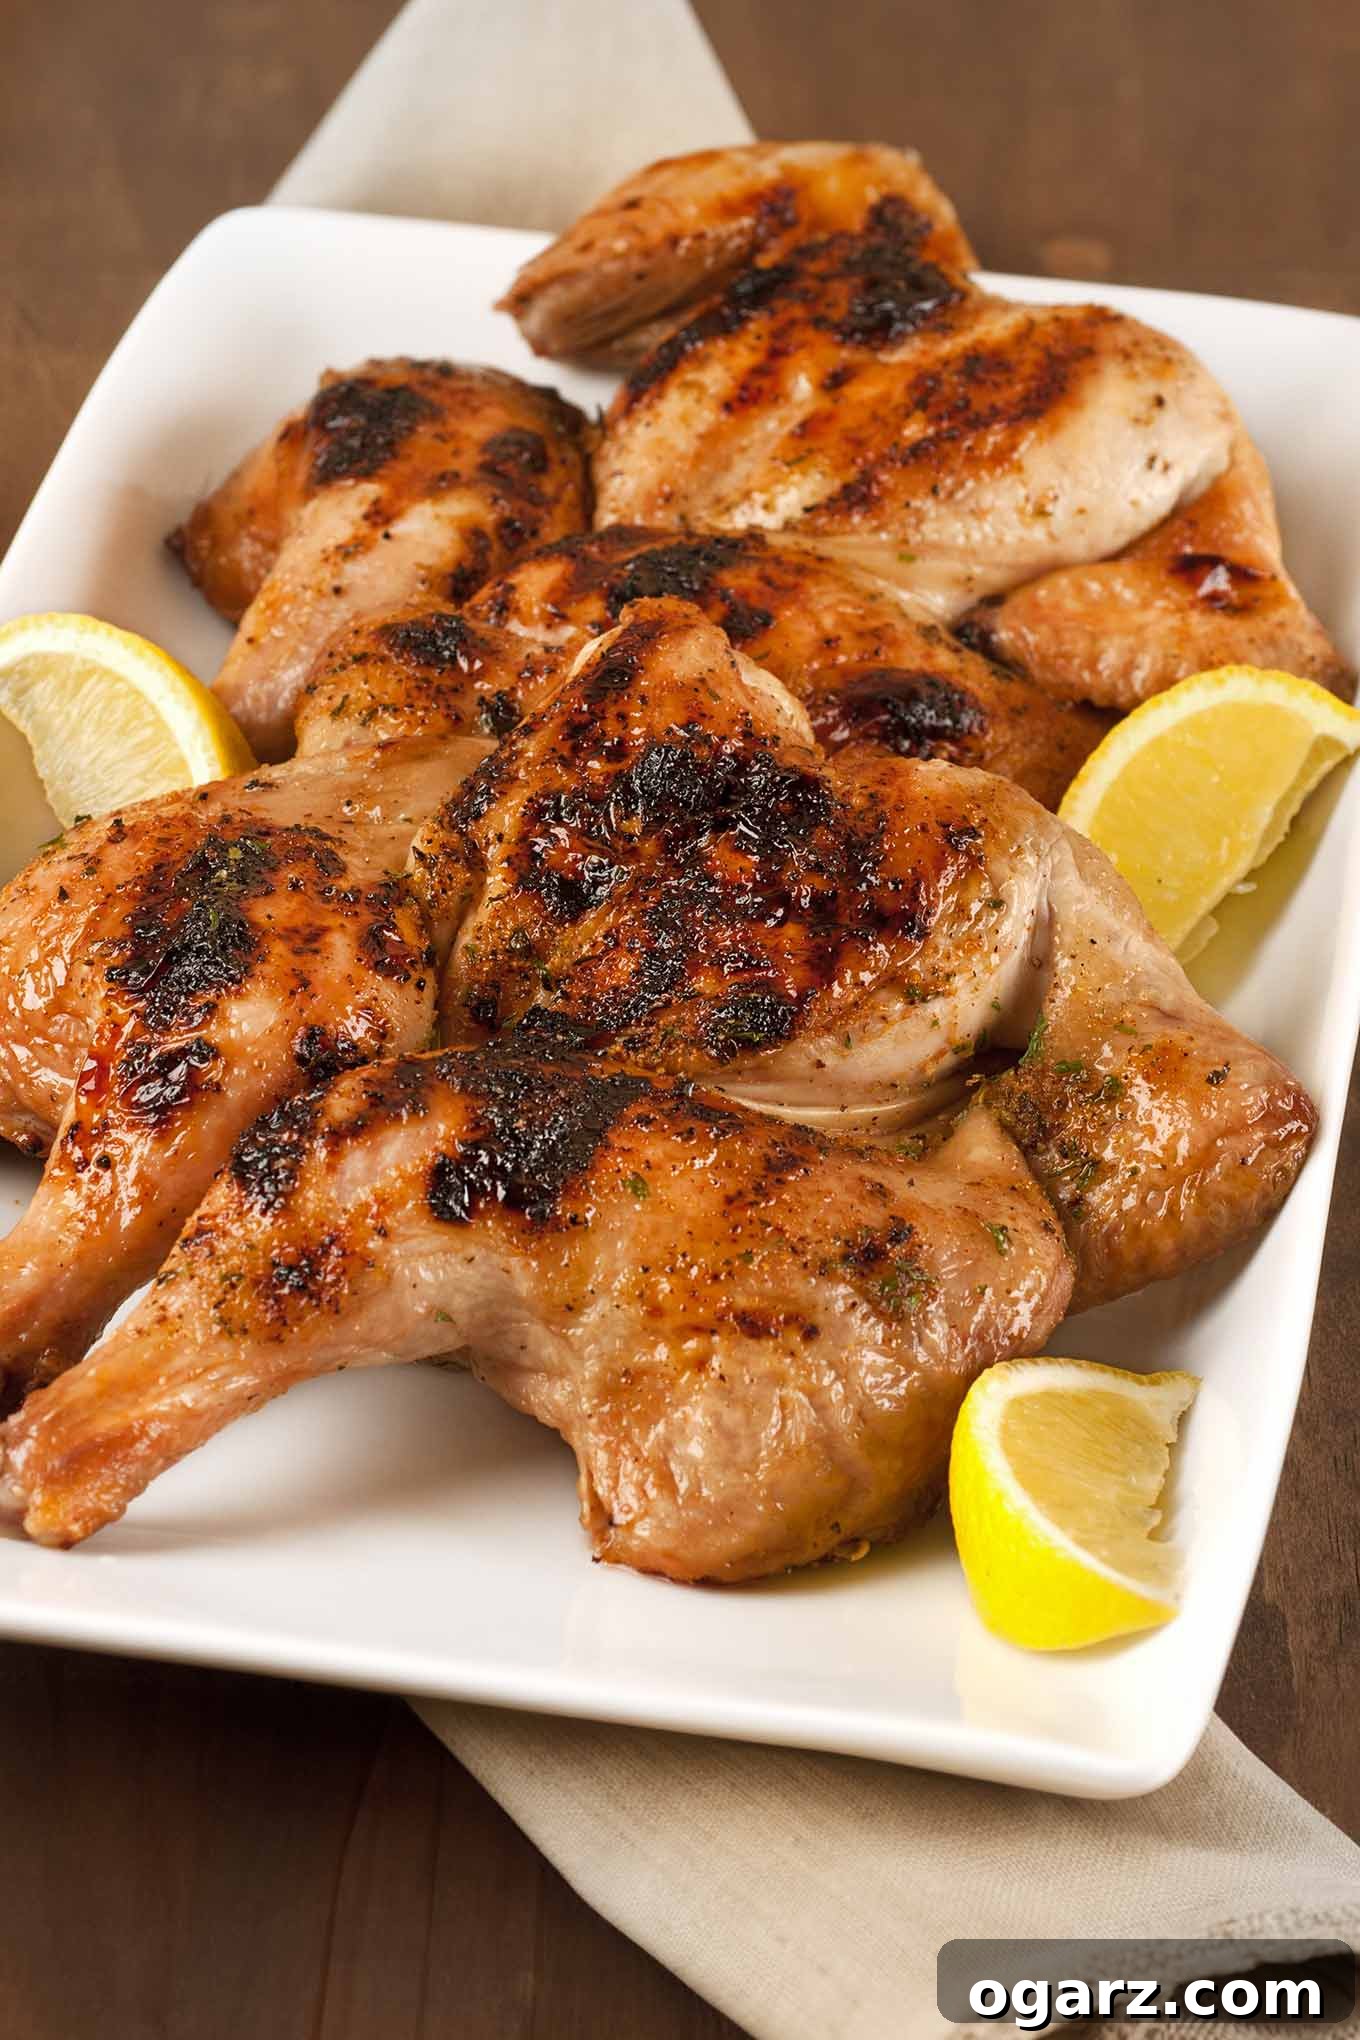
Why Grilled Cornish Hens Are a Culinary Must-Try
Cornish hens are often overlooked in favor of their larger chicken counterparts, but their small stature is actually their superpower, especially when it comes to grilling. These delicate birds are perfectly portioned for individual servings, making every plate feel special and gourmet. Their inherent tenderness and rich, natural flavor mean they require very little fuss or complicated marinades to taste absolutely incredible.
The beauty of grilling Cornish hens lies in their ability to cook quickly and evenly. Once they are split and flattened – a technique known as spatchcocking – they become even more grill-friendly. This method exposes more surface area to the direct heat, ensuring a faster cooking time and promoting an irresistible crispy skin, all while keeping the meat wonderfully moist and juicy. For those who appreciate efficiency without compromising on taste, grilled Cornish hens are a revelation.
Our recipe celebrates this simplicity and natural deliciousness. We enhance the hens with just a hint of salt, pepper, and garlic powder, allowing their inherent taste to shine through. The grand finale is a finishing glaze crafted from sweet honey and tangy fresh lemon juice, which caramelizes beautifully on the grill, adding a vibrant sheen and a burst of complementary flavor. This combination is effortless, quick, and pairs exquisitely with the quintessential flavors of summer, like fresh corn and a crisp green salad, making it an ideal choice for any casual meal or celebratory outdoor feast.
Mastering the Spatchcock Technique for Ultimate Grilling Success
Spatchcocking, also known as butterflying, is a game-changing poultry preparation method that every home cook should know. While the name might sound intimidating, the process itself is straightforward and yields fantastic results, particularly for grilling. It involves removing the bird’s backbone and flattening it, allowing it to lay flat on the cooking surface. This simple modification offers a multitude of benefits that elevate your grilled poultry from good to gourmet:
- Remarkably Faster Cooking: A flattened bird cooks significantly quicker than a whole, rounded one. By spreading the hen out, you maximize its exposure to the heat, reducing grilling time by up to 50%. This is invaluable when you need a delicious meal on the table in a hurry.
- Incredibly Even Cooking: One of the biggest challenges with roasting or grilling whole poultry is achieving even doneness. The breast, being leaner, tends to cook faster than the thighs and legs, often leading to dry breast meat while the dark meat is still catching up. Spatchcocking ensures that all parts of the bird cook at a more uniform rate, resulting in consistently juicy and tender meat throughout.
- Perfectly Crispy Skin: When a hen is flattened, its skin is fully exposed to the direct heat of the grill. This allows the fat to render efficiently and the skin to crisp up beautifully, creating a golden-brown, crackling exterior that adds incredible texture and flavor to every bite.
- Enhanced Flavor Penetration: A flat surface makes it much easier to season the entire bird evenly. Whether you’re rubbing with spices or brushing with a marinade, every nook and cranny can be reached, ensuring deeper flavor in the meat.
- Effortless Presentation: A spatchcocked hen, with its golden, crispy skin, presents wonderfully on a platter, making it an impressive centerpiece for any meal.
All you need is a sturdy pair of kitchen or poultry shears to remove the backbone. The remaining steps are simple and contribute significantly to the overall success of your grilled Cornish hens. Don’t shy away from this technique; it will revolutionize your grilling experience!
Recipe: Grilled Honey-Lemon Spatchcocked Cornish Hens

Grilled Cornish Hens with Honey-Lemon Glaze
Lynne Webb
10 mins
20 mins
30 mins
4 servings
Print Recipe
Ingredients
- 4 Cornish game hens, approximately 1-1/4 to 1-1/2 lbs (560-680g) each
- 3 tablespoons olive oil
- 1-1/2 teaspoons salt
- 3/4 teaspoon garlic powder
- Freshly ground black pepper, to taste (about 1/2 teaspoon)
- 4 lemon wedges, for serving
For the Honey-Lemon Glaze:
- 2 tablespoons honey
- 1 tablespoon freshly squeezed lemon juice
Instructions
-
1. Preheat the Grill: Begin by preheating your gas or charcoal grill to a medium-high heat. The ideal internal temperature for grilling these hens is around 400°F (200°C). Ensure your grill grates are clean before starting.
-
2. Prepare the Honey-Lemon Glaze: In a small bowl, combine the honey and the freshly squeezed lemon juice. Whisk them together until they are fully incorporated, creating a smooth, tangy-sweet glaze. Set this bowl aside for later use.
-
3. Spatchcock the Hens: Place each Cornish hen breast-side down on a sturdy cutting board. Using a pair of sharp poultry shears, carefully cut along both sides of the backbone, starting from the cavity end up to the neck. Remove the backbone entirely. You can save these backbones to make flavorful chicken stock later.
-
4. Flatten the Hens: Flip each hen over so the skin side is facing up. Firmly press down on the breastbone with the heel of your hand until you hear a crack and the hen flattens out. This step is crucial for even cooking and achieving that desirable crispy skin.
-
5. Season the Hens: In a separate small bowl, mix the olive oil, salt, garlic powder, and a generous amount of freshly ground black pepper. Brush this seasoning mixture evenly over both sides of each spatchcocked hen, ensuring they are well coated. For best results, ensure the hens are patted dry before oiling for maximum crispiness.
-
6. First Side Grilling: Once your grill is adequately preheated, lightly oil the grates to prevent the hens from sticking. Carefully place the seasoned hens onto the grill grates, ensuring they are skin-side up. Close the grill lid and cook for 6 to 8 minutes. This initial phase helps to start rendering the fat and crisping the skin.
-
7. Second Side Grilling: Using long-handled tongs and a large spatula for support, flip the hens over so they are now skin-side down. Close the grill lid once more and continue cooking for an additional 6 to 8 minutes, or until an instant-read thermometer inserted into the thickest part of the thigh (making sure not to touch the bone) registers 160°F (71°C).
-
8. Apply the Honey-Lemon Glaze: Turn the hens skin-side up again for the final cooking stage. Liberally brush the reserved honey-lemon glaze over the skin of each hen. The heat from the grill will quickly caramelize the glaze, creating a beautiful golden-brown, slightly sticky finish with a wonderful sweet and tangy flavor.
-
9. Final Cook and Rest: Allow the glazed hens to remain on the grill for just 1 additional minute to set the glaze and achieve perfect caramelization. Then, carefully transfer the cooked hens to a clean serving platter. It is essential to let the hens rest for at least 5 minutes before carving and serving. This resting period allows the juices to redistribute throughout the meat, ensuring every bite is as moist and flavorful as possible. Serve with fresh lemon wedges on the side for an extra burst of zest.
Chef’s Notes & Expert Grilling Tips
Precision with a Thermometer: The size of Cornish hens can vary, and grill temperatures are inherently less consistent than oven temperatures. Therefore, an instant-read meat thermometer is your most reliable tool. While the recipe provides general timing guidelines, always rely on the internal temperature for accurate doneness. Aim for 160°F (71°C) in the thickest part of the thigh before removing from the grill, as carryover cooking will bring it up to the safe 165°F (74°C) during resting.
Managing Grill Flare-Ups: Fat dripping from poultry onto hot coals or burners can cause sudden flare-ups. Keep a close eye on your hens throughout the cooking process. If you notice flames licking up, move the hens to a cooler section of the grill temporarily. You can also close the grill lid for a moment to starve the flames of oxygen. Preventing excessive charring is key to a perfectly cooked hen.
The Golden Rule: Avoid Overcooking: It’s always better to undercook slightly and put the hen back on the grill for a few more minutes than to overcook it. An overcooked bird will be dry and tough, and there’s no way to restore its juiciness. Begin checking internal temperature after about 12-14 minutes of total grilling time to ensure you pull them off at their peak.
For the Ultimate Crispy Skin: To achieve maximum crispiness, ensure your Cornish hens are thoroughly patted dry with paper towels before applying the olive oil and seasoning mixture. Moisture on the skin prevents it from browning and crisping properly.
Lemon Zest for Extra Zing: Consider adding a pinch of lemon zest along with the lemon juice to your glaze for an even more intense citrus aroma and flavor.
Don’t Skimp on Resting Time: The 5-minute resting period is not optional. It allows the muscle fibers to relax and reabsorb the juices, ensuring a tender and succulent final product. Skipping this step can lead to a less juicy hen.
Perfect Pairings: What to Serve with Grilled Cornish Hens
Grilled honey-lemon spatchcocked Cornish hens are a versatile and elegant main course that pairs beautifully with a wide variety of side dishes. Whether you’re planning a casual backyard barbecue or a more refined dinner party, here are some ideas to complete your meal:
Classic & Comforting Sides:
- Sweet Corn on the Cob: A timeless summer staple, whether grilled alongside the hens or simply boiled.
- Fresh Green Salad: A simple mixed greens salad with a light vinaigrette provides a refreshing contrast to the richness of the poultry.
- Roasted Root Vegetables: Carrots, parsnips, or potatoes roasted with herbs and olive oil make a hearty and flavorful accompaniment. Consider roasted asparagus or broccoli for a lighter option.
- Rice Pilaf or Quinoa Salad: A fluffy rice pilaf or a vibrant quinoa salad with fresh vegetables and herbs can soak up any delicious juices from the hens.
Elevated & Creative Options:
- Mediterranean Orzo Salad: A pasta salad with orzo, cherry tomatoes, olives, feta, and a lemon-herb dressing complements the flavors of the glaze beautifully.
- Creamy Polenta: For a more substantial side, a bed of creamy polenta offers a comforting and sophisticated pairing.
- Grilled Vegetables: Continue the grilling theme with skewers of bell peppers, zucchini, red onion, and mushrooms.
- Garlic Mashed Potatoes: A classic for a reason, smooth and buttery mashed potatoes are always a crowd-pleaser.
Beverage Pairings:
- White Wine: A crisp Sauvignon Blanc, Pinot Grigio, or a lightly oaked Chardonnay would complement the lemon and honey notes.
- Red Wine: For red wine enthusiasts, a light-bodied Pinot Noir or a Beaujolais would be a good match.
- Non-Alcoholic: Sparkling lemonade, iced tea, or a refreshing cucumber-mint infused water are excellent choices.
Explore Flavor Variations: Beyond Honey-Lemon
While the honey-lemon glaze is a fantastic choice, the natural flavor and quick-cooking nature of spatchcocked Cornish hens make them a perfect canvas for culinary experimentation. Don’t hesitate to personalize this recipe with different rubs and glazes to suit your taste or occasion:
Herbaceous & Aromatic:
- Rosemary & Garlic: Instead of garlic powder, use minced fresh garlic and finely chopped fresh rosemary in your olive oil rub. This creates a deeply aromatic and earthy flavor profile.
- Thyme & Sage: A blend of dried thyme and sage, perhaps with a hint of onion powder, can give the hens a rustic, comforting taste, especially when paired with a light chicken or vegetable stock glaze.
Spicy & Bold:
- Smoked Paprika & Cayenne: Add a generous amount of smoked paprika and a pinch of cayenne pepper to your seasoning mix for a warm, smoky, and slightly spicy kick.
- Chipotle-Lime: Create a glaze with lime juice, a touch of honey, and a teaspoon of adobo sauce from canned chipotles for a smoky, spicy, and tangy finish.
Global Inspirations:
- Asian Sesame-Ginger: Replace the honey-lemon glaze with a mixture of soy sauce, grated fresh ginger, minced garlic, sesame oil, and a touch of brown sugar. Garnish with toasted sesame seeds.
- Harissa & Orange: For a North African twist, mix harissa paste with olive oil and rub it onto the hens. Finish with a light glaze of orange juice and a tiny bit of honey.
- Mediterranean Herb Rub: Combine dried oregano, marjoram, basil, and a pinch of red pepper flakes with olive oil for a classic Mediterranean flavor.
Experiment with your favorite herbs and spices; the possibilities are endless when it comes to enhancing these delightful little birds!
Make Ahead and Storage Tips
While grilled Cornish hens are at their absolute best when served fresh off the grill, you can certainly do some prep work in advance to make your cooking day smoother. This recipe is also excellent for meal prepping or enjoying as leftovers.
Advance Preparation:
- Spatchcocking and Seasoning: You can spatchcock the hens up to 24 hours before grilling. After spatchcocking and seasoning them with the olive oil, salt, garlic powder, and pepper, place them skin-side up on a wire rack set over a baking sheet. Refrigerate uncovered. This helps the skin dry out, promoting even crispier results during grilling.
- Prepare the Glaze: The honey-lemon glaze can be made a few days in advance and stored in an airtight container in the refrigerator. Just give it a good stir before using.
Storing Leftovers:
- Refrigeration: Any leftover grilled Cornish hens should be stored in an airtight container in the refrigerator for up to 3-4 days.
- Reheating: For best results, gently reheat the hens in a preheated oven at 300°F (150°C) until warmed through, or use an air fryer to help re-crisp the skin. Avoid microwaving, as it can make the skin soggy and the meat rubbery.
- Versatile Leftovers: Leftover hen meat can be shredded and used in salads, sandwiches, wraps, tacos, or even added to soups and stews for a quick protein boost.