
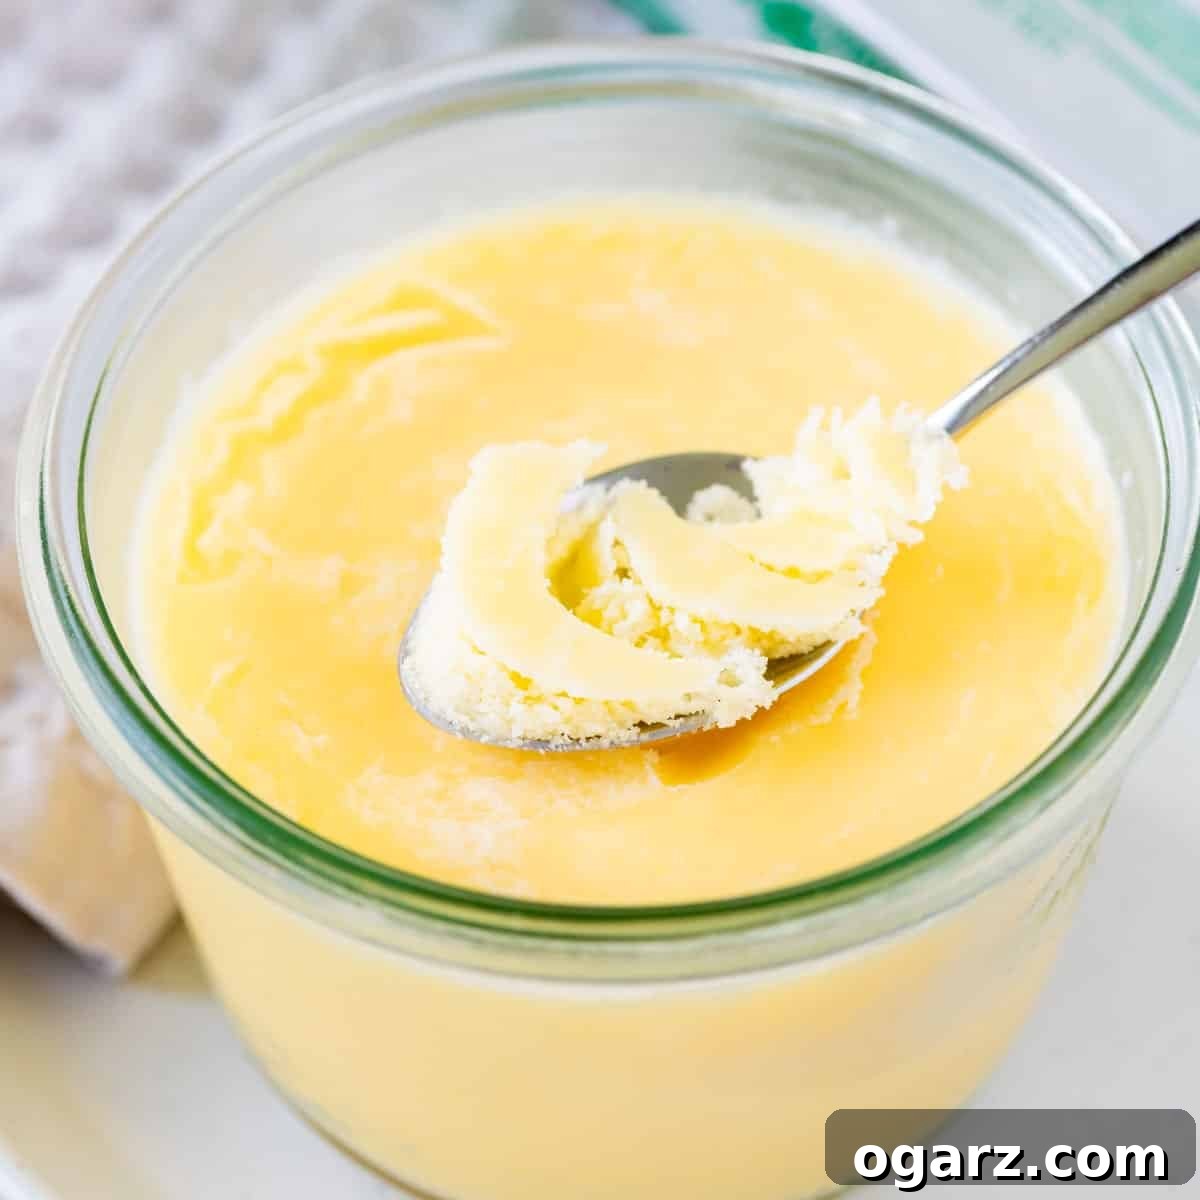
Clarified butter is an indispensable ingredient for countless culinary applications, offering a rich, pure butter flavor and an exceptionally high smoke point. This golden elixir, often overlooked, transforms everyday cooking into something extraordinary, making it perfect for frying, sautéing, and even baking. Closely related to Ghee, clarified butter elevates dishes with its distinct taste and superior cooking properties.
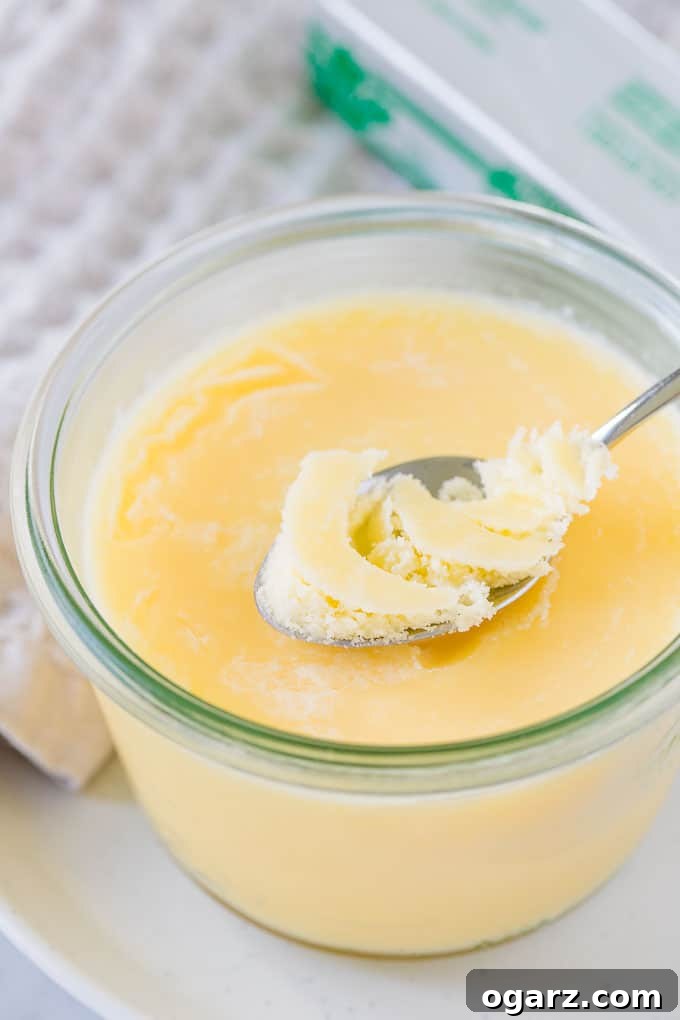
Understanding Clarified Butter: What It Is and Why It’s Superior
At its core, clarified butter is pure butterfat. It is created by slowly melting regular butter, allowing the water to evaporate and the milk solids to separate and settle at the bottom. The foamy milk solids that rise to the surface are skimmed off, leaving behind a clear, golden liquid that is 100% butterfat. This meticulous process removes the components of butter that cause it to burn quickly, namely the water and milk solids (proteins and sugars).
The primary advantage of clarified butter lies in its higher smoke point. While regular butter typically smokes and burns around 302-350°F (150-175°C), clarified butter can withstand temperatures of up to 450-485°F (232-252°C). This makes it an ideal fat for high-heat cooking methods such as searing, frying, and sautéing, where regular butter would quickly turn brown and impart a bitter, burnt taste to your food. Beyond its heat tolerance, clarified butter also adds more flavor than neutral oils, offering a deeply concentrated, nutty, and rich buttery essence that enhances any dish without overpowering it.
Clarified Butter vs. Ghee vs. Regular Butter
While often used interchangeably, there are subtle differences between clarified butter and ghee, both of which are distinct from regular butter:
- Regular Butter: Comprises butterfat (around 80%), water (15-18%), and milk solids (1-2%). The presence of water and milk solids makes it prone to burning at lower temperatures and gives it a shorter shelf life. It has a creamy texture and a fresh, delicate dairy flavor.
- Clarified Butter: Achieved by removing most of the water and milk solids. The butter is heated just long enough for the solids to separate and for the foam to be skimmed off, leaving a clear, golden butterfat. The solids are not allowed to brown. This results in a pure butterfat with a clean, intense buttery flavor and a high smoke point.
- Ghee: Ghee takes the clarifying process a step further. After the milk solids separate, the butter is allowed to simmer for a longer period until the milk solids at the bottom begin to caramelize and brown. This browning imparts a distinctive nutty aroma and a richer, more complex flavor profile, often described as toasted or caramel-like. Ghee is particularly popular in South Asian and Middle Eastern cuisines.
Both clarified butter and ghee offer benefits over regular butter, including a longer shelf life and suitability for lactose-intolerant individuals (as most lactose is removed with the milk solids). However, the choice between them often comes down to the desired flavor profile in your cooking.
A Culinary Staple Across Cultures
Clarified butter is not just a modern kitchen hack; it’s a revered ingredient with a rich history in various global cuisines. In German-speaking countries, it’s known as Butterschmalz, and it’s a cornerstone of traditional cooking. From achieving the perfect golden crust on German Schnitzel to making delicate Pfannkuchen (German Pancakes) and crisp potato dishes, Butterschmalz is prized for its ability to fry without burning and impart a depth of flavor that oils simply cannot replicate. Its purity and versatility have made it a favorite among professional chefs and home cooks alike who seek to enhance the taste and texture of their dishes.
How to Make Clarified Butter at Home: A Step-by-Step Guide
Making clarified butter is a simple yet rewarding process that requires patience and attention. Once you master it, you’ll have a versatile cooking fat that will revolutionize your kitchen. Here’s how to do it:
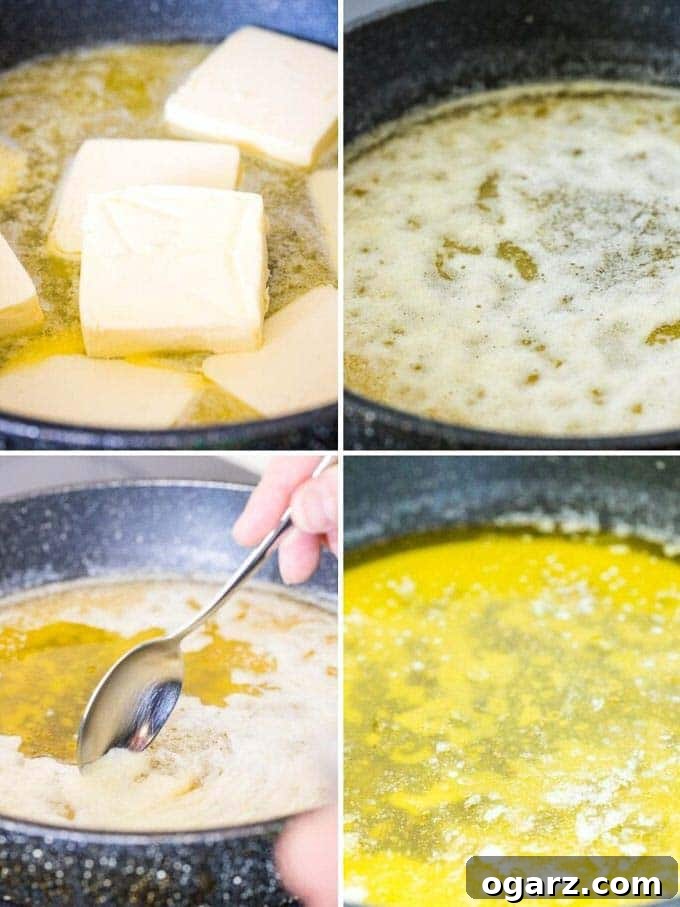
- Prepare the Butter: Start by cutting your butter into uniform cubes or slices. This ensures that the butter melts evenly, preventing some parts from overheating while others are still solid. Place the butter in a large, heavy-bottomed saucepan.
- Melt Gently Over Low Heat: Begin melting the butter over very low heat. This slow and gentle melting is crucial as it allows the butter to separate gradually without burning the milk solids. Avoid rushing this step with high heat.
- Simmer and Skim: As the butter fully melts, bring it to a gentle simmer. You will notice a layer of foam rising to the surface – these are the milk solids. Do not stir the butter; allow the separation to occur naturally. Use a clean spoon or a skimmer to carefully remove and discard this foam. It’s okay if you don’t get every last bit, as the final straining will take care of any remaining impurities.
- Observe for Clarity and Separation: Continue to simmer the butter gently. The bubbling will gradually subside as the water content boils off. You’ll notice the butter separating into three distinct layers: the foamy milk solids on top (which you’ve skimmed), a clear golden liquid in the middle (this is your clarified butter), and denser milk solids settled at the bottom of the pan. The process is complete when the bubbling significantly reduces, indicating most of the water has evaporated, and the butterfat appears perfectly clear and golden. This usually takes about 15-20 minutes, depending on the amount of butter.
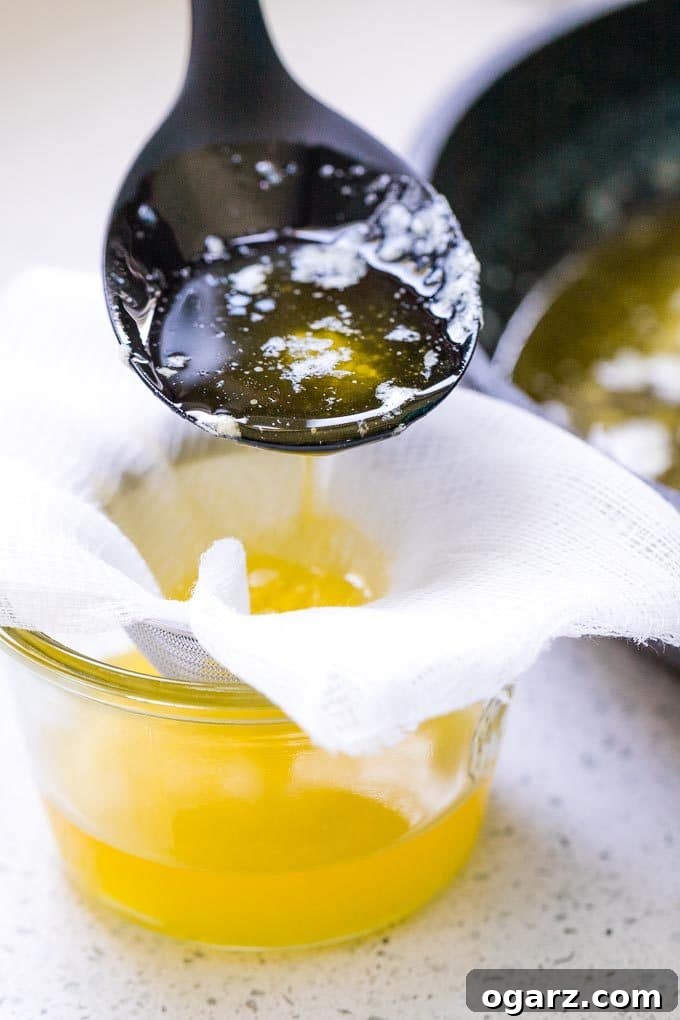
- Strain for Purity: Carefully remove the saucepan from the heat. To achieve truly pure clarified butter, strain the liquid through a fine-mesh sieve lined with several layers of cheesecloth. Position the sieve over a heat-proof glass jar or container. Pour the hot butterfat slowly through the cheesecloth, allowing it to filter out any remaining milk solids that may have settled at the bottom or clung to the sides. Discard the filtered solids.
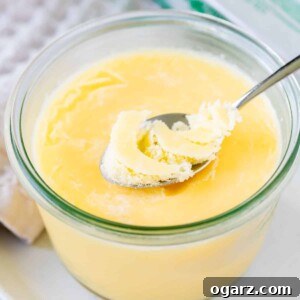
- Cool and Store: Allow the clarified butter to cool completely at room temperature before sealing the container. Once cooled, it will solidify into a pale yellow, smooth consistency.
Expert Tips for Clarified Butter Perfection
Achieving perfect clarified butter consistently is easy with these insider tips:
- Choose Unsalted Butter: Always start with unsalted butter. This gives you complete control over the final flavor of your clarified butter, especially if you plan to use it in both sweet and savory dishes. Salted butter can lead to an overly salty product.
- Invest in High-Quality Butter: The flavor of your clarified butter is directly proportional to the quality of the butter you start with. Opt for a high-fat, good-quality butter (European-style butter works wonderfully) for the best, richest results.
- Uniform Butter Pieces: Cutting the butter into smaller, uniform pieces ensures even melting. This prevents some parts of the butter from overheating and browning prematurely while others are still melting, leading to a clearer final product.
- Use a Heavy-Bottomed Pan: A heavy-bottomed saucepan is essential. It distributes heat more evenly across the bottom, reducing hot spots and significantly minimizing the risk of scorching or burning the milk solids during the clarifying process.
- Maintain Low Heat: Patience is key! Melt and simmer the butter over consistently low heat. High heat can cause the milk solids to brown or burn too quickly, which can introduce an undesirable flavor or even ruin the batch.
- Gentle Skimming is Best: As foam rises, skim it off carefully. This foam primarily consists of milk solids that would otherwise remain suspended in the butter. A gentle hand prevents mixing the separated layers.
- Resist the Urge to Stir: During the clarifying process, avoid stirring the butter. Stirring will re-incorporate the separated milk solids back into the liquid, making it harder to achieve a perfectly clear butterfat and prolonging the process.
- Observe the Layers: Pay close attention as the butter clarifies. You’ll clearly see the distinct layers forming: foam on top, clear golden liquid in the middle, and solids at the bottom. This visual cue helps you know when it’s nearing completion.
- Double Strain for Purity: Using a fine-mesh strainer lined with several layers of cheesecloth is critical for removing all residual milk solids. For an even purer result, you can strain it twice.
- Experiment with Infused Flavors: Once you’re comfortable with the basic process, get creative! Add aromatics like garlic cloves, sprigs of fresh rosemary or thyme, whole spices, or even chili flakes to the butter as it clarifies. The butterfat will absorb these flavors beautifully, creating a gourmet infused butter perfect for specific dishes.
- Scaling the Recipe: Feel free to double or triple the amount of butter. Just remember that increasing the volume will naturally extend the melting and simmering time, so adjust your cooking duration accordingly.
Frequently Asked Questions About Clarified Butter
Clarified butter and Ghee are indeed very similar, both being pure butterfat. The main difference lies in the cooking time. Clarified butter is cooked just long enough to separate and remove the milk solids. Ghee, however, is cooked slightly longer, allowing the milk solids at the bottom of the pan to brown and caramelize, which imparts a distinctive nutty, toasted, and more intense flavor profile and aroma, similar to browned butter. This extra step gives ghee its characteristic rich depth.
Absolutely! Clarified butter possesses a significantly more concentrated, pure, and intensely buttery flavor than regular butter. The removal of water and milk solids eliminates the creamy, fresh dairy notes of regular butter, leaving behind a rich, slightly nutty, and clean butterfat taste that greatly enhances the foods it’s cooked with.
The distinctions are notable. Clarified butter differs from regular butter in several key ways: it boasts a much higher smoke point (450°F vs. 302-350°F), making it superior for high-heat cooking; it has a significantly longer shelf life due to the absence of water and milk solids that cause spoilage; and it offers a more concentrated, purer buttery flavor. Furthermore, many people with lactose or casein sensitivities find clarified butter and ghee to be digestible, as these milk components are largely removed in the clarifying process.
Unlocking Flavor: Versatile Uses for Clarified Butter in Your Kitchen
Clarified butter is a true culinary multitasker. Its high smoke point and pure flavor make it excellent for a wide range of cooking methods, imparting a rich, buttery taste without the risk of burning. Here are just a few of the many ways you can incorporate this golden liquid into your cooking:
- Searing and Frying Meats: Achieve a perfect golden-brown crust on steaks, chicken, pork chops, or fish. The high smoke point means you can get a beautiful sear without the butter burning.
- Classic French Sauces: It’s the secret ingredient for emulsified sauces like Hollandaise Sauce and Béarnaise, providing stability and a silky texture.
- Roasting Vegetables: Toss vegetables like potatoes, carrots, or asparagus with clarified butter before roasting for a deliciously buttery and crisp exterior.
- Fluffy Popcorn: Drizzle over freshly popped popcorn for a rich, authentic movie-theater flavor without any sogginess.
- Pancakes and Crêpes: Use it to cook your morning pancakes, French Crêpes, or waffles. It ensures they cook evenly and take on a beautiful golden hue.
- Perfect Eggs: Ideal for frying or scrambling eggs, ensuring they don’t stick and develop a superior flavor.
- Stir-Fries: Replace vegetable oil with clarified butter in your stir-fries for an extra layer of richness and flavor.
- Gourmet Grilled Cheese: Butter the outside of your bread with clarified butter for an incredibly crispy and golden grilled cheese sandwich.
- Basting: Baste roasted chicken, turkey, or fish to keep them moist and infuse them with rich flavor.
- Confit: A traditional method of preserving food, often duck, by cooking it in its own fat. Clarified butter can be used for smaller confit preparations.
- Baking: In some recipes, clarified butter can substitute for regular butter or oil, especially when a pure butter flavor and lighter texture are desired.
Proper Storage for Maximum Shelf Life
One of the fantastic benefits of clarified butter is its remarkably long shelf life. By removing the water and milk solids, you eliminate the components most susceptible to spoilage. To ensure your homemade clarified butter lasts as long as possible, proper storage is essential.
Once your clarified butter has been strained, transfer it to a clean, dry, and airtight glass jar or container while it’s still warm. Sealing it tightly prevents exposure to air, which can lead to oxidation and eventual spoilage. It’s always a good practice to label the container with the date you made it, so you can keep track of its freshness.
Once the butter has completely cooled and solidified, store it in the refrigerator. When stored properly in an airtight container in the fridge, clarified butter can last for several months to a year, sometimes even longer. This makes it an excellent pantry staple for convenient, flavorful cooking. You can also freeze clarified butter for an even longer storage solution; it will keep well in the freezer for over a year. While clarified butter can be stored at cool room temperature for a shorter period (a few weeks) in a very cool pantry, refrigeration is recommended for extended preservation to prevent rancidity, especially in warmer climates.
More German Recipes to Try
German Recipes
Radler Beer
German Recipes
German Cheesecake
German Recipes
Cheese Spaetzle Recipe
German Recipes
German Potato Salad
Print Recipe
Clarified Butter (Butterschmalz)
Julia Foerster
5 minutes
20 minutes
25 minutes
1
jar
Ingredients
-
1
cup
unsalted butter
Instructions
-
Cut the butter into uniform cubes or slices.
-
In a large, heavy-bottomed saucepan, melt the butter over low heat.
-
When it’s fully melted, bring it to a gentle simmer. As the butter melts, foam will rise to the surface. Use a spoon or skimmer to carefully skim off and discard the foam.
-
It is done when the bubbling mostly stops and the butter has separated into clear butterfat and solids. This will take about 5–10 minutes.
-
Strain the liquid butter through a fine-mesh sieve covered with a few layers of cheesecloth into a glass jar or container. This way all the solid bits get filtered out.
Notes
- Use unsalted butter: Start with unsalted butter to have better control over the flavor and reduce the risk of ending up with overly salty clarified butter.
- Use high-quality butter: The quality of your butter will affect the flavor of the clarified butter, so opt for high-quality butter for the best results.
- Cut the butter into uniform pieces: Cutting the butter into smaller, uniform pieces will help it melt evenly and reduce the chances of overheating or burning.
- Use a heavy-bottomed saucepan: A heavy-bottomed saucepan distributes heat more evenly and helps prevent scorching or burning during the clarifying process.
- Melt the butter over low heat: Start with low heat to gently melt the butter. Avoid high heat, which can cause the milk solids to brown or burn.
- Skim off the foam: As the butter melts, foam will rise to the surface. Use a spoon or skimmer to carefully skim off and discard the foam. This foam consists of milk solids.
- Don’t stir the butter: Avoid stirring the butter during the clarifying process, as this can mix the milk solids back into the liquid.
- Watch for the separation: As the butter clarifies, you will notice a clear, golden liquid on top and milk solids at the bottom. Be patient and let the separation occur naturally.
- Use a fine mesh strainer or cheesecloth: When pouring off the clarified butter, strain it through a fine mesh strainer or cheesecloth to remove any remaining solids.
- Experiment with flavors: Consider adding herbs, spices, or aromatics like garlic or shallots to the clarified butter during the clarifying process to infuse it with different flavors.
- Doubling the recipe: You can double or triple the amount of butter, but the cooking time will be longer.
Nutrition
Calories: 1628 kcal | Carbohydrates: 1g | Protein: 2g | Fat: 184g | Saturated Fat: 117g | Cholesterol: 488mg | Sodium: 25mg | Potassium: 54mg | Sugar: 1g | Vitamin A: 5673IU | Calcium: 54mg