
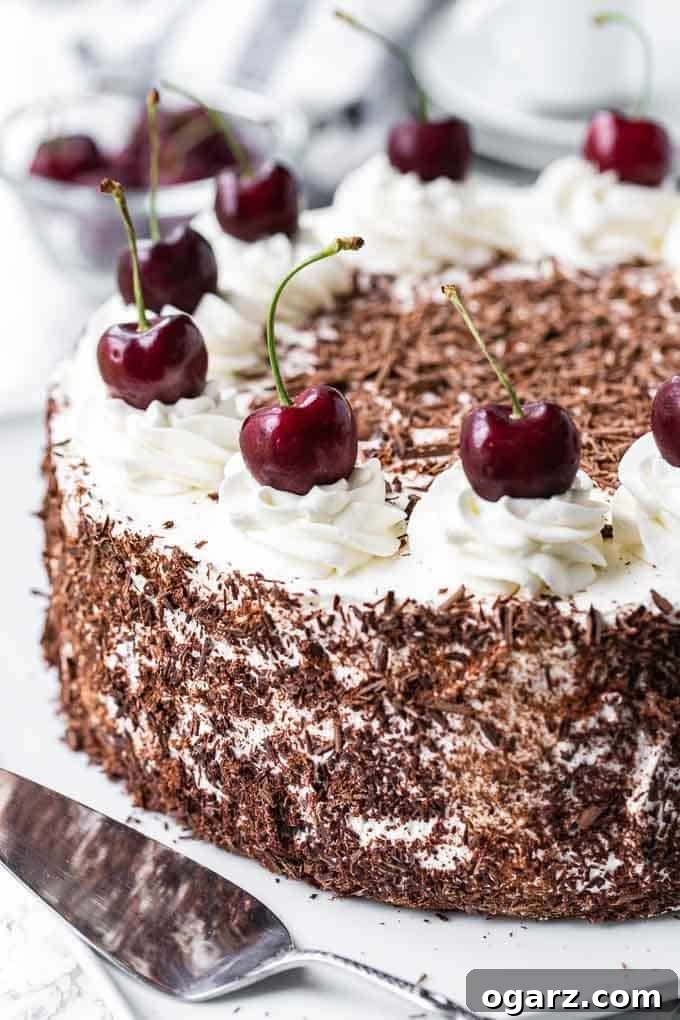
Black Forest Cake, known in German as Schwarzwälder Kirschtorte, is far more than just a dessert; it’s a culinary icon, a celebratory center-piece, and arguably Germany’s most renowned cake. This opulent creation features decadent layers of light, airy chocolate sponge cake, generously filled with luscious whipped cream and a rich, homemade sour cherry filling. Adorned with more cream, elegant chocolate shavings, and fresh cherries, it’s a showstopper perfect for any special occasion. Forget store-bought mixes or overly simplified versions – this authentic recipe guides you through creating a truly traditional Black Forest Gateau from scratch, ensuring an unforgettable taste experience.
Each bite of this classic German masterpiece offers a harmonious blend of deep chocolate, tart cherries, and sweet, ethereal cream, often enhanced by a hint of Kirschwasser (cherry brandy). It’s a dessert that perfectly balances indulgence with delicate textures, making it a beloved staple at birthdays, holidays, and family gatherings across Germany and around the world. Prepare to embark on a delightful baking journey that culminates in a dessert that is as stunning to behold as it is delicious to eat.
Why This Black Forest Cake Recipe is a Must-Try
- Authenticity Guaranteed: As a German baker, I bring you a recipe passed down through generations, directly from my Oma’s kitchen. This isn’t just a Black Forest Cake; it’s Schwarzwälder Kirschtorte in its truest form. It’s meticulously crafted with traditional techniques, using an egg-rich sponge, cooked sour cherry filling, and real whipped cream, completely free from butter, oil, or instant coffee that some modern recipes unfortunately incorporate. If you seek the genuine taste of Germany, this is the recipe you need.
- Simplified for Success: While Black Forest Cake might seem daunting, I’ve broken down each step into clear, manageable instructions. My comprehensive tips and tricks address common challenges, making this intricate cake approachable even for novice bakers. You’ll gain the confidence to create a stunning, professional-looking cake right in your own kitchen.
- Superior Cooked Cherry Filling: Unlike some recipes that opt for fresh cherries, our traditional cooked cherry filling, made from jarred sour cherries, offers unparalleled benefits. This method ensures a consistent, vibrant flavor, a perfectly thick texture that won’t bleed into your pristine whipped cream, and exceptional stability, allowing the cake to hold up beautifully for longer enjoyment. It’s the secret to that classic tart-sweet cherry burst.
- Effortless Single Cake Layer Baking: Say goodbye to juggling multiple baking pans! This recipe ingeniously uses one 8-inch cake, which you then expertly slice into three perfect layers. This not only simplifies the baking process but also results in a lighter, more delicate chocolate sponge. The single, taller cake is also significantly easier to handle and decorate, contributing to a flawless finish.
- Perfect Balance of Flavors and Textures: This recipe delivers the quintessential Black Forest experience – a delicate, moist chocolate sponge, infused with a hint of Kirsch, harmoniously layered with tart, fruity cherries and light, sweet whipped cream. Every element plays a crucial role in creating a balanced, unforgettable dessert that truly sings with German heritage.
Craving more authentic German delights? Expand your baking repertoire with my delightful German Apple Cake (Versunkener Apfelkuchen), creamy German Cheesecake (Käsekuchen), or the comforting German Plum Cake (Pflaumenkuchen) with streusel.
Key Ingredients for an Authentic Black Forest Cake (& Smart Swaps)
Crafting the perfect Black Forest Cake requires attention to detail and the right ingredients. Here’s a comprehensive overview of what you’ll need and potential substitutions to ensure success. For precise quantities, please refer to the recipe card at the bottom of this article.
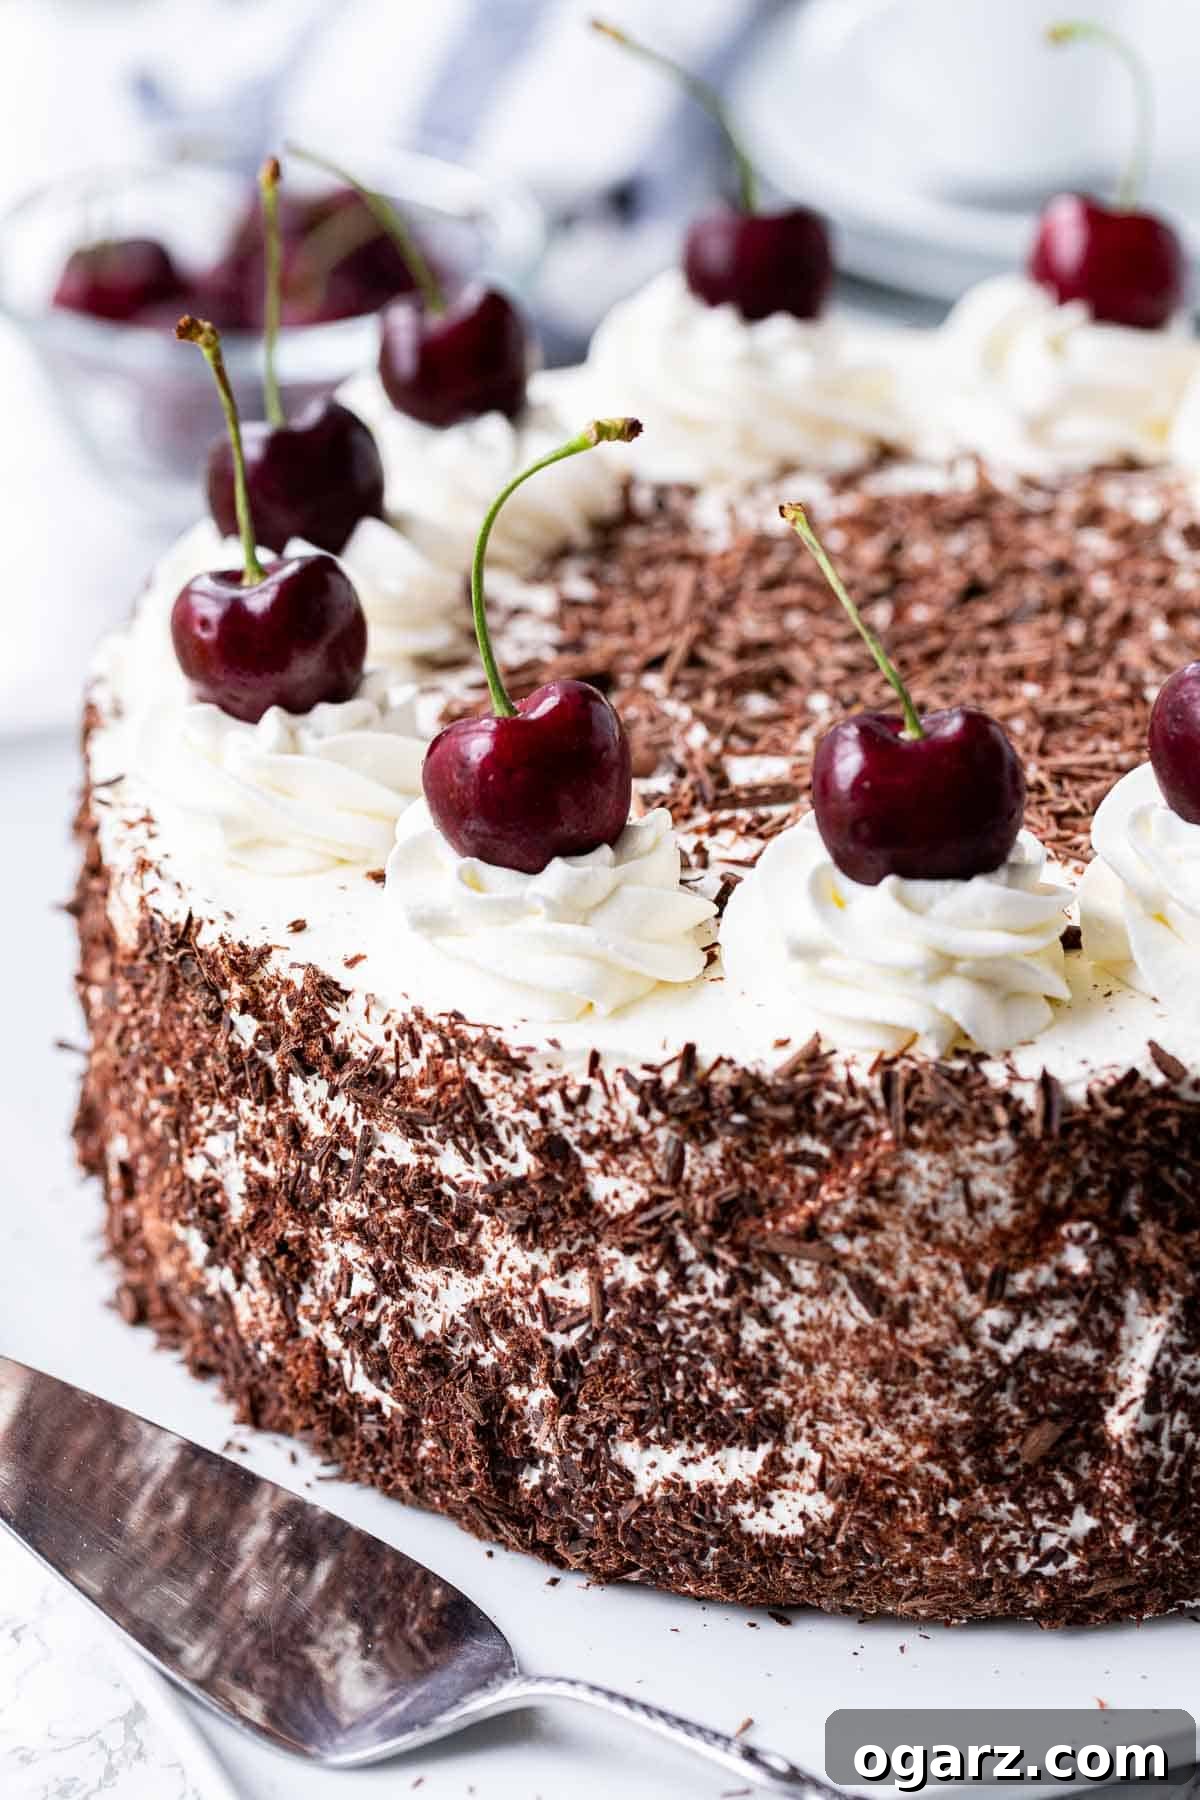
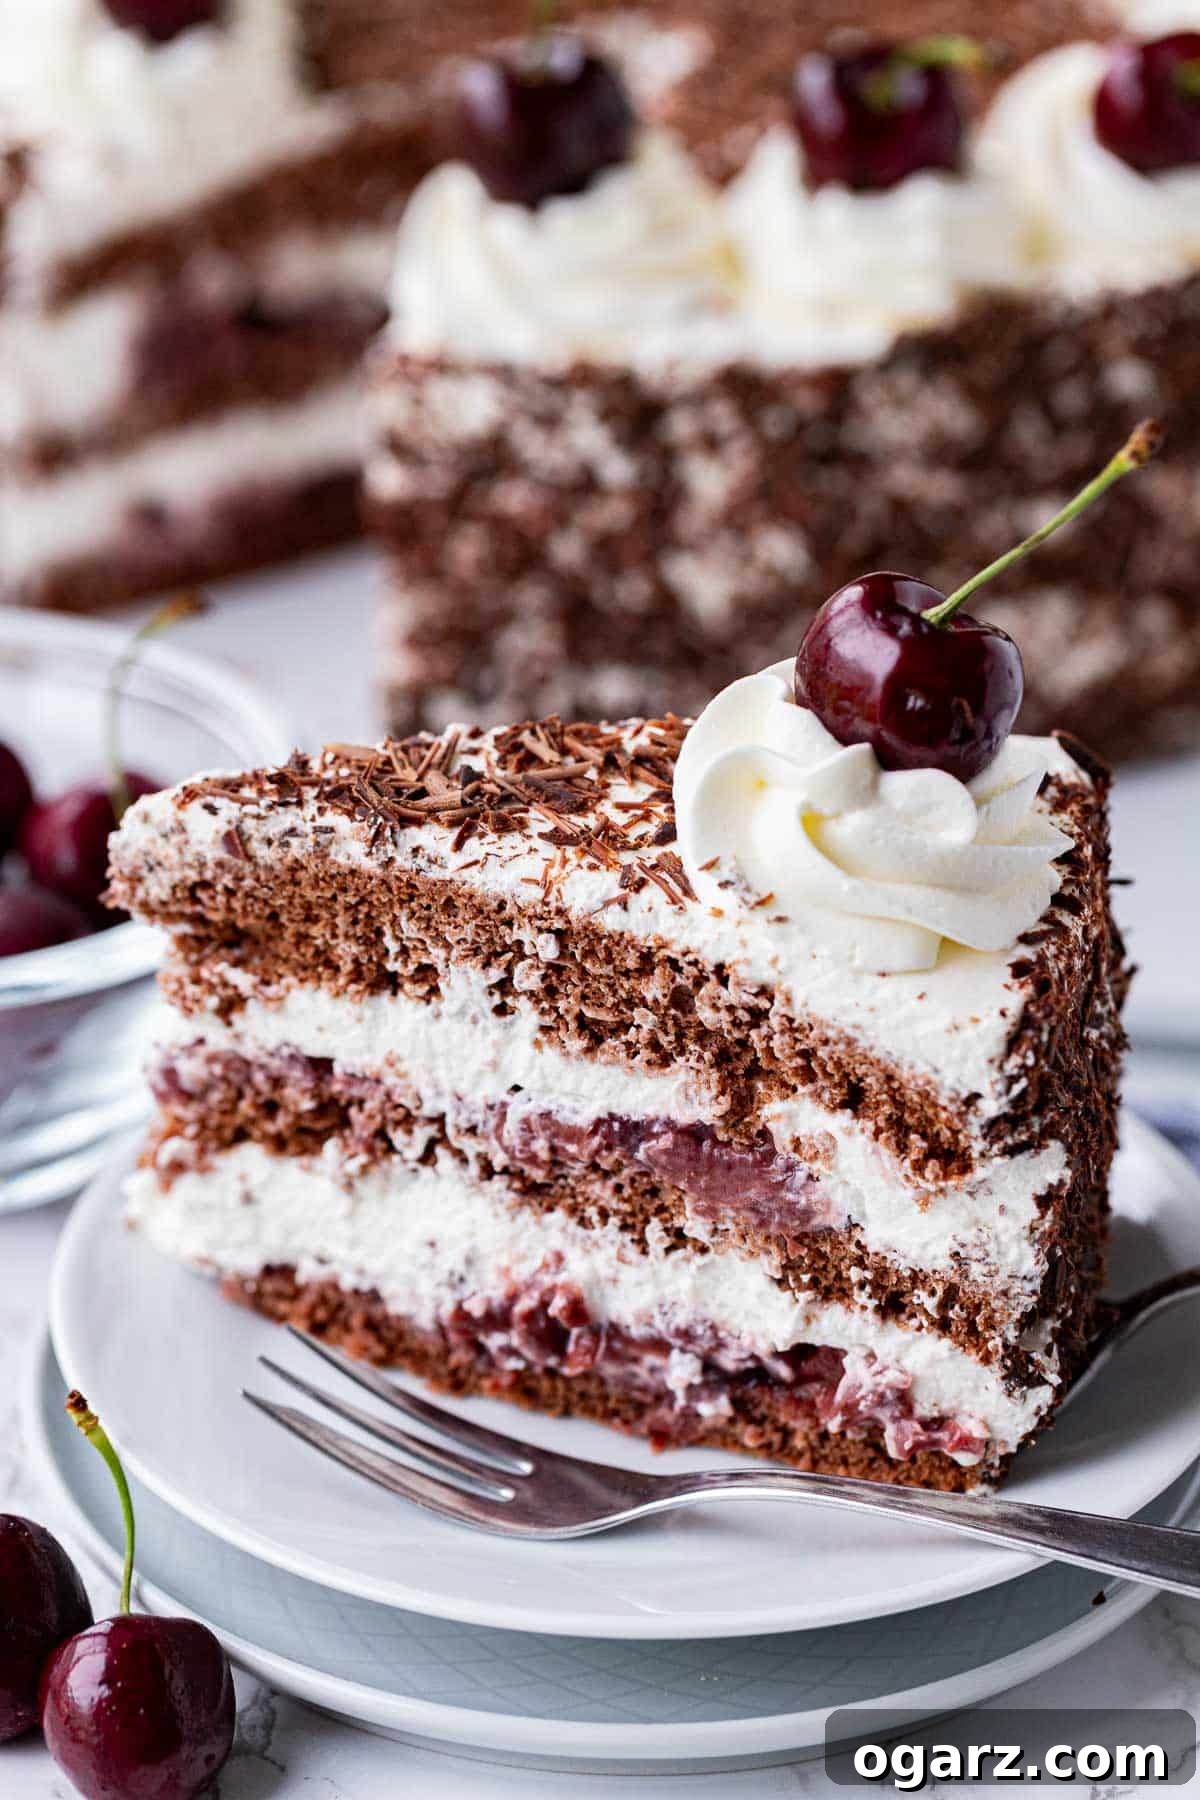
At its heart, Black Forest Cake, or Black Forest Gateau, is a magnificent chocolate sponge cake thoughtfully layered with a decadent cherry filling and an abundance of freshly whipped cream. The cake is then elegantly finished with additional whipped cream, delicate chocolate shavings, and often whole, glistening cherries.
- Kirsch (Kirschwasser): This clear, unaged cherry brandy is the soul of an authentic Black Forest Cake. Traditionally, Kirschwasser is generously brushed onto the cake layers, imparting a distinct, aromatic cherry flavor that is unique and essential to the cake’s profile.
- Swap: If you prefer to avoid alcohol or cannot find Kirsch, substitute it with an equal amount of pure cherry juice. Do not use cherry brandy, as it has a different flavor profile and sweetness level than traditional Kirsch.
- Sour Cherries (Morello Cherries): For this recipe, I highly recommend a 24 oz jar of pitted sour cherries (affiliate link), often labeled as Dark Morello Cherries, packed in light syrup or cherry juice. These are ideal for the traditional cooked filling because they maintain their shape and provide a perfect balance of tartness. You can often find them in the international aisle of supermarkets like Walmart, Aldi, or Trader Joe’s. A 24 oz jar typically yields approximately 1.5 cups of liquid after draining, which is precisely what you need for the filling.
- Swap: If jarred cherries are unavailable, you can use 2 cups of canned cherries (drained) or defrosted frozen sour cherries. If using cherries not packed in light syrup, you might need to adjust the sugar content in the filling; otherwise, the cake could become overly sweet. In such cases, use 1.5 cups of unsweetened cherry juice instead of the syrup from the jar.
- Cocoa Powder: Dutch-process cocoa powder is my go-to choice and is commonly used in German baking. It provides a darker, richer color and a milder, less acidic chocolate flavor compared to natural cocoa powder. This contributes to the beautiful contrast and depth of flavor in the chocolate sponge.
- Flour: To achieve an incredibly light and airy sponge cake, this recipe calls for a blend of all-purpose flour and cornstarch. This simple combination effectively mimics the properties of cake flour, resulting in a tender crumb that is characteristic of a true German Biskuitkuchen.
- Eggs: Eggs are paramount for the structure and fluffiness of the sponge cake. Specifically, separating the eggs and whipping the whites to soft peaks is crucial. The whipped egg whites act as the primary leavening agent, creating a delicate, airy texture without the need for butter or oil in the cake batter itself. Use large eggs for consistent results.
- Heavy Cream: High-quality heavy whipping cream is essential for a stable and luxurious whipped cream. Opt for cream with a fat content of at least 35% or higher, as this ensures it whips up beautifully into stiff peaks and holds its shape without collapsing. Always ensure your cream is very cold before whipping.
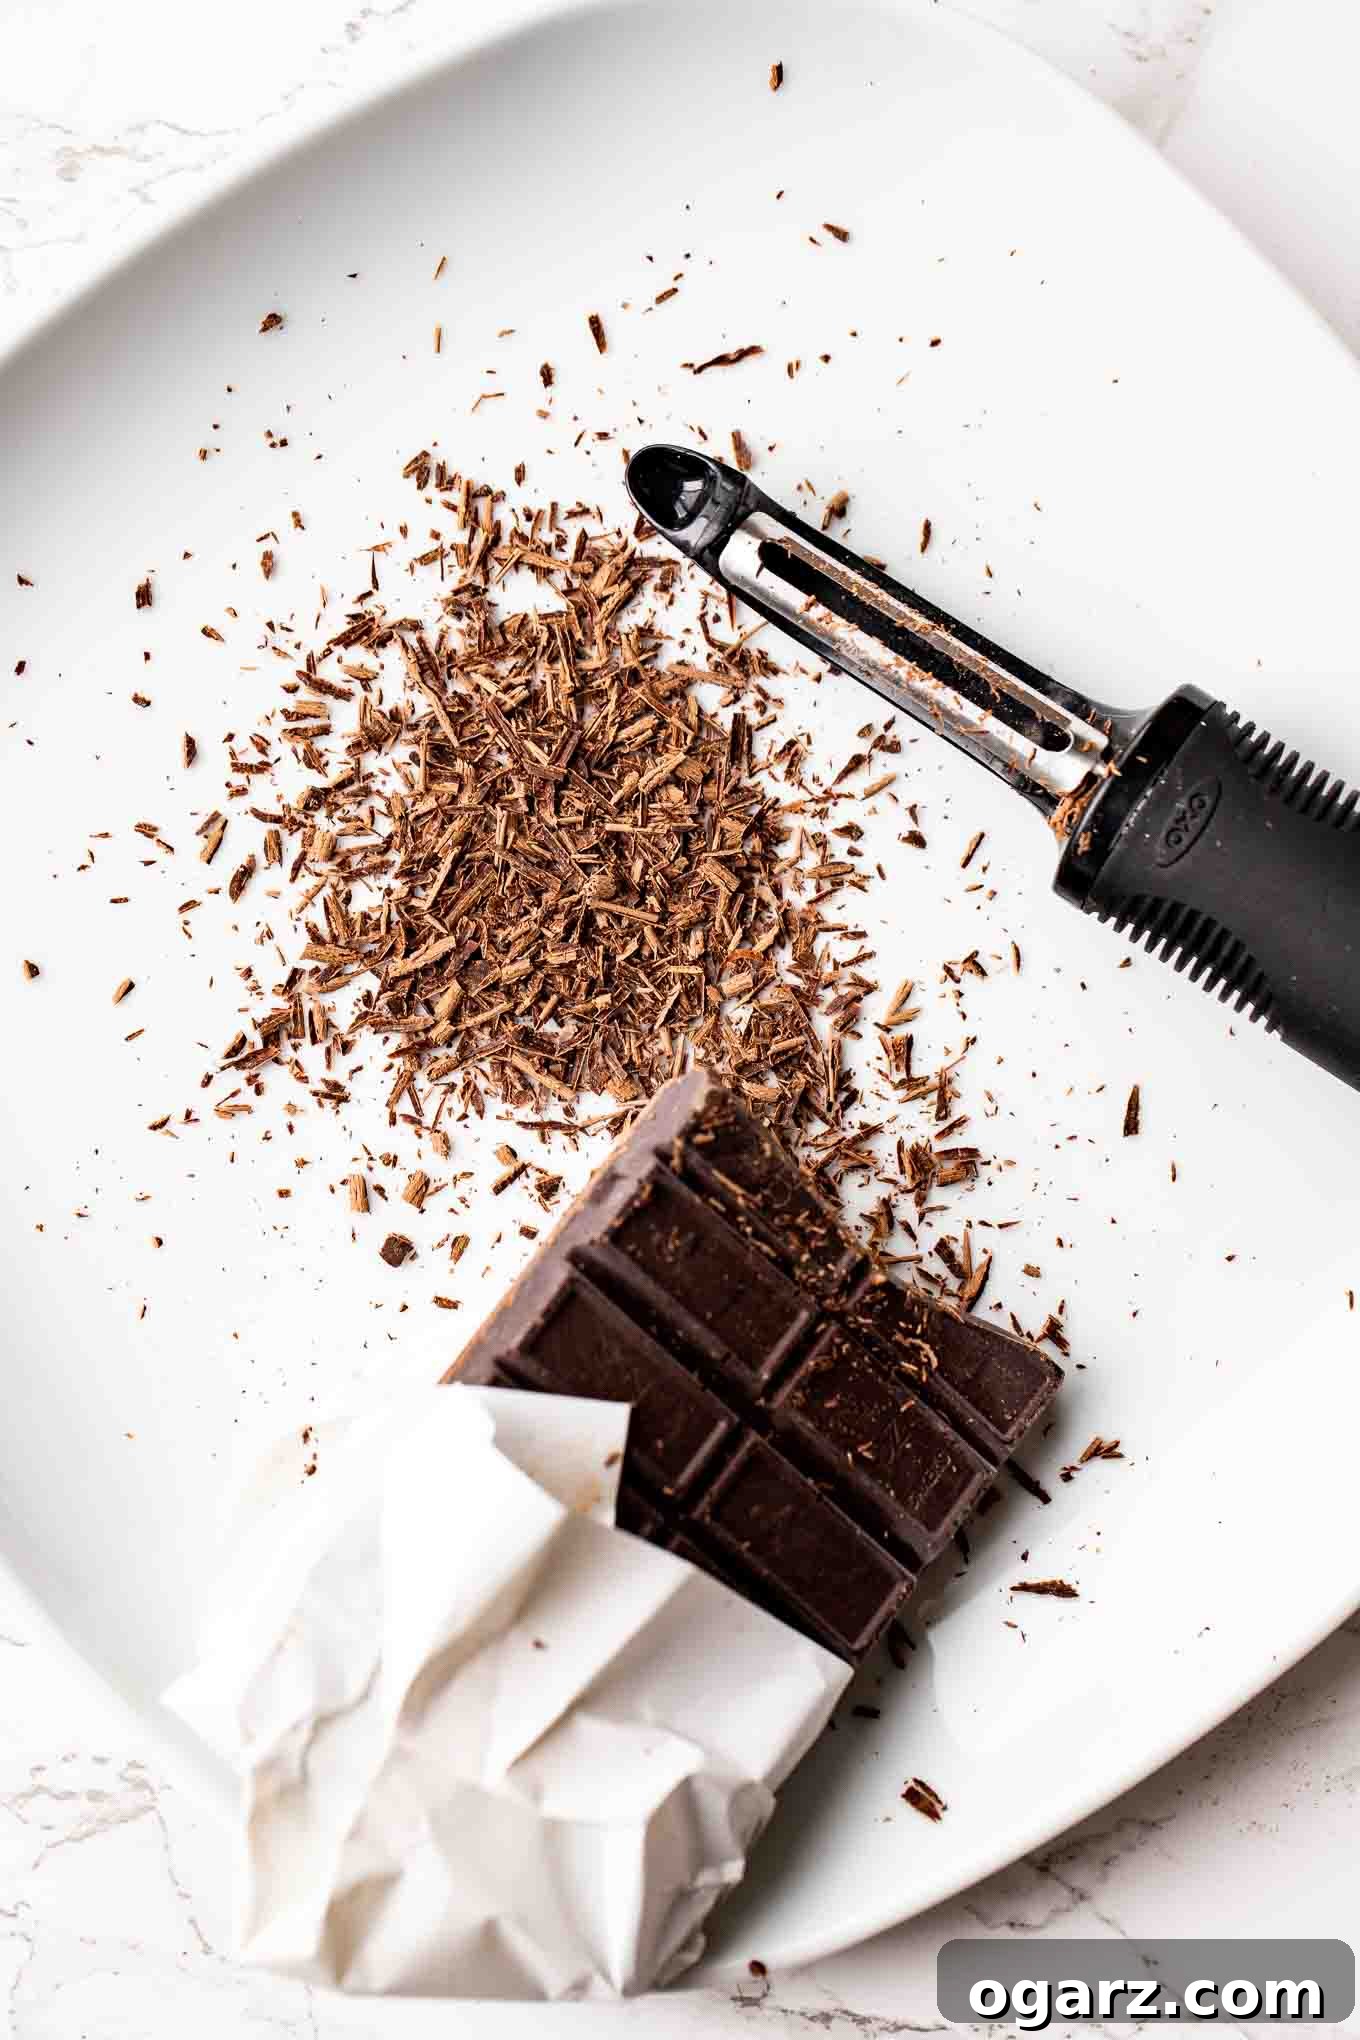
- Chocolate for Garnish: Traditional Black Forest Cake is decorated with delicate chocolate shavings. Bittersweet baking chocolate is ideal for this purpose, offering a lovely contrast to the sweet cream and tart cherries. Making shavings is surprisingly easy; ensure the chocolate bar is very cold, then use a vegetable peeler to create elegant curls.
The Rich History of Black Forest Cake (Schwarzwälder Kirschtorte)
The enchanting Black Forest Cake, or Schwarzwälder Kirschtorte as it is known in its homeland, hails from the picturesque Black Forest mountain range in southwestern Germany. While its exact origins are debated, the cake’s name is inextricably linked to this region and its most famous alcoholic specialty: Schwarzwälder Kirschwasser, a clear, potent cherry brandy distilled from local sour cherries.
The earliest known recipe for what we recognize today as Black Forest Cake dates back to the early 20th century. However, it was confectioner Josef Keller who claimed to have invented it in 1915 at the Café Agner in Bad Godesberg, near Bonn. Regardless of its precise inception, the cake quickly gained popularity, especially after World War II, becoming a symbol of German culinary excellence both nationally and internationally.
The essential components of an authentic Schwarzwälder Kirschtorte are enshrined in German food regulations: it must contain cherry brandy (Kirschwasser), chocolate sponge cake layers, whipped cream, and cherries. The alcohol content is a defining feature, and its absence means the cake cannot technically bear the full traditional name. The characteristic dark chocolate shavings are thought to evoke the dense, dark fir trees of the Black Forest, while the white cream represents snow-capped mountains, and the cherries symbolize the region’s famous fruit. This harmonious blend of flavors and evocative presentation makes the Black Forest Cake a truly beloved and historically rich dessert.
Explore More Authentic German Recipes
Delve deeper into the rich and diverse world of German cuisine with these other fantastic traditional recipes.
Sides & Salads
Refreshing German Cucumber Salad Recipe
Sides & Salads
Easy and Authentic German Spaetzle Recipe
Main Dishes
Traditional German Flammkuchen (Tarte Flambée)
Main Dishes
Crispy German Schnitzel Recipe
Essential Tips for Black Forest Cake Success
- Achieving Perfect Whipped Cream: Black Forest Cake requires a substantial amount of firm whipped cream. If you’re using a standard hand mixer or a smaller stand mixer, it’s best to whip the cream in two separate batches. This prevents overcrowding the bowl, allowing the cream to whip faster and achieve maximum volume and stability. For additional guidance on mastering homemade whipped cream, refer to my detailed post on Homemade Whipped Cream. Ensure all your equipment (bowl, whisk attachment, and cream) is thoroughly chilled for optimal results.
- Keep Your Serving Platter Pristine: For a clean and professional presentation, slide two long strips of parchment paper under the cake from opposite sides before you begin assembling. These strips will catch any drips or errant cream and can be easily pulled away once the cake is fully decorated, leaving your serving platter spotless.
- Effortless Layering with a Serrated Knife: Cutting a single cake into three even layers can be tricky, but a long, sharp serrated bread knife is your best friend here. Hold the knife as horizontally as possible and work slowly, rotating the cake as you cut, to ensure level layers. For extra precision, you can lightly score the cake’s circumference at your desired cutting points before slicing. A thin piece of cardboard or a dedicated cake board can be invaluable for gently lifting and transferring the delicate cake layers during assembly.
- The Secret to a Smooth Top: After cutting your cake into three layers, always use the original bottom layer (flipped upside down) as the very top layer of your assembled cake. This technique provides a perfectly smooth and flat surface, which makes frosting and decorating the top of your Black Forest Cake significantly easier and yields a much more professional finish.
- Room Temperature Eggs for Maximum Volume: For the sponge cake, ensure your eggs are at room temperature. Room temperature egg whites whip up with more volume and stability, resulting in a lighter and fluffier sponge. You can quickly warm cold eggs by placing them in a bowl of warm (not hot) water for 5-10 minutes.
- Chill Your Cake Completely: Before attempting to cut and assemble, make sure your chocolate sponge cake is entirely cool. A warm cake will be too delicate to slice evenly and will melt the whipped cream upon contact. Patience here is key for a beautifully constructed cake.
Step-by-Step Guide: Crafting Your Black Forest Cake
The foundation of this exquisite Black Forest Cake is a remarkably fluffy and delicate chocolate sponge, known in Germany as Biskuitkuchen. Its signature light texture is achieved through the careful incorporation of whipped egg whites, which serve as the primary leavening agent, ensuring the cake rises beautifully without relying on heavy fats like butter or oil.
To preserve as many of those precious, tiny air bubbles as possible – which are crucial for the sponge’s ethereal quality – the dry ingredients must be meticulously sifted and then gently folded into the egg mixture using a spatula. Resisting the urge to use an electric mixer or a hand whisk at this stage is vital, as vigorous stirring would deflate the air bubbles, resulting in a dense and compact cake, rather than the light and airy texture we aim for.
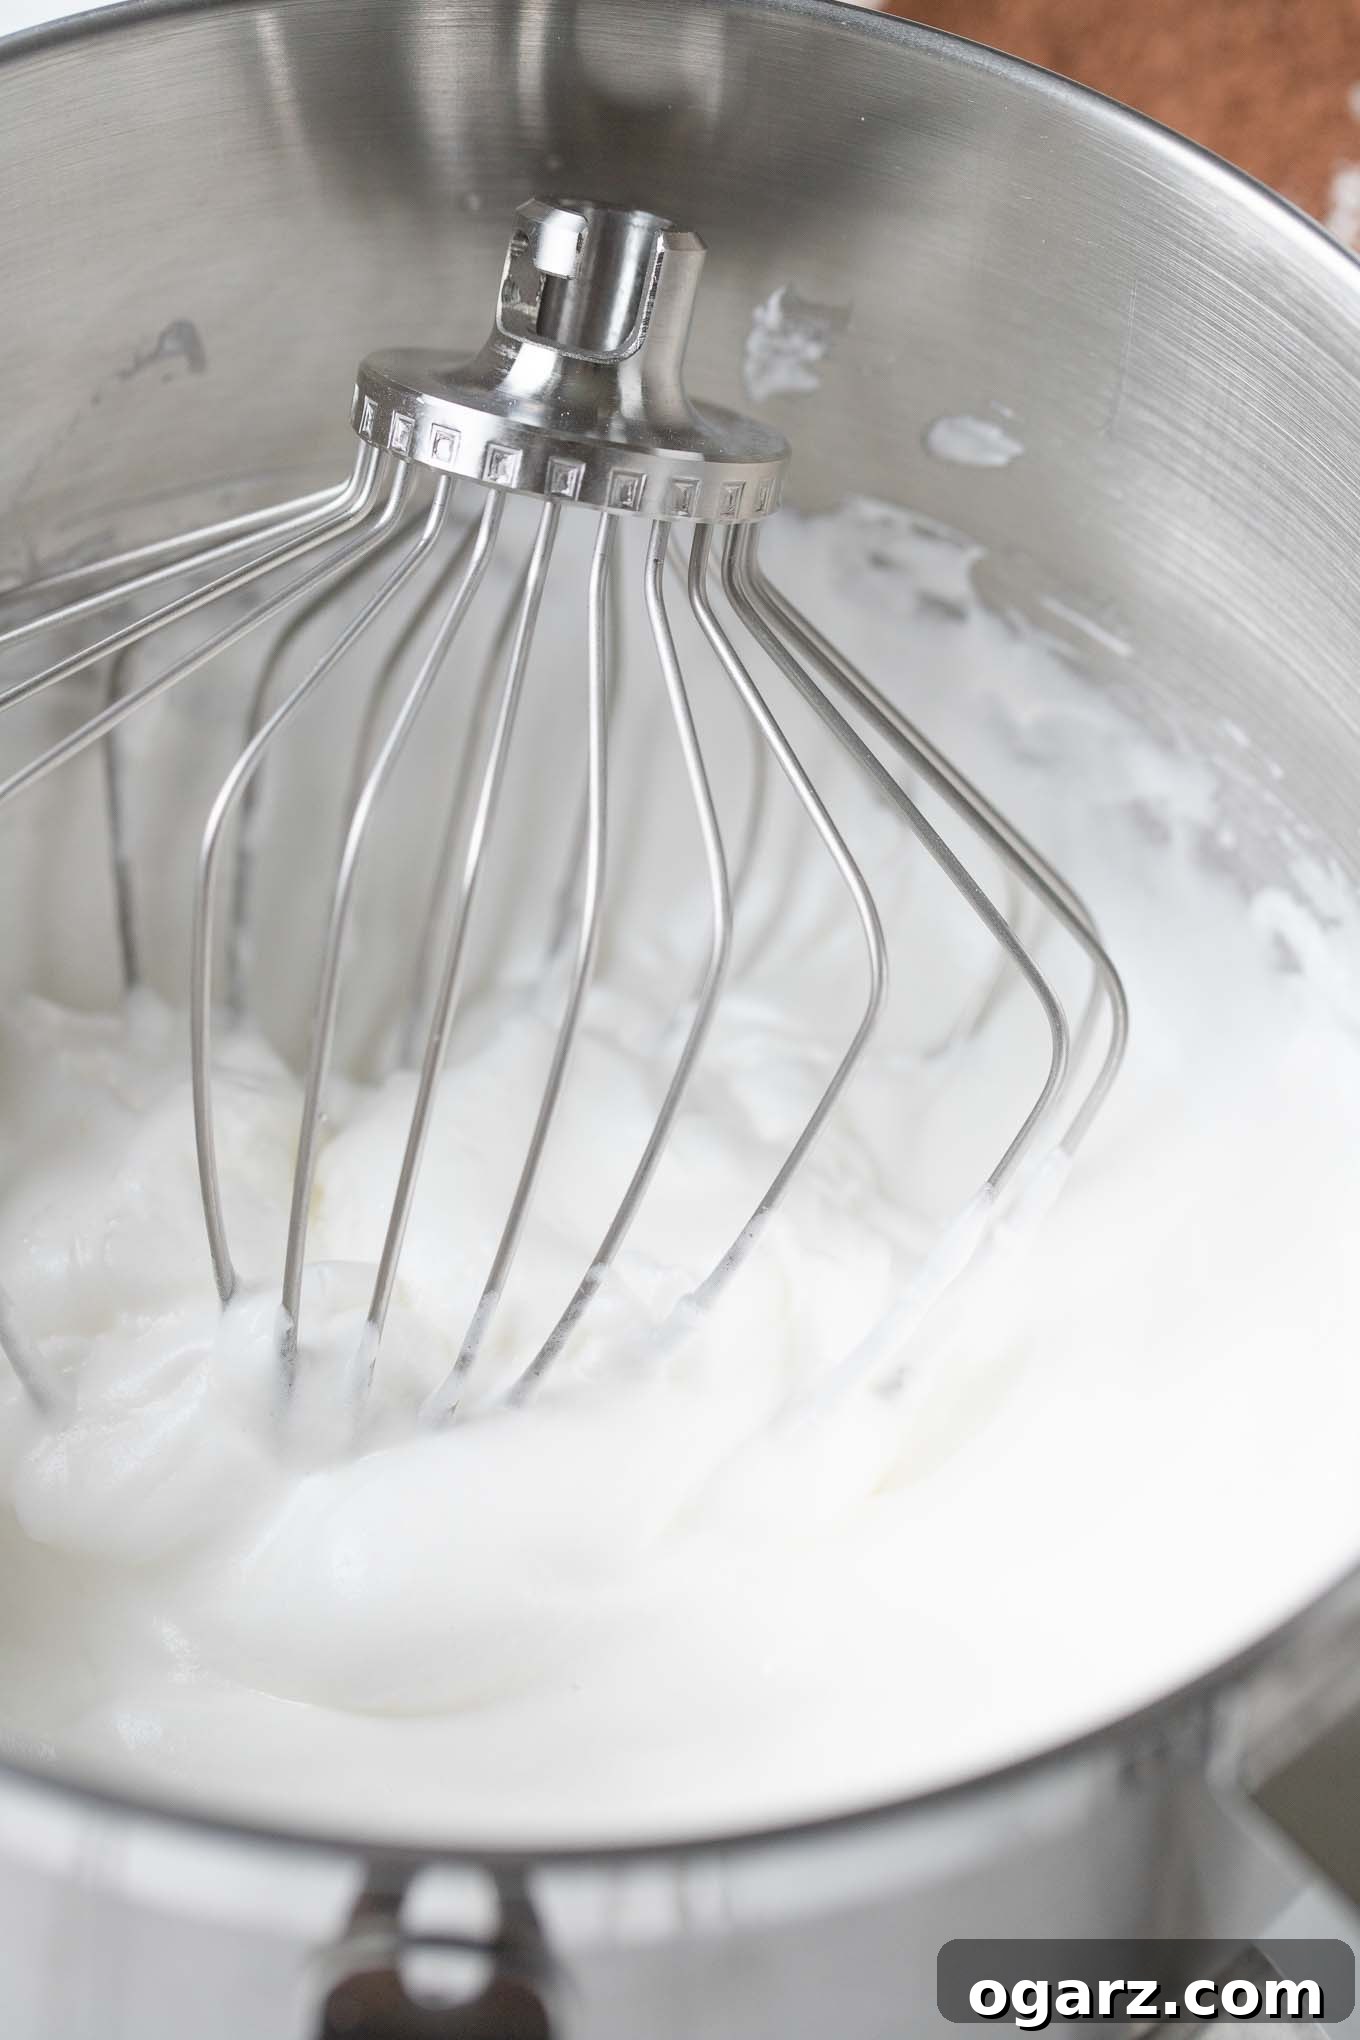
Step 1: Whip Egg Whites. In the clean bowl of a stand mixer, beat the egg whites with half of the granulated sugar on high speed. Continue until soft, glossy peaks form. This typically takes about 8 minutes. Once achieved, gently transfer the whipped egg whites to a large separate bowl and set aside.
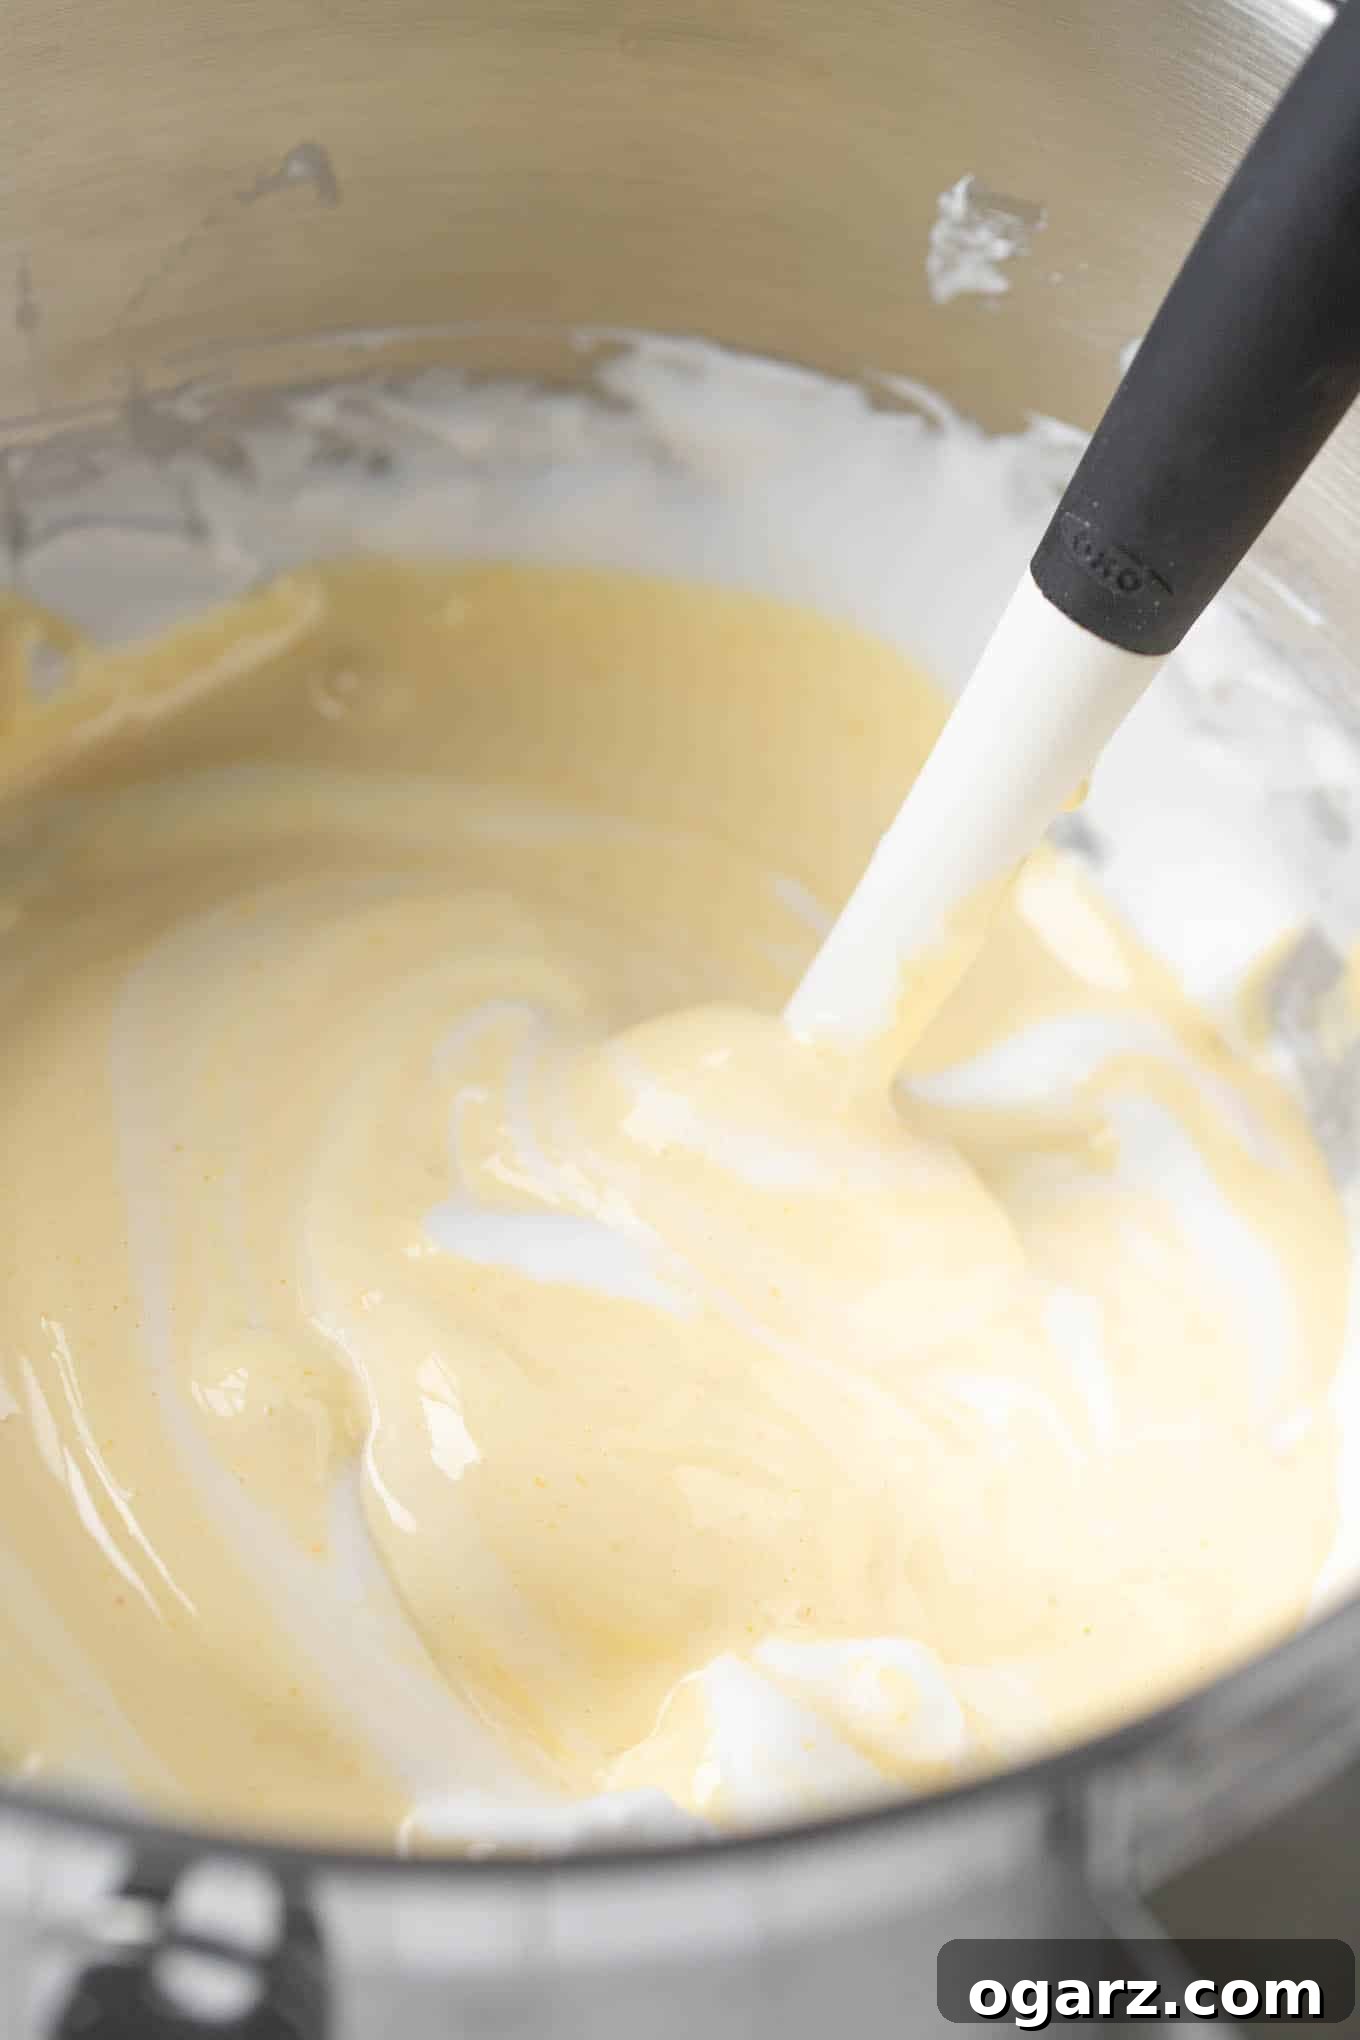
Step 2: Prepare Egg Yolk Mixture. Using the same stand mixer bowl (no need to clean it thoroughly), combine the egg yolks, the remaining granulated sugar, and vanilla extract. Beat at medium speed for 3-5 minutes until the mixture is thick, creamy, and significantly pale in color. Then, very carefully fold this aerated egg yolk mixture into the previously whipped egg whites, using a wide spatula to maintain volume.
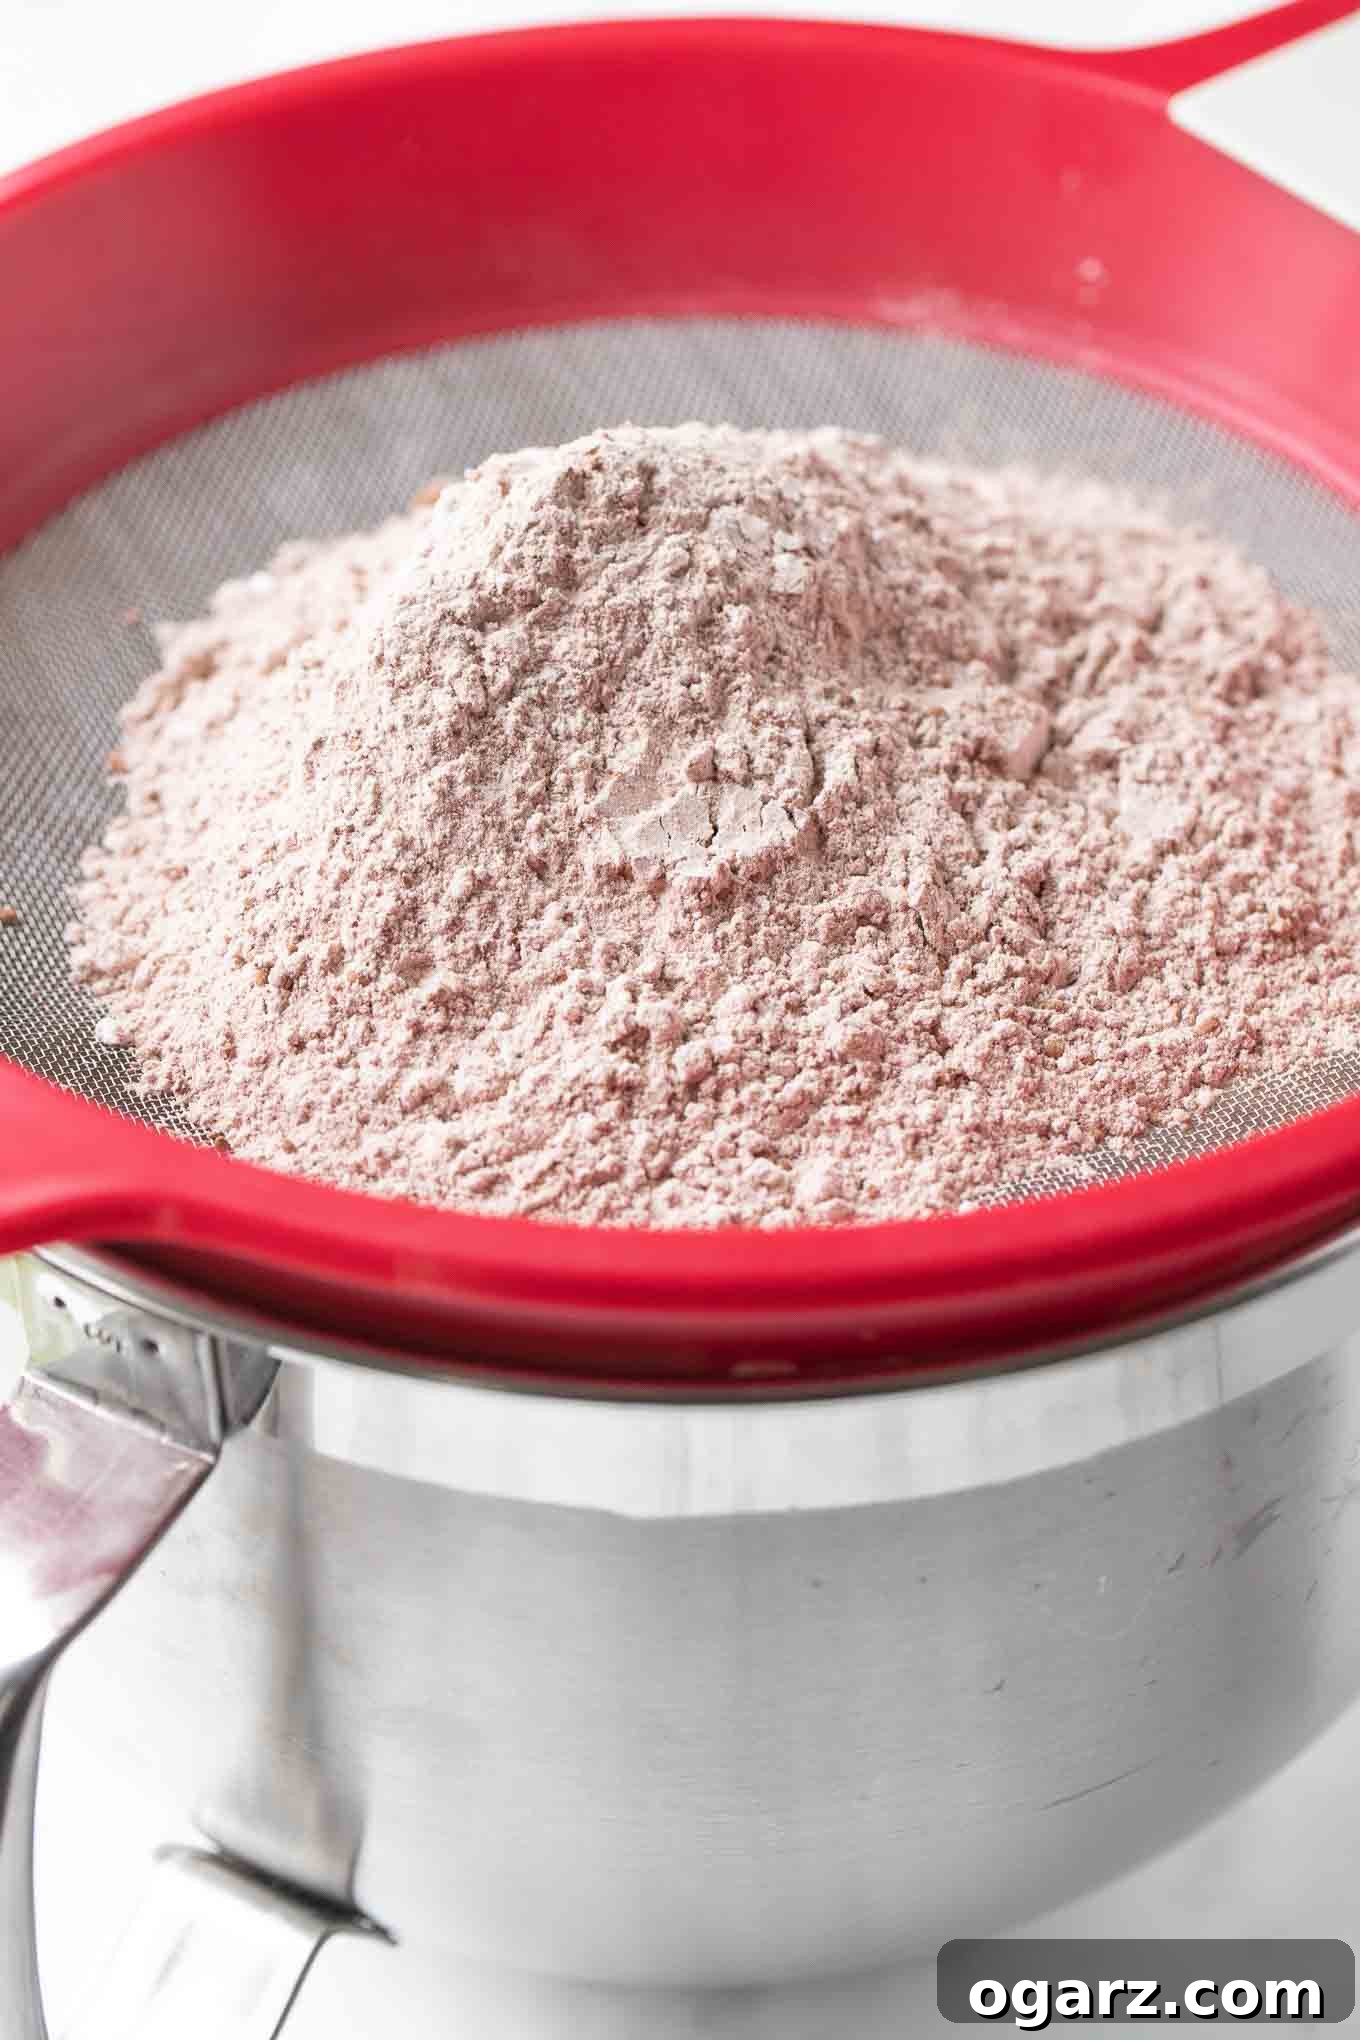
Step 3: Gently Fold in Dry Ingredients. In a separate bowl, whisk together the all-purpose flour, cornstarch, baking powder, and Dutch-process cocoa powder. Sieve this dry mixture in small batches over the egg mixture. Using a flexible spatula, carefully fold the dry ingredients into the wet, using an upward motion from the bottom of the bowl and turning the bowl as you go. Work quickly and gently until just combined, ensuring no streaks of flour remain but taking care not to deflate the batter.
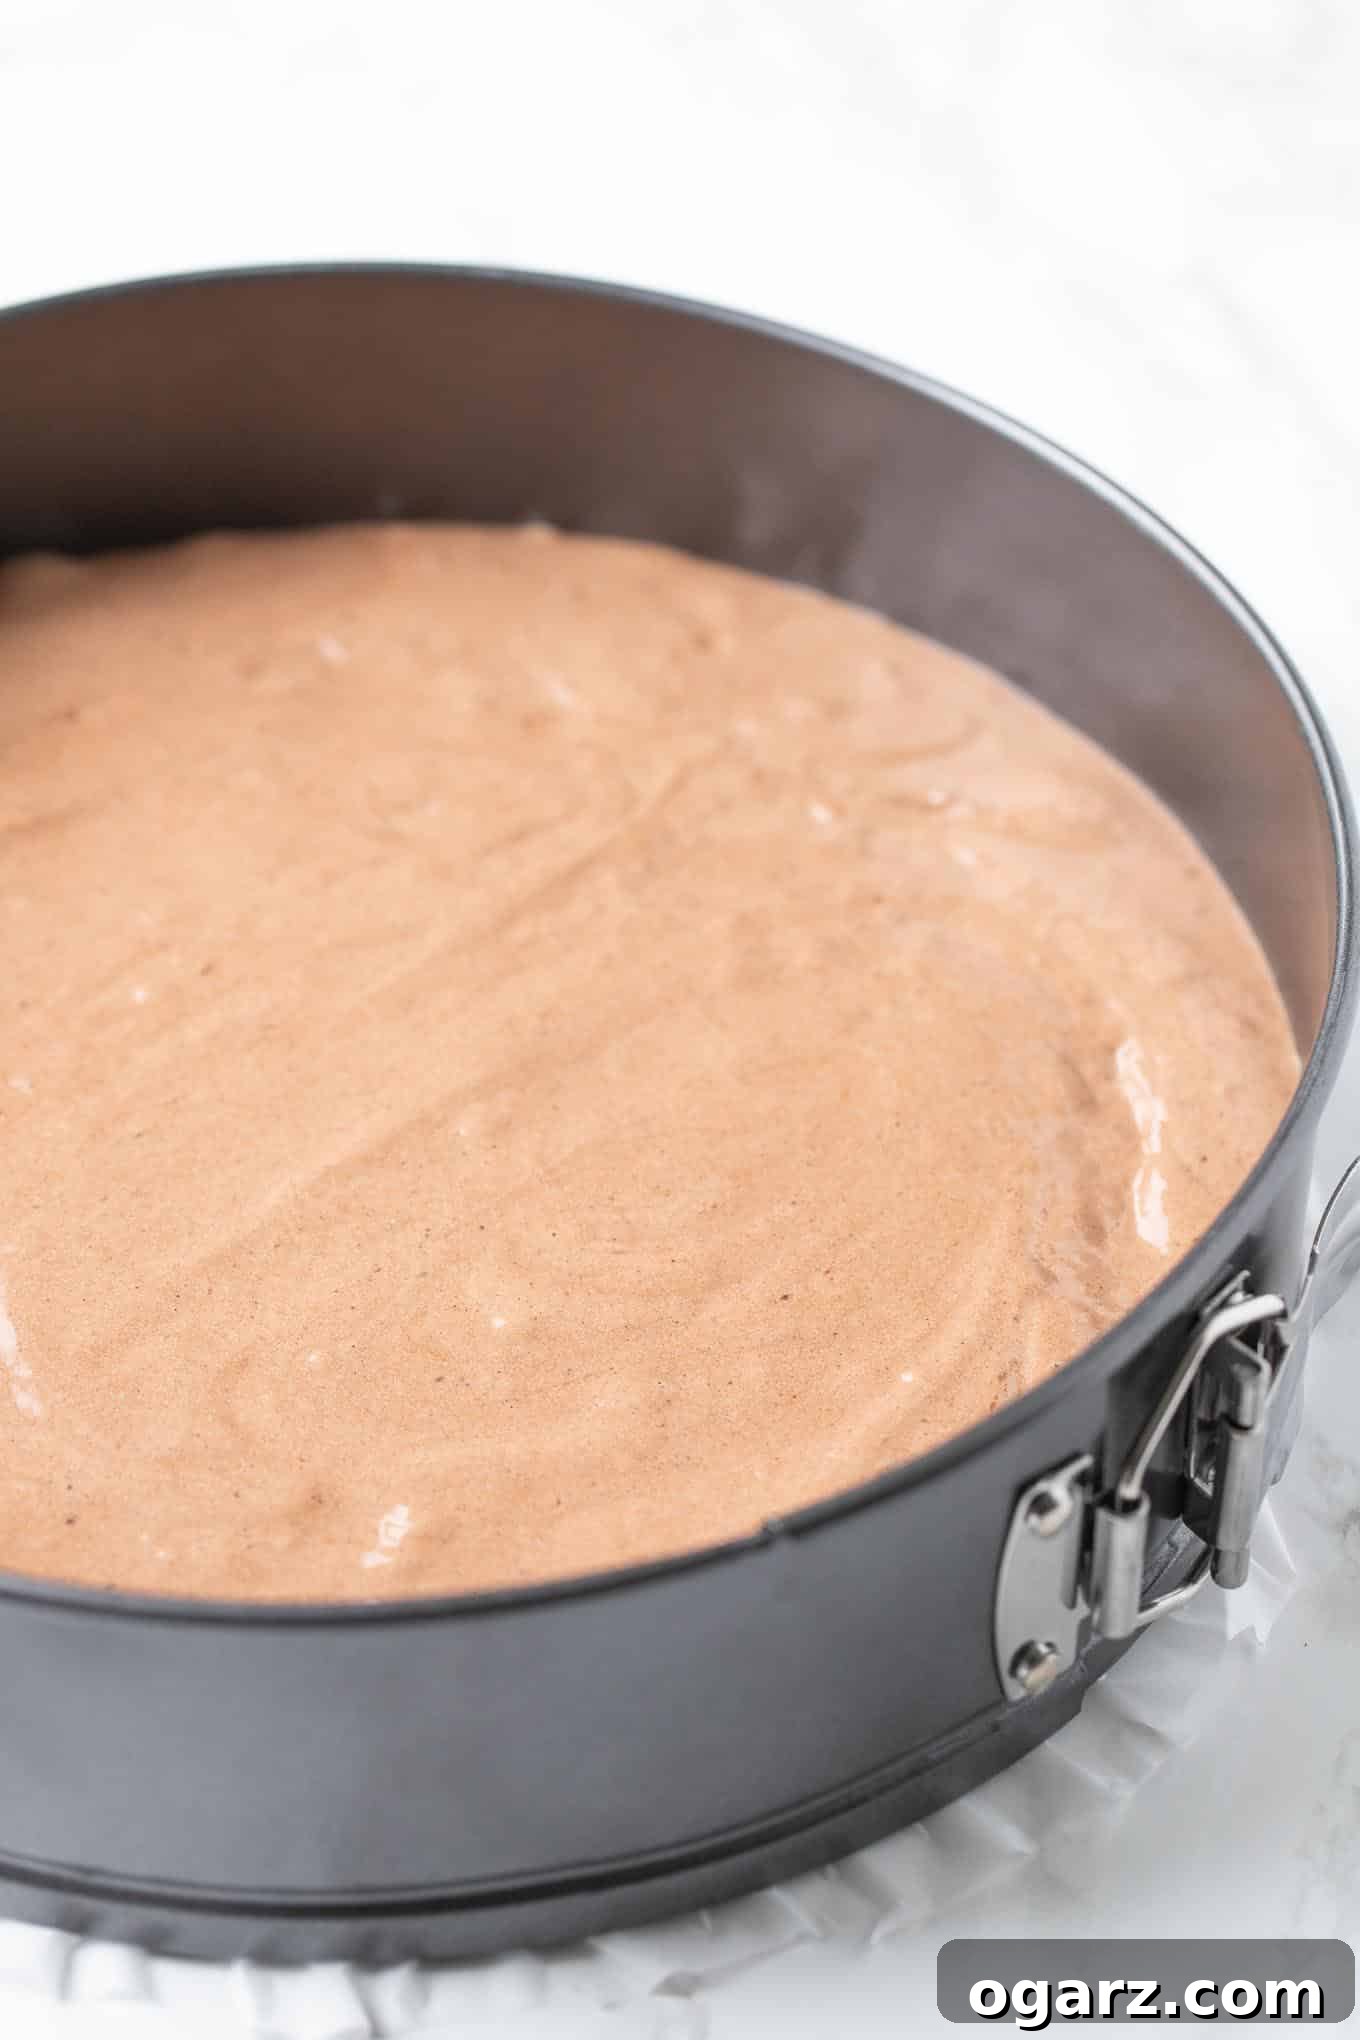
Step 4: Bake the Sponge Cake. Carefully transfer the delicate batter into an 8-inch springform pan. The bottom of the pan should be lined with parchment paper, but critically, do NOT grease or line the sides of the pan. The batter needs to cling to the sides as it rises to achieve its characteristic height and lightness. Gently smooth the top with a spatula and bake in a preheated oven at 350°F (180°C) for approximately 25 minutes, or until a wooden skewer inserted into the center comes out clean or with only a few moist crumbs attached. Cool completely on a wire rack.
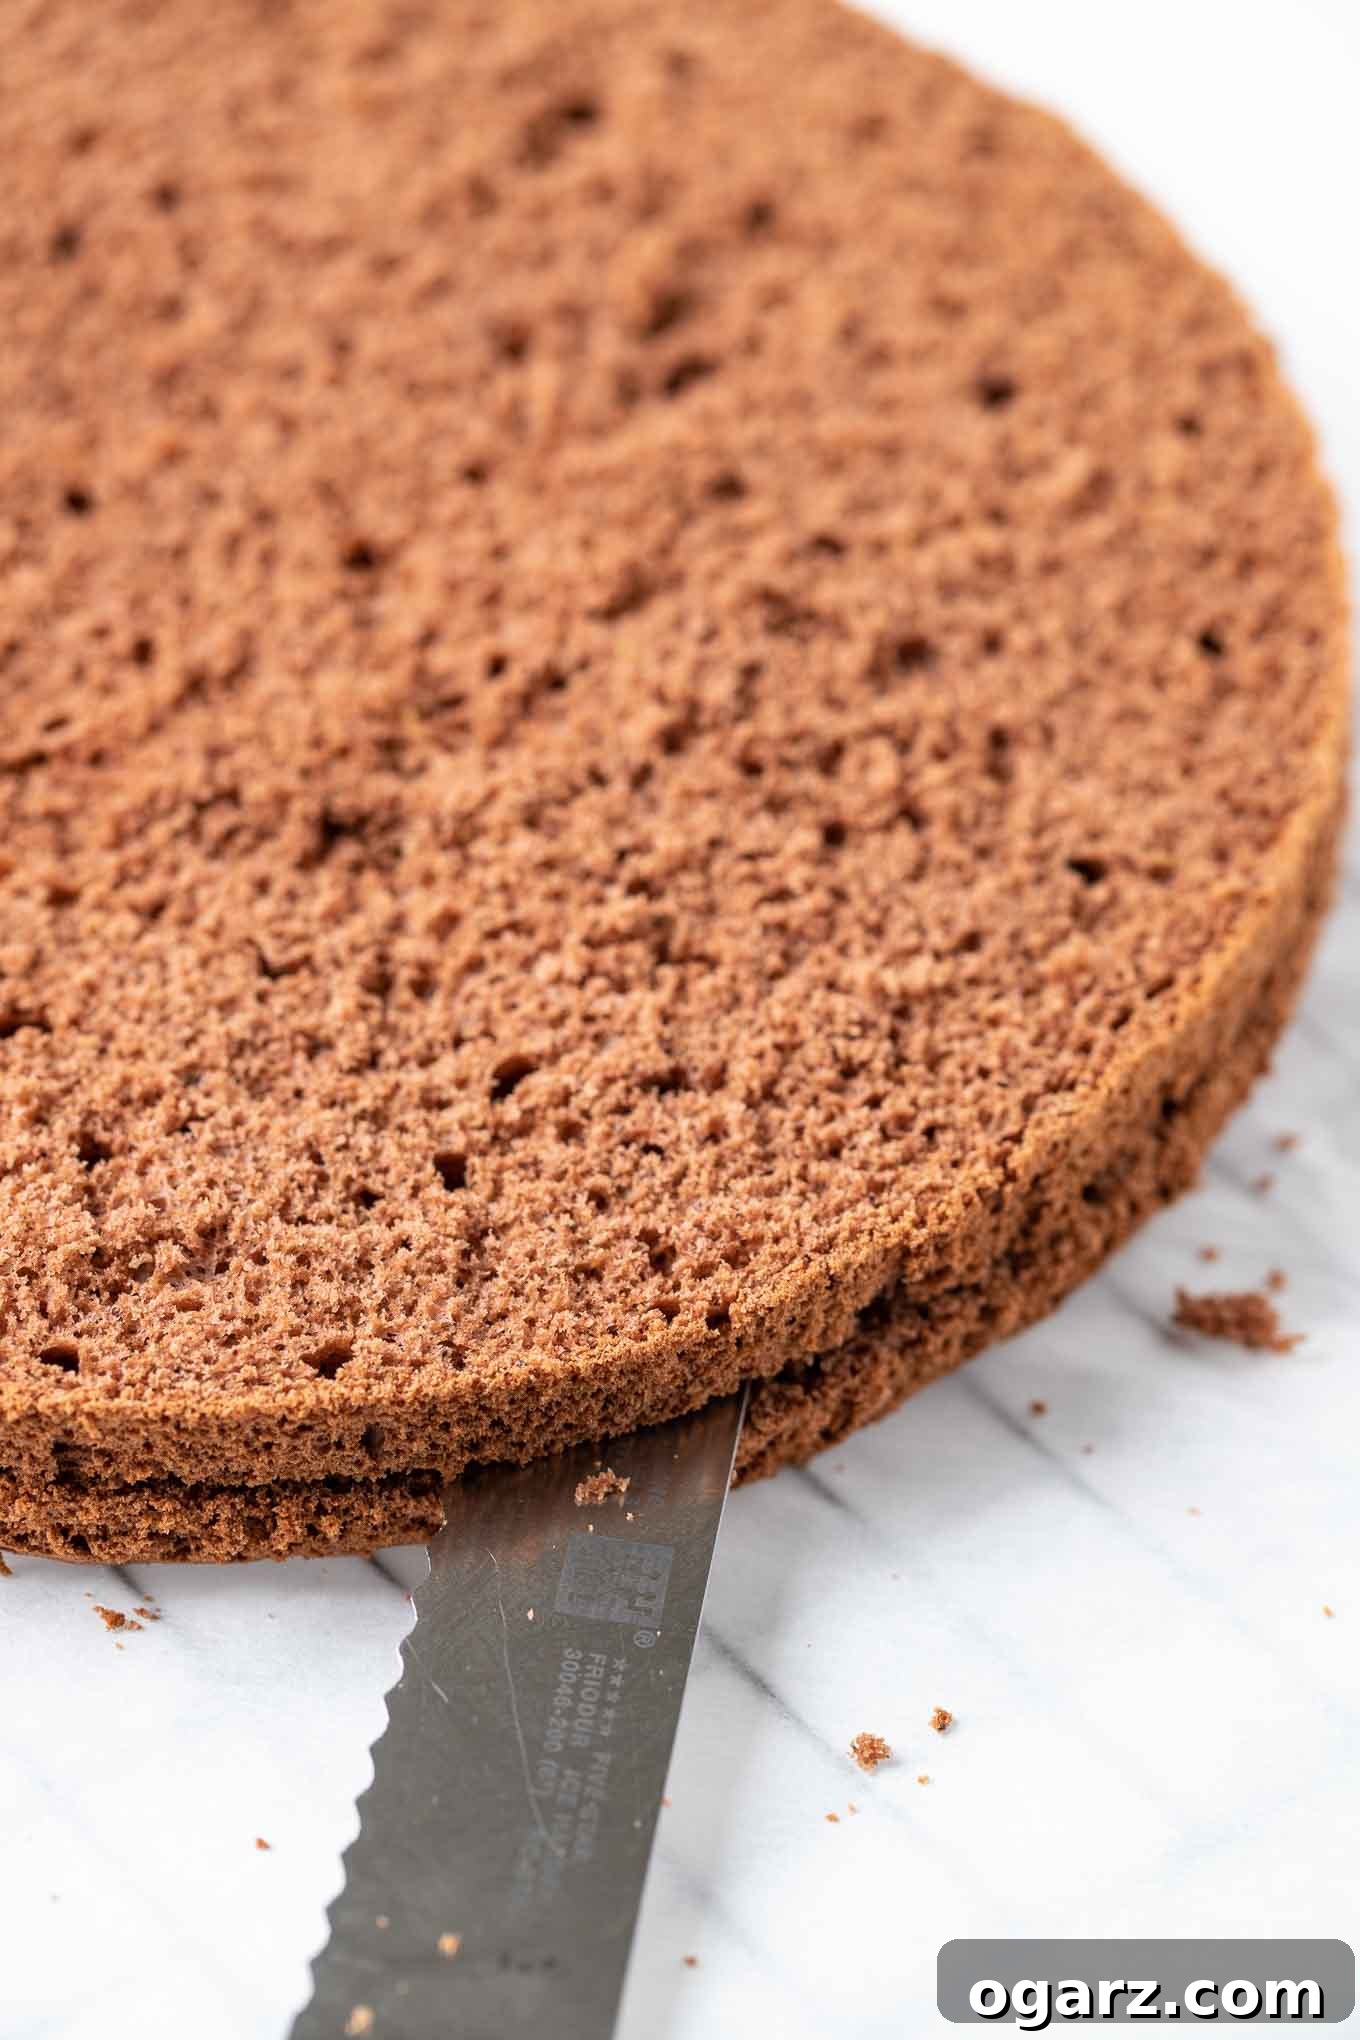
Step 5: Prepare for Assembly – Slice Cake Layers. Once the cake has cooled completely (this is crucial for clean cuts), carefully remove it from the springform pan. Using a long, sharp serrated knife, slice the cake horizontally into three even layers. Take your time and use gentle, sawing motions. For ideal presentation, place the cake ring (or the ring from your springform pan) around the first cake layer on your chosen serving platter. Remember the tip: use the original bottom layer, flipped upside down, as your very top layer during assembly for a smooth finish.
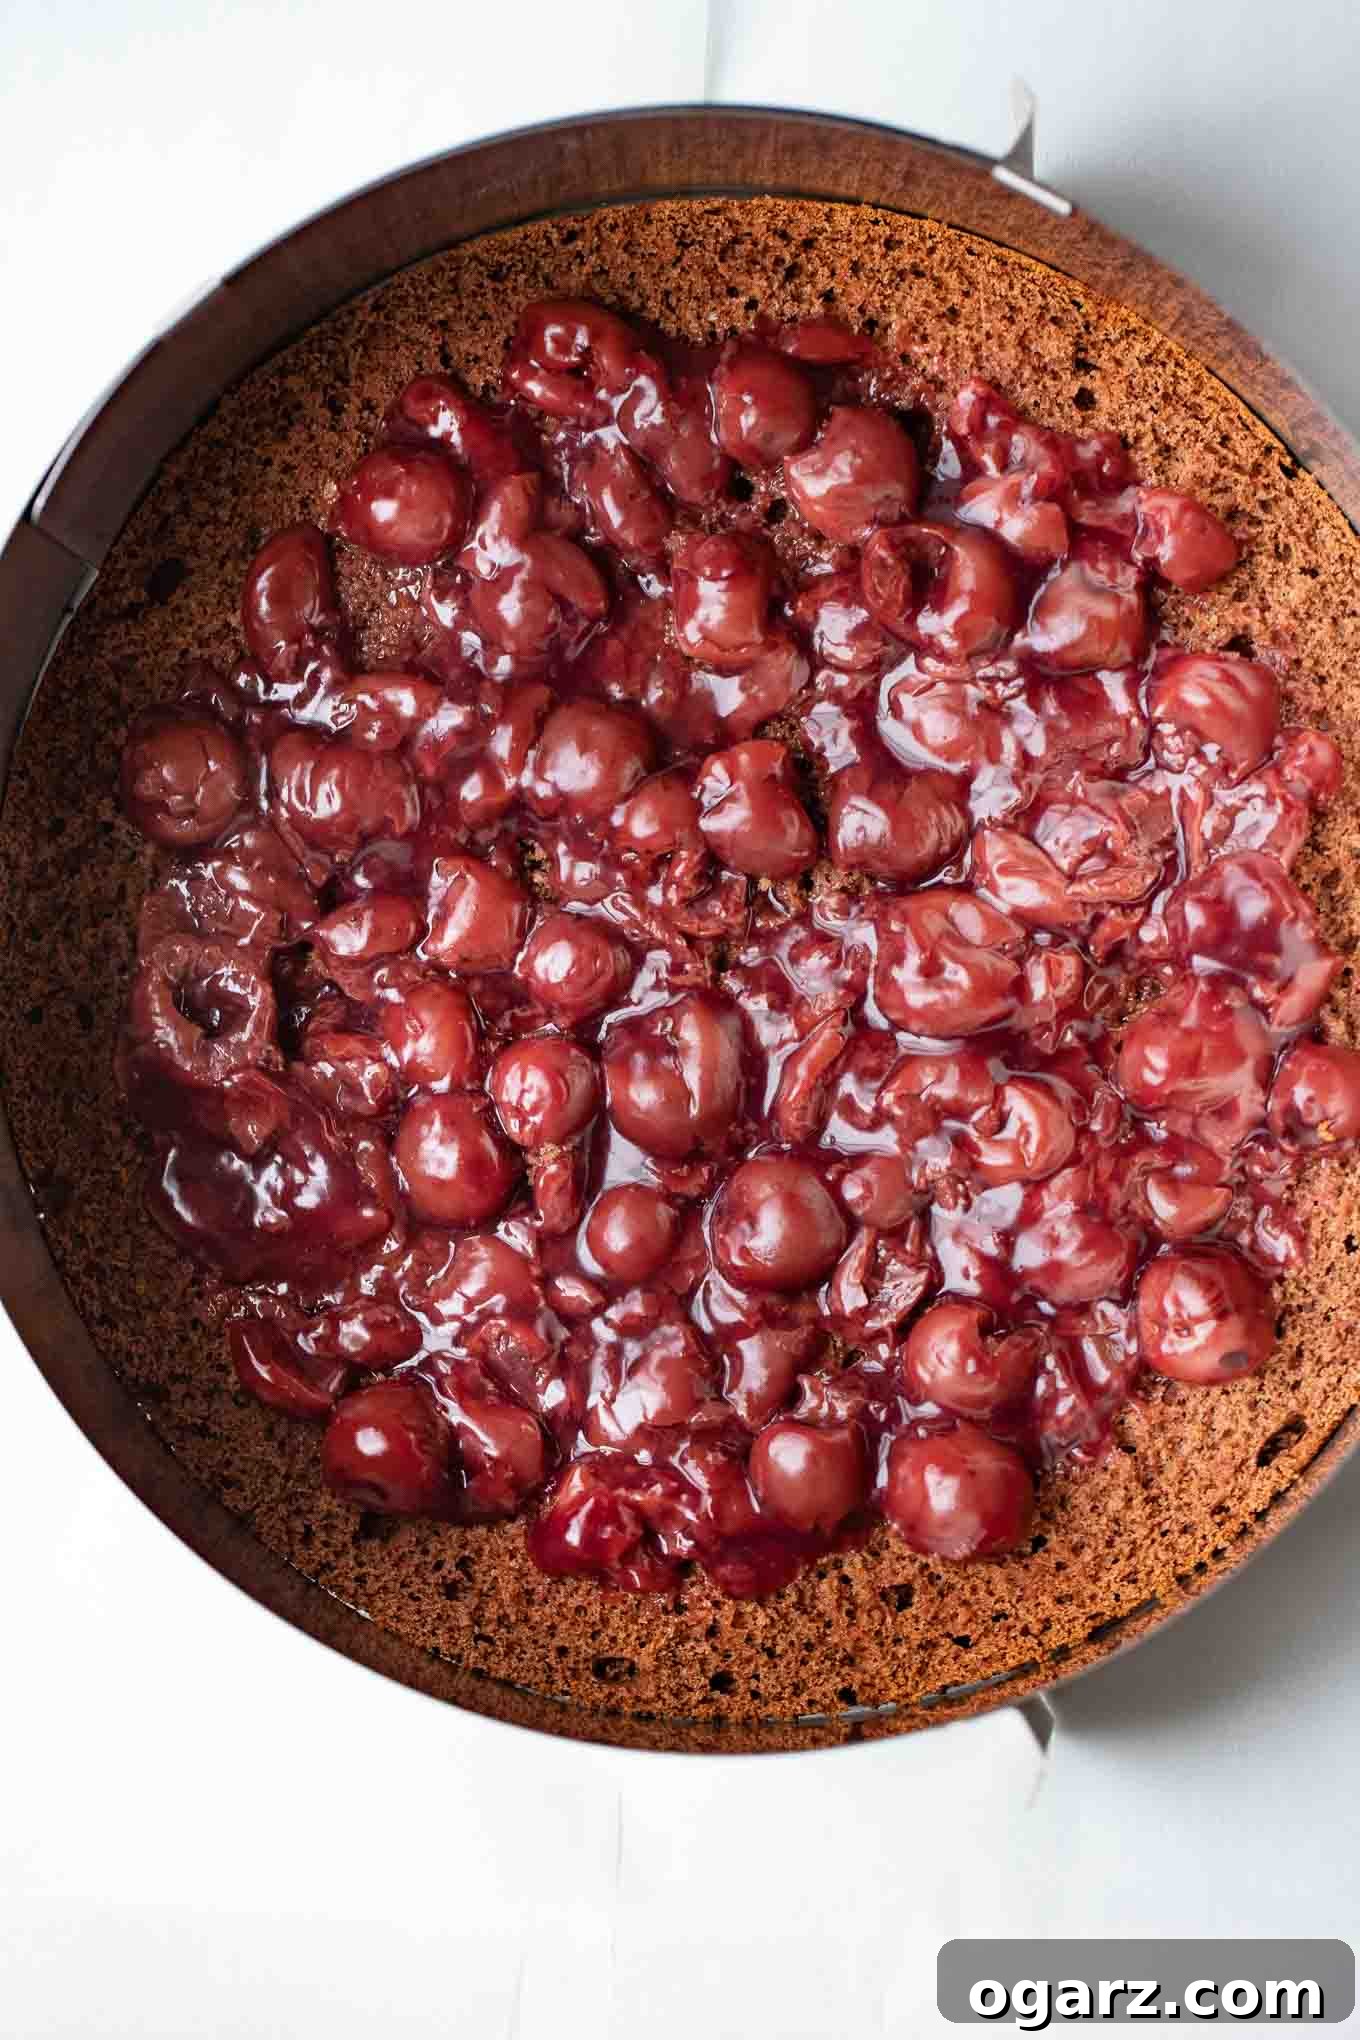
Step 6: Layer the Cake with Cherries. To protect your platter, slide two pieces of parchment paper under the cake from opposite sides. Drizzle the first cake layer (which was the top layer of the baked cake, now flipped) with 1.5 tablespoons of Kirsch or cherry juice for moisture and flavor. Evenly spread half of your cooled homemade cherry filling over this layer, ensuring you leave a 1-inch border around the edge. This prevents the cherries from oozing out when the next layer is added and the cake is sliced.
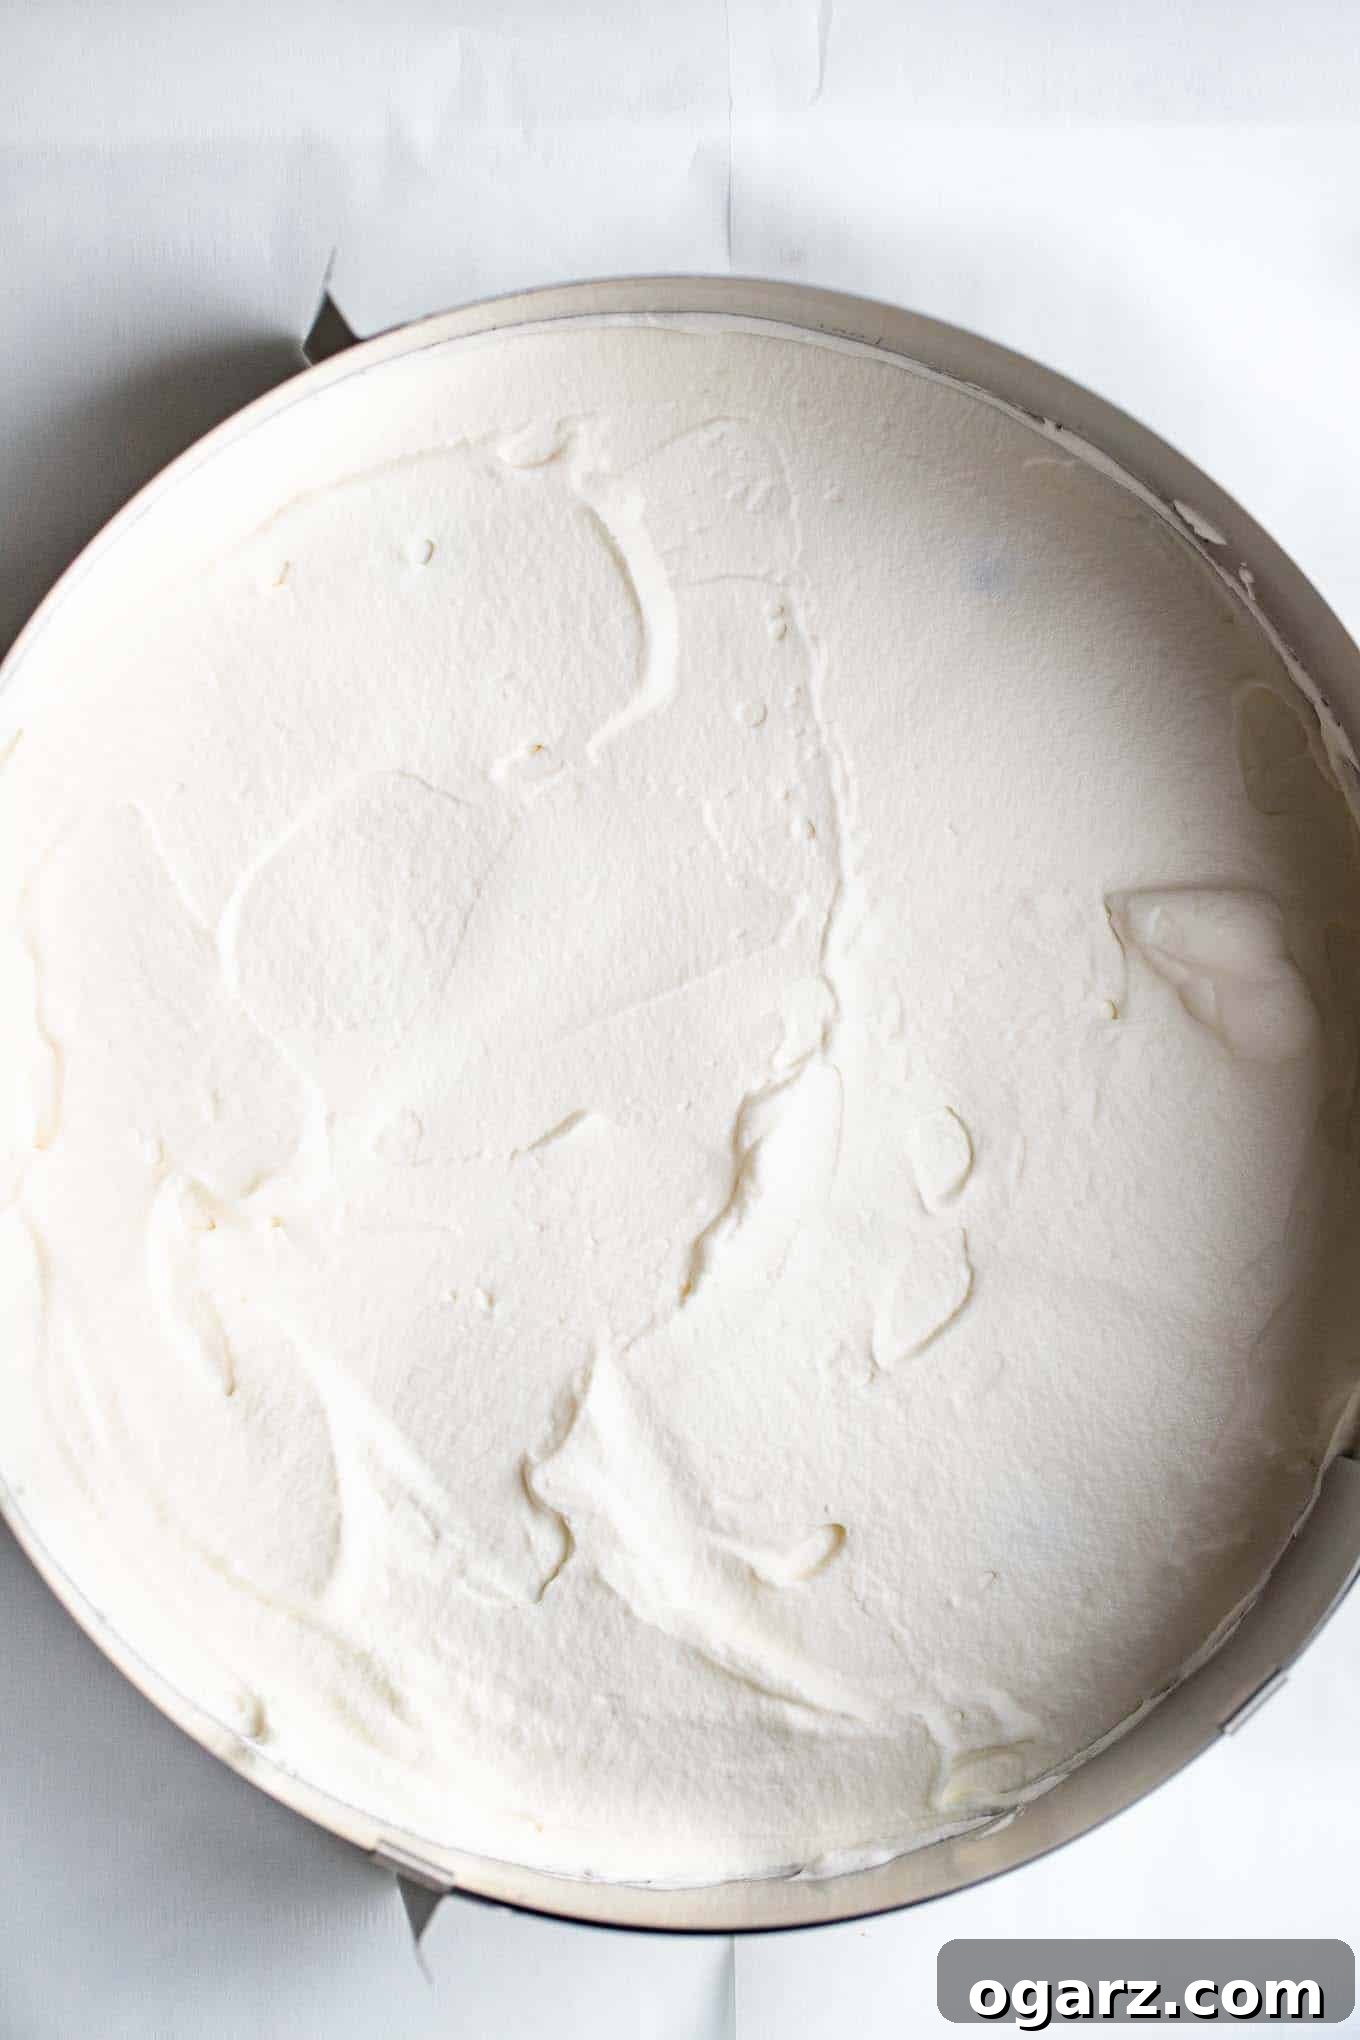
Step 7: Add the Whipped Cream Layer. Carefully spoon about one-quarter of the prepared whipped cream over the cherry filling. Use an offset spatula to gently spread the cream evenly, covering the cherries completely and reaching the edges of your cake ring. Ensure the layer is smooth and level to provide a stable base for the next cake layer.
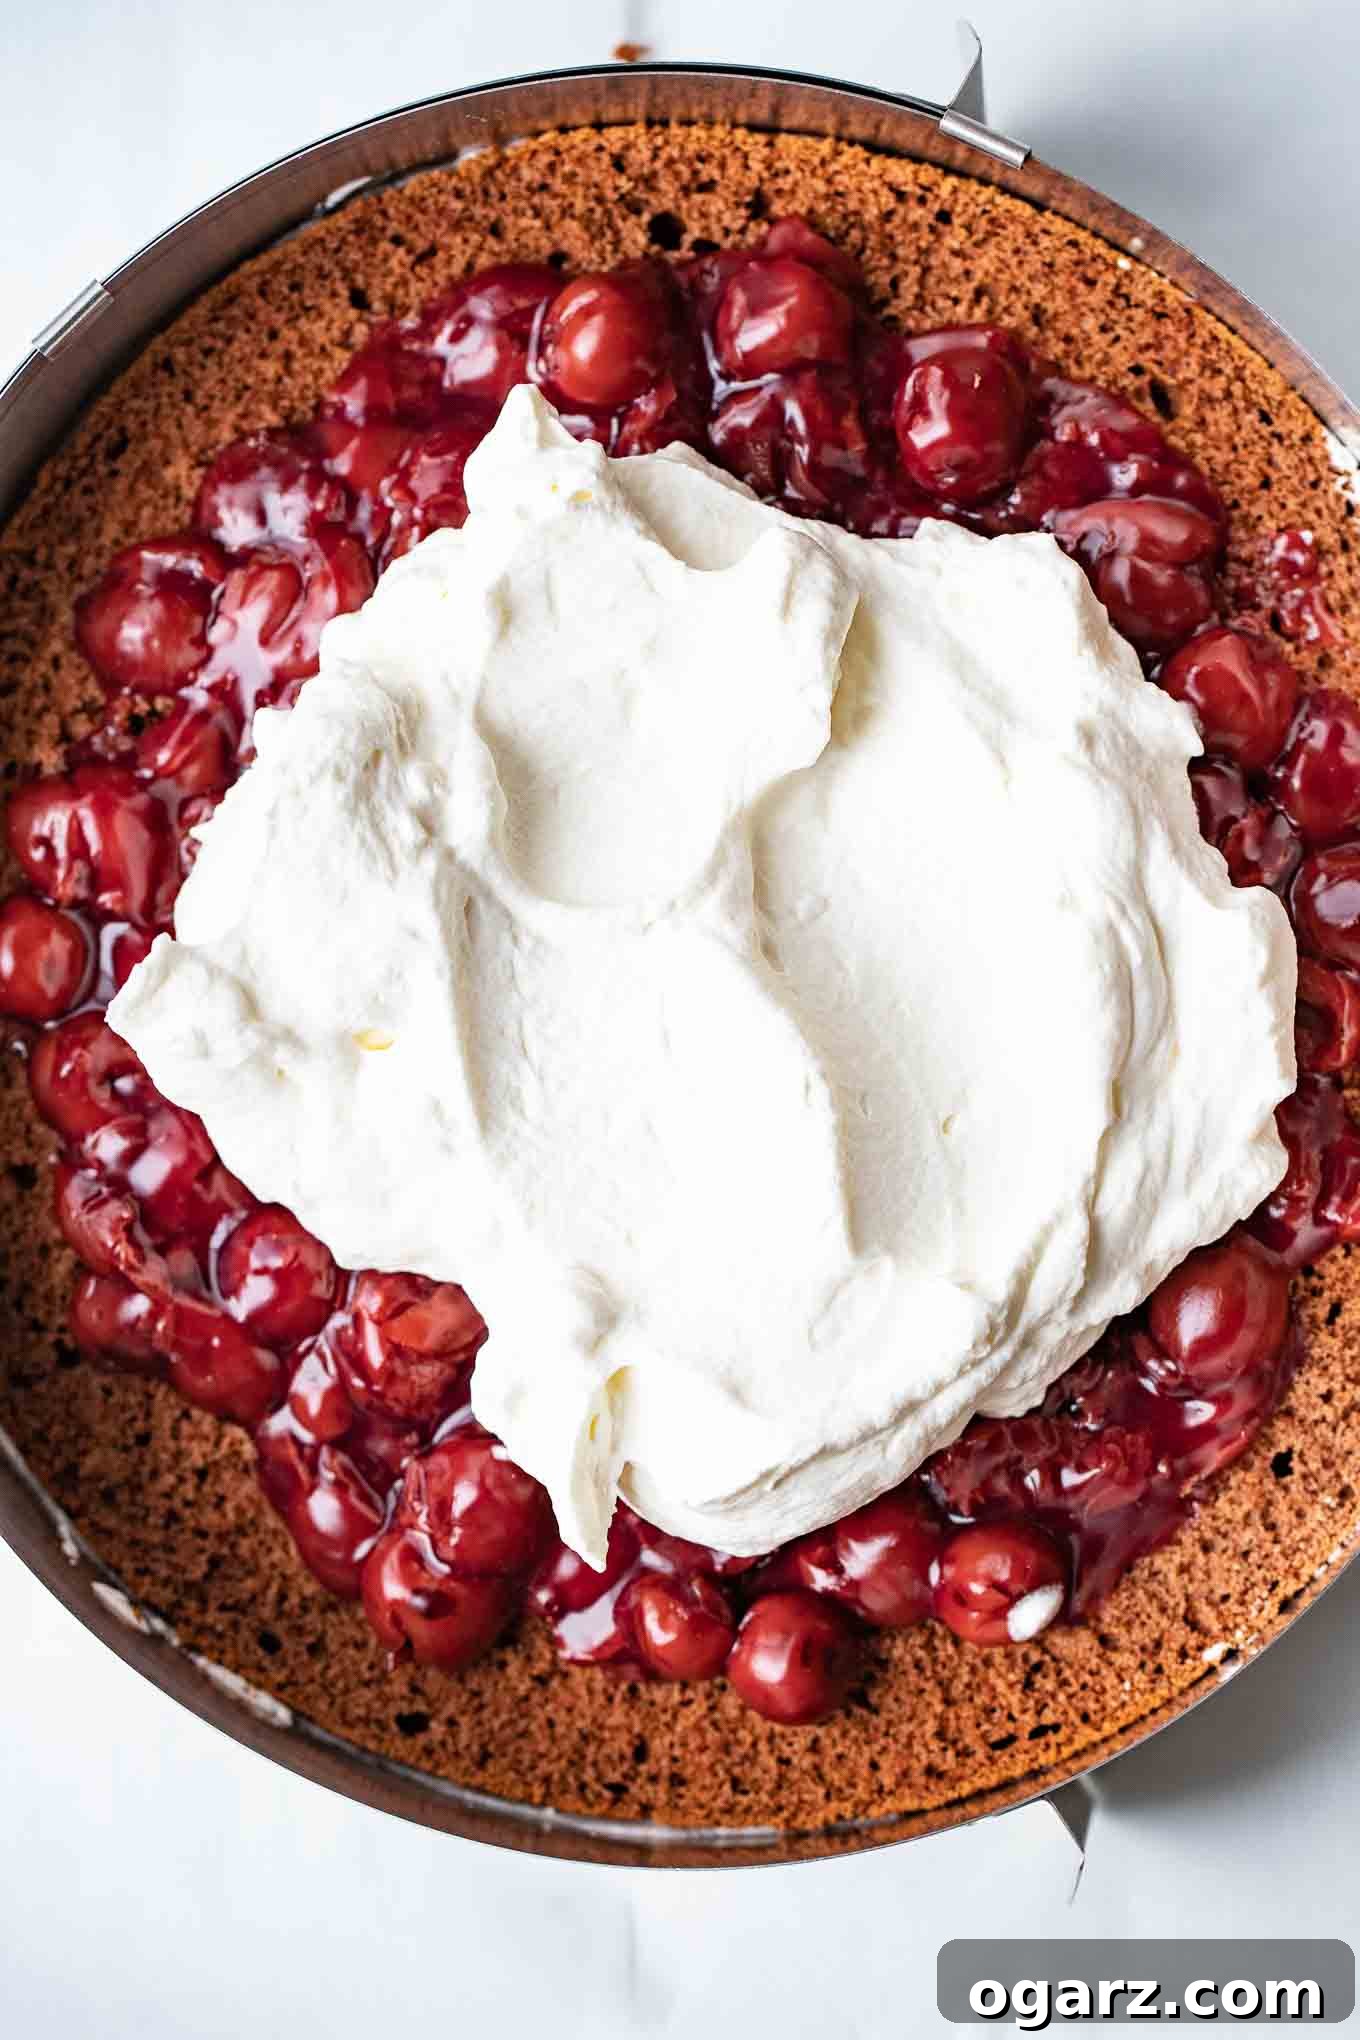
Step 8: Repeat Layering. Carefully place the middle cake layer on top of the whipped cream. Repeat steps 6 and 7: drizzle with Kirsch or cherry juice, spread the remaining half of the cherry filling (leaving a border), and then top with another quarter of the whipped cream, smoothing it out evenly with your spatula.
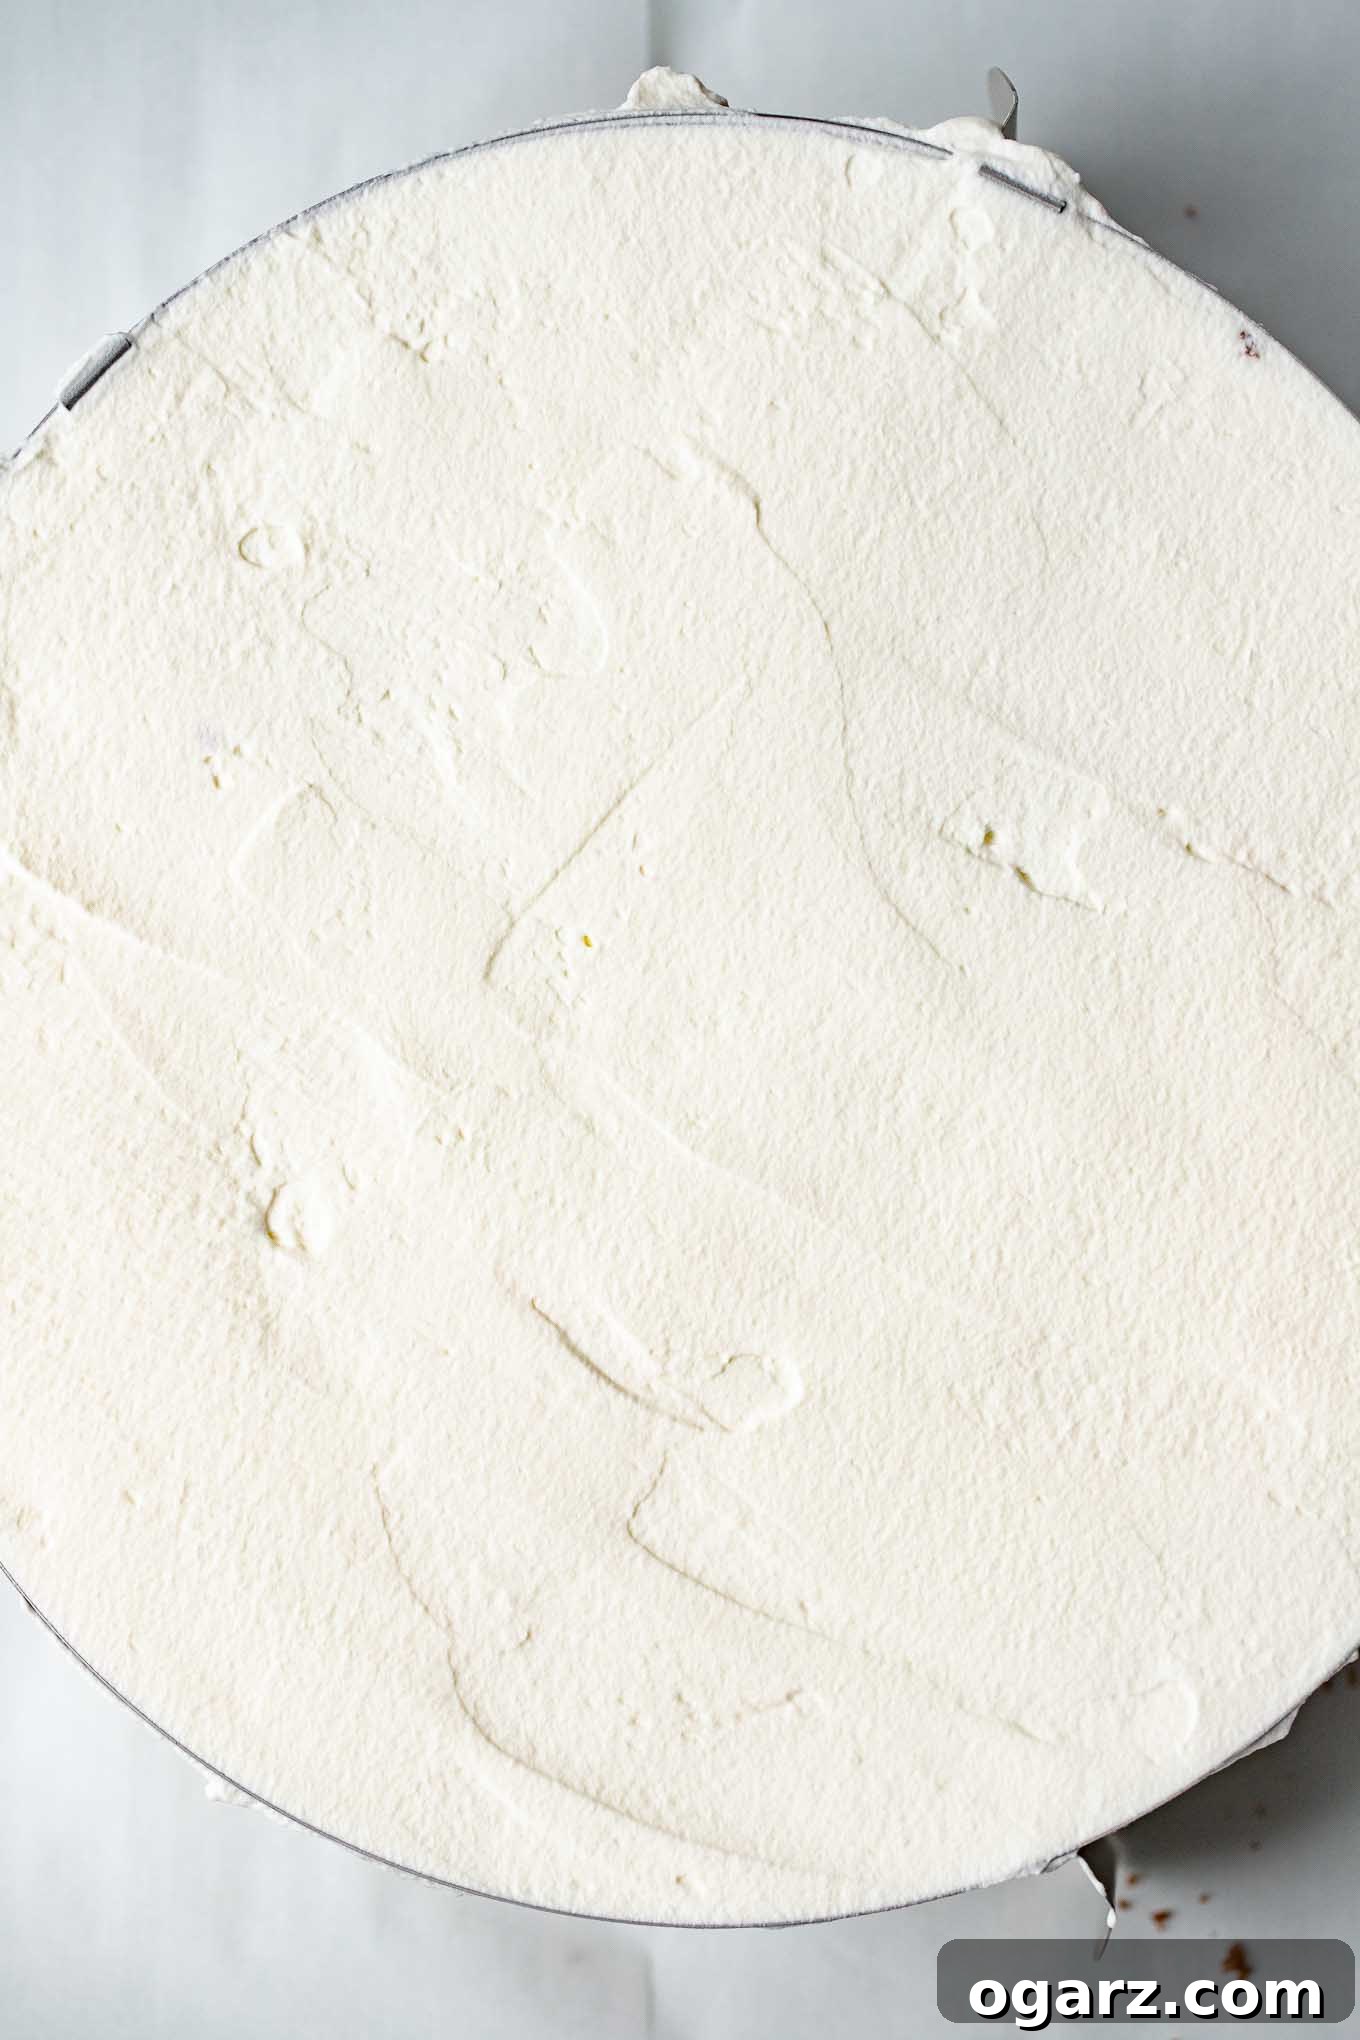
Step 9: Top Layer and Initial Frosting. Place the final cake layer on top, smooth side up (this would be the inverted bottom layer from baking). Spread about one-third of the remaining whipped cream evenly over the top of the cake. Once the top is covered, carefully remove the springform ring. Use a clean offset spatula to neaten any edges.
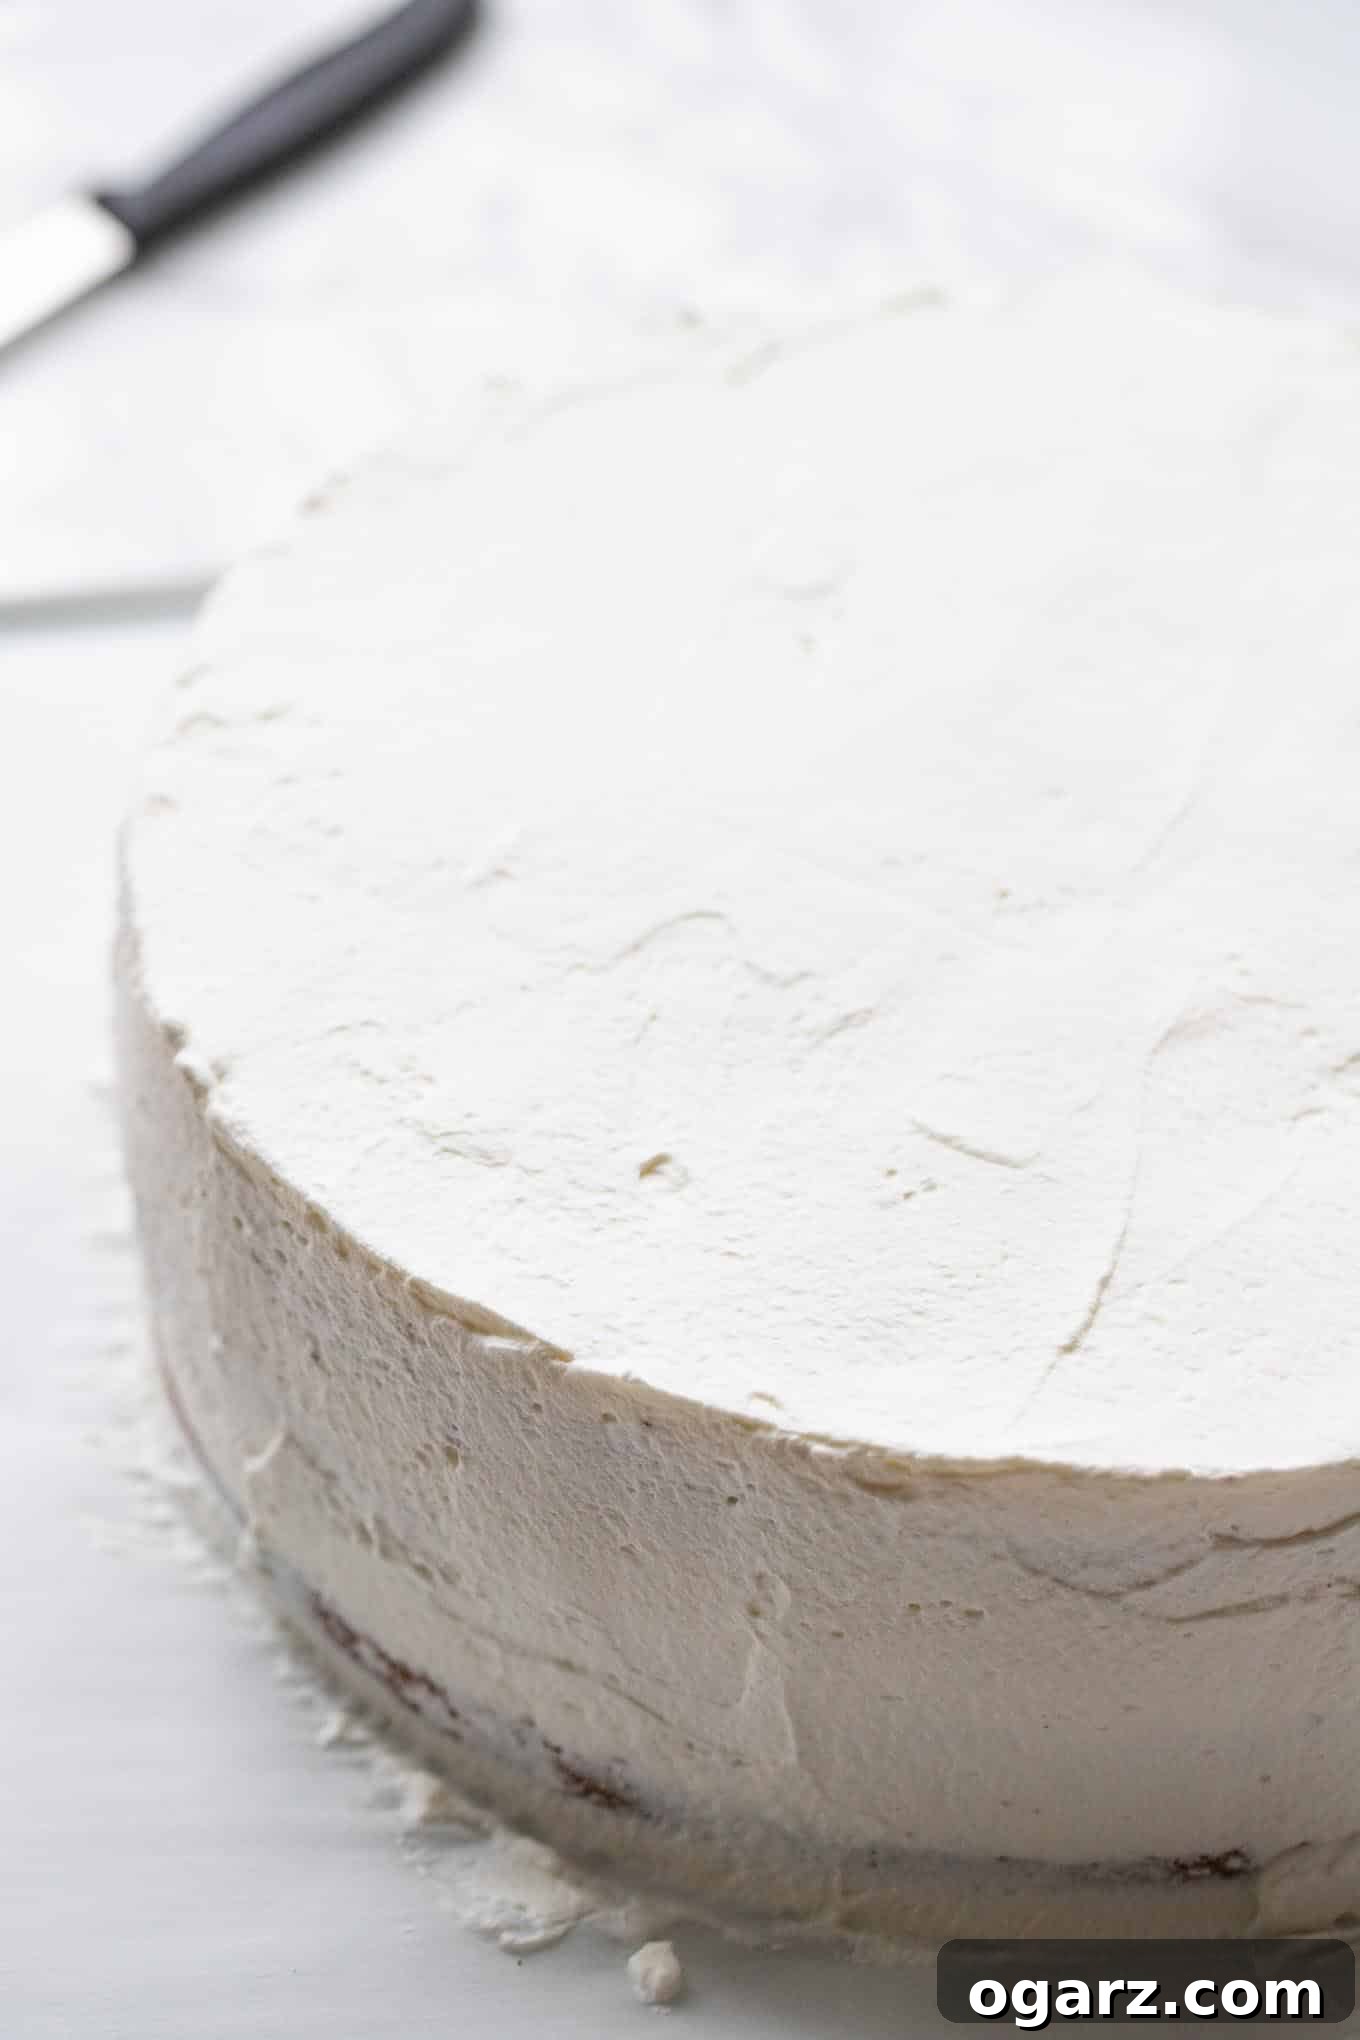
Step 10: Frost the Sides. Using an offset spatula or a bench scraper, spread the remaining whipped cream smoothly around the sides of the cake. Work patiently to achieve an even coating, ensuring the entire cake is beautifully encased in whipped cream. Once frosted, the cake is ready for its signature decoration.
Decorating Your Black Forest Cake: The Traditional Way
Decorating a Black Forest Cake is the final flourish that transforms it into a true masterpiece. I prefer to adhere to the traditional German method, which emphasizes both elegance and classic visual appeal. The sides of the cake are covered in dramatic dark chocolate shavings, reminiscent of the dense forests that inspired its name.
To create perfect chocolate shavings, ensure your bittersweet baking chocolate is very cold. Use a sharp vegetable peeler to gently shave off curls and shards. Once you have a good quantity, carefully take handfuls of the shavings and lightly press them onto the sides of the cake until it’s fully coated. A gentle hand is key to avoid disturbing the cream.
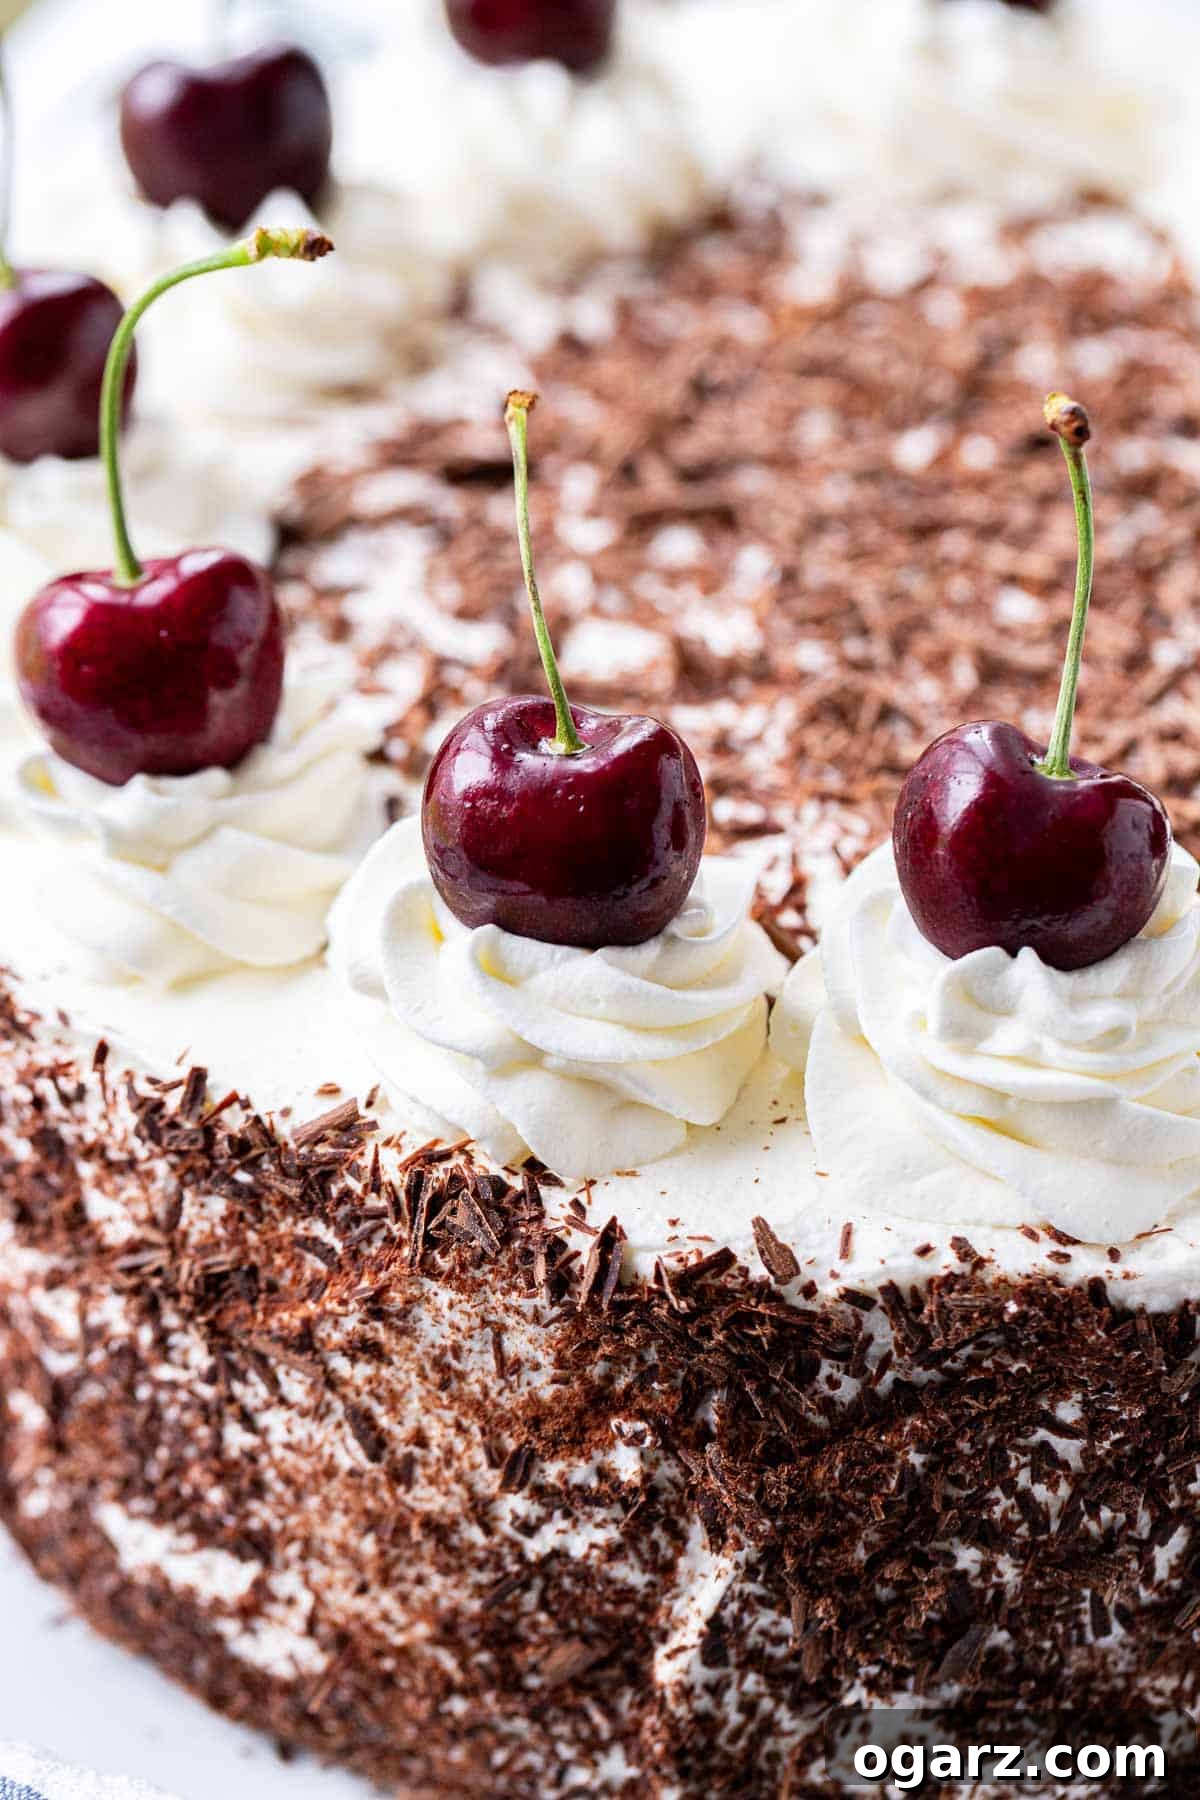
Next, it’s time for the signature whipped cream swirls on top. Using a piping bag fitted with a star tip (or simply a spoon for a rustic look), pipe 16 elegant swirls evenly around the perimeter of the cake – one for each potential slice. To achieve a symmetrical design, start by piping two swirls directly opposite each other, then two more halfway between those, and so on. This ensures even spacing. Fill the center of the cake with any remaining grated chocolate, creating a rich, dark contrast to the white cream.
Finally, crown each whipped cream swirl with a cherry. For the most stunning visual impact, I recommend using fresh cherries with their stems and pits intact. While they require a bit more effort to eat, their vibrant color and elegant presentation are unmatched. Alternatively, you can use more of the jarred sour cherries from your filling. Be mindful that the juice from jarred cherries may slightly bleed into the cream over time, so if presentation is paramount, wait to place them just before serving. I generally steer clear of overly sweet maraschino cherries found in the cake decoration aisle, but they can be used if that is your preference.
Once decorated, refrigerate the cake until you are ready to serve. Chilling allows the flavors to meld and the cake to set, ensuring perfect slices.
Troubleshooting Common Black Forest Cake Issues
Baking a traditional sponge cake can be a delicate process. If your chocolate sponge cake turned out flat, collapsed after baking, or has a dense and compact texture, here are the most common culprits and how to avoid them:
- Insufficient Air Incorporation: The foundation of a fluffy sponge is maximum aeration. Ensure you beat the egg yolk and sugar mixture until it’s noticeably thick and pale. Crucially, don’t overbeat the egg whites; you want them to reach soft, pliable peaks, not stiff and dry. Overbeaten egg whites can become grainy and difficult to fold. These tiny air bubbles are your primary leavening agent, so maximizing them is key.
- Stirring Instead of Gently Folding: This is perhaps the most critical mistake. When combining the egg yolk mixture or the flour mixture into the whipped egg whites, you must use a gentle folding technique with a spatula or large spoon. Vigorous stirring will inevitably cause the delicate air bubbles to pop, leading to a dense, compact cake that fails to rise properly. Always aim to preserve as much volume as possible.
- Greasing the Sides of the Baking Pan: A common misconception is to grease the entire springform pan. However, for a sponge cake, you must only line the bottom with parchment paper. Do NOT grease or line the sides of the pan. The sponge batter needs to cling to the ungreased sides to climb and rise effectively during baking. If the sides are greased, the batter will slide down, preventing it from rising and potentially causing it to collapse after being removed from the oven.
- Delaying Baking After Mixing: Once the flour mixture has been folded into the egg batter, the sponge cake needs to go into the oven immediately. Letting the batter sit out for too long allows those essential air bubbles to gradually escape, resulting in a less airy and risen cake. Prepare your oven and pan in advance!
- Oven Temperature Too Low: An oven that is too cold or hasn’t been properly preheated will prevent the sponge from rising quickly and setting its structure. Always preheat your oven to the specified temperature for at least 15-20 minutes before baking, and consider using an oven thermometer to verify accuracy.
- Opening the Oven Door Prematurely: The sudden change in temperature and air pressure caused by opening the oven door too early can shock the delicate sponge, causing it to deflate and collapse. Resist the urge to peek during the first two-thirds of the baking time. Wait until the cake has mostly set before briefly checking for doneness.
- Underbaked Sponge Cake: If your sponge cake collapses dramatically after you remove it from the oven, it might not have been baked long enough. An underbaked cake lacks the structural integrity to hold its shape once removed from the heat. Always perform the skewer test: insert a wooden skewer into the center – it should come out clean, with no wet batter attached (a few moist crumbs are acceptable).
Make-Ahead Instructions for Black Forest Cake
Black Forest Cake, while a labor of love, can be strategically prepared in advance, making it a perfect dessert for entertaining without last-minute stress. The cake tastes truly exceptional on the first and second day after assembly, as the flavors have time to meld beautifully. While it remains delicious beyond that, the texture of the whipped cream may begin to soften slightly.
Here’s a smart make-ahead strategy:
- Bake the Sponge Cake in Advance: You can bake the chocolate sponge cake layers a day or even two days ahead of time. Once baked, allow the cake to cool completely on a wire rack. Then, carefully wrap it tightly in several layers of plastic wrap to prevent it from drying out, and store it at room temperature. An added bonus: a chilled or day-old sponge cake is often much easier to slice into even layers compared to a freshly baked one, minimizing crumbling.
- Prepare the Cherry Filling: The homemade sour cherry filling can also be prepared a day in advance. After cooking, let it cool completely, then transfer it to an airtight container and refrigerate until ready to use. This allows the flavors to deepen and the filling to thicken further, ensuring it holds up well within the cake layers.
- Whip the Cream Just Before Assembly (or Night Before): For the freshest and most stable whipped cream, it’s ideal to whip it just before assembling the cake. However, if you’re short on time, you can whip the heavy cream the night before. Store it in an airtight container in the refrigerator. If it loses a bit of its stiffness overnight, you can gently re-whisk it for a minute or two before using, taking care not to overwhip.
- Assemble the Cake: With your components ready, assemble the cake the day before your event or on the morning of. This allows the flavors to fully develop and the cake to set properly in the refrigerator before serving, ensuring firm, clean slices.
By breaking down the preparation into stages, you can enjoy the process of baking this magnificent cake without feeling rushed, leading to a more enjoyable baking experience and a truly delicious result.
Storage & Freezing Guidelines
Proper storage is essential to maintain the freshness and quality of your Black Forest Cake, especially due to its delicate whipped cream and cherry filling.
- Storage: An assembled Black Forest Cake should always be stored in the refrigerator because of its fresh whipped cream. Place the cake in an airtight cake carrier or cover it loosely with plastic wrap to prevent it from drying out or absorbing odors from other foods. When stored correctly, the cake will maintain its excellent taste and texture for up to 3 days in the fridge. For optimal enjoyment, bring the cake out of the refrigerator 15-30 minutes before serving to allow the flavors to bloom and the cream to soften slightly.
- Freezing: An entire Black Forest cake, once assembled, generally does NOT freeze well. The delicate texture of the whipped cream and the cooked cherry filling can change significantly upon thawing, often becoming watery or grainy. However, the chocolate sponge cake itself is very freezer-friendly!
- Freezing the Sponge Cake: If you wish to make ahead further, you can bake the chocolate sponge layers, allow them to cool completely, and then freeze them. Wrap each cooled cake layer tightly in several layers of plastic wrap, followed by a layer of aluminum foil. This double-wrapping protects against freezer burn. The sponge cake can be frozen for up to 1-2 months. To thaw, simply unwrap the frozen layers and let them come to room temperature on a wire rack for several hours, or overnight in the refrigerator, before slicing and assembling the cake.
Saved
Pin
Authentic Black Forest Cake (Schwarzwälder Kirschtorte)
Equipment
-
8-inch Springform Pan
-
Adjustable Cake Ring
-
Flour Sifter
Ingredients
For the Chocolate Sponge Cake:
- 5 large eggs, separated, at room temperature
- 1 cup granulated sugar, divided
- 1 teaspoon vanilla extract, or vanilla sugar
- 1 cup all-purpose flour
- 2 teaspoons baking powder
- ⅓ cup cornstarch
- ¼ cup unsweetened Dutch process cocoa powder
For the Cherry Filling:
- 24 oz jar of morello cherries, or sour cherries, drained (reserve liquid)
- 5 tablespoons cornstarch
- 2 tablespoons sugar
- ⅓ cup kirsch, divided or more cherry juice
For the Whipped Cream:
- 4 cups cold heavy cream
- ½ cup powdered sugar
For Garnish:
- 16 fresh cherries, or jarred sour cherries with stems
- 4 oz bittersweet Baking chocolate, coarsely grated or shaved
Instructions
-
Preheat your oven to 350℉ (180℃). Prepare an 8-inch springform pan by lining the bottom with parchment paper. Crucially, do NOT grease the sides of the pan; the cake needs to cling to them to rise properly.
-
In the clean bowl of a stand mixer fitted with the whisk attachment, beat the egg whites with ½ cup of the granulated sugar on high speed until soft, glossy peaks form (approximately 8 minutes). Transfer these whipped egg whites to a large bowl and set aside gently.5 large eggs, 1 cup granulated sugar
-
Using the same mixer bowl (no need to wash), combine the egg yolks, the remaining ½ cup of sugar, and vanilla extract. Beat with the paddle attachment at medium speed for 3-5 minutes until the mixture is thick, pale yellow, and creamy. Very gently fold this egg yolk mixture into the whipped egg whites using a flexible spatula, taking care not to deflate the volume.1 teaspoon vanilla extract
-
In a separate medium bowl, whisk together the all-purpose flour, baking powder, cornstarch, and cocoa powder. Sieve this dry mixture over the egg mixture in 2-3 batches. After each addition, carefully fold the dry ingredients into the wet with a spatula using gentle, upward motions until just combined and no streaks of flour remain. Avoid overmixing.1 cup all-purpose flour, 2 teaspoons baking powder, ⅓ cup cornstarch, ¼ cup unsweetened Dutch process cocoa powder
-
Carefully transfer the batter to the prepared springform pan. Gently smooth the top with a spatula. Bake for approximately 25 minutes, or until a wooden skewer inserted into the center comes out clean or with only a few moist crumbs attached. Avoid opening the oven door during the first 20 minutes.
-
Once baked, immediately remove the springform pan’s ring. Carefully invert the cake onto a parchment paper-lined cooling rack. Gently peel off the parchment paper from the bottom of the cake and allow it to cool completely before proceeding (this is crucial for clean slicing).
-
When the cake is entirely cool, use a long, sharp serrated knife to carefully cut the cake horizontally into three even layers. Take your time to ensure precise cuts.
-
To make the cherry filling: Drain the 24 oz jar of sour cherries, reserving the liquid. In a small bowl, whisk together 4 tablespoons of the reserved cherry liquid with the 5 tablespoons of cornstarch and 2 tablespoons of sugar to create a smooth slurry. Bring the remaining cherry juice to a simmer in a small saucepan. Remove from heat, then gradually whisk in the cornstarch mixture. Return to heat and whisk constantly until the mixture thickens (1-2 minutes). Stir in the drained cherries and simmer for another 1-2 minutes until thick and glossy. Remove from heat. If using Kirsch, stir in half (approximately 1.5-2 tablespoons) into the warm cherry filling. Let cool for 5-10 minutes before using; it will continue to thicken as it cools.24 oz jar of morello cherries, 5 tablespoons cornstarch, 2 tablespoons sugar, ⅓ cup kirsch
-
To make the whipped cream: In the very cold bowl of a stand mixer fitted with the whisk attachment (or using a hand mixer), beat the 4 cups of heavy cream on high speed until soft peaks form. If your mixer is smaller, whip the cream in two batches. Then, gradually add the ½ cup of powdered sugar and continue beating until stiff peaks form (about 2-3 minutes more). The whipped cream should be very stiff and spreadable, but be careful not to overwhip, which can make it grainy. Refrigerate the whipped cream immediately until ready to assemble the cake. Set aside about ¾ cup of whipped cream in a separate piping bag or container for final decoration.4 cups heavy cream, ½ cup powdered sugar
Assembling the Cake
-
On your chosen serving platter, place the first cake layer (this should be the original top layer of the baked cake, now placed smooth side down). Slide two pieces of parchment paper under the cake from opposite sides to keep the platter clean. Place an adjustable cake ring around the cake for stability. Drizzle this layer with 1.5 tablespoons of Kirsch (or cherry juice). Top with half of the cooled cherry mixture, leaving a 1-inch border from the edge. Carefully spread about ¼ of the whipped cream over the cherries, smoothing it with an offset spatula.
-
Place the middle cake layer on top and repeat the process: drizzle with liquid, top with the remaining half of the cherry filling, and then spread with another ¼ of the whipped cream. Finally, place the third cake layer on top (this should be the original bottom layer from baking, now smooth side up). Spread ⅓ of the remaining whipped cream evenly over this top layer. Carefully remove the cake ring. Use a spatula to spread the rest of the whipped cream around the sides of the cake until it is completely covered and smooth.
-
Decorate the sides of the cake by gently pressing the coarsely grated or shaved chocolate onto the cream. Using the reserved ¾ cup of whipped cream (and a piping bag with a star tip, if desired), pipe 16 decorative swirls evenly around the top edge of the cake. Garnish the center of the cake with any remaining grated chocolate. Place a fresh cherry (or jarred cherry with stem) on top of each cream swirl. Carefully pull out the parchment paper strips from under the cake. Refrigerate the cake for at least 30 minutes (or longer) before serving to allow it to set.16 fresh cherries, 4 oz bittersweet Baking chocolate
Nutrition
Love this recipe? Rate and comment below!