
The Secret to Elevated Cooking: A Comprehensive Guide to Clarified Butter
Do you often encounter recipes that call for “clarified butter” and find yourself either skipping that crucial instruction or abandoning the recipe altogether? You’re not alone. Many home cooks mistakenly believe that clarifying butter is a complex and time-consuming task, opting instead for regular butter or cooking oils. However, mastering the simple technique of clarifying butter can unlock a world of culinary possibilities, transforming your dishes with a rich, pure butter flavor and superior cooking performance.
Far from being a gourmet secret reserved for professional chefs, clarifying butter is an easy process that anyone can master at home. It involves gently heating butter to separate its components, resulting in pure butterfat with a significantly higher smoke point and longer shelf life. This guide will walk you through everything you need to know about clarified butter – what it is, why it’s a kitchen game-changer, how to make it, and creative ways to incorporate it into your everyday cooking.
What is Clarified Butter? Demystified
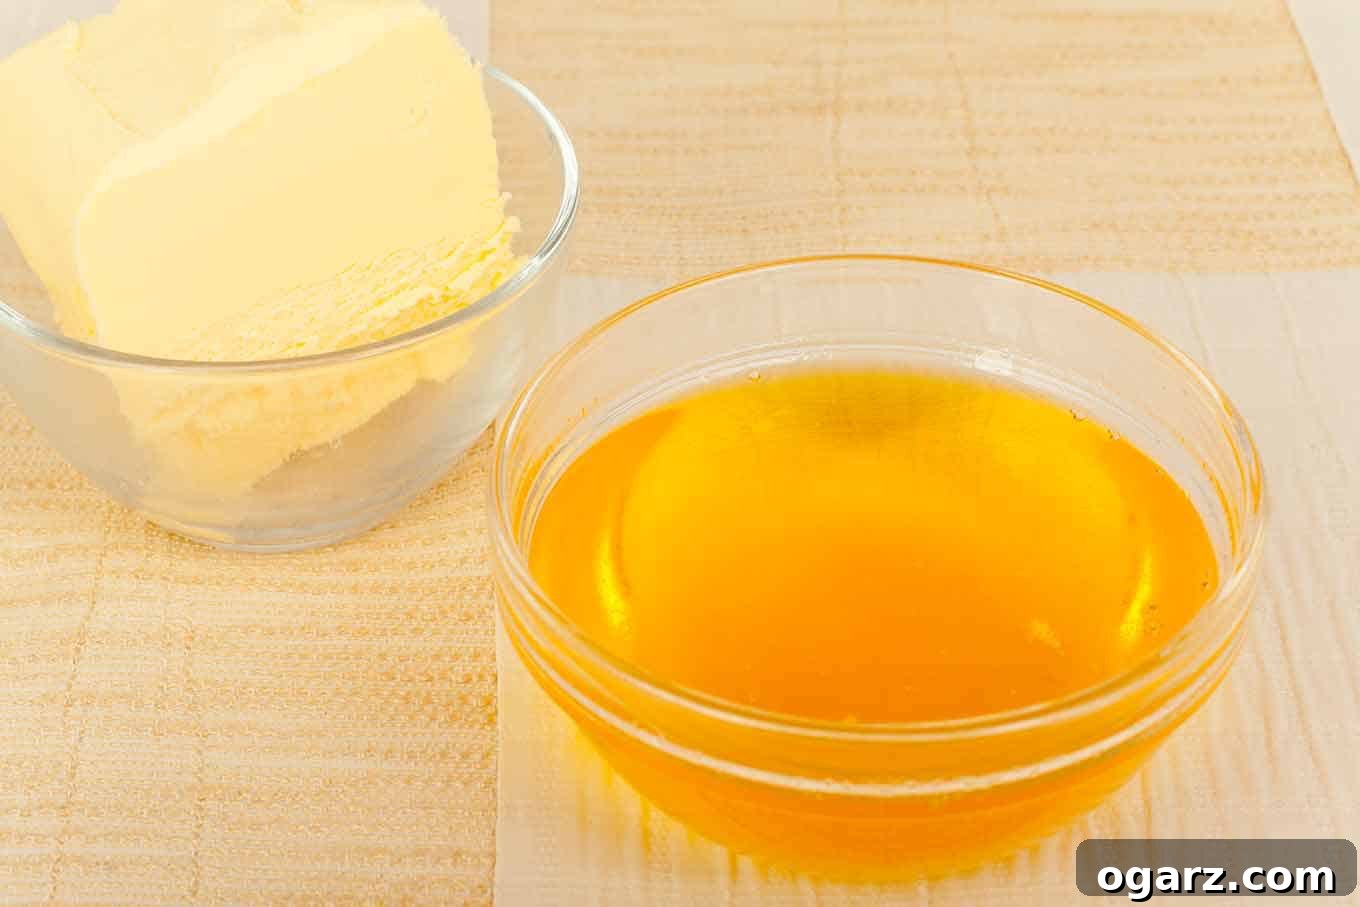
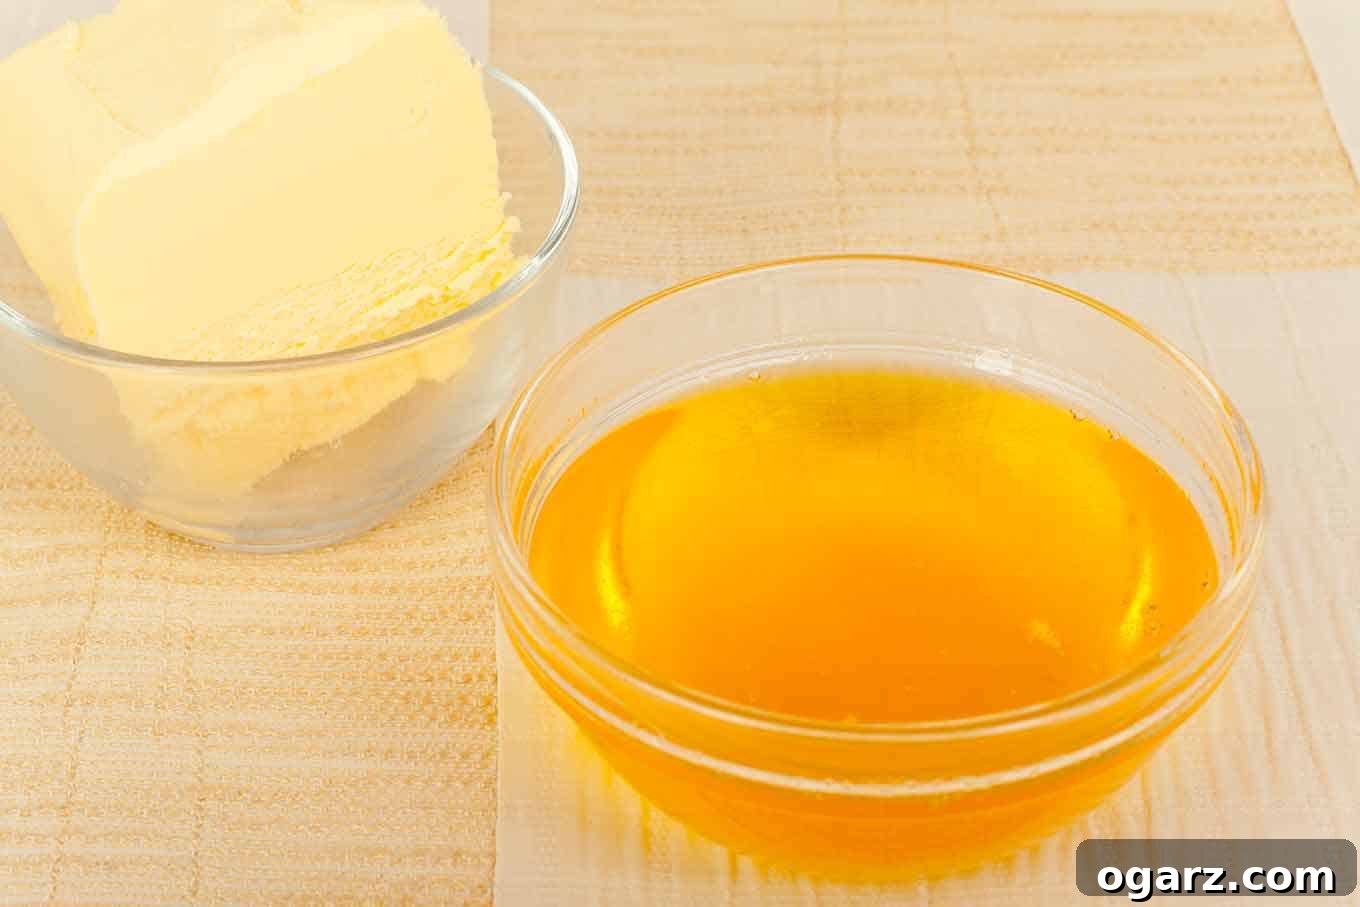
At its core, clarified butter is pure butterfat. Regular butter, straight from the package, is composed of three main elements: butterfat (approximately 80%), water (around 15-18%), and milk solids (about 1-2%, primarily casein and whey proteins). The process of clarifying butter involves gently melting and simmering butter to separate these components, leaving you with a golden, translucent liquid that is nearly 100% butterfat.
During the slow heating process, the water content evaporates, while the milk solids coagulate and either float to the top as foam or sink to the bottom of the pan. Once these elements are carefully removed, what remains is the exquisite, golden essence of butter. This transformation is key to its unique culinary properties.
It’s important not to confuse clarified butter with “drawn butter.” Drawn butter is simply melted butter, often served warm with seafood like lobster or crab. It still contains all the water and milk solids of regular butter and has not undergone the clarifying process. Therefore, it lacks the enhanced smoke point and purity that makes clarified butter so valuable in the kitchen.
Why Clarified Butter is a Culinary Game-Changer
The benefits of using clarified butter extend far beyond its simple definition. Its unique composition offers several advantages that can significantly elevate your cooking:
-
Significantly Higher Smoke Point
This is arguably the most critical advantage. Regular butter has a relatively low smoke point (around 302-325°F or 150-163°C) because its milk solids and water content burn easily. Clarified butter, with these impurities removed, boasts a much higher smoke point, typically ranging from 450-485°F (232-252°C). This allows you to cook at higher temperatures without the butter burning, smoking, or imparting a bitter flavor to your food. It’s ideal for searing, sautéing, and even pan-frying where you desire that rich butter flavor without the risk of charring.
-
Pure, Unadulterated Butter Flavor
While the initial “fresh” butter taste might be slightly altered by the removal of milk solids, clarified butter offers a cleaner, nuttier, and more intense butter flavor. It adds richness and depth to dishes without the risk of browning too quickly, allowing the pure essence of butter to shine through. This makes it perfect for dishes where butter is a star ingredient, but browning is undesirable.
-
Reduced Splattering
The water content in regular butter causes it to spatter vigorously when heated, especially at higher temperatures. By removing the water, clarified butter dramatically reduces splattering, making for a cleaner and safer cooking experience.
-
Lactose and Casein Friendly
For individuals with sensitivities to lactose or casein (proteins found in milk solids), clarified butter can be a fantastic alternative. Since nearly all milk solids are removed during the clarification process, many people who cannot tolerate regular butter find that they can enjoy clarified butter without adverse reactions.
-
Extended Shelf Life
Both water and milk solids are highly perishable components of butter, contributing to its relatively short shelf life. By removing them, clarified butter becomes far more stable and resistant to spoilage. Stored properly, it can last for weeks in the refrigerator and even longer in the freezer, making it an excellent ingredient to prepare in advance.
-
Versatility in the Kitchen
From delicate sauces to high-heat searing, clarified butter is incredibly versatile. It’s a foundational ingredient in classic French cuisine and a staple in many other culinary traditions around the world.
How to Make Clarified Butter: A Step-by-Step Guide
Making clarified butter at home is surprisingly simple and requires minimal equipment. The key is patience and a gentle approach. Always remember to use unsalted butter, as salted butter can lead to unpredictable results and limit your control over the seasoning of your final dish.
What You’ll Need:
- Unsalted Butter: Start with at least a half-pound (two sticks) or a full pound (four sticks). More butter makes the process slightly easier to manage.
- Heavy-Bottomed Saucepan: A thick bottom helps distribute heat evenly and prevents scorching.
- Fine-Mesh Sieve or Cheesecloth: For straining out any remaining milk solids.
- Ladle or Shallow Spoon: For skimming foam.
- Heat-Proof Container with a Lid: For storing your finished clarified butter. Glass jars are ideal.
The Process:
-
Prepare the Butter
Cut your unsalted butter into tablespoon-sized chunks. This helps it melt more evenly and quickly. Place the butter chunks into your heavy-bottomed saucepan.
-
Gentle Melting and Simmering
Place the saucepan over a very low heat. The goal is to melt the butter slowly and then allow it to gently simmer, not boil rapidly. Rapid boiling can cause the milk solids to burn quickly and incorporate back into the butterfat, making it cloudy or giving it an off-flavor. As the butter melts, you’ll notice a distinct foam beginning to rise to the surface. This foam is primarily composed of milk solids.
-
Observe the Separation
Continue cooking over low heat. As the water evaporates, you’ll observe distinct layers forming. A foamy layer will accumulate on top, the pure golden butterfat will be in the middle, and heavier milk solids will slowly sink and collect at the bottom of the pan. The butter will transform from opaque to a clearer, golden liquid.
-
Skim the Foam
Using your shallow spoon or ladle, gently skim off the white foam that rises to the top. Discard this foam. Don’t worry if you don’t get every last bit; the final straining step will catch anything you miss.
-
Remove from Heat and Settle
Once most of the foam has been removed and the butterfat looks clear and golden, take the pan off the heat. Let it stand for a few minutes (5-10 minutes) to allow any remaining milk solids to fully settle at the bottom of the pan. This settling period is crucial for achieving maximum clarity.
-
Strain the Clarified Butter
Carefully pour the clear, golden liquid into your heat-proof storage container. Be extremely gentle, tilting the pan slowly to leave behind the settled milk solids at the bottom. For extra clarity, you can line your fine-mesh sieve with a few layers of cheesecloth and pour the butter through it. Discard the browned milk solids that remain in the saucepan; they are no longer needed for clarified butter.
Yield and Tips:
- Yield: The process of clarifying butter reduces its volume by about 25%. So, a half-pound (8 ounces) of butter will yield approximately 3/4 cup (6 ounces) of clarified butter. A full pound (16 ounces) will give you about 1.5 cups (12 ounces).
- Don’t Stir: Avoid stirring the butter during the clarification process, as this can reintegrate the separated components.
- Low and Slow: Patience is key. Rushing the process with high heat increases the risk of burning the milk solids, which will taint the flavor of your clarified butter.
- Visual Cues: You know it’s ready when the liquid is clear and golden, the foam has been skimmed, and you can see distinct browned solids at the bottom.
Storing Your Homemade Clarified Butter
One of the fantastic benefits of clarified butter is its extended shelf life compared to regular butter. Once prepared and cooled, transfer it to a clean, airtight container, such as a glass jar.
- Room Temperature: In a cool, dark pantry, clarified butter can often last for several weeks, much like ghee.
- Refrigerator: Stored in the refrigerator, it will solidify and can last for two to three months or even longer.
- Freezer: For long-term storage, clarified butter freezes beautifully. It can maintain its quality in the freezer for up to a year. When ready to use, simply thaw it in the refrigerator or at room temperature.
Always ensure your container is impeccably clean and dry to prevent any bacterial growth. If you notice any signs of spoilage, such as an off smell, mold, or discoloration, it’s best to discard it.
Clarified Butter vs. Ghee: Understanding the Nuance
While often used interchangeably, there’s a subtle yet significant difference between standard clarified butter and ghee, a staple in Indian and South Asian cuisine.
- Clarified Butter: The process typically stops once the milk solids have separated and are skimmed or strained off, aiming for a pure, neutral butterfat. The goal is clarity and a clean butter flavor.
- Ghee (Indian Clarified Butter): Ghee takes the process a step further. After the initial clarification, the butter is allowed to simmer longer, causing the milk solids at the bottom of the pan to lightly caramelize and brown. This browning process imparts a distinctive toasted, nutty, and slightly sweeter flavor profile to the ghee, making it much more aromatic and complex than plain clarified butter. This extended cooking also tends to give ghee an even higher smoke point.
Both are forms of clarified butter, but ghee’s unique flavor makes it particularly suited for specific culinary applications. Ghee can be homemade using the same method described above, simply extending the simmering time until the solids turn golden brown, or it can be purchased readily from Indian grocery stores and many major supermarkets.
Creative Ways to Use Clarified Butter in Your Cooking
Now that you know how to make this golden liquid gold, here are some inspiring ways to incorporate clarified butter into your culinary repertoire:
- High-Heat Sautéing and Searing: Perfect for achieving a beautiful crust on steaks, scallops, fish fillets, chicken breasts, or sautéing vegetables like mushrooms and asparagus without the risk of burning.
- Pan-Frying: Ideal for frying eggs (sunny-side up or scrambled), potatoes, or delicate fish, providing a rich butter flavor without the smoke.
- Classic French Sauces: Clarified butter is the essential fat base for emulsions like Hollandaise and Béarnaise sauces, as it provides stability and prevents the sauces from breaking due to the absence of milk solids. It’s also excellent for making a perfect roux.
- Roasting: Drizzle over vegetables or poultry before roasting for enhanced flavor and crispiness.
- Baking: In some baking applications, especially those requiring a high-fat content or where you want a pure butter flavor without browning, clarified butter can be a superb choice.
- Finishing Dishes: A simple drizzle over steamed vegetables, popcorn, grilled seafood, or even soup can add an incredible depth of flavor and luxurious finish.
- Confit: Traditionally, duck confit uses duck fat, but clarified butter can be a delicious alternative for confiting garlic, onions, or even some meats, lending a rich, buttery flavor.
Conclusion: Unlocking Culinary Excellence with Clarified Butter
Clarified butter is truly a powerhouse ingredient that deserves a permanent spot in every home cook’s pantry. Its superior performance at high temperatures, pure butter flavor, extended shelf life, and versatility make it an invaluable asset in the kitchen. What might seem like an extra step is, in fact, an investment in elevating the quality and flavor of your dishes.
So, the next time a recipe calls for clarified butter, or you simply wish to take your cooking to the next level, don’t hesitate. Embrace the simple, rewarding process of making clarified butter at home. You’ll soon discover why this golden elixir is cherished by chefs and home cooks alike, transforming everyday meals into extraordinary culinary experiences.