
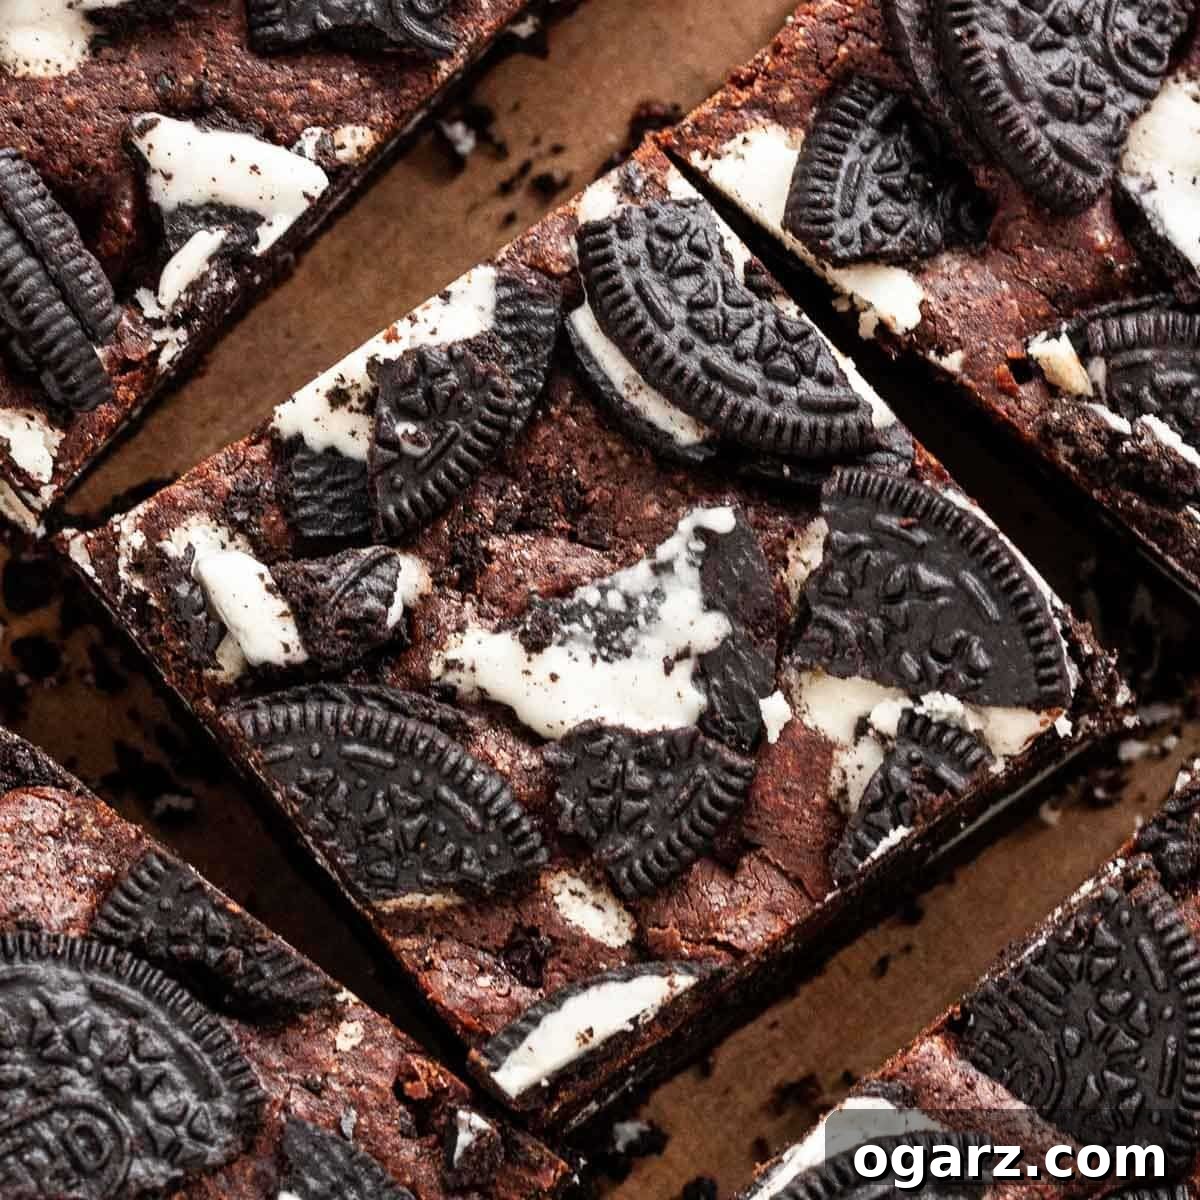
Indulgent Oreo Brownies: The Ultimate Fudgy, Chocolaty Delight
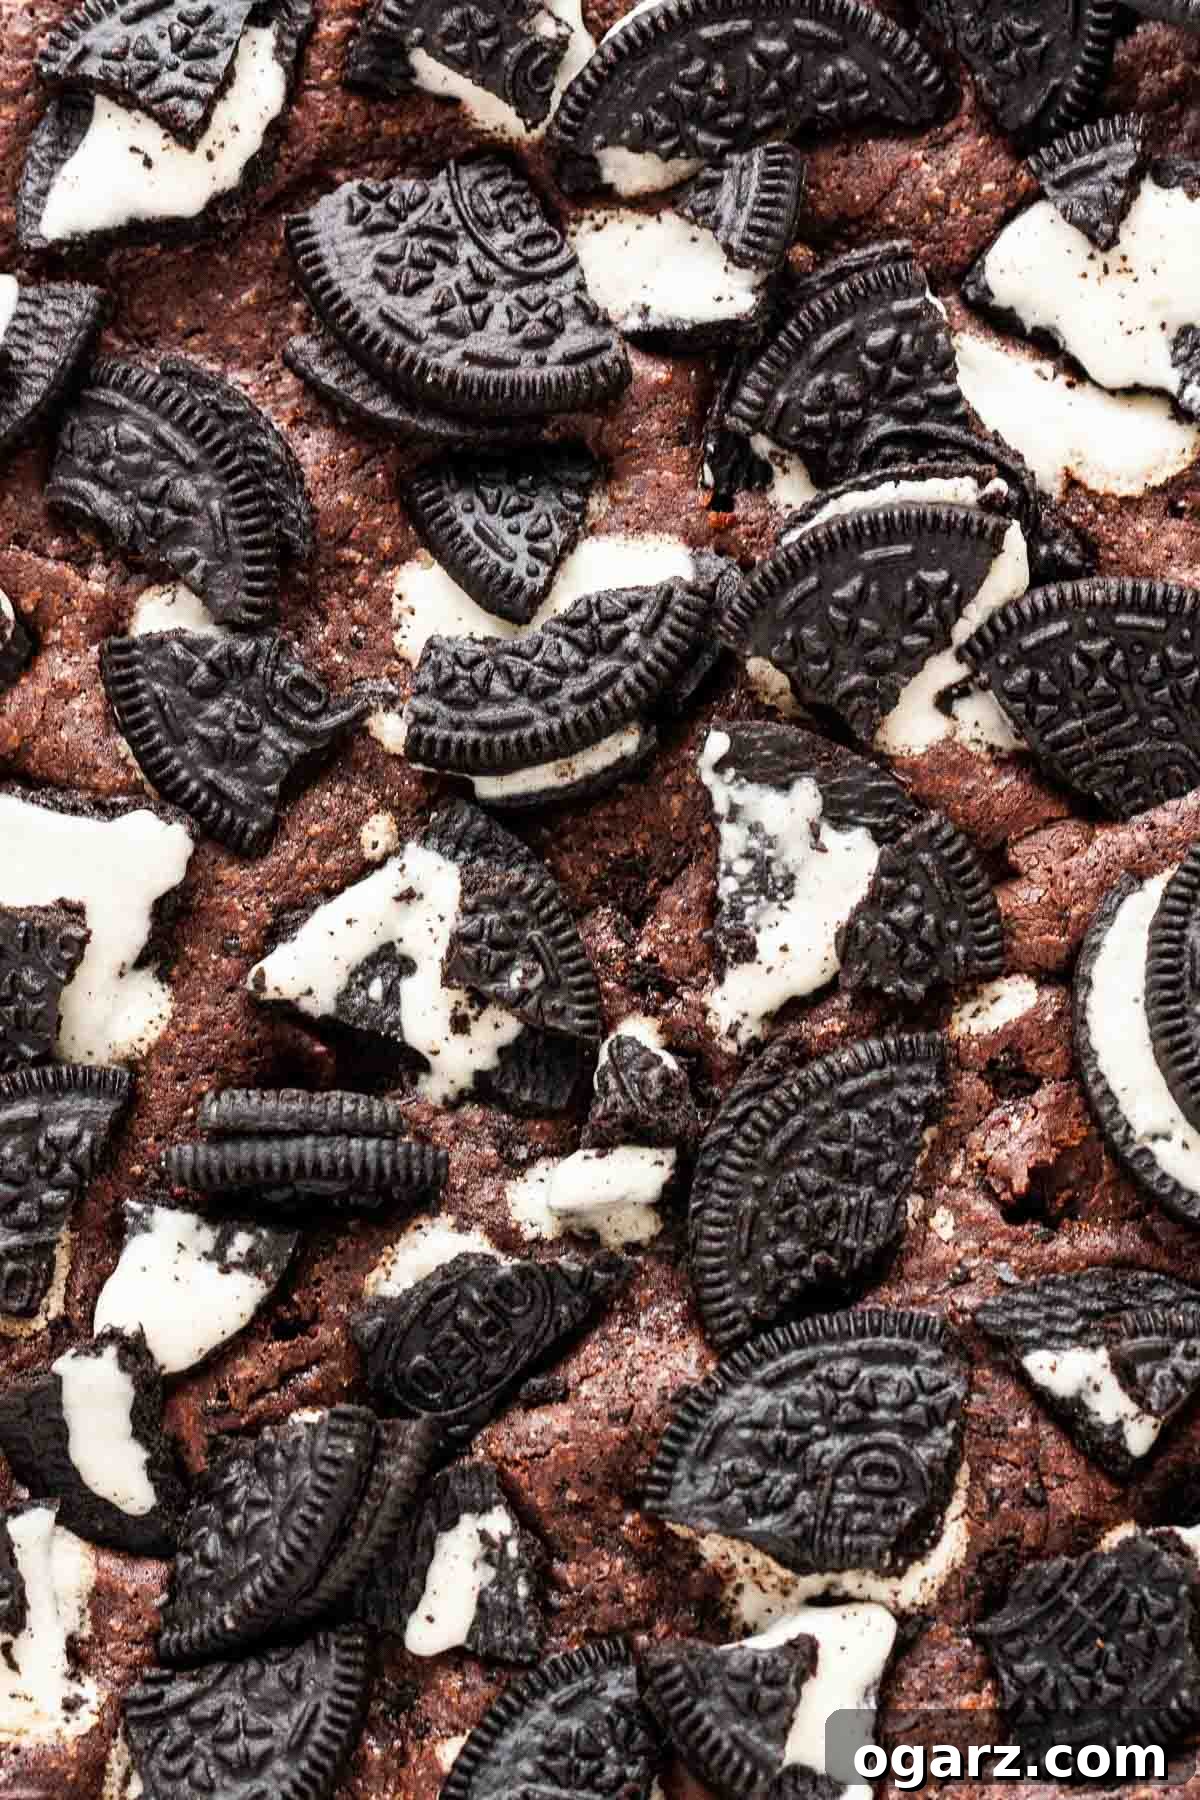
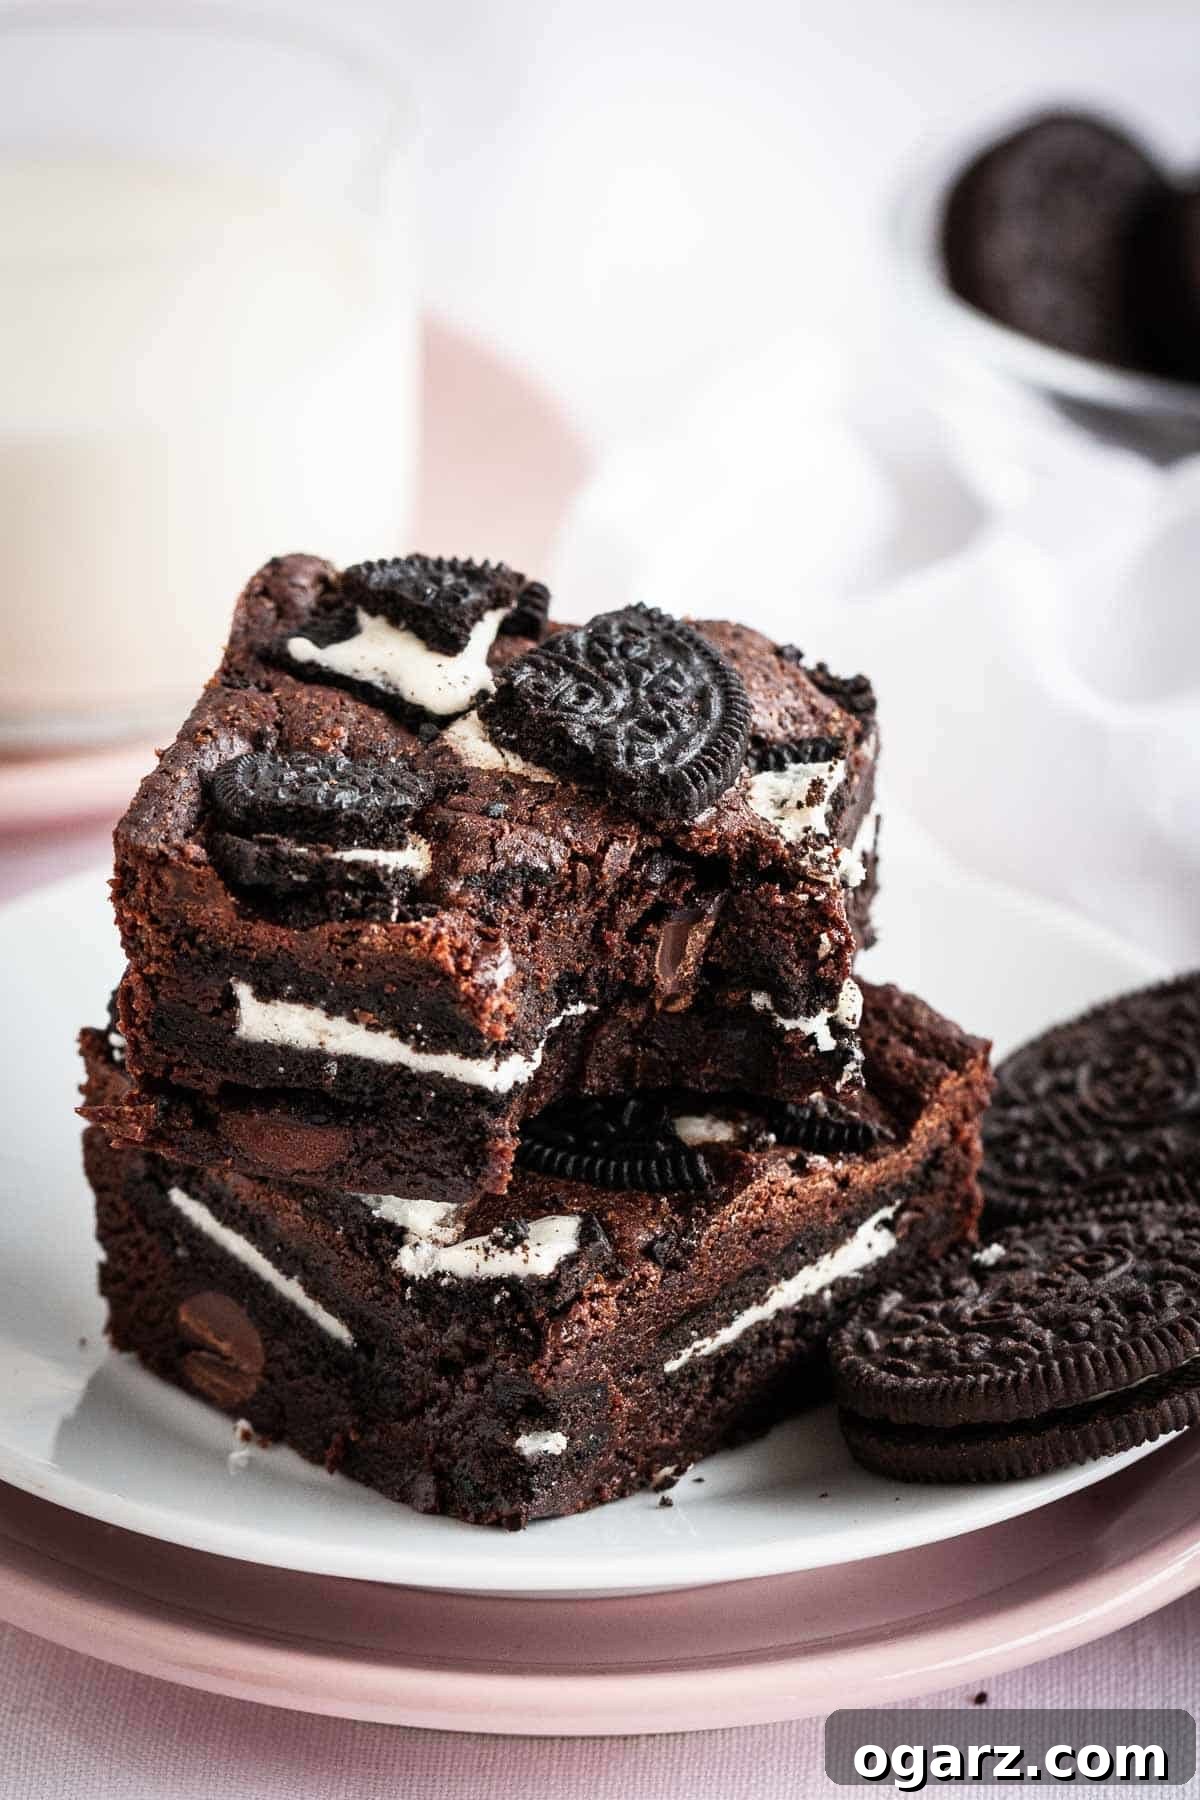
Prepare for pure bliss with our Oreo Brownies! These aren’t just brownies; they’re a decadent experience. Imagine layers of rich, homemade brownie batter infused with premium chocolate, sandwiching a generous stratum of whole Oreo cookies, and crowned with even more crushed Oreo goodness. Each bite delivers an unforgettable combination of fudgy texture and intense chocolate-cookie flavor.
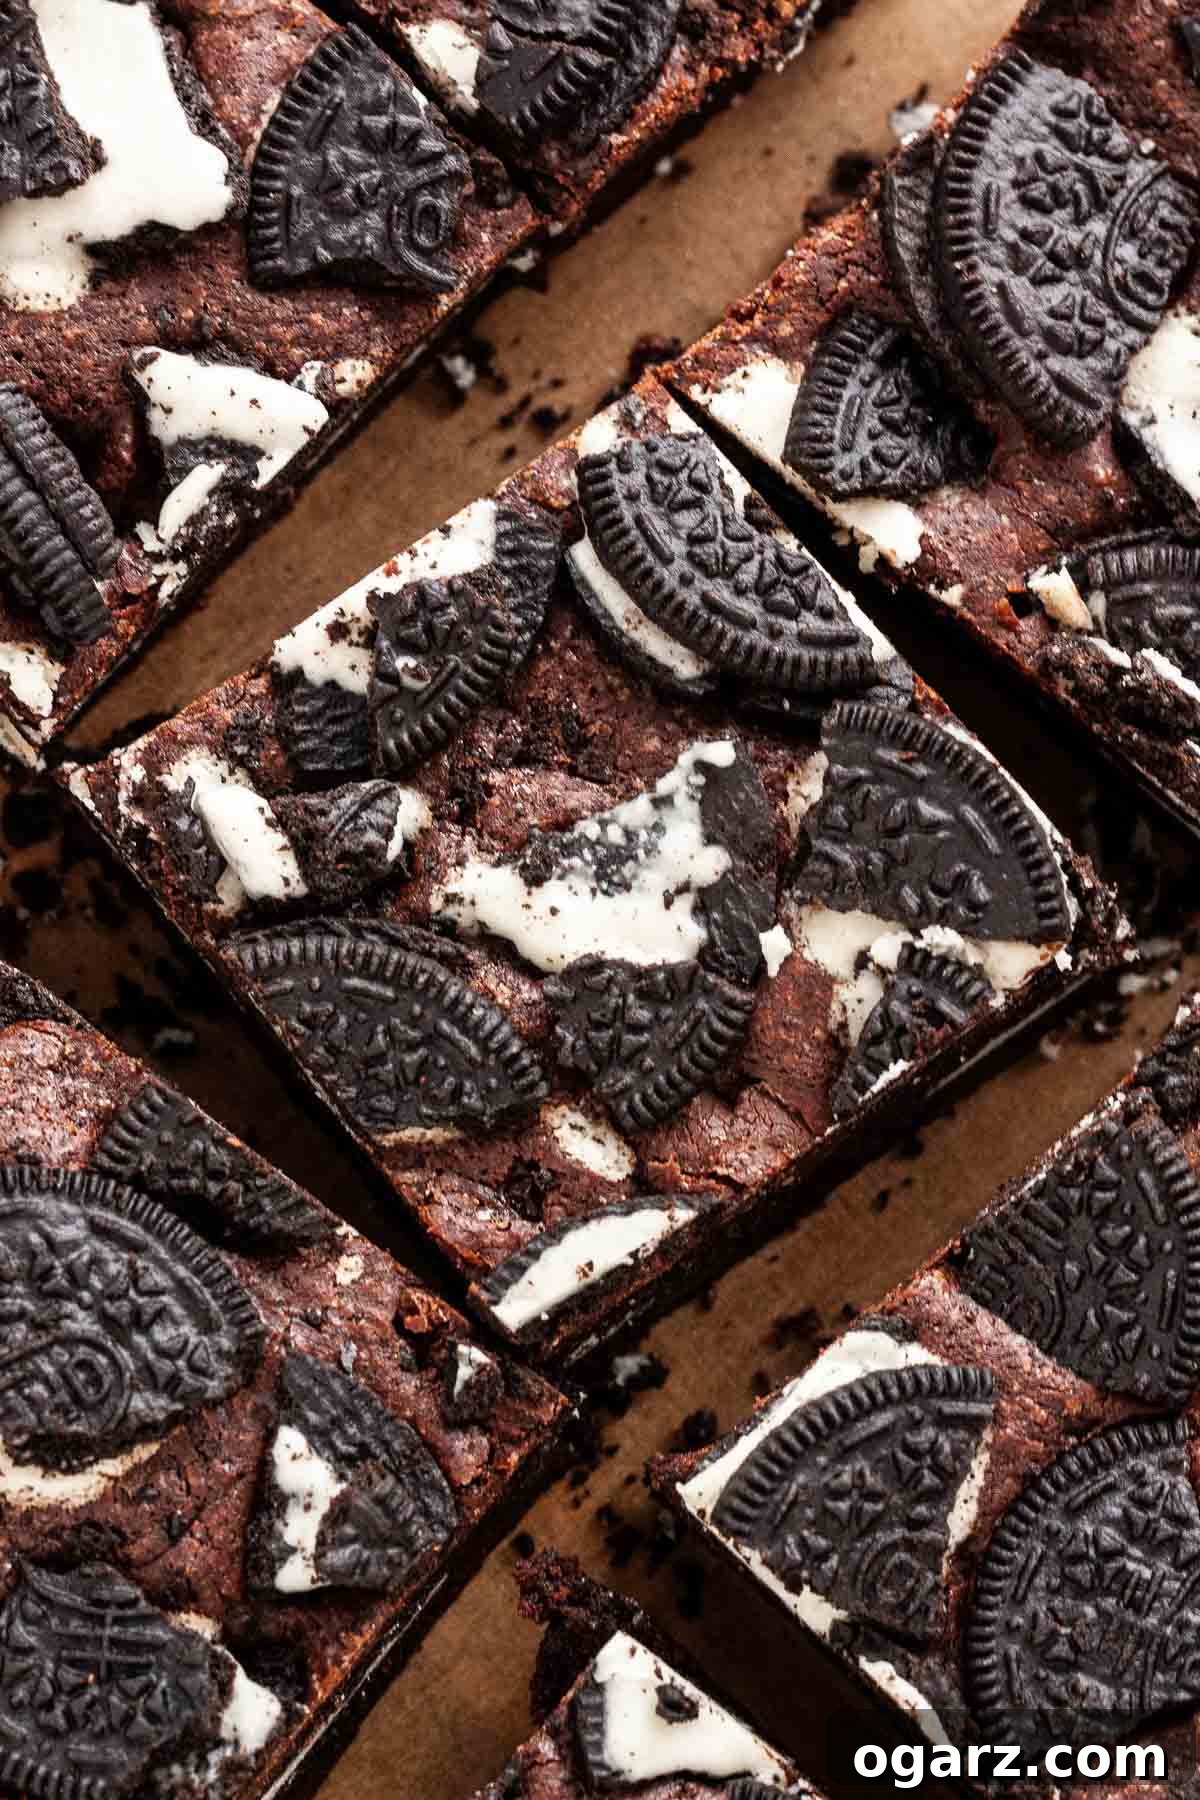
Our Oreo Stuffed Brownies are truly a chocolate lover’s dream, bursting with both Oreo cookies and luscious chocolate chips. Much like our beloved Nutella Brownies, this cookies and cream variation promises an intensely fudgy, rich, and super chocolaty treat that will satisfy any sweet craving. They strike the perfect balance between crispy cookie and soft, melt-in-your-mouth brownie.
While a box brownie mix offers a convenient shortcut when time is short, crafting these from scratch using my favorite homemade brownie recipe is always my preferred method. A from-scratch brownie recipe allows for meticulous control over the sweetness, making it easier to perfectly adapt to the sugary deliciousness of the Oreo cookies without overwhelming your palate. This homemade approach ensures a depth of flavor and a texture that no box mix can replicate.
Why You’ll Crave These Oreo Brownies
- Unmatched Decadence: These stuffed brownies redefine indulgence. They are profoundly rich, incredibly fudgy, and boast an intensely delicious chocolate flavor. Whether you share them with loved ones or keep them all to yourself, they are a luxurious dessert experience.
- Balanced Sweetness: By preparing the brownie batter from scratch, you gain the ability to finely tune the sweetness. This ensures the inherent sweetness of the Oreo cookies is beautifully complemented, not overshadowed, resulting in a perfectly harmonious flavor profile.
- Freezer-Friendly Delight: These fudgy brownies are a fantastic make-ahead dessert. They hold up exceptionally well in the freezer, allowing you to prepare them in advance for parties or simply keep a stash on hand for those unexpected cravings.
- Crowd-Pleaser: Few desserts can rival the universal appeal of a good brownie, and when you add Oreos, it elevates it to another level. These brownies are guaranteed to be a hit at any gathering, from casual family dinners to festive celebrations.
- Simple Yet Impressive: Despite their luxurious appearance and complex flavor, these brownies are surprisingly straightforward to make, making them an ideal project for bakers of all skill levels.
Essential Ingredients for Perfect Oreo Brownies
Crafting the best Oreo brownies starts with selecting the right ingredients. Below is a detailed overview of what you’ll need, along with tips for optimal results. For exact quantities, please refer to the recipe card at the bottom of this page.
- Unsalted Butter: Using unsalted butter in baking is crucial because it gives you complete control over the total salt content in your recipe. If salted butter is all you have on hand, simply omit the additional salt specified in the recipe to avoid over-salting your brownies.
- High-Quality Dark or Semi-Sweet Chocolate: The type of chocolate you choose profoundly impacts the brownies’ flavor. I strongly recommend using a good quality dark or semi-sweet chocolate (around 60-70% cacao) for the most robust and authentic chocolate taste. Milk chocolate, while delicious on its own, would introduce too much sweetness, potentially overpowering the delicate balance with the Oreos. Coarsely chopping the chocolate with a sharp knife ensures it melts smoothly and evenly, preventing any clumping.
- Large Eggs (Room Temperature): Room temperature eggs incorporate more easily and uniformly into the batter, leading to a smoother, more emulsified mixture. This contributes significantly to the brownies’ signature fudgy texture. If you forget to take your eggs out in advance, you can quickly bring them to room temperature by placing them in a bowl of warm water for 5-10 minutes.
- Dutch-Process Cocoa Powder: Dutch-process cocoa powder is my top choice for this recipe. Its alkalinity mellows the acidity of natural cocoa, resulting in a darker color and a smoother, less bitter chocolate flavor. While regular unsweetened cocoa powder can be used, the Dutch-process variety provides a richer depth. Always remember to sift your cocoa powder before adding it to prevent any stubborn clumps from forming in your batter.
- Semi-Sweet Chocolate Chips (or Chunks): These add an extra burst of molten chocolate throughout the brownies. Semi-sweet chocolate chips are ideal as they complement the overall sweetness without making the brownies overly sugary. Feel free to use chocolate chunks or even more finely chopped dark chocolate if you prefer a different texture or a more intense chocolate hit.
- Oreo Cookies: The star of the show! Regular Oreo cookies are perfect, but don’t hesitate to experiment with different flavors or seasonal varieties for a unique twist. There’s no need to scrape out the cream filling – it only adds to the richness and flavor. For the middle layer, whole cookies are used to create a distinct, satisfying crunch. For the topping, roughly chopped Oreos provide visual appeal and texture.
- Granulated Sugar: Essential for sweetness and moisture. While the Oreos contribute sugar, a balanced amount in the brownie batter ensures the fudgy texture and overall sweetness are just right.
- All-Purpose Flour: Provides structure to the brownies. Measure it correctly by spooning it into a measuring cup and leveling it off, rather than scooping directly, to avoid a dense brownie.
- Salt: A pinch of salt is vital for enhancing all the other flavors, especially the chocolate. It prevents the brownies from tasting flat and balances the sweetness.
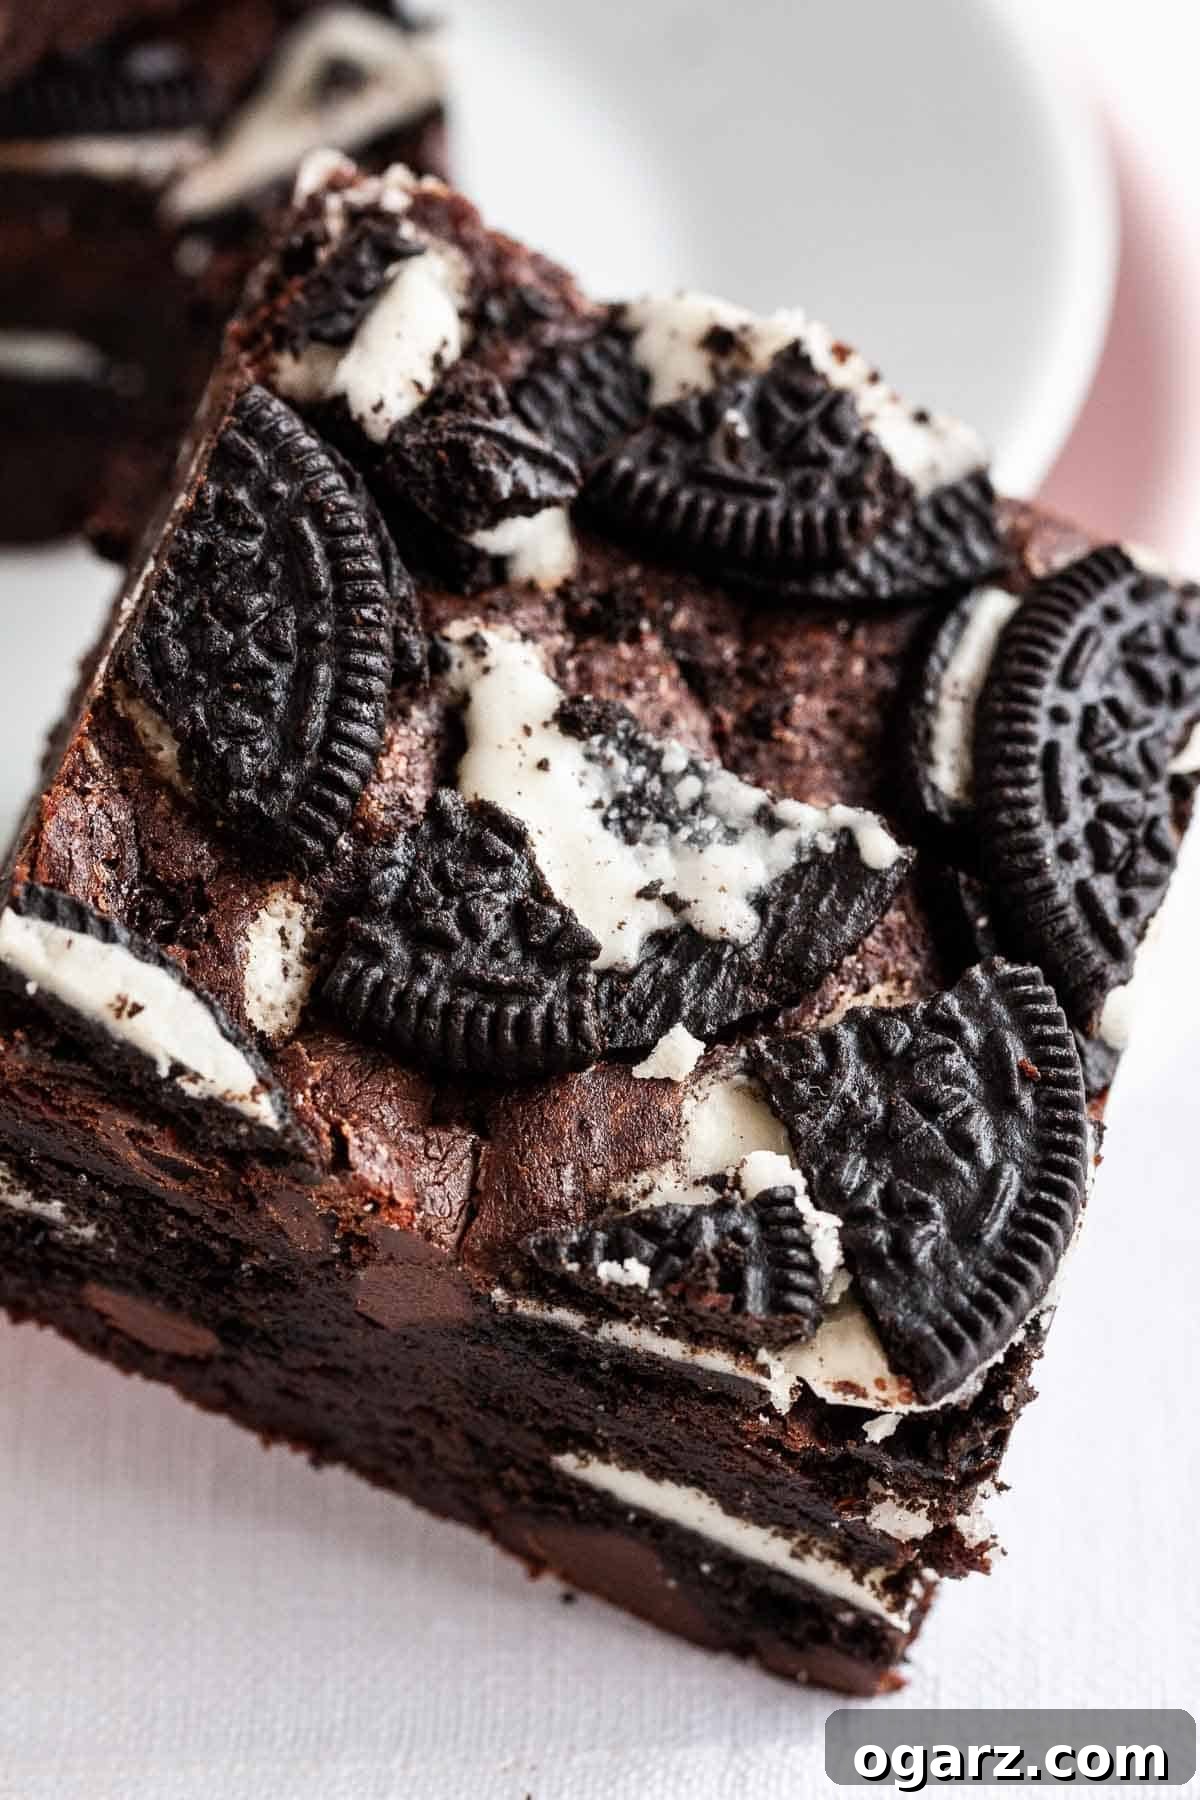
Expert Baking Tips for Flawless Oreo Brownies
Achieving the perfect fudgy, chewy, and rich Oreo brownie is all about technique. Follow these expert tips for a truly flawless batch:
- Prepare Your Pan Properly: Always line your brownie pan with parchment paper, leaving a generous overhang on two sides. This simple step is a game-changer; it not only makes cleaning up a breeze but also allows you to easily lift the entire batch of cooled brownies out of the pan for perfect, clean slicing.
- Choose the Right Cocoa Powder: As mentioned, I favor Dutch-process cocoa powder for my brownies. Its smoother flavor and darker hue contribute to a more intense chocolate experience, and it dissolves beautifully into the batter. However, if Dutch-process isn’t available, standard unsweetened cocoa powder will also work effectively.
- Avoid Overmixing the Batter: Once you’ve added the flour and cocoa powder, mix the batter gently. Beat just until all the dry ingredients are fully incorporated and no streaks or pockets of flour remain. Overbeating at this stage develops the gluten in the flour, which leads to a tougher, more cake-like brownie rather than the desired fudgy texture we’re aiming for.
- Embrace Oreo Versatility: While classic Oreos are fantastic, don’t be afraid to get creative! This recipe is incredibly adaptable, allowing you to use any variety of Oreo cookies you prefer. Mint Oreos, Peanut Butter Oreos, or even seasonal flavors can add an exciting twist to your brownies.
- Know Your Oven: Every oven has its own quirks and hot spots. Because of these variations, relying solely on the recipe’s suggested baking time isn’t always foolproof. I highly recommend checking for doneness with a wooden skewer or toothpick inserted into the center of the brownies.
- The Art of Underbaking: For truly gooey and fudgy brownies, it’s always better to slightly underbake them rather than overbake. When you insert a skewer or toothpick, you want it to come out with a few moist crumbs still clinging to it, not completely clean. If it comes out wet, they need more time. If it comes out dry, they’re likely overbaked. Underbaked brownies will continue to set as they cool, resulting in that coveted fudgy center.
- Achieve Perfect Slices: To make slicing your brownies into neat, uniform squares much easier, transfer the pan with the completely cooled brownies to the refrigerator for at least one hour (or even overnight). Chilling them solidifies the chocolate and butter, making for cleaner cuts. These brownies are incredibly rich, so I often cut them into 16 smaller squares instead of the traditional 9, making them perfect for serving with a tall glass of milk or a scoop of ice cream.
- Proper Storage for Freshness: Store your baked brownies in an airtight container to maintain their freshness. They will keep beautifully in the refrigerator for up to one week. For longer storage, you can freeze them for up to two months. When ready to enjoy, simply thaw them on the counter for a few hours.
Exciting Variations and Customizations
This Oreo brownie recipe is a fantastic canvas for creativity. Feel free to experiment with different flavors and textures to make them uniquely yours:
- Oreo Flavor Exploration: While classic Oreo cookies are always a hit, the world of Oreos is vast! Try experimenting with seasonal flavors like Pumpkin Spice or Peppermint Bark Oreos, or opt for permanent varieties like Mint, Golden, Peanut Butter, or Birthday Cake Oreos to introduce a delightful new dimension of flavor.
- Creative Add-ins: Beyond classic semi-sweet chocolate chips, the possibilities for additional mix-ins are endless. Consider white chocolate chips for a sweet contrast, robust dark chocolate chunks for extra intensity, or even chopped pieces of your favorite chocolate or candy bar. Peanut butter cups, butterscotch chips, or a swirl of caramel can transform these brownies into an even more extravagant treat.
- Stacked Layers for “Slutty Brownies”: For the ultimate indulgent dessert, take these brownies to the next level by adding a layer of cookie dough beneath the Oreos. This creates the famous “Slutty Brownies,” where layers of rich cookie dough, crunchy Oreos, and fudgy brownie batter are baked together into an incredibly decadent, multi-textured masterpiece.
- Exciting Toppings: After your brownies have cooled, consider enhancing them with a delicious topping. Instead of just sprinkling crushed cookies, you could spread a layer of creamy chocolate ganache, a tangy cream cheese frosting, or a luscious peanut butter frosting. For a simpler yet elegant finish, a dusting of powdered sugar adds a touch of sophistication.
Perfect Pairings: How to Serve Your Oreo Brownies
While these Oreo brownies are undeniably delicious on their own, serving them with a complementary accompaniment can elevate the entire dessert experience:
- Vanilla Ice Cream: A classic pairing! A scoop of creamy vanilla ice cream melting over a warm Oreo brownie creates a delightful contrast of temperatures and textures.
- Homemade Whipped Cream: Light, airy, and subtly sweet, homemade whipped cream provides a perfect counterpoint to the richness of the brownies.
- A Tall Glass of Milk: Simple, traditional, and utterly satisfying. The cool, refreshing milk cuts through the richness of the brownies, making each bite even more enjoyable.
- Coffee or Espresso: For an adult indulgence, serve your brownies alongside a hot cup of coffee, a shot of espresso, or a creamy latte. The bitterness of the coffee beautifully complements the sweet chocolate.
- Berry Compote: A tart berry compote (raspberry, strawberry, or mixed berry) can add a bright, fresh element that balances the richness of the chocolate and Oreos.
Storage and Freezing Instructions
Ensuring your delicious Oreo brownies stay fresh and enjoyable for as long as possible is simple with these storage tips:
- Refrigerator Storage: To maintain their optimal fudgy texture and prevent them from drying out, store your brownies in an airtight container in the fridge. They will remain fresh and delicious for up to one week. Bringing them to room temperature for about 30 minutes before serving will enhance their flavor and texture.
- Freezing for Longer Enjoyment: For extended storage, these brownies freeze exceptionally well. Wrap individual brownies tightly in plastic wrap, then place them in a freezer-safe airtight container or heavy-duty freezer bag. They can be frozen for up to 2 months. When you’re ready to indulge, simply thaw them on the counter for a few hours, or pop them in the microwave for a few seconds for a warm, gooey treat.
Frequently Asked Questions About Oreo Brownies
Here are answers to some common questions about making and enjoying these irresistible Oreo brownies:
- Can I use a different size baking pan?
Yes, but you may need to adjust the baking time. An 8×8 inch pan will result in thicker brownies and might require an extra 5-10 minutes of baking. A 9×13 inch pan will make thinner brownies and will likely bake faster, possibly by 5-10 minutes. Always rely on the toothpick test for doneness.
- How do I ensure my brownies are fudgy, not cakey?
The key to fudgy brownies is using the right amount of fat (butter/chocolate) and sugar, avoiding too much flour, and most importantly, not overmixing the batter after adding the dry ingredients. Overmixing develops gluten, leading to a cakey texture. Also, slightly underbaking (toothpick comes out with moist crumbs) is crucial.
- My brownies are dry, what went wrong?
Dry brownies are almost always a result of overbaking. Keep a close eye on them towards the end of the baking time and remove them from the oven when the toothpick test shows moist crumbs. Oven temperature inconsistencies can also be a factor, so consider using an oven thermometer.
- Can I make these brownies gluten-free?
While this recipe isn’t specifically developed as gluten-free, you could experiment with a 1:1 gluten-free baking flour blend. Ensure the blend contains xanthan gum. Note that the texture might vary slightly. Also, double-check that your Oreos are certified gluten-free if that’s a strict requirement.
- Do I have to use Dutch-process cocoa powder?
No, you don’t have to, but it’s recommended for a richer, darker brownie. Regular unsweetened cocoa powder will work perfectly fine, but the brownies might have a slightly lighter color and a more pronounced chocolate flavor with a hint of bitterness, which some people prefer.
- Can I make the brownie batter ahead of time?
For the best texture, it’s ideal to bake the brownie batter immediately after mixing. However, you can prepare the melted butter and chocolate mixture, and even combine the dry ingredients in advance. Just mix the wet and dry components right before baking.
Explore More Delicious Bar and Brownie Recipes
If you’ve loved these indulgent Oreo brownies, you’re in for a treat! Discover more delightful bar and brownie creations to satisfy your sweet tooth and impress your guests:
Cakes
Creamy & Dreamy Cheesecake Bars
Cookies, Brownies & Bars
Invigorating Cold Brew Coffee Brownies
Cookies, Brownies & Bars
Cinnamon-Sugar Snickerdoodle Cheesecake Bars
Cookies, Brownies & Bars
Irresistible Peanut Butter Swirl Brownie Bars

Classic Oreo Brownies
By: Julia Foerster
Our Oreo Brownies are the epitome of fudgy, deeply chocolaty, and utterly delicious! Featuring layers of rich homemade brownie batter and whole Oreo cookies, beautifully topped with even more crushed Oreos for an irresistible treat.
Prep Time: 15 minutes
Cook Time: 30 minutes
Total Time: 45 minutes
Servings: 16 squares
Print Recipe
Ingredients
- 1/2 cup (113g) unsalted butter
- 8 ounces (226g) dark or semi-sweet chocolate, coarsely chopped
- 1/2 cup (100g) granulated sugar
- 2 large eggs, at room temperature
- 1 tsp vanilla extract
- 3/4 cup (90g) all-purpose flour
- 3 tbsp (21g) Dutch-process cocoa powder, sifted
- 1/4 teaspoon salt
- 1/2 cup (85g) semi-sweet chocolate chips, or chocolate chunks
- 24 Oreo cookies (about 1.5 sleeves)
Instructions
- In a medium saucepan, melt the coarsely chopped dark chocolate and unsalted butter over medium heat, stirring constantly until smooth and combined. Remove from heat and pour the mixture into a large mixing bowl. Allow it to cool for 8-10 minutes to prevent the eggs from scrambling.
- While the chocolate mixture cools, preheat your oven to 350°F (180°C). Prepare a 9-inch (or 8-inch) square baking pan by lightly spraying it with cooking spray, then lining it with parchment paper, ensuring there’s an overhang on two sides for easy removal.
- Add the granulated sugar to the cooled chocolate mixture and whisk vigorously until thoroughly incorporated and smooth. Incorporate the eggs one at a time, whisking well after each addition until fully blended. Stir in the vanilla extract.
- In a separate bowl, whisk together the all-purpose flour, sifted Dutch-process cocoa powder, and salt. Gradually add these dry ingredients to the wet mixture. Gently fold them in using a spatula, mixing only until all the dry ingredients are wet and no flour pockets remain. Be careful not to overmix, as this can lead to cakey brownies. Finally, fold in the chocolate chips.
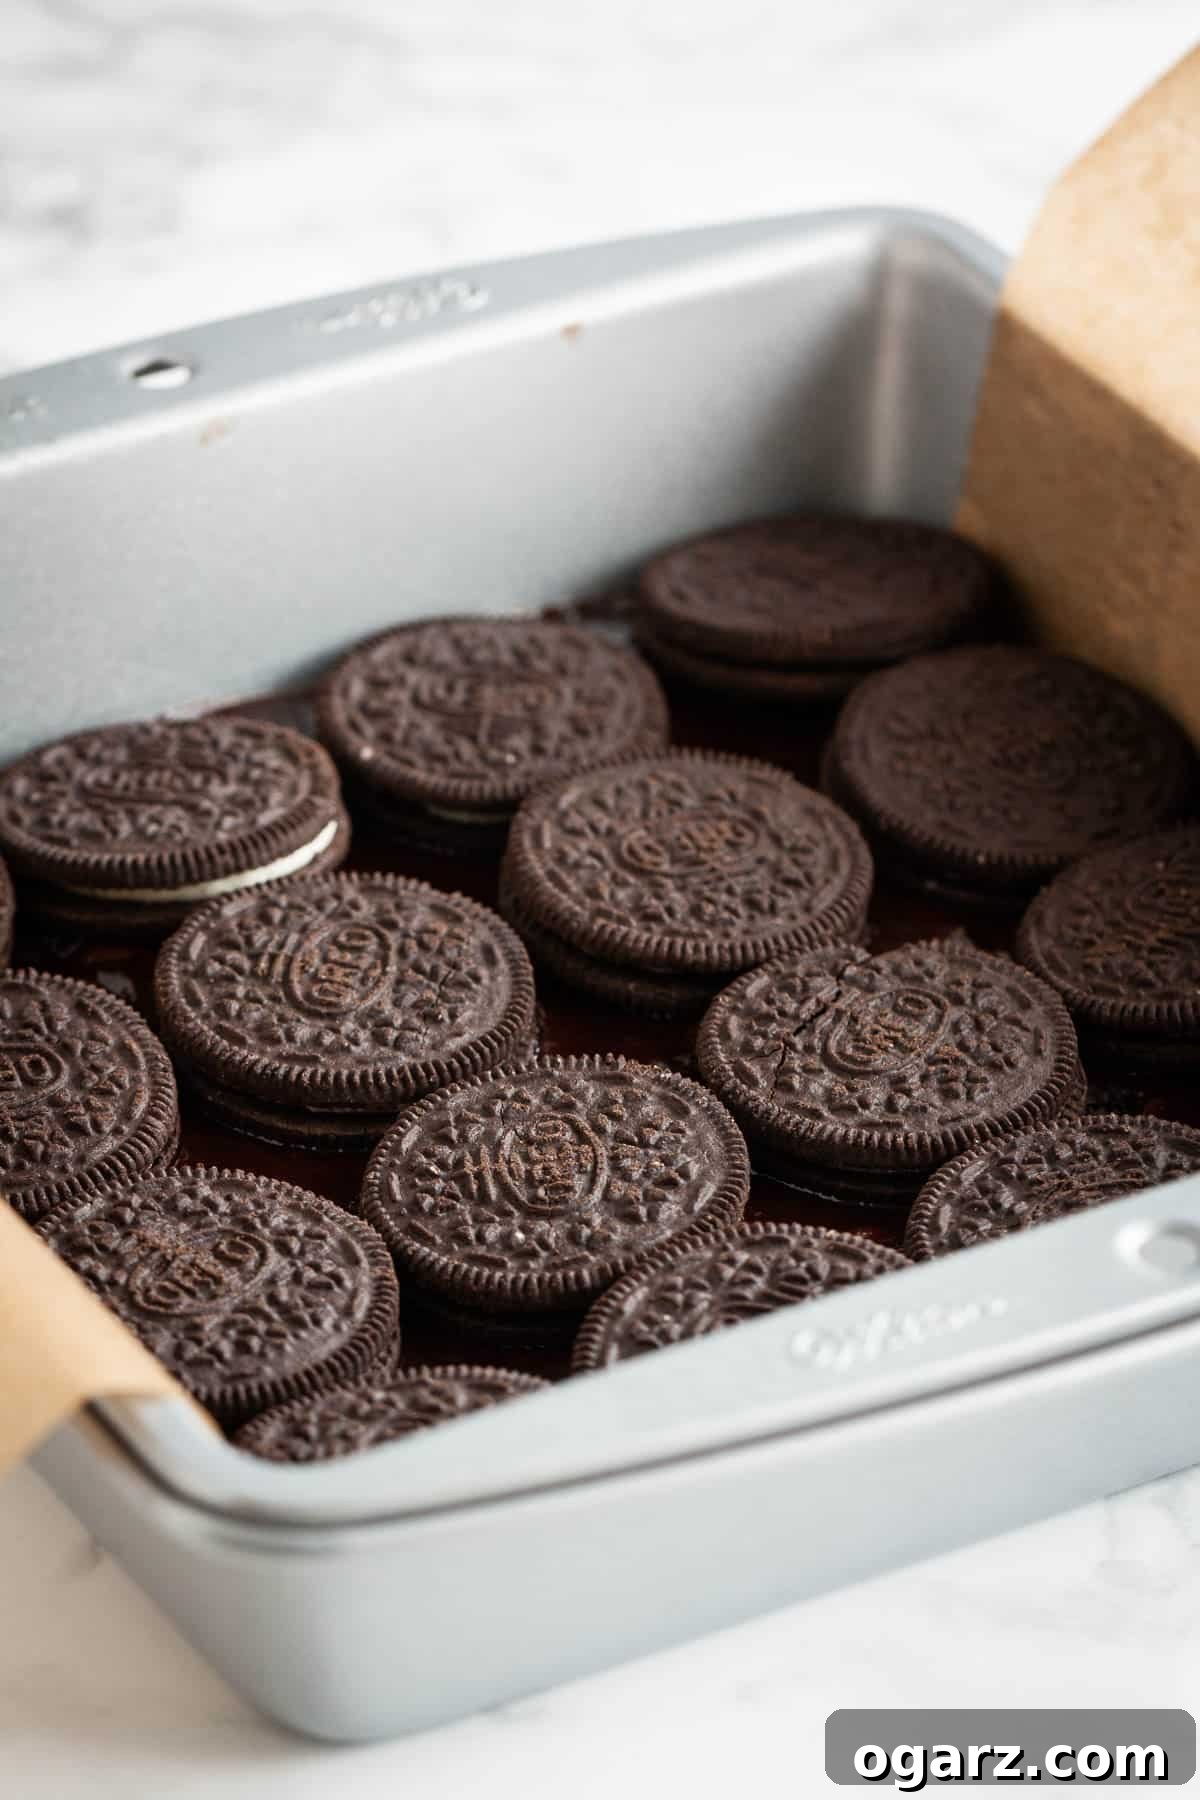
- Spread half of the brownie batter evenly into your prepared baking pan. Arrange about 16 whole Oreo cookies in a single layer over the batter. Carefully spread the remaining brownie batter on top of the cookies, covering them completely. Roughly crush the remaining 8 Oreo cookies and sprinkle them generously over the top of the brownie batter.
- Bake for 30 minutes, or until a wooden skewer or toothpick inserted into the center comes out with only a few moist, fudgy crumbs attached. It’s better to slightly underbake for a truly fudgy texture.
- Once baked, remove the pan from the oven and let the brownies cool completely in the pan on a wire rack to room temperature before slicing. This allows them to set properly and become even fudgier.
Notes
- Pan Preparation: Always line your brownie pan with parchment paper, leaving an overhang, for easy cleanup and removal.
- Cocoa Powder Choice: Dutch-process cocoa powder yields a darker color and smoother flavor, but unsweetened cocoa powder can also be used.
- Mixing Technique: Do not overmix the batter once flour is added to ensure fudgy, not cakey, brownies.
- Oreo Varieties: Feel free to use any flavor of Oreo cookies you like for a personalized touch.
- Oven Accuracy: Ovens vary; use a wooden skewer or toothpick to check for doneness, looking for moist crumbs.
- Baking Doneness: Underbake slightly for the ultimate gooey, fudgy brownies.
- Slicing Perfection: Chill cooled brownies in the fridge for an hour before slicing for clean, sharp edges. Cut into 16 smaller squares due to their richness.
- Storage: Store in an airtight container in the fridge for up to one week, or freeze for up to 2 months.
Nutrition
Calories: 306kcal | Carbohydrates: 33g | Protein: 4g | Fat: 17g | Saturated Fat: 10g | Cholesterol: 36mg | Sodium: 136mg | Potassium: 204mg | Fiber: 2g | Sugar: 19g | Vitamin A: 215IU | Calcium: 38mg | Iron: 3.8mg
Enjoyed this recipe? Please take a moment to rate it and leave a comment below! Your feedback helps us create even more delicious content.
This classic recipe was first published in 2018 and has been thoughtfully updated in 2023 with fresh images, enhanced tips, and expanded content to bring you the best possible baking experience.