
Mastering Caramelized Onions: The Ultimate Guide to Flavor Transformation
Caramelized onions are more than just a simple ingredient; they are a culinary revelation. This humble staple possesses the remarkable ability to elevate virtually any dish, infusing it with a rich, savory sweetness and an incredibly tender, jam-like texture that is simply irresistible. The magic happens through a process of slow cooking, where ordinary onions undergo a profound transformation, their natural sugars breaking down and concentrating into complex, deeply satisfying flavors.
Imagine the subtle yet impactful sweetness layered onto a juicy grilled steak, tucked into a gourmet burger, tossed through a comforting pasta dish, enriching a hearty soup, or complementing a sophisticated sandwich. This versatility makes caramelized onions a must-have in any home cook’s repertoire. While the ingredient list is remarkably short – just onions, a touch of butter and oil, and a pinch of salt – the true secret lies not in the components, but in the patient, low-and-slow cooking method that unlocks their full potential.
This comprehensive guide will walk you through every step of achieving perfectly caramelized onions, from selecting the right variety to mastering the cooking technique and exploring a myriad of delicious applications. Prepare to transform your cooking with this simple yet extraordinary technique.
The Alchemy of Flavor: How Slow Cooking Transforms Onions
The journey from crisp, pungent raw onion to soft, sweet, golden caramel takes time, and it’s a process driven by fascinating culinary science. When onions are cooked gently over low heat, several key reactions occur:
- Sugar Breakdown: Onions contain natural sugars. Gentle heat slowly breaks down complex carbohydrates into simpler sugars, making them more concentrated and accessible.
- Maillard Reaction: This is the browning reaction responsible for thousands of delicious flavor compounds. As the sugars and amino acids in the onions react with heat, they create a rich spectrum of savory, nutty, and sweet notes, along with that characteristic deep brown color.
- Moisture Evaporation: Slow cooking allows moisture to gradually evaporate from the onions, concentrating their flavors and softening their texture until they become wonderfully tender and almost jam-like.
This prolonged exposure to controlled heat, coupled with regular stirring, ensures even browning and flavor development, resulting in a depth and complexity that cannot be rushed. It’s the difference between merely cooked onions and truly caramelized onions – a difference your taste buds will certainly appreciate.
Ingredient Notes and Expert Tips for Selection
Understanding your ingredients is the first step to culinary success. Here’s what you need to know about the key components for truly exceptional caramelized onions. The full list with precise quantities can be found in the detailed recipe card below.
Choosing the Right Onions: Yellow Onions are Key
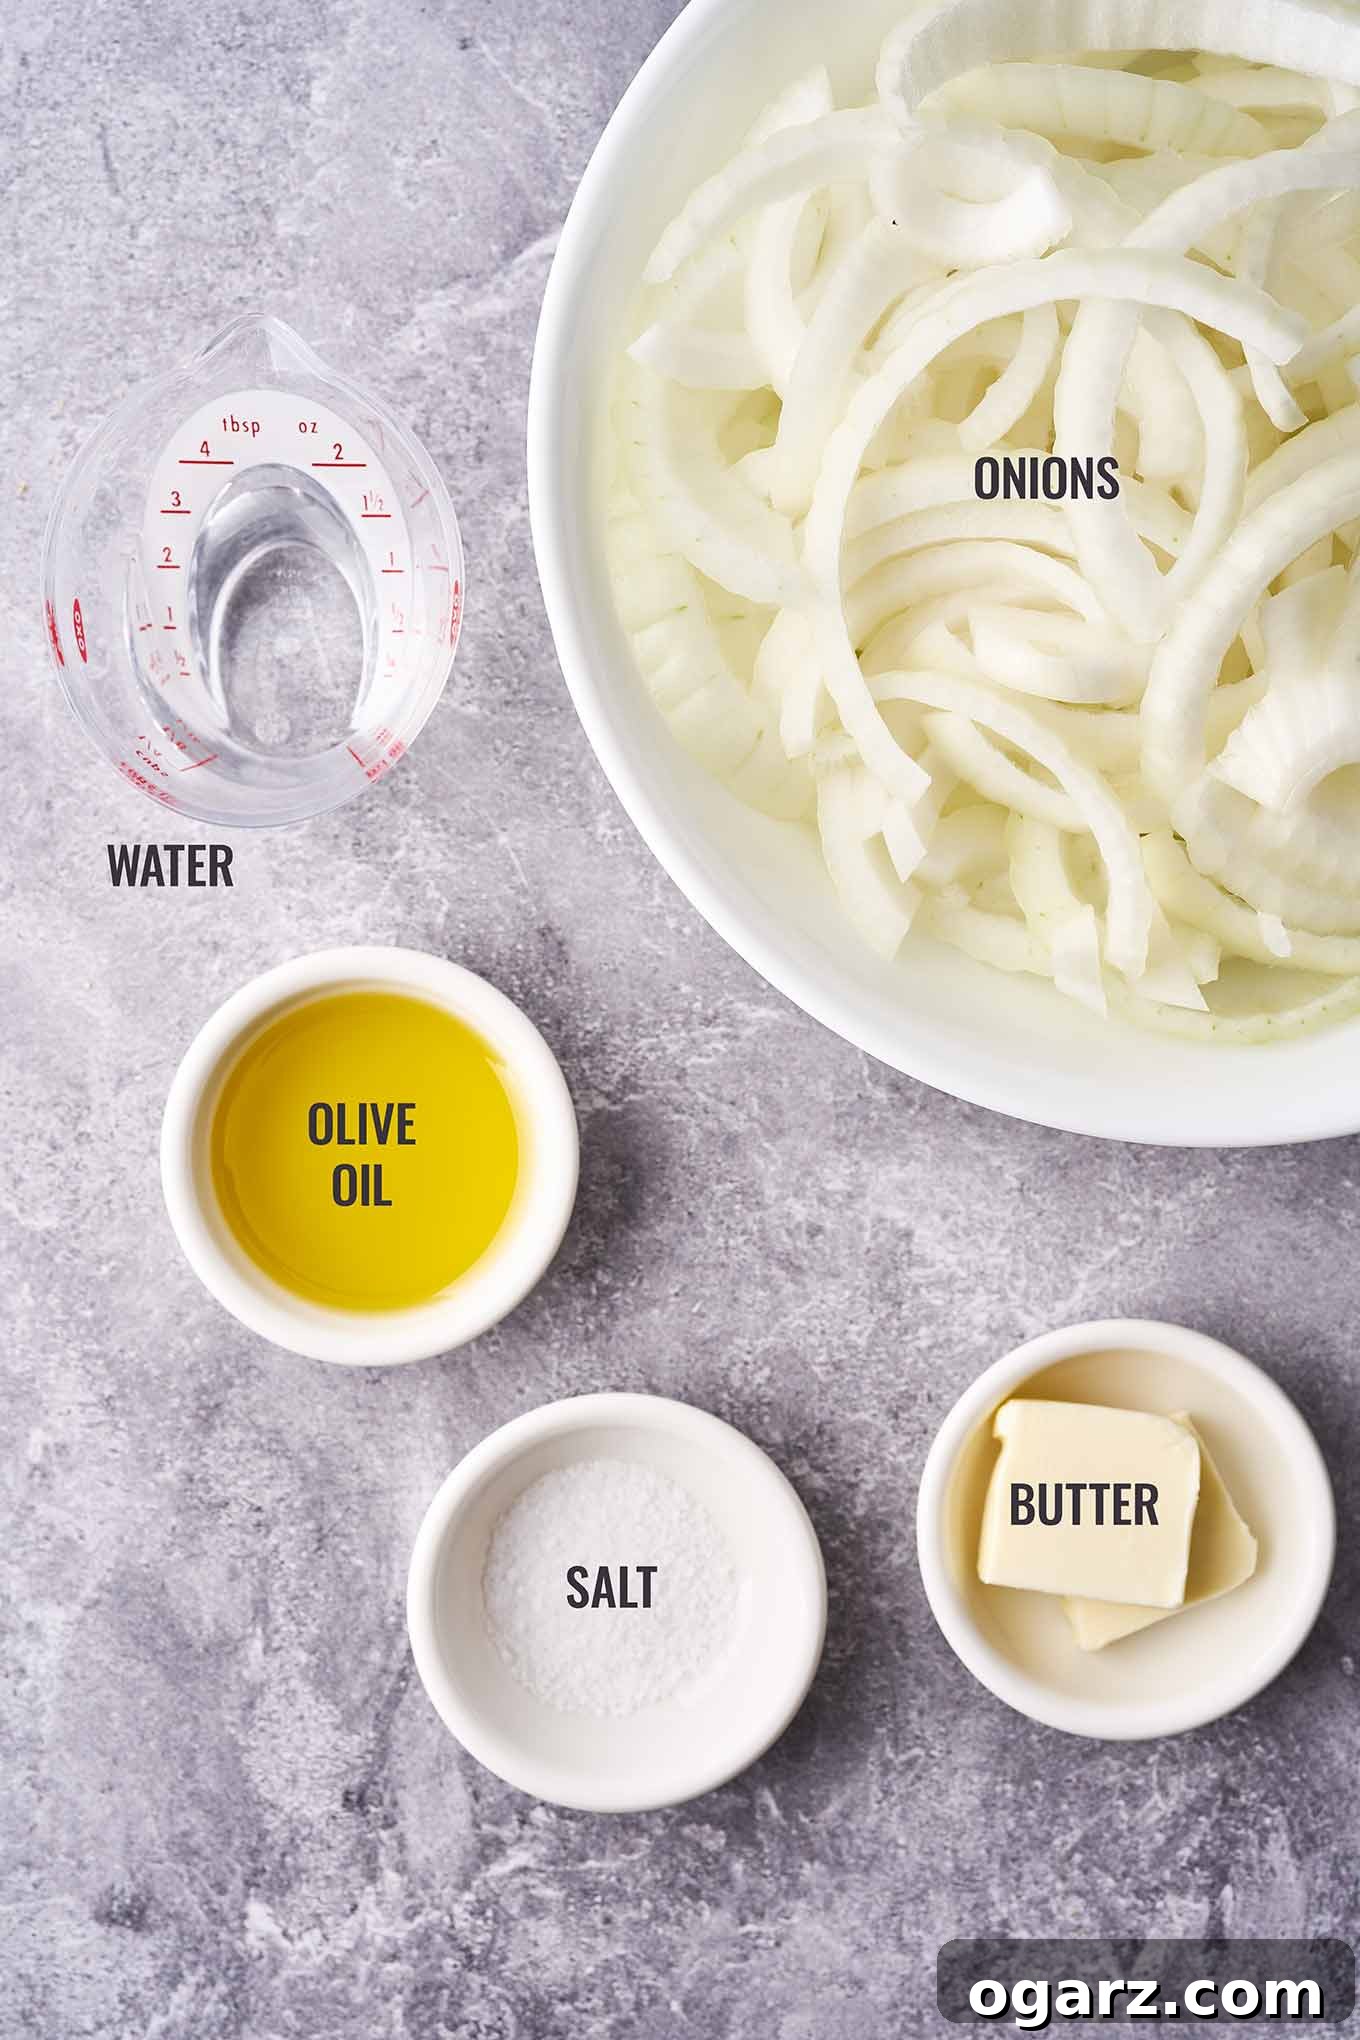
YELLOW ONIONS: For caramelizing, yellow onions are unequivocally our top recommendation. Their ideal balance of natural sugar content and pungent flavor transforms beautifully into a deep, savory sweetness during the long cooking process. They possess enough sugars to caramelize richly without becoming overly sweet, and their robust flavor mellows into a wonderfully complex base.
- Sweet Onions (e.g., Vidalia, Walla Walla): While they certainly caramelize well due to their high sugar content, they can be a tad pricey to cook down significantly, and their sweetness might become too dominant for some applications. If using sweet onions, you might consider skipping the optional pinch of added sugar.
- Red Onions: Red onions have a more assertive, slightly peppery flavor and a lower sugar content compared to yellow onions. While they can be caramelized, their bolder flavor and vibrant color might overwhelm delicate dishes or turn a somewhat muted brown, rather than the rich amber typical of yellow onions. They are better suited for specific uses where their unique profile is desired.
- White Onions: These are the most pungent and least sweet of the common onion varieties. They caramelize poorly, tending to become bitter or overly acidic when cooked down extensively. Stick to yellow onions for the best results.
For best results, aim for about 2 pounds of yellow onions, which will yield roughly 1.5 to 2 cups of caramelized onions once cooked down, as onions dramatically reduce in volume.
The Perfect Fat Blend: Butter and Olive Oil
BUTTER & OLIVE OIL: The combination of butter and light olive oil offers the ideal balance for caramelizing onions. The butter contributes an unparalleled rich, nutty flavor that complements the sweetness of the onions beautifully. However, butter has a relatively low smoke point and can burn easily over prolonged cooking. This is where olive oil comes in. A good quality light olive oil has a higher smoke point, helping to prevent the butter from scorching and ensuring a more stable cooking environment for the onions.
- Ratio: A fifty-fifty ratio, such as one tablespoon of butter and one tablespoon of olive oil, provides the best of both worlds – flavor and stability.
- Alternatives: If you prefer, you can use all olive oil for a dairy-free option, though you’ll miss the specific depth butter provides. Ghee is another excellent alternative as it offers buttery flavor with a high smoke point. Avocado oil can also be used for a neutral flavor and high heat tolerance.
Enhancing Sweetness and Flavor: Salt and Optional Sugar
SALT: A modest amount of salt is crucial not just for seasoning, but also for assisting the caramelization process. Salt helps draw out moisture from the onions, accelerating their softening and the release of natural sugars, which in turn promotes browning and flavor development.
PINCH OF SUGAR: Adding just a small pinch of granulated sugar at the uncovering stage can act as a catalyst, jump-starting the caramelization process and enhancing the onions’ natural sweetness. This is especially helpful if your onions aren’t particularly sweet or if you’re looking to achieve a deeper caramelization more quickly. However, if you are using naturally very sweet onions, or prefer to rely solely on the onions’ inherent sugars, you can certainly skip this step.
The Deglazing Liquid: Water, Broth, or Wine
WATER, BROTH, OR WINE: While not a primary ingredient, a splash of liquid is essential for deglazing the pan. This technique involves adding a small amount of liquid to the hot pan to dissolve and scrape up the browned bits (known as “fond”) that stick to the bottom. These bits are packed with intense flavor and contribute significantly to the overall depth of your caramelized onions.
- Water: For a pure onion flavor, water is the best choice for deglazing. It helps loosen the fond without introducing additional flavors.
- Broth: Vegetable or beef broth can add an extra layer of savory depth, particularly if your caramelized onions are destined for a soup or a meat dish.
- Wine: A dry white or red wine can introduce a sophisticated, acidic note that brightens the overall flavor profile. Choose a wine that complements the dish you plan to use the onions in.
Always add liquid in small increments (1-2 tablespoons at a time) to avoid steaming the onions, which would hinder browning.
Prep Overview
How to Make Perfect Caramelized Onions: A Step-by-Step Guide
Creating perfectly caramelized onions requires attention and patience, but the process is straightforward and incredibly rewarding. Here’s a quick overview of the method. For detailed, step-by-step instructions with exact measurements, please refer to the printable recipe card at the end of this article.
Step 1: Preparing Your Onions for Even Cooking
Before you even touch the heat, proper onion preparation is crucial for even caramelization. Begin by peeling your yellow onions, then halve them vertically through the root end. Place each half flat on your cutting board and slice them thinly and uniformly, about 1/8 to 1/4 inch thick. Consistency in thickness ensures that all onion pieces cook at the same rate, preventing some from burning while others remain undercooked. This also allows for maximum surface area contact with the pan, promoting better browning.
Step 2: The Initial Sweat – Softening and Releasing Sugars
Start by melting the butter and olive oil together in a wide, heavy-bottomed skillet over medium-low heat. The wide surface area is important as it allows the onions to spread out and facilitates moisture evaporation. Once the fats are shimmering, add your sliced onions. Toss them gently to ensure every piece is evenly coated with the butter and oil. This coating helps protect them from direct heat and facilitates even cooking.
Cover the skillet and allow the onions to cook slowly for about 12 to 15 minutes. During this initial phase, the heat trapped under the lid gently softens the onions, causing them to release their natural moisture and begin to turn translucent. Stir them occasionally to prevent sticking and promote even softening. Keep the heat genuinely low for this stage; you want to sweat the onions, not fry them.
Step 3: Uncover, Season, and Begin Browning
After the initial covered cooking, the onions should be soft and translucent. Remove the lid from the skillet and increase the heat slightly to medium. Now is the time to stir in the salt, which helps draw out more moisture and aids in browning, and the optional pinch of sugar, if using, to kickstart the caramelization process. From this point onward, the cooking is done uncovered, allowing moisture to escape and the browning to intensify.
Continue cooking, stirring frequently – every few minutes is ideal. As the onions cook, you’ll notice them gradually changing color, from pale gold to a deeper amber. It’s crucial to scrape up any browned bits that form on the bottom of the pan; this “fond” is packed with flavor and should be incorporated back into the onions, not left to burn. If the onions begin to stick excessively or brown too quickly in certain spots, reduce the heat and add a small splash (1-2 tablespoons) of water, broth, or wine to deglaze the pan. Scrape up the fond, stir it in, and continue cooking.
Step 4: Achieving Your Desired Caramelization and Texture
This is the most time-intensive part, typically taking 30-45 minutes after uncovering. The onions will continue to reduce dramatically in volume and deepen in color. The exact texture you aim for depends on your intended use:
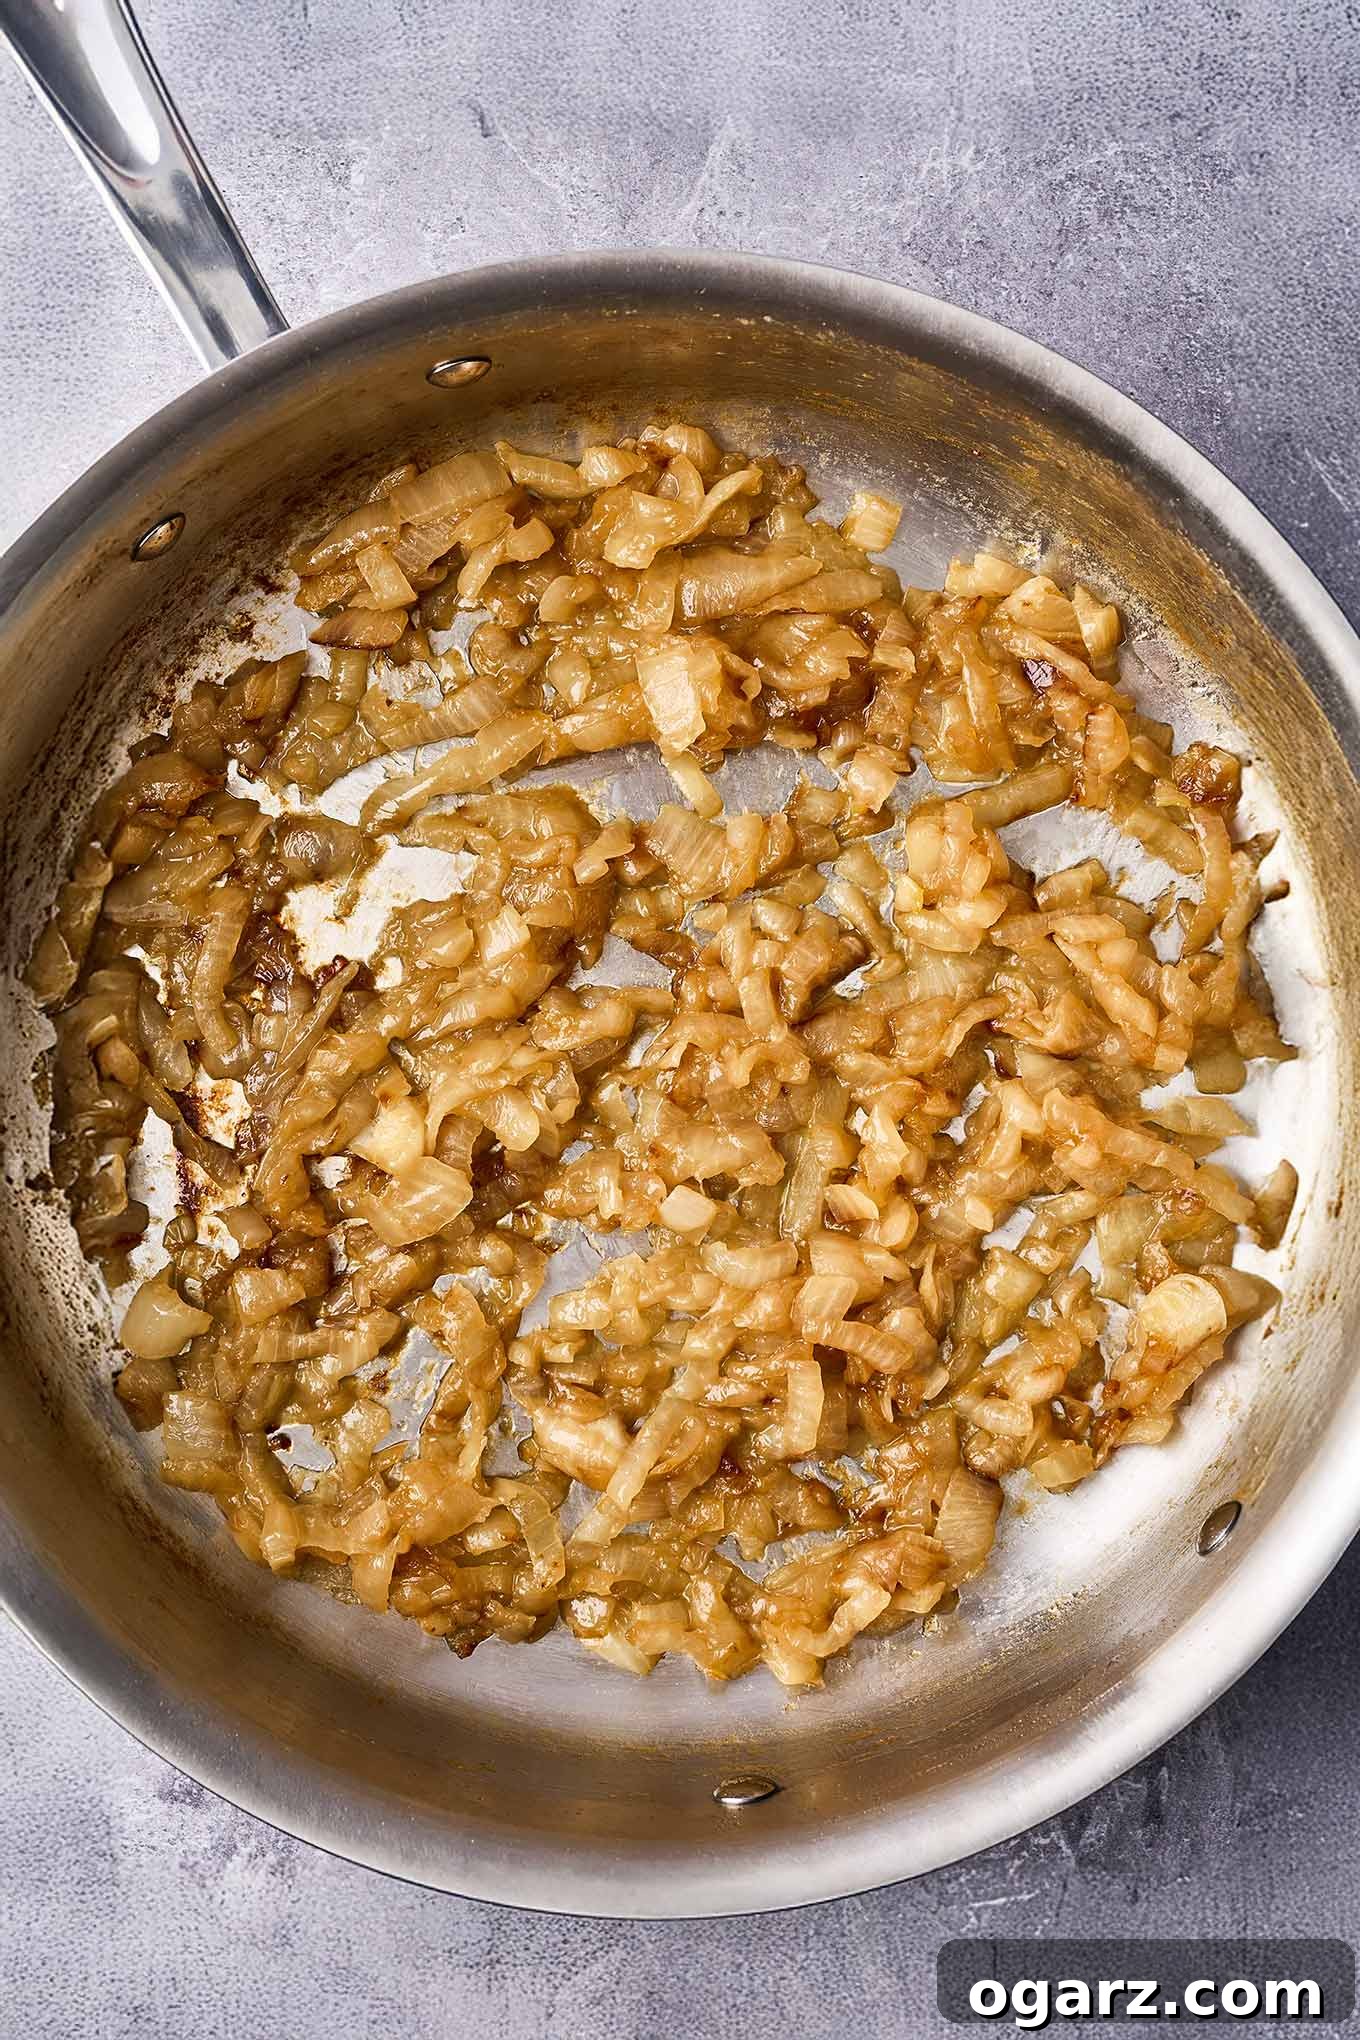
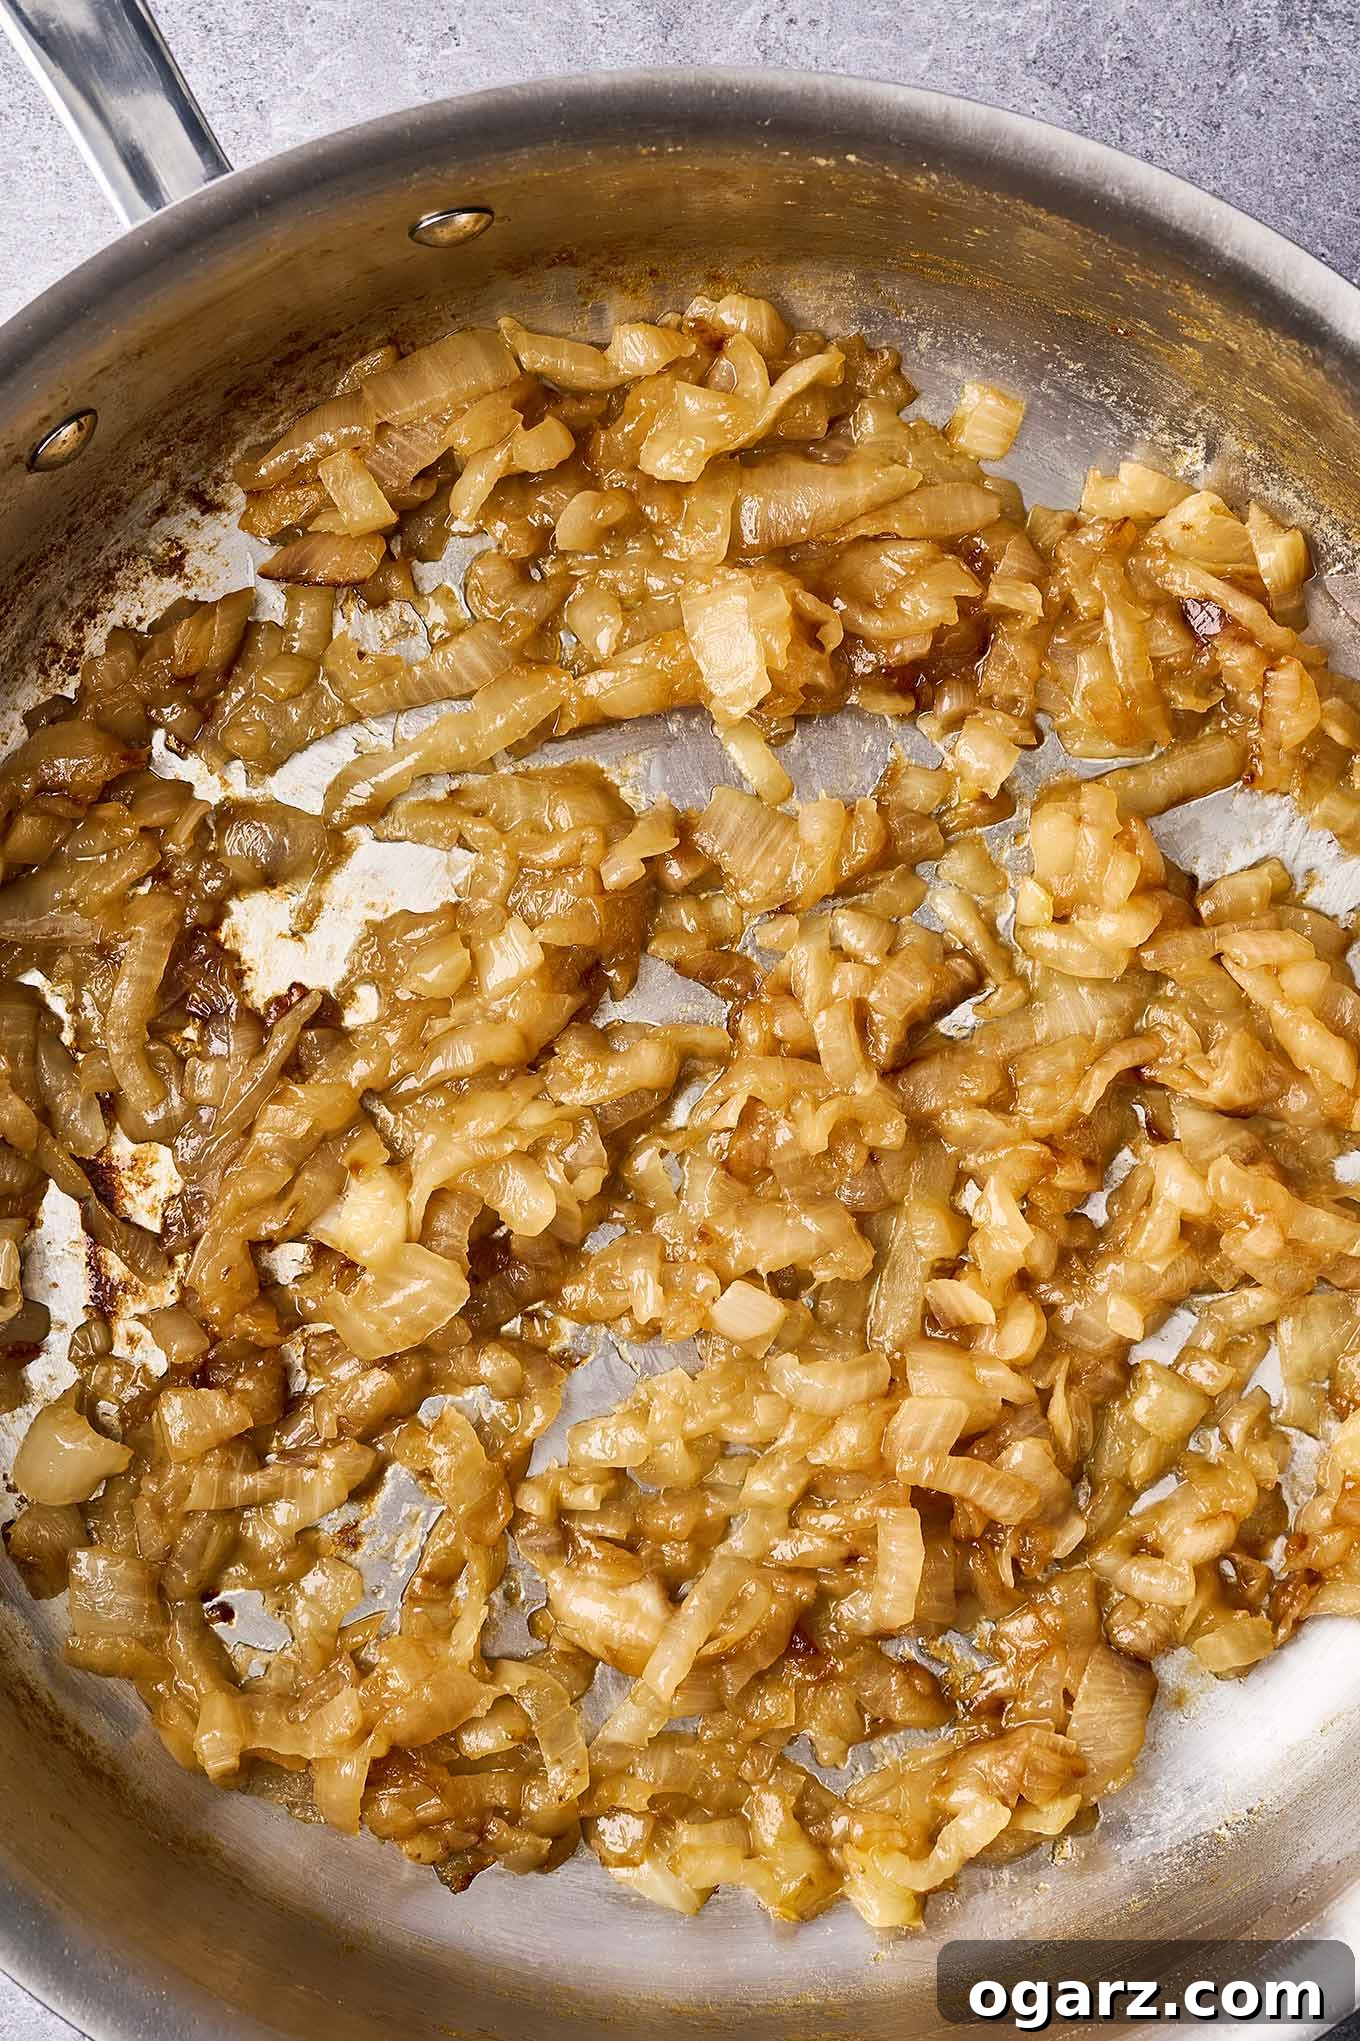
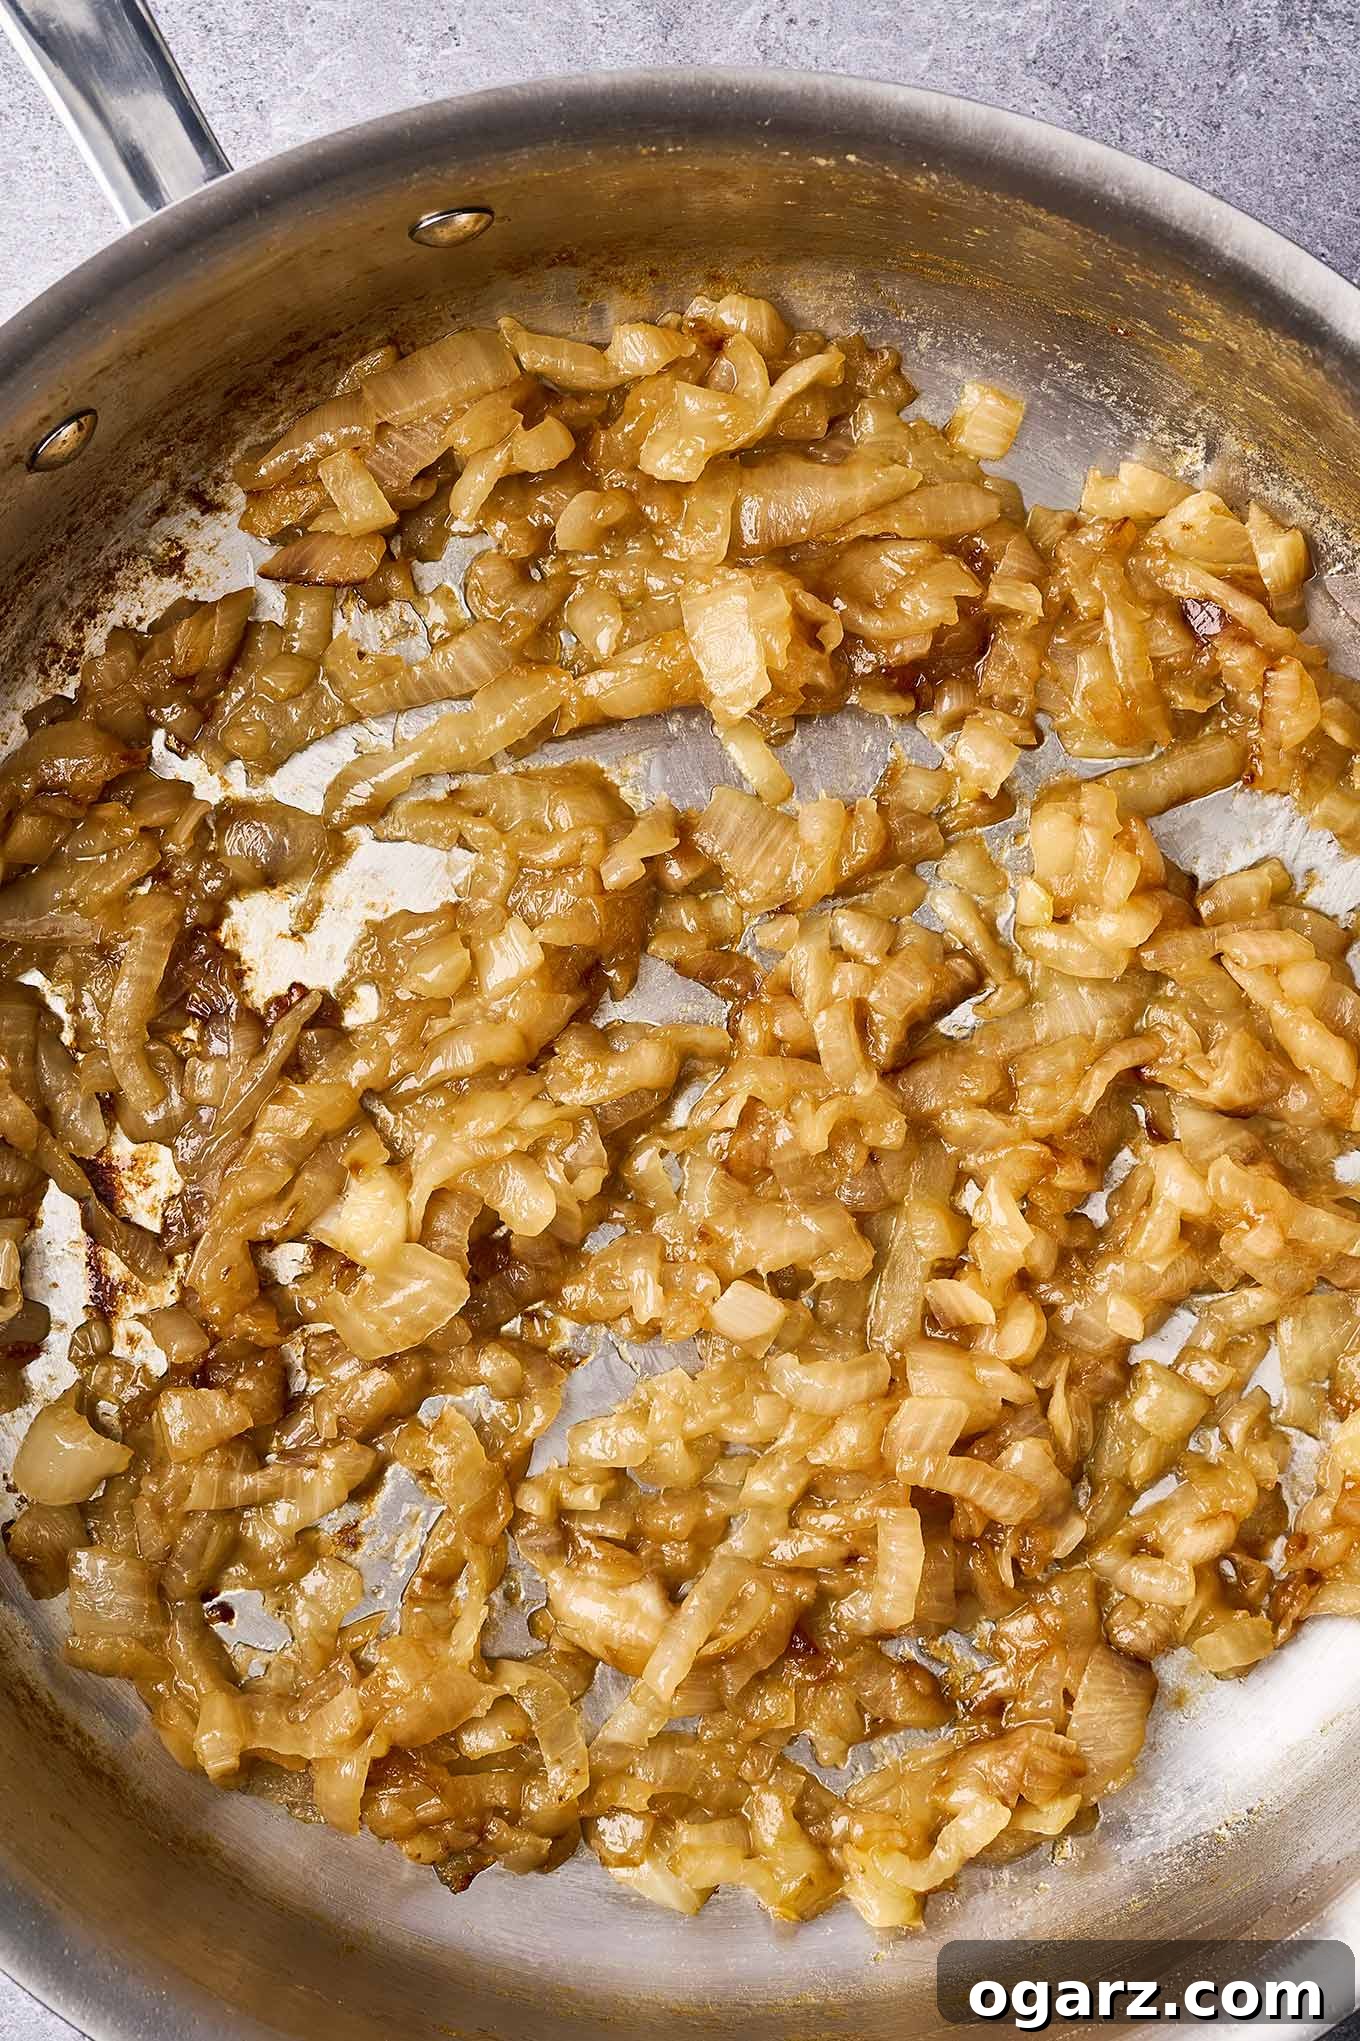
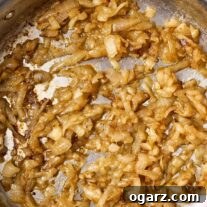
- For Texture (35-40 minutes total cooking time): If you want the onions to retain some of their individual strands and a slight bite – perfect for topping a grilled steak, tossing with pasta, or adding to a pizza – stop cooking when they are beautifully golden-brown, soft, and partially broken down, similar to the image on the left.
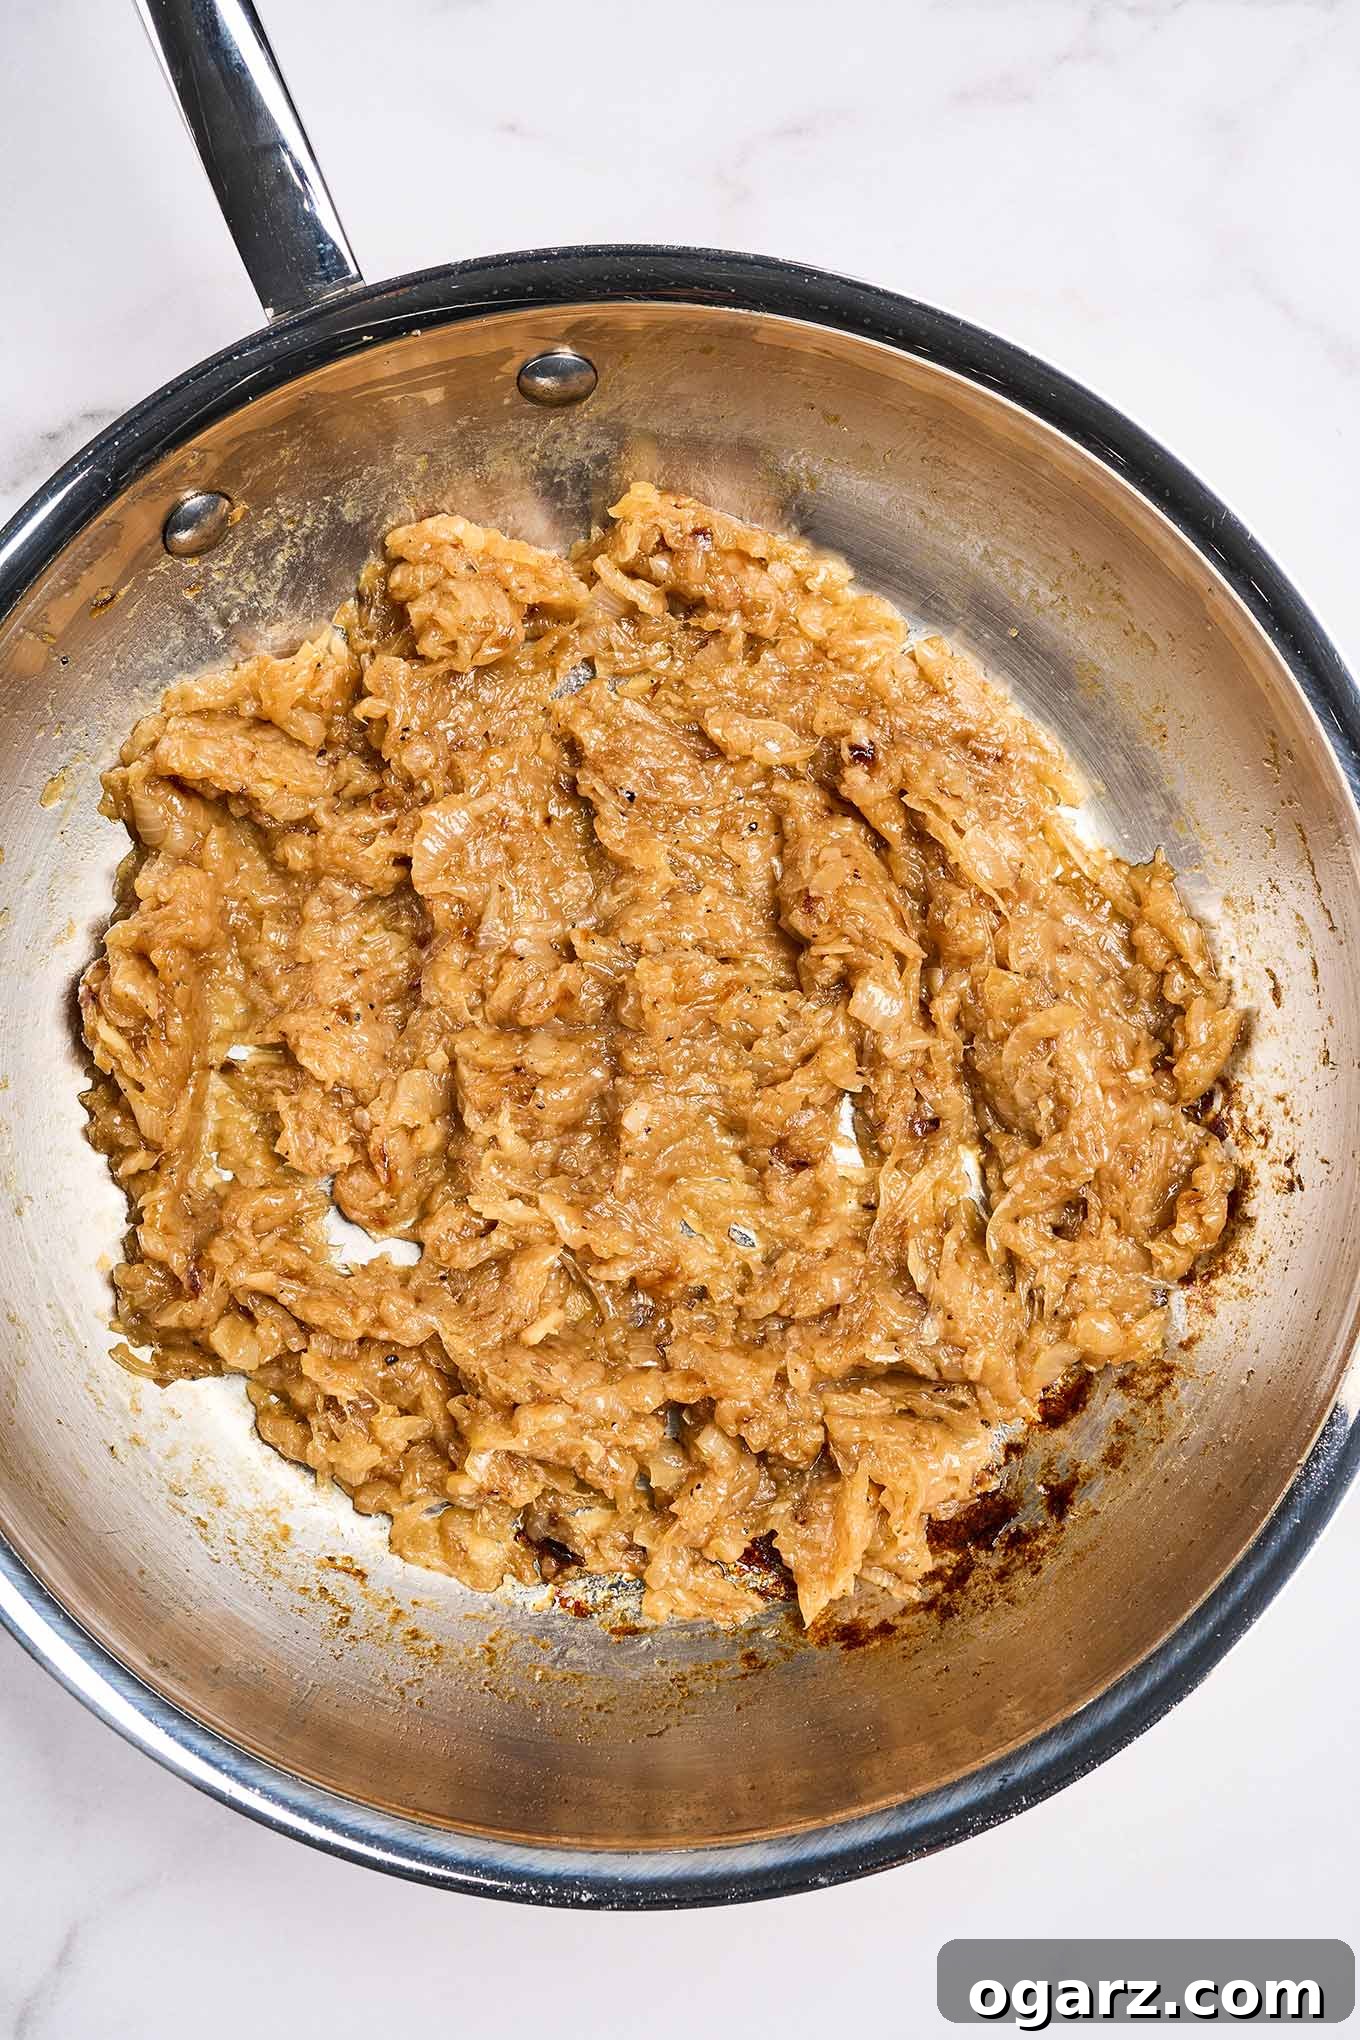
- For Jam-Like Consistency (45-50+ minutes total cooking time): For a truly soft, spreadable, and intensely flavored consistency – ideal for French onion soup, spreading on sandwiches and burgers, or incorporating into dips – continue cooking for another 5-10 minutes, or even longer, until they are deep mahogany-brown and have melted into a cohesive, jam-like mass, as shown on the right.
The key is to keep stirring, managing the heat, and deglazing as needed until you reach your desired color and texture. The result will be a concentrated burst of sweet and savory flavor.
Essential Tips for Caramelizing Onions Like a Pro
While the process is simple, a few expert tips can guarantee consistently perfect results every time:
- Embrace Patience (The Golden Rule): This cannot be stressed enough. True caramelization is a slow process. Rushing it by using high heat will lead to uneven browning, a burnt taste, and a lack of the deep, complex flavors you’re after. Dedicate the time, keep the heat low to medium-low, and let the onions transform naturally.
- Use the Right Pan: A wide, heavy-bottomed skillet is your best friend here.
- Wide: Ensures sufficient surface area for the onions to spread out in a single layer (or close to it), allowing moisture to evaporate efficiently and promoting even browning. Overcrowding the pan will steam the onions instead of caramelizing them.
- Heavy-bottomed: Stainless steel or cast iron skillets are ideal as they distribute heat evenly and retain it well, preventing hot spots that can lead to burning.
- Avoid Nonstick: While convenient, nonstick pans inhibit the formation of “fond” – those flavorful browned bits that stick to the bottom of the pan. Fond is crucial for building deep flavor, and deglazing a nonstick pan doesn’t yield the same results.
- Don’t Be Afraid to Deglaze: If the onions start to stick stubbornly to the bottom of the pan, or if you notice dark spots forming too quickly, don’t panic! Add just a tablespoon or two of liquid (water, broth, or wine) at a time. Use a wooden spoon to scrape up all those delicious, flavor-filled browned bits from the bottom. This process incorporates the fond back into the onions, intensifying their flavor and preventing burning. Repeat as needed, adding only small amounts to avoid steaming.
- Slice Evenly: As mentioned in step 1, consistent slicing ensures uniform cooking. If some slices are thick and others thin, you’ll end up with a mix of raw and burnt onions. Take a few extra minutes to slice them as uniformly as possible.
- Stir Regularly, But Not Constantly: While patience is key, active participation is also necessary. Stirring every few minutes prevents sticking, promotes even browning, and mixes the concentrated sugars throughout the batch. However, you don’t need to stir constantly; allow the onions to sit and brown slightly between stirs.
- Season Thoughtfully: Add salt early to help draw out moisture. Consider adding the optional sugar only after the onions have softened and begun to release their natural sweetness, typically when you uncover the pan.
Elevate Your Dishes: Creative Uses for Caramelized Onions
Once you’ve experienced the sweet and savory magic of homemade caramelized onions, you’ll find yourself reaching for them constantly. Their rich flavor profile makes them an incredibly versatile ingredient that can transform ordinary meals into gourmet experiences. Here are countless ways to incorporate them into your culinary repertoire:
- Burgers and Sandwiches: Take your favorite burger to the next level by piling on a generous helping of sweet caramelized onions. They’re also fantastic on grilled cheese, turkey sandwiches, or a classic steak sandwich.
- Pizza and Flatbreads: Use them as a topping for homemade pizzas or flatbreads, often paired with goat cheese, bacon, or mushrooms. They add an incredible depth of flavor.
- Pasta Dishes: Fold them into creamy pasta sauces, like our Blue Cheese Pasta with Bacon, or toss them with simple garlic and olive oil pasta for a quick, flavorful meal. They also pair wonderfully with pasta and crumbled sausage.
- Soups and Stews: The quintessential use is in Easy French Onion Soup, where they are the star. Beyond that, they can be stirred into beef stew, lentil soup, or creamy vegetable purees for an added layer of sweetness and umami.
- Tarts and Quiches: Create elegant savory tarts or quiches with caramelized onions as a base, often combined with Gruyère, feta, or goat cheese. A classic is the French Pissaladière.
- Omelets, Frittatas, and Scrambled Eggs: Elevate your breakfast or brunch by incorporating them into eggs. They add a sophisticated touch to a simple omelet or a hearty frittata.
- Dips and Spreads: Mix them into creamy dips like a classic onion dip, or blend them into a savory spread for crostini or bruschetta.
- Grilled Meats and Roasted Vegetables: Serve them alongside grilled chicken, pork tenderloin (as in our Pork Tenderloin Sliders), lamb, or even simple roasted vegetables like carrots or Brussels sprouts to add a gourmet touch.
- Garnishes: A small dollop of caramelized onions can beautifully garnish almost any savory dish, adding both visual appeal and a burst of flavor.
- Cheese Boards: Pair them with strong cheeses like cheddar, blue cheese, or aged gouda on a charcuterie board. Their sweetness beautifully balances the sharp, salty flavors.
Once you start cooking with caramelized onions, you’ll find endless opportunities to enhance your favorite recipes. Their deep, resonant flavor is truly addictive!
Caramelized Onions (How-To Recipe)
Lynne Webb
10
45
55
6
servings
Rate Recipe
Print Recipe
Ingredients
-
2
pounds
yellow onions,
halved and thinly sliced -
1
tablespoon
olive oil -
1
tablespoon
butter -
1/2
teaspoon
salt -
Pinch
sugar -
Water,
or other liquid (see notes)
Instructions
-
Melt the butter and olive oil together in a large, wide skillet over medium-low heat. Add the thinly sliced yellow onions, stir to ensure they are evenly coated, then cover the pan. Cook for 12 to 15 minutes, stirring occasionally, until the onions are soft and translucent.
-
Uncover the pan and increase the heat slightly to medium. Stir in the salt and, if using, a pinch of sugar. Continue cooking uncovered, stirring frequently and consistently scraping up any browned bits (fond) that form on the bottom of the pan to incorporate their flavor into the onions.
-
If the onions begin to stick excessively or brown too quickly, add 1 tablespoon of water (or other liquid, see notes below) at a time. Use this liquid to deglaze the pan, scraping up all the flavorful fond from the bottom. Continue cooking, managing the heat and deglazing as needed, until the volume of the onions is considerably reduced and they have transformed into a deep, rich golden-brown color.
-
To achieve onions that retain a bit of texture (ideal for burgers, steaks, and tossing with pasta), stop cooking when they are soft and partially broken down, usually after a total cooking time of 35 to 40 minutes. For a completely spreadable, jam-like consistency (perfect for sandwiches, soups, or rich sauces), continue cooking for up to 10 minutes longer, or until they reach your desired deep mahogany color and melt-in-your-mouth texture.
Notes
STORAGE: Store cooled caramelized onions in a tightly sealed airtight container in the refrigerator for up to 5 days. For extended storage, portion them into small, freezer-safe bags or containers and freeze for up to 3 months. Thaw frozen onions in the refrigerator overnight before using in your recipes.
Nutrition
Serving:
0.25
cup
,
Calories:
98
,
Total Fat:
4
g
,
Cholesterol:
5
mg
,
Sodium:
215
mg
,
Carbohydrates:
14
g
,
Fiber:
3
g
,
Sugar:
6
g
,
Protein:
2
g
Nutrition information is automatically calculated, so should only be used as an approximation.
Like this recipe? Rate and comment below!