
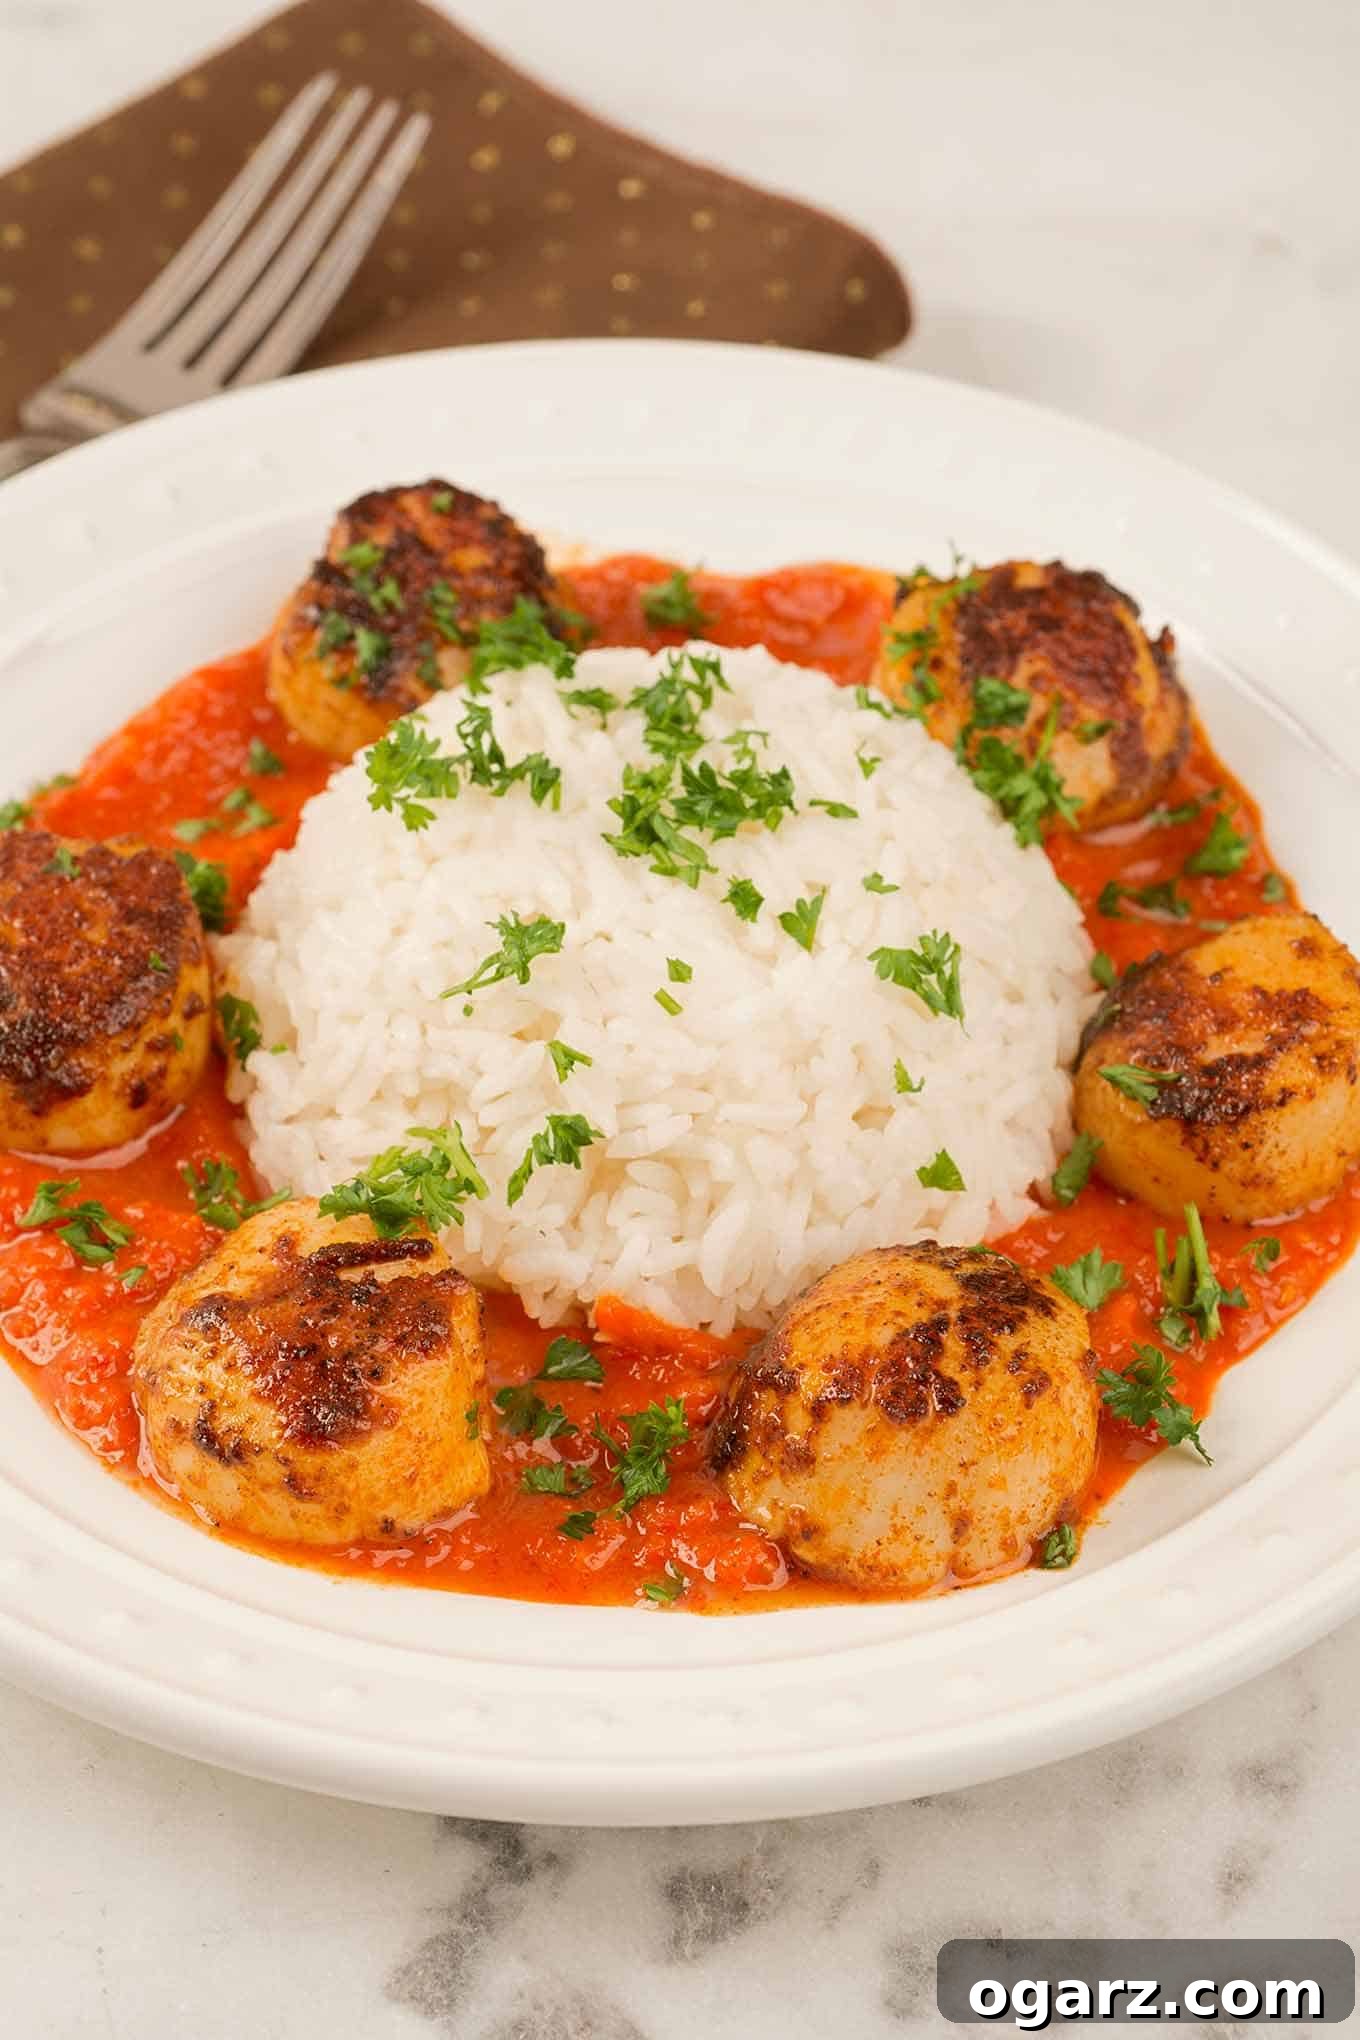
Embark on a culinary journey to the sun-drenched shores of Spain with this exquisite recipe for pan-seared scallops enveloped in a vibrant roasted red pepper sauce. This dish masterfully combines the delicate sweetness of perfectly seared sea scallops with the smoky, rich flavors of Spanish paprika and roasted red peppers, creating an unforgettable meal that’s both elegant and surprisingly simple to prepare. Whether you’re planning a sophisticated dinner party or a quick yet impressive weeknight meal, these scallops promise to deliver a burst of Mediterranean zest to your table. We’ll guide you through every step, from selecting the finest scallops to achieving that coveted golden-brown crust and succulent interior, ensuring a restaurant-quality experience right in your own kitchen.
Scallops, often perceived as a luxury ingredient, are incredibly versatile and cook remarkably fast, making them an ideal choice for busy home chefs. The key to their perfection lies in a few crucial techniques, which we’ll unveil below. Paired with a luscious, homemade roasted red pepper sauce that requires minimal effort, this dish transforms simple ingredients into a gourmet delight. Get ready to impress your palate and your guests with this Spanish-inspired seafood masterpiece.
The Secret to Perfect Searing: Why “Dry” Scallops Are Essential
Achieving that beautiful, caramelized crust on your pan-seared scallops begins long before they hit the hot pan. The most critical decision you’ll make is in selecting the right type of scallops. For truly superior results, always seek out “dry” scallops. This distinction is paramount, as it directly impacts the scallops’ ability to sear properly and develop a deep, golden-brown exterior while maintaining a tender, sweet interior.
Dry scallops, sometimes labeled as dry pack, diver, or day boat, are scallops that have been harvested and then immediately flash-frozen or chilled without any added chemicals or brines. This means they retain their natural moisture content and pristine flavor. In contrast, “wet” scallops (which are more common and often less expensive) are treated with a solution of sodium tripolyphosphate. This solution causes the scallops to absorb excess water, increasing their weight and extending their shelf life. While this might seem beneficial, it’s detrimental to the searing process.
When wet scallops are placed in a hot pan, they release a significant amount of water. This liquid essentially steams the scallops rather than searing them, preventing the Maillard reaction—the chemical process responsible for that desirable browned crust and complex flavors. You’ll end up with rubbery, bland scallops and a pan full of milky liquid instead of a perfectly caramelized surface. To avoid this common pitfall, always ask your fishmonger for dry-packed sea scallops. Look for large sea scallops, ideally fewer than 20 per pound, ensuring a substantial bite. Visually, dry scallops will appear slightly more off-white or creamy tan, rather than stark white, and they won’t be sitting in a milky puddle of liquid in their packaging. Investing a little extra time and possibly a few more dollars for dry scallops is a game-changer for this recipe, guaranteeing the exquisite texture and flavor you desire.
Mastering the Art of Perfectly Pan-Seared Scallops
Once you’ve secured your premium dry scallops, the path to culinary perfection is straightforward. Follow these expert tips to ensure each scallop is cooked flawlessly, boasting a beautiful sear and a succulent, tender center.
- **Bring to Room Temperature and Dry Thoroughly:** Ten minutes before you plan to cook, remove the scallops from the refrigerator. Arrange them in a single layer on a plate lined with paper towels. Gently blot them dry with additional paper towels. This step is crucial for achieving a good sear, as any surface moisture will hinder caramelization. Repeat until the scallops are visibly dry to the touch.
- **Season Just Before Searing:** For this Spanish-inspired dish, we’ll create a delicious paprika-based seasoning blend. Apply your chosen seasoning to both sides of the scallops right before they go into the pan. Pre-seasoning too early can draw moisture out of the scallops, again compromising the sear.
- **Choose the Right Pan and Achieve Optimal Heat:** Select a heavy-bottomed frying pan – cast iron or stainless steel work best for even heat distribution. Ensure the pan is large enough to accommodate all scallops in a single layer, with at least half an inch of space between each. Overcrowding the pan will lower the temperature and cause the scallops to steam rather than sear. Place the pan over medium-high heat and let it preheat for several minutes. You want it hot enough to sizzle immediately when the fat is added, but not smoking excessively.
- **Select Your Searing Fat:** We highly recommend butter for its rich flavor and ability to promote beautiful browning. However, a blend of butter and a high smoke point oil (like grapeseed or avocado oil) can also work to prevent the butter from burning too quickly. Add your chosen fat to the hot pan and swirl it around. As soon as it begins to sizzle and lightly brown, you’re ready to add the scallops.
- **The Searing Technique – Don’t Crowd the Pan:** Using tongs, carefully transfer the seasoned scallops to the hot pan, one at a time. A helpful trick is to place them in a clockwise pattern, starting at the 12 o’clock position. This method helps you remember which scallops were added first and ensures you turn them in the correct order, promoting even cooking. Avoid moving the scallops once they are in the pan; let them sit undisturbed to form a crust.
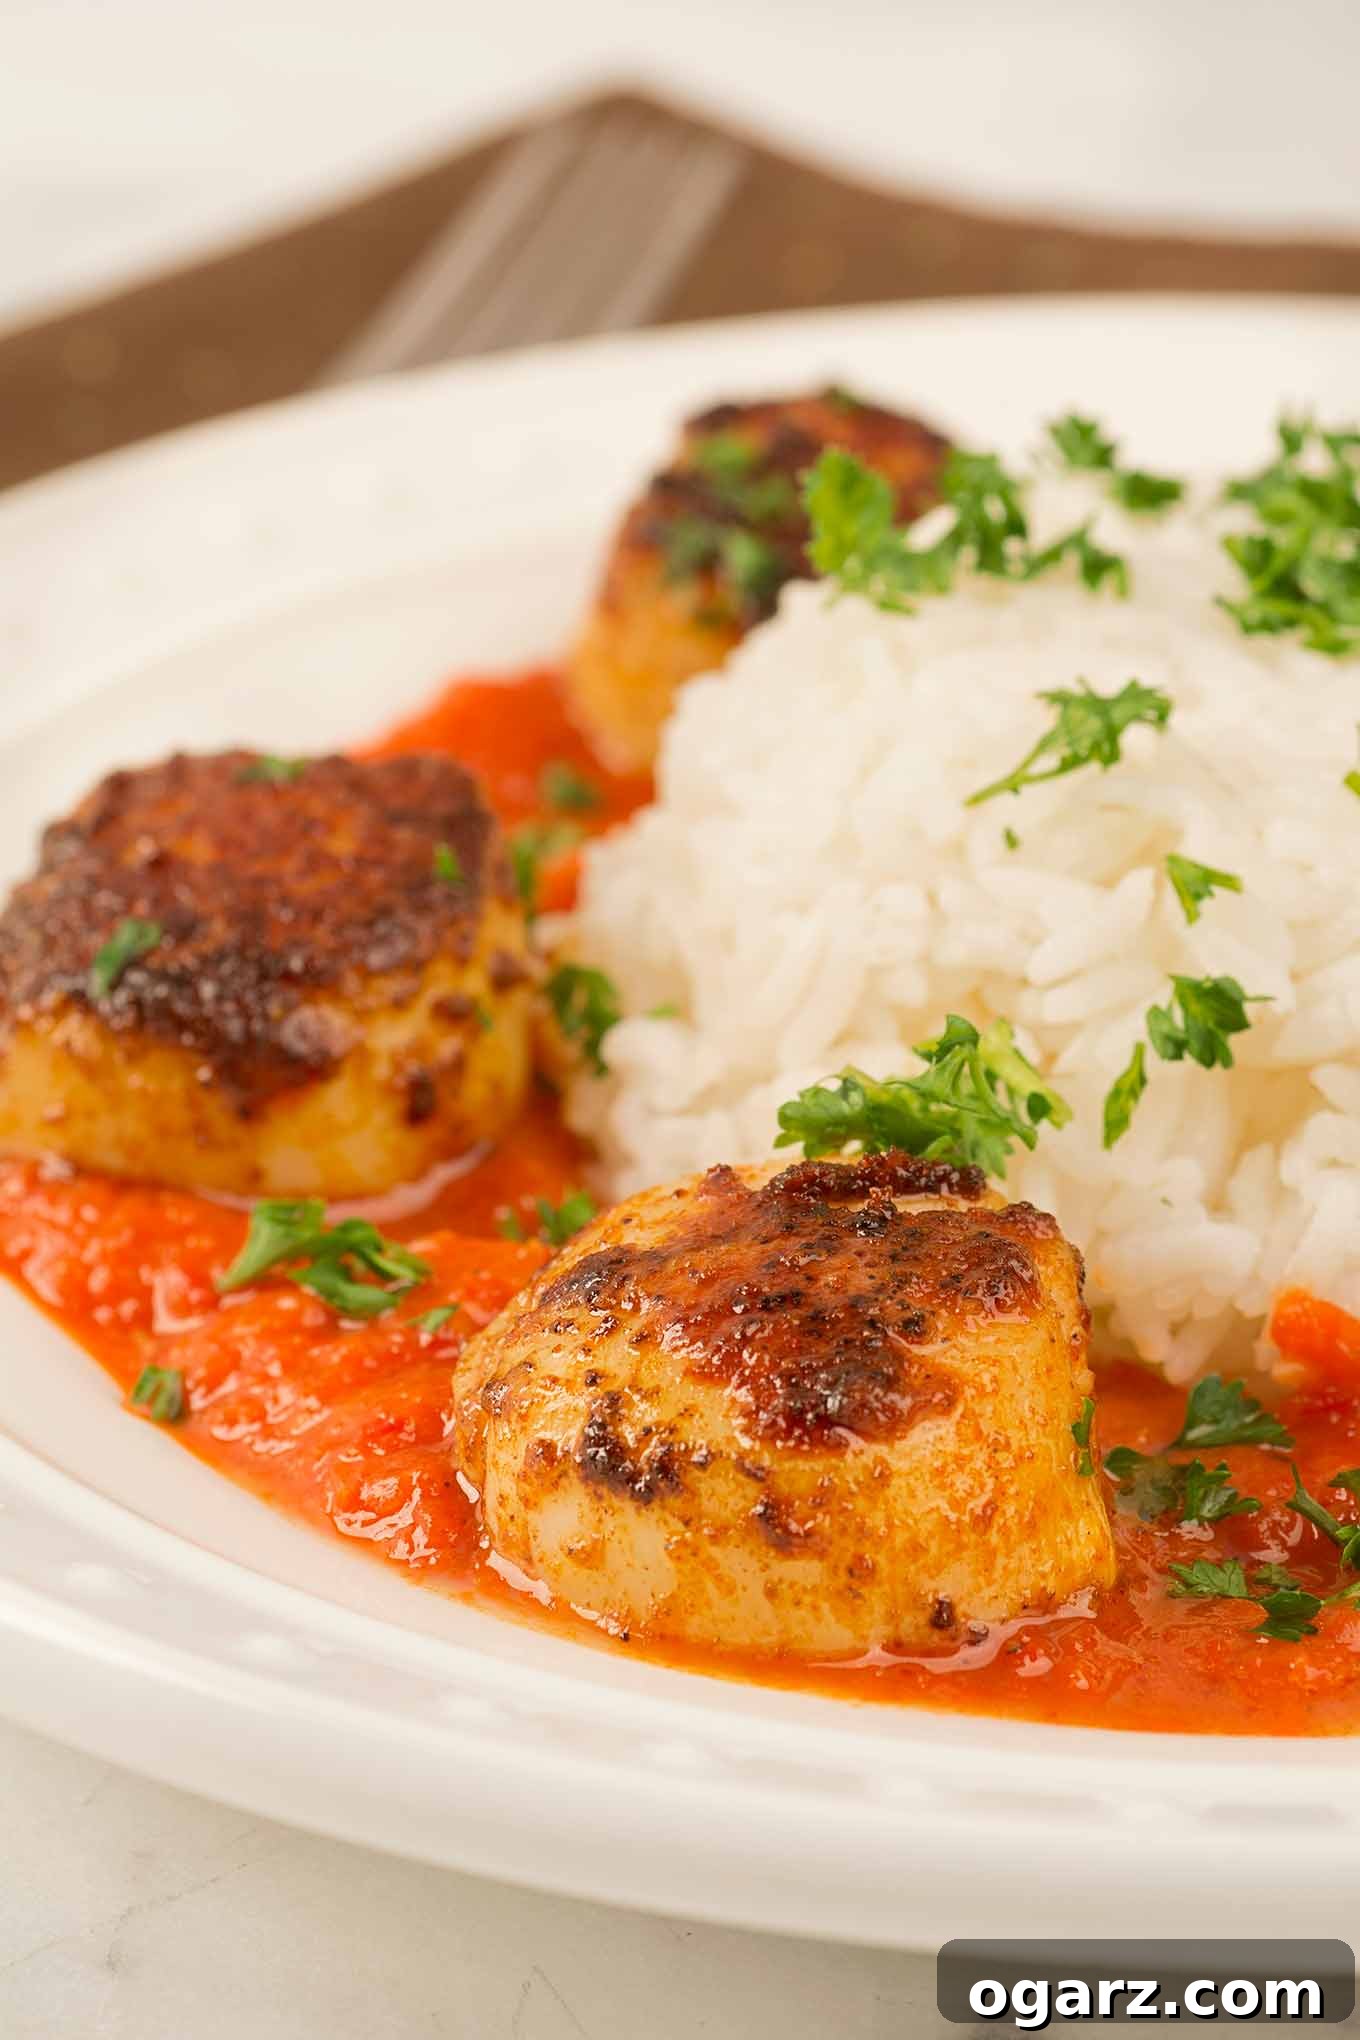
- **Cook to Perfection:** Depending on their size and thickness, scallops typically require only 1.5 to 2 minutes per side to cook. This short cooking time is essential to prevent them from becoming tough. The first side should develop a gorgeous golden-brown crust. Carefully flip them with tongs and cook for an additional 1.5 to 2 minutes on the second side. A perfectly cooked scallop will have a golden crust on the exterior and be opaque yet still slightly creamy and translucent in the very center. Overcooking is the biggest mistake you can make with scallops, so keep a close eye on them!
- **Serve Immediately:** Scallops continue to cook with residual heat, so it’s best to have all other elements of your meal ready to go before you begin searing. As soon as they are done, remove them from the pan and plate individual servings immediately to enjoy them piping hot and at their peak flavor and texture.
Explore More Delectable Scallop Creations
If you’ve fallen in love with the ease and elegance of cooking scallops, you’re in for a treat! Scallops are incredibly versatile and can be incorporated into a wide variety of dishes, from light pasta preparations to vibrant pan sauces. Expand your culinary repertoire with these other delicious scallop recipes:
- Scallops and Pasta with White Wine Butter: A rich and comforting dish perfect for a special occasion.
- Scallops in Tomato Lime Butter: A bright and zesty option that highlights the scallops’ natural sweetness.
- Seared Scallops in Lemon and Garlic Pan Sauce: A classic combination that’s always a crowd-pleaser and incredibly quick to prepare.
- Thai Sweet Chili and Orange Scallops: For those who enjoy a touch of exotic flavor and a sweet-spicy kick.

Pan-Seared Scallops with Roasted Red Pepper Sauce
Print Recipe
Ingredients
- 1-1/4 lbs dry-pack sea scallops
- 3 teaspoons paprika, see notes
- Salt and freshly ground black pepper
- 1/2 teaspoon onion powder
- 2 tablespoons butter
- Steamed white rice
- Chopped parsley for garnish, optional
For the Roasted Red Pepper Sauce:
- 1 12-ounce jar whole, roasted red peppers, drained (see notes)
- 1/2 teaspoon minced garlic, about 1/2 clove
- 2 teaspoons extra virgin olive oil
- 2 teaspoons sherry vinegar, or red wine vinegar
Instructions
-
Remove the scallops from the refrigerator, arrange them on a plate in a single layer, and blot them gently with a paper towel to remove excess moisture. Set aside.
-
Prepare the seasoning blend by combining the paprika, 1/2 teaspoon salt, a few grinds of fresh black pepper, and the onion powder in a small bowl. Spread this mixture evenly on a flat plate and set it aside, ready for the scallops.
-
Thoroughly drain the jarred roasted red peppers. Add the drained peppers, minced garlic, extra virgin olive oil, and sherry vinegar to the work bowl of a food processor. Pulse the mixture until it forms a smooth, creamy sauce. Taste and season with additional salt and pepper as needed.
-
Transfer the freshly made roasted red pepper sauce to a serving dish and set aside, ready to accompany your scallops.
-
Working one scallop at a time, lightly press each flat side into the prepared spice mixture, ensuring an even coating. Transfer the seasoned scallops to a dry, clean plate.
-
Add the butter to a heavy-bottomed frying pan that is large enough to hold all the scallops in a single layer with sufficient space between them. Place the pan on the stove over medium-high heat.
-
As soon as the butter begins to sizzle and melt, swirl it around to coat the bottom of the pan evenly. Using tongs, carefully add the seasoned scallops to the pan, placing them one at a time, perhaps in a clockwise pattern, to help keep track of cooking order.
-
Cook the scallops for approximately 1.5 minutes on the first side until a beautiful golden-brown crust forms. Then, using tongs, start turning them over. Cook for an additional 1.5 to 2 minutes on the second side. It is crucial not to overcook them; they should be opaque with a slightly translucent center.
-
To serve, arrange four servings of steamed white rice on individual plates. Spoon a generous amount of the roasted red pepper sauce around the rice. Top each serving with the perfectly seared scallops and garnish with fresh chopped parsley if desired for an added touch of freshness. Serve immediately and enjoy!
Notes
About the roasted red peppers: A standard 12-ounce jar of whole, roasted red peppers typically contains the equivalent of two medium-sized red bell peppers. These peppers have already been cored, seeded, roasted, and peeled, making them a convenient and time-saving ingredient for this sauce. Ensure they are thoroughly drained before blending to avoid a watery sauce.
Nutrition
Nutrition information is automatically calculated, so should only be used as an approximation.
Enjoyed this recipe? We’d love to hear your thoughts!Share your experience and leave a comment below!