
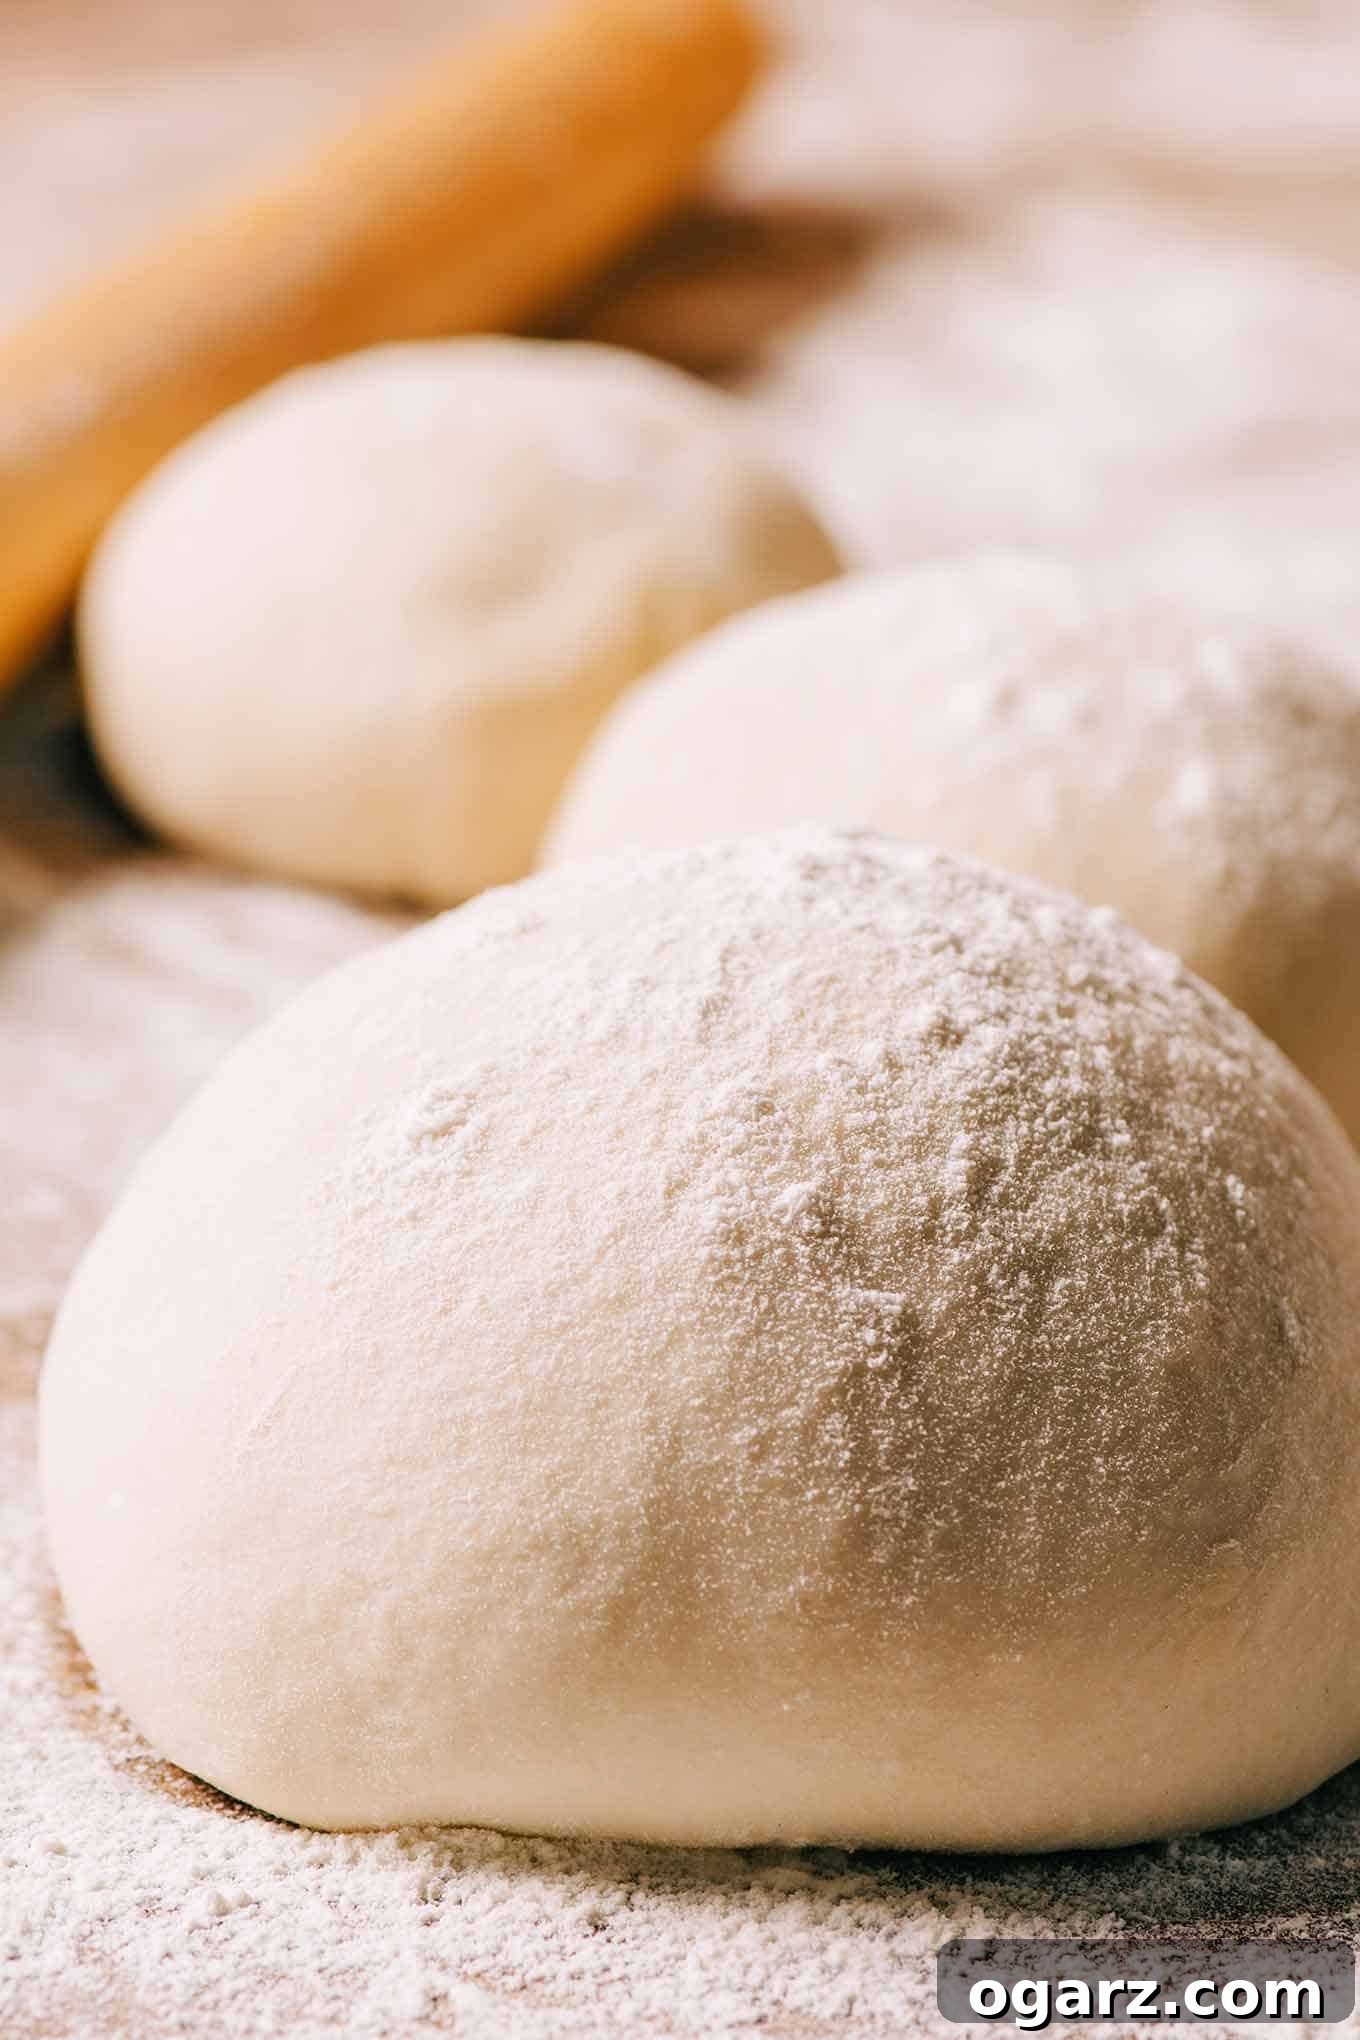
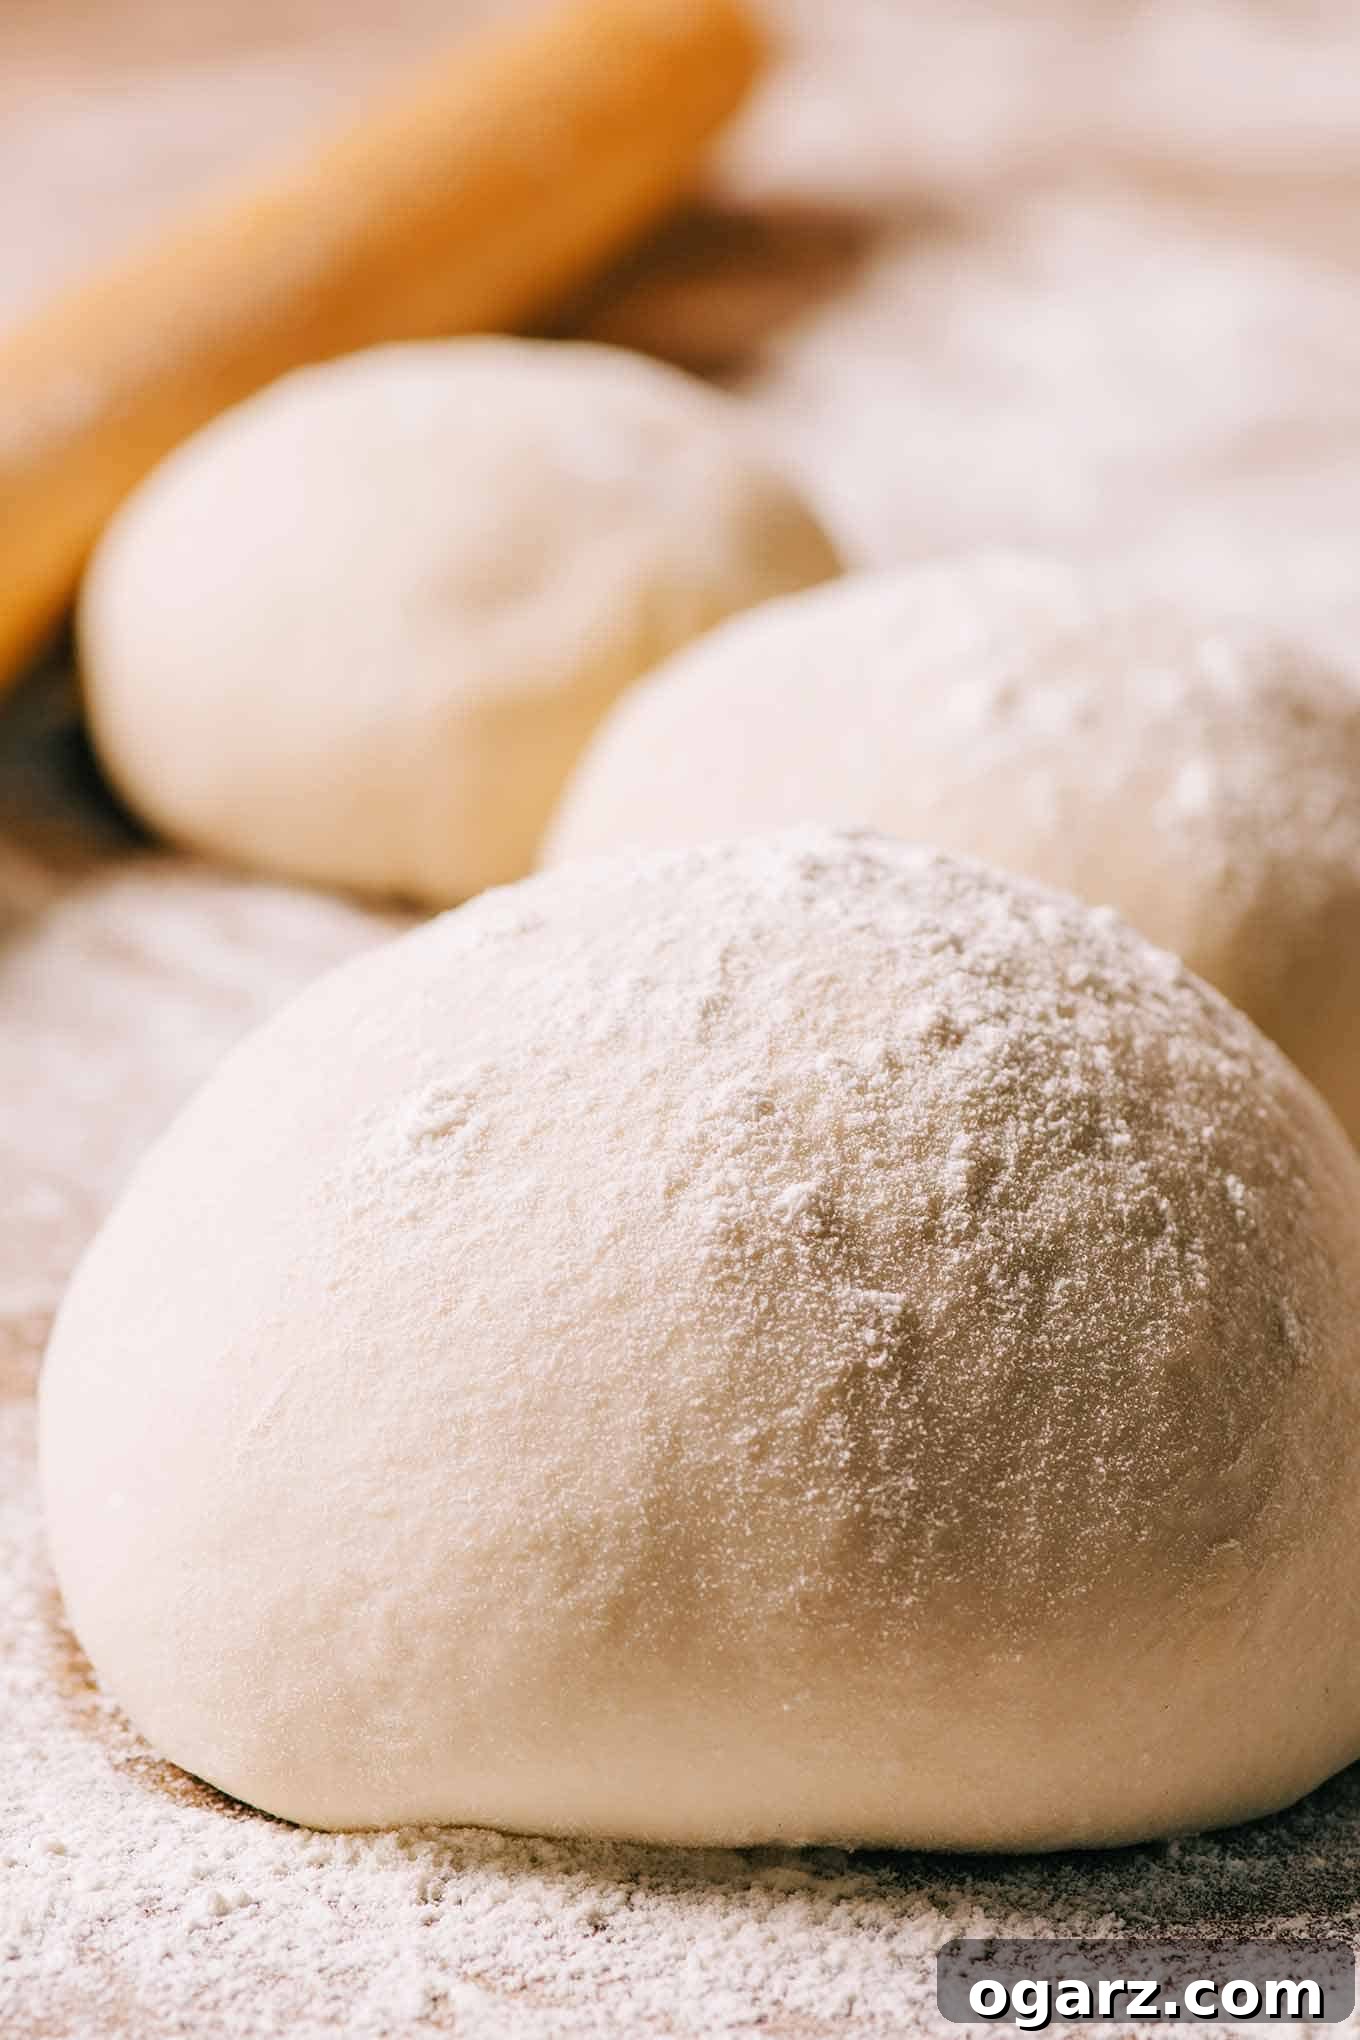
There’s nothing quite like the aroma and taste of freshly baked homemade pizza, and it all starts with the perfect dough. This recipe delivers a truly exceptional white and wheat pizza dough, specifically designed for easy hand-kneading and featuring the convenience of rapid-rise yeast. What makes this particular dough a stand-out favorite is its masterful blend of flours: the hearty, nutty depth of flavor from whole wheat flour, perfectly balanced by the light, tender texture that all-purpose flour provides. The result is a robust yet pliable crust that bakes up beautifully, offering a delightful chew and crispiness with every bite. It’s the foundation for countless delicious homemade pizza creations, promising a superior experience compared to store-bought alternatives.
Crafting your own pizza dough allows for incredible versatility and control over your final dish. As detailed, this versatile recipe yields enough dough to create either two delectable 12-inch thin-crust pizzas, ideal for those who love a crisp, airy base that lets the toppings truly shine, or one substantial 14-inch thick-crust pizza, perfect for a heartier meal with a fluffy, satisfying chew. Whether you’re planning a casual weeknight dinner, hosting a fun pizza party, or experimenting with gourmet toppings, this adaptable dough is your secret to achieving pizzeria-quality results right from your own kitchen. It’s a simple yet immensely rewarding process that brings the joy of baking directly into your home, ensuring fresh, flavorful pizza every time.
Delicious Pizza and Flatbread Recipes to Inspire Your Next Meal
Once you’ve mastered this incredible homemade pizza dough, the possibilities are endless! While it’s perfect for your favorite classic pizza toppings, we encourage you to explore new culinary horizons. This versatile dough serves as an excellent base for a wide variety of pizza and flatbread creations, from savory gourmet options to sweet dessert variations. Get inspired and elevate your pizza night with these fantastic recipes that beautifully complement the flavor and texture of our white and wheat dough:
Gourmet Eggplant Pizza with Creamy Ricotta
Discover a rich and satisfying vegetarian option with this delightful eggplant and ricotta pizza. The savory roasted eggplant pairs wonderfully with creamy ricotta, creating a sophisticated flavor profile on your homemade crust.
Indulgent Mushroom and Goat Cheese Pizza with Truffle Oil
Elevate your pizza experience with this luxurious mushroom and goat cheese pizza. Featuring earthy mushrooms, tangy goat cheese, and a hint of truffle oil, it’s a gourmet treat that’s surprisingly easy to make with your fresh dough.
Sweet & Savory Fig and Prosciutto Flatbread with Brie
For a sophisticated appetizer or a unique main course, try this exquisite fig and prosciutto flatbread. The sweetness of fresh figs, the saltiness of prosciutto, and the creaminess of brie create an unforgettable flavor combination.
The Best White and Whole Wheat Homemade Pizza Dough
Unlock the secret to incredible homemade pizza with this easy-to-follow recipe for white and whole wheat pizza dough. Crafted with a perfect balance of all-purpose flour for lightness and whole wheat flour for a satisfying depth of flavor, combined with the efficiency of rapid-rise yeast, this dough promises a tender, chewy, and perfectly crispy crust every time. Ideal for a variety of pizza styles, it’s a foundation you’ll return to again and again.
Rate Recipe (Scroll to comments)
Print Recipe
Ingredients for Your Perfect Pizza Dough
- 1 cup whole wheat flour (for flavor, texture, and a touch of wholesome goodness)
- 1-1/2 to 1-3/4 cups all-purpose flour (to ensure a light and tender crust; start with 1.5 cups and add more if needed during kneading)
- 1 envelope rapid rise yeast (approximately 2.25 teaspoons, for quick and efficient rising without long proofing times)
- 1 teaspoon salt (essential for enhancing flavor and regulating yeast activity)
- 2 tablespoons olive oil (adds richness, tenderness, and helps achieve a beautiful golden crust)
- 1 cup warm water, 125°F to 130°F (crucial for activating the rapid-rise yeast; use a kitchen thermometer for accuracy)
- Cornmeal (for dusting pizza pans, prevents sticking, and contributes a subtle crunch to the crust)
If you love this recipe, consider bookmarking this page or sharing it with friends! It’s a fantastic staple for any home cook looking to master homemade pizza. Happy baking!
Step-by-Step Instructions for Perfect Pizza Dough
Preparing the Dough:
-
1. Combine Dry Ingredients: In a large mixing bowl, thoroughly combine the whole wheat flour, 1 cup of the all-purpose flour, the entire envelope of rapid-rise yeast, and salt. Use a whisk or a fork to mix these dry ingredients together well, ensuring they are evenly distributed. This uniformity is crucial for consistent dough development and proper yeast activation.
-
2. Add Wet Ingredients: Pour in the olive oil and the warm water. The temperature of the water is vital for activating the rapid-rise yeast – it should be between 125°F to 130°F (52°C to 54°C). If the water is too cold, the yeast will not activate efficiently; if it’s too hot, it can kill the yeast, preventing the dough from rising. Stir the mixture with a sturdy spoon or your hands until a shaggy, cohesive dough begins to form and all the dry ingredients are moistened.
-
3. Adjust Flour and Knead: Gradually add the remaining 1/2 to 3/4 cup of all-purpose flour, a little at a time, incorporating it into the dough until a soft, slightly sticky dough forms that just pulls away from the sides of the bowl. Turn the dough out onto a lightly floured surface (a clean countertop works perfectly). Knead the dough vigorously for 5 to 6 minutes until it becomes smooth, elastic, and noticeably springy. You’ll know it’s ready when it bounces back readily when gently poked and no longer sticks excessively to your hands. Hand-kneading is essential for developing the gluten structure, which gives pizza crust its characteristic chew.
-
4. Rest the Dough: Form the thoroughly kneaded dough into a neat ball. Lightly oil your mixing bowl or a clean, spacious surface, place the dough ball in it, and cover it loosely with plastic wrap or a clean kitchen towel. Allow the dough to rest at room temperature for 10 minutes. This crucial resting period allows the gluten to relax after kneading, making the dough much easier to roll and stretch in the subsequent steps, and preventing it from snapping back too much.
For Two 12-inch Thin-Crust Pizzas:
-
5. Divide and Prepare Pans: After the dough has rested, divide it exactly in half. Gently flatten each half into a round disk. Lightly oil two 12-inch pizza pans or large baking sheets and sprinkle them generously with cornmeal. This step is vital as the cornmeal not only prevents the dough from sticking but also adds a wonderful, subtle crispness to the bottom of your pizza crust.
-
6. Roll and Stretch the Dough: Using a rolling pin or your hands (which is often preferred for a more rustic texture), roll and gently stretch each dough disk to fit the prepared pizza pans. Aim for an even thickness across the crust to ensure consistent baking. Don’t worry if it’s not perfectly round; an irregular, rustic shape only adds to the homemade charm!
-
7. Pre-bake the Crust: Preheat your oven to a hot 425°F (220°C). Place the stretched crusts (without any toppings yet) directly into the preheated oven and pre-bake for a quick 5 minutes. This crucial step helps to dry out the dough slightly, creating a crispy base, preventing a soggy crust once toppings are added, and allowing the dough to set before the final bake.
-
8. Top and Finish Baking: Remove the partially baked crusts from the oven. Now is the time to carefully add your desired pizza sauce, your favorite cheese, and any other toppings you fancy. Return the pizzas to the oven and continue baking for another 8 to 12 minutes. Bake until the edges of the crust are beautifully golden and toasted, and the cheese is thoroughly melted, bubbly, and perhaps lightly browned in spots.
For One 14-inch Thick-Crust Pizza:
-
9. Shape the Thick Crust: Take the entire dough ball and flatten it into a single large disk on a lightly floured surface. Prepare a 14-inch pizza pan by lightly oiling it and generously sprinkling it with cornmeal. Then, roll and stretch the dough to fit the pan, pushing it right up to the edges to create a slightly thicker, satisfying rim if desired.
-
10. Second Rise and Pre-bake: Once the thick crust is perfectly positioned on the pan, cover it loosely with plastic wrap or a clean kitchen towel and allow it to rise in a warm spot for an additional 10 minutes. This extra rising time is key for achieving that wonderfully fluffy and airy interior characteristic of a thick-crust pizza. After rising, preheat your oven to 425°F (220°C) and pre-bake the crust for 5 minutes.
-
11. Top and Final Bake: Remove the pre-baked thick crust from the oven. Now, generously add your favorite sauce, a liberal amount of cheese, and any desired toppings. Return the pizza to the oven and continue baking for 12 to 20 minutes. Keep a close eye on it until the crust is beautifully crisped on both the bottom and edges, and the cheese is gloriously melted, golden, and bubbling. For an extra crispy bottom, consider baking directly on a preheated pizza stone or steel for the final baking stage.
Helpful Notes & Pro Tips for Homemade Pizza Dough
Baking Time Variability: It’s crucial to remember that baking times are always approximate and can significantly vary. Factors such as the calibration of your specific oven, the material and thickness of your pizza pan (e.g., dark vs. light, thin metal vs. heavy cast iron or pizza stone), and the moisture content and quantity of your chosen toppings will all influence how quickly and thoroughly your pizza cooks. Always use the provided times as a guideline and rely primarily on visual cues – a golden crust, bubbly melted cheese, and cooked toppings – for determining doneness.
Experimentation is Key: Don’t be afraid to experiment with slight adjustments to baking temperatures or times in your own kitchen. Every oven is unique, and mastering your perfect pizza crust often involves a little trial and error. Over time, you’ll discover the optimal settings that yield your ideal results. A little flexibility and keen observation will go a long way in perfecting your homemade pizza technique.
Make-Ahead & Storage Tip:
This versatile pizza dough is excellent for meal prep! You can easily make it ahead of time. Once the dough has been kneaded and formed into a ball (after its initial 10-minute rest), wrap it very tightly in plastic wrap, ensuring no air can reach it. Place the wrapped dough in an airtight container or a zip-top bag, and refrigerate it for up to one day. When you’re ready to make pizza, simply remove the dough from the refrigerator about 10-15 minutes before you plan to roll it out. This brief warm-up period allows the dough to relax and become more pliable, making it easier to work with and preventing it from resisting your rolling efforts.
Freezing Pizza Dough for Longer Storage:
For even longer storage, this dough can also be frozen! After the initial kneading and resting, divide the dough into your desired portions (e.g., two for thin crusts). Lightly oil each ball of dough, then wrap each tightly in plastic wrap, followed by an additional layer of aluminum foil, or place them in individual freezer-safe bags. Freeze for up to 1-2 months. To use, transfer the frozen dough to the refrigerator to thaw overnight. Once thawed, let it come to room temperature for 30-60 minutes before proceeding with the rolling and baking instructions from the recipe. This allows the yeast to re-activate and the dough to regain its elasticity.
Topping Wisdom for a Crispy Crust:
Be mindful of your toppings for the best results. For a crispier crust, avoid overly wet sauces or an excessive amount of watery vegetables. If using high-moisture vegetables like mushrooms, spinach, or onions, consider sautéing them lightly beforehand to remove some of their excess moisture. This pre-cooking step helps prevent the dreaded soggy crust. Furthermore, avoid overloading the pizza; too many toppings can weigh down the crust, prevent even cooking, and lead to a less enjoyable texture. A balanced approach ensures every bite is perfectly cooked and flavorful.
Nutrition Information (per serving)
Total Fat: 2g,
Sodium: 291mg,
Carbohydrates: 23g,
Fiber: 2.2g,
Sugar: 1g,
Protein: 4g
Disclaimer: Nutrition information is an estimation calculated automatically and should only be used as an approximation. Actual values may vary based on ingredients and preparation methods.
Did you love making this pizza dough? Please rate and share your thoughts below!
Your feedback helps other home chefs discover delicious recipes.