
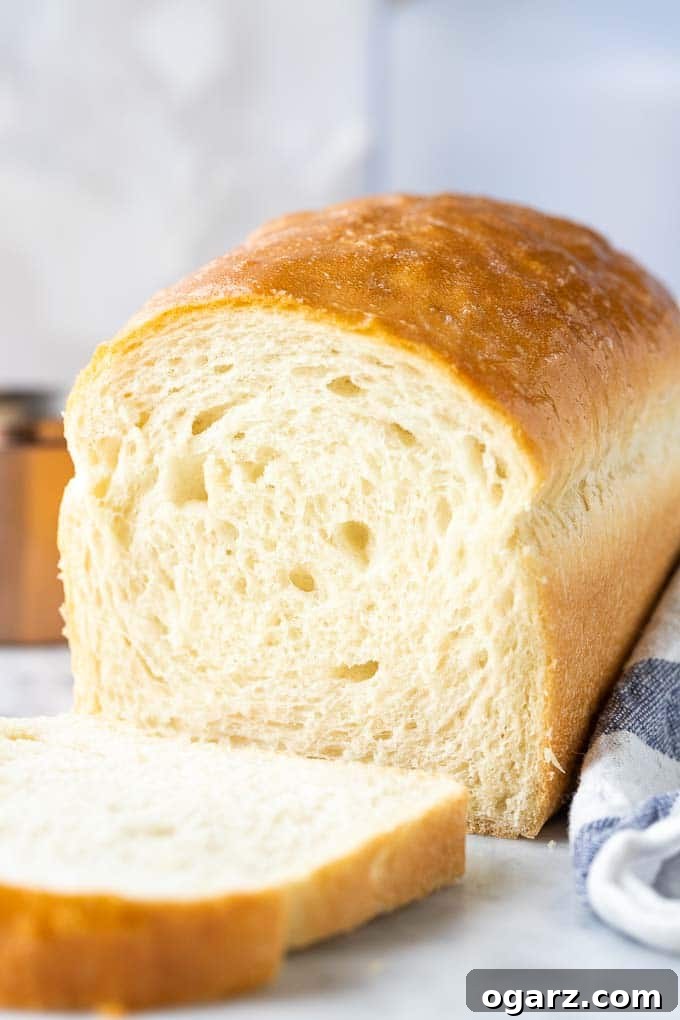
Homemade White Bread: Your New Go-To Recipe for Bakery-Quality Loaves
There’s nothing quite like the comforting aroma and taste of freshly baked bread. This classic White Bread recipe promises loaves that are exceptionally light, incredibly fluffy, and irresistibly soft – so good, your family and friends will swear it came straight from a gourmet bakery. Forget about bland, store-bought alternatives; this recipe empowers you to create superior bread right in your own kitchen.
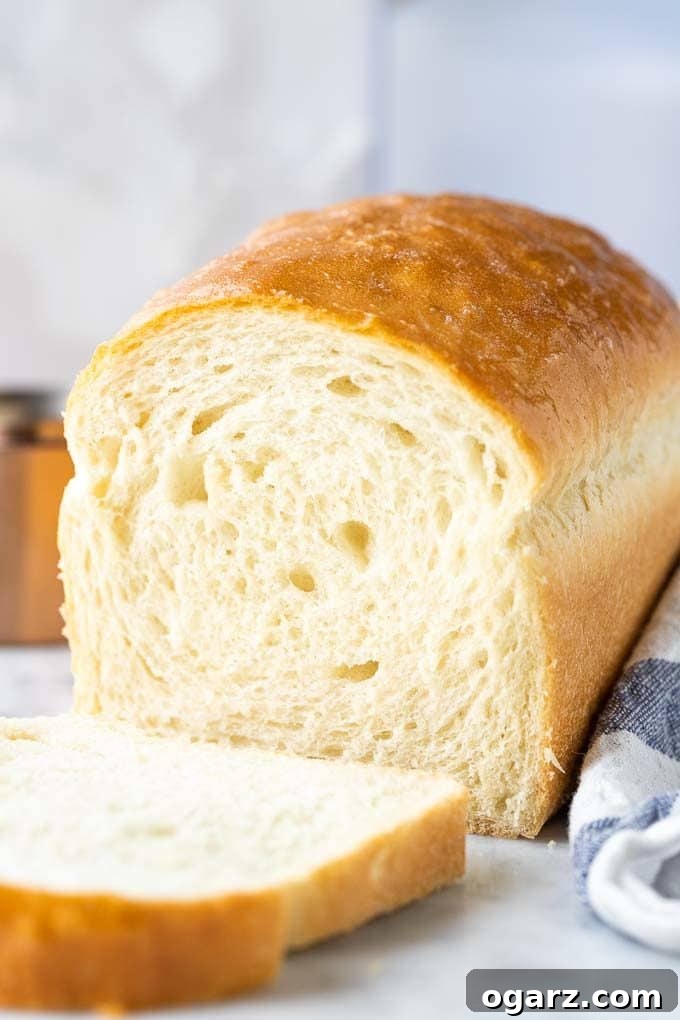
Why Baking Your Own White Bread is a Game Changer
For many, the idea of baking bread from scratch might seem daunting, conjuring images of complex techniques and hours spent in the kitchen. However, this simple white bread recipe demystifies the process, making it accessible to even novice bakers. In just over two hours, including hands-off rising time, you can transform basic ingredients into a masterpiece of fluffy deliciousness. The peace of mind that comes from knowing exactly what ingredients go into your food, free from preservatives and artificial additives, is truly invaluable.
Beyond the health benefits, homemade bread offers an unparalleled sensory experience. The warmth of a loaf fresh from the oven, the satisfying crackle of the crust, and the tender crumb that melts in your mouth – these are pleasures that store-bought loaves simply cannot replicate. This recipe delivers a consistently light and airy texture that’s far superior to anything you’ll find on supermarket shelves. It’s the ideal foundation for countless culinary creations, ensuring quality and flavor in every bite.
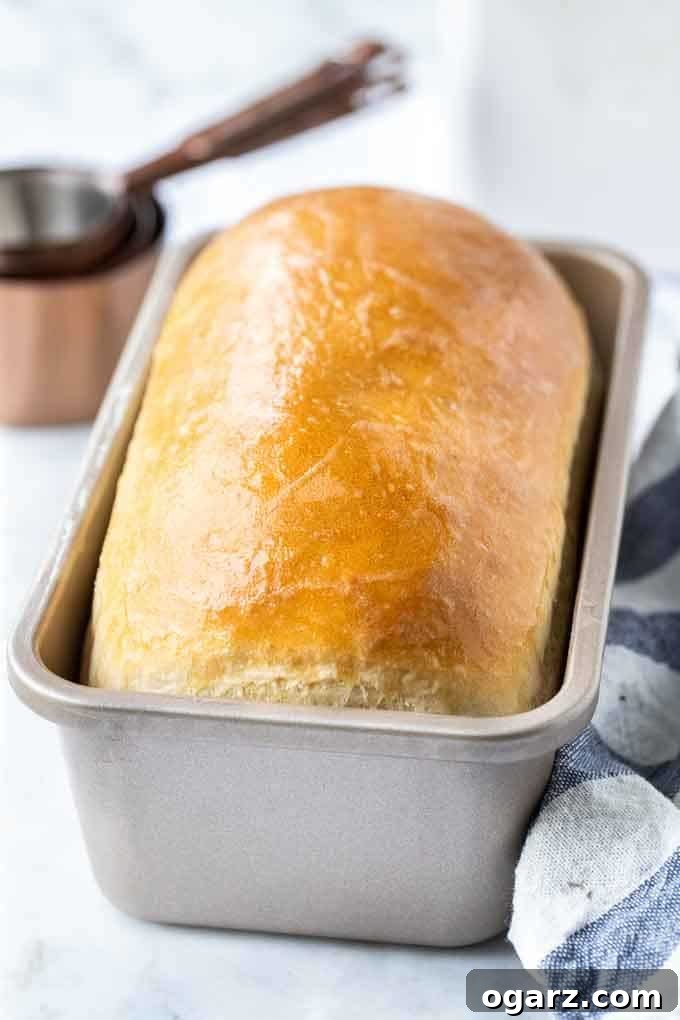
Mastering Your Bake: Essential Tips for Perfect White Bread
Achieving bakery-quality white bread at home is easier than you think, especially with these expert tips:
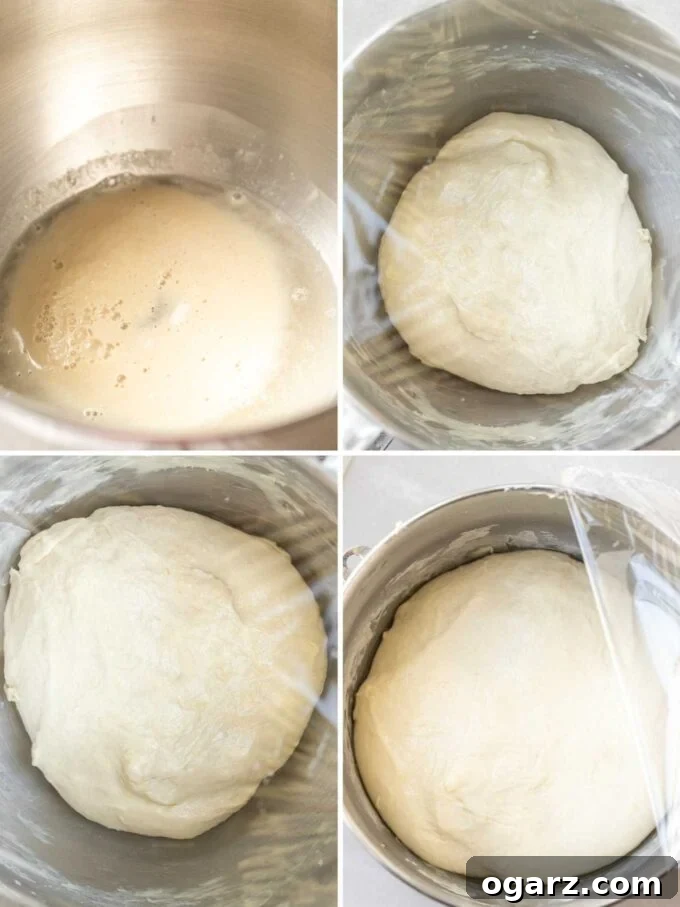
- Yeast Activation: One standard package of instant dry yeast typically contains 2 1/4 teaspoons. Always ensure your water is lukewarm (between 95-110°F or 35-43°C) to properly activate the yeast. Too hot, and you’ll kill it; too cold, and it won’t activate. You’ll know it’s active when it becomes foamy after a few minutes.
- Flour Choice: This versatile recipe works beautifully with both all-purpose flour and bread flour. While all-purpose flour yields a wonderfully soft loaf, bread flour, with its higher protein content, will give your bread a slightly chewier texture and a bit more elasticity, which many avid bakers appreciate. Feel free to use whichever you have on hand, or experiment to find your preferred texture.
- Understanding Proofing: The second rise (or proof) is often much quicker than the first. Keep a close eye on your dough during this stage. Overproofing can lead to your bread collapsing in the oven or having a dense texture. The dough should look visibly doubled and feel light and airy.
- Greasing Pans Smartly: Avoid using aerosol oil sprays on your non-stick baking pans. The propellants and some ingredients in these sprays can build up and damage the non-stick surface over time. Instead, opt for a light coating of butter or oil applied with a paper towel or brush. This ensures your beautiful loaves release cleanly without compromising your cookware.
- Temperature Matters: The ambient temperature and humidity in your home can significantly affect rising times and flour absorption. If your kitchen is cool, consider using the proofing setting on your oven, or create a warm, draft-free environment (like a turned-off oven with the light on) to help your dough rise consistently.
- Flour Adjustments: Don’t be afraid to adjust the amount of flour slightly. Factors like humidity, altitude, and even the flour brand can influence how much liquid your dough absorbs. Start with the recommended amount, then add a tablespoon or two more if the dough feels too sticky, or slightly less if it’s too dry, aiming for a soft, smooth, and only slightly tacky dough.
- Scaling the Recipe: This recipe is designed to yield two 8×4-inch loaves, perfect for sharing or freezing. It can easily be halved for a single loaf or doubled for four loaves. If doubling, ensure your stand mixer is powerful enough to handle the increased dough volume. A heavy-duty stand mixer like a KitchenAid Professional is recommended for larger batches.
The Art of Shaping and the Importance of the Second Rise
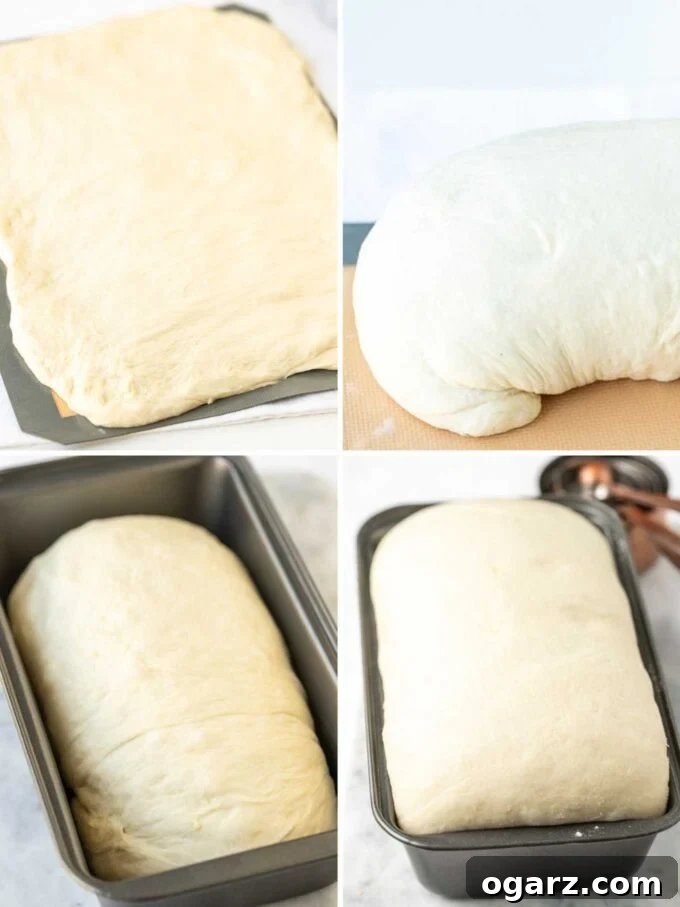
Shaping your dough correctly is crucial for an even rise and a beautiful loaf. Once your dough has completed its first rise, gently turn it out onto a lightly floured surface. Divide it into equal portions for your loaves. The key here is to gently deflate the dough, removing large air pockets without overworking it. Pat each portion into a rectangle, approximately 8×12 inches, ensuring uniform thickness.
Starting from a short end, roll the rectangle tightly into a log. This creates tension, which contributes to a strong crumb structure. Pinch the seam firmly to seal it, preventing the loaf from unraveling during baking. Gently tuck the ends of the roll underneath to further create surface tension. Place each shaped loaf, seam-side down, into your prepared loaf pans.
The second rise, often called “proofing,” is where your loaves gain their final volume and characteristic texture. Cover the pans with greased plastic wrap to prevent drying, and let them rise in a warm, draft-free spot until doubled in size. This could take around 45 minutes, but always watch the dough, not just the clock. Properly proofed dough will yield a light, airy loaf with a soft crust, while under-proofed dough will result in a dense, heavy loaf.
Unleashing Culinary Creativity: Versatile Uses for Your Homemade Loaf
Once you’ve experienced the joy of baking your own white bread, you’ll find endless ways to enjoy it. Its soft texture and mild flavor make it incredibly versatile:
- Breakfast Bliss: Transform slices into the ultimate breakfast toast, slathered with butter, jam, or your favorite nut butter. It’s also perfect for French toast or egg-in-a-hole.
- Lunchtime Legends: Elevate your everyday sandwiches. Whether it’s a classic turkey and cheese, a hearty BLT, or a gourmet grilled cheese, homemade bread makes all the difference. Pair it with Air Fryer Fried Chicken Sandwiches for an unforgettable meal.
- Soup & Stew Companion: The tender crumb is ideal for dipping into rich soups and stews. Imagine tearing off a piece to soak up every last drop of Roasted Tomato Soup.
- Appetizer Ace: Cube it, toast it, and use it for crostini or bruschetta. It’s also excellent served alongside creamy dips like our easy smoked salmon dip.
- Side Dish Star: A slice of warm, buttered homemade bread is a simple yet delightful accompaniment to nearly any meal, especially hearty dishes like Chicken Mushroom Pasta.
- Creative Culinary Uses: Don’t limit yourself! Use stale pieces to make homemade croutons, breadcrumbs, or even a comforting bread pudding.
Preserving Freshness: Storing Your Homemade White Bread
Proper storage is key to extending the life and freshness of your homemade white bread. Here are the best methods:
1. The Classic Bread Box:
While a bit old-school, a bread box remains one of the most effective ways to store bread. It provides an enclosed, dark environment that allows for air circulation, preventing both rapid drying and excessive moisture buildup that can lead to mold. If you have the space, storing your loaf in a bread box will keep it fresh for several days at room temperature.
2. Wrap it Tight:
If a bread box isn’t an option, keep your white bread at room temperature on the counter by wrapping it securely. Plastic wrap is excellent for preventing moisture loss and keeping the crumb soft. Alternatively, aluminum foil can also be used. For an eco-friendly hack, save and reuse a clean, store-bought bread bag to keep your homemade loaf fresh.
3. Freeze for Future Enjoyment:
Baking two loaves at once, or even doubling the recipe for extra-large loaves, is a smart strategy. Once cooled completely, slice one loaf and freeze it immediately. This way, you always have delicious, homemade bread on hand. To enjoy a slice directly from the freezer, simply pop it into the microwave for 20 seconds or into the toaster until warmed through. If you have more time, let it thaw on the counter for a few hours. Freezing your bread preserves its quality for weeks, making it an excellent meal prep hack.
Essential Tools for Baking Success
Having the right equipment can make your bread-making journey even more enjoyable and efficient:
-
Stand Mixer with Dough Hook: For this recipe, a powerful stand mixer with a dough hook attachment is highly recommended. It takes the hard work out of kneading, ensuring the dough develops the perfect gluten structure needed for that light and airy texture. While not strictly essential (you can knead by hand), it significantly reduces effort and ensures consistent results.
Explore Stand Mixers on Amazon -
8×4 Inch Loaf Pan: A good quality metal, nonstick loaf pan is a kitchen staple. Its versatility extends far beyond bread, making it a worthwhile investment for countless baking projects. This recipe is optimized for two 8×4 inch pans to ensure even baking and perfect loaf size.
Find 8×4 Inch Loaf Pans on Amazon - Measuring Cups & Spoons: Accurate measurements are crucial in baking.
- Large Mixing Bowls: For proofing the dough and initial mixing.
- Wire Cooling Rack: Essential for allowing air circulation around your freshly baked loaves, preventing a soggy bottom crust.
READY TO BAKE THE BEST HOMEMADE WHITE BREAD?
PIN IT TO YOUR BAKING BOARD TO SAVE THIS RECIPE OR SHARE ON FACEBOOK!
Follow Plated Cravings on Pinterest for more delicious recipes!
Print Recipe
Classic Homemade White Bread
Julia Foerster
15 minutes
30 minutes
1 hour 30 minutes
2 hours 15 minutes
2 Loaves
Equipment
-
2 Loaf Pans 8×4-inches
-
Stand Mixer with Dough Hook
-
Large Mixing Bowl
-
Wire Cooling Rack
Ingredients
- 1 ⅔ cups lukewarm water, divided
- 2 ¼ teaspoons instant yeast, or active dry yeast
- 1 teaspoon sugar
- 1 tablespoon honey, (or more sugar for sweetness)
- 1 teaspoon salt
- 1 ½ tablespoons unsalted butter, cubed at room temperature
- 4 ½ cups all-purpose flour, divided, plus more for dusting
- 1 ½ tablespoons butter, melted for brushing (optional)
Instructions
-
Combine the instant yeast, 1 teaspoon of sugar, and half of the lukewarm water in the bowl of a stand mixer fitted with the dough hook. Let this mixture sit for 5-10 minutes until it becomes visibly foamy, indicating the yeast is active. If using active dry yeast, allow 15 minutes for activation.
-
Add the remaining lukewarm water, honey, salt, cubed room-temperature butter, and 4 cups of the all-purpose flour to the bowl. Begin kneading at a low speed until the ingredients come together and form a soft, manageable dough. It should be soft but not overly sticky. If the dough is too sticky, add the remaining 1/2 cup of flour, a tablespoon at a time, until the desired consistency is reached. Continue to knead for 6-9 minutes on medium-low speed until the dough pulls away cleanly from the sides of the bowl and appears smooth and elastic.
-
Lightly grease a large bowl with oil or butter. Transfer the kneaded dough to this bowl, turning it once to ensure it’s fully coated. Cover the bowl tightly with plastic wrap or a clean kitchen towel. Place it in a warm, draft-free place to rise for approximately 45 minutes, or until the dough has doubled in size.
-
Once the dough has risen, lightly flour your work surface. Gently turn the dough out onto the floured surface and divide it into two equally sized portions. Use your fingertips to gently pat each portion into an 8×12-inch rectangle, pressing lightly to release any large air bubbles. Starting from a short end, tightly roll each rectangle into a log. Pinch the seams firmly to seal. Gently tuck the ends of each roll slightly underneath to create tension on the surface. Place each shaped loaf into a greased 8×4-inch loaf pan, seam-side down. Cover the pans loosely with greased plastic wrap and let them rise again in a warm, draft-free place for about 45 minutes, or until doubled in size.
-
While the loaves are proofing, preheat your oven to 390°F (200°C). Adjust your oven rack to the lower-middle position for optimal baking.
-
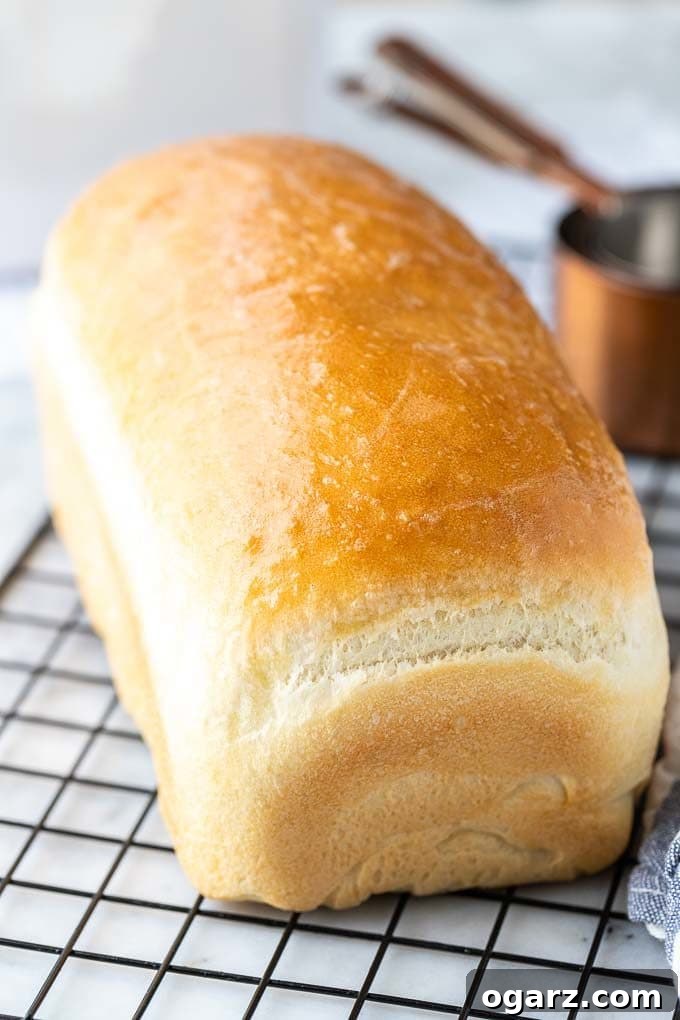
Bake the loaves for 25-30 minutes, or until they are golden brown on top and sound hollow when tapped on the bottom. For precise doneness, an instant-read thermometer inserted into the center of a loaf should register between 208-210°F (98-99°C).
-
Carefully remove the loaves from the oven. Immediately invert them onto a wire cooling rack to prevent the bottoms from getting soggy. After a minute, reinvert the loaves so they are right-side up. If desired, brush the tops and sides with melted butter for a softer crust and added flavor. Allow the bread to cool completely on the rack before slicing and serving. This ensures the internal structure sets properly.
Notes
- Pan Size: This recipe is designed for two standard 8×4-inch loaf pans. If you only have a larger 9×5-inch pan, you can bake one larger loaf by not dividing the dough and shaping it into a 9×13-inch rectangle before rolling. Baking time for a single larger loaf will be approximately 30-35 minutes. However, for best results and consistent rise, using two 8×4-inch pans is highly recommended.
- No Stand Mixer? No Problem!: If you don’t own a stand mixer, you can still make this delicious bread by hand. Combine ingredients in a large bowl, then turn the dough out onto a lightly floured surface and knead vigorously for about 10-15 minutes until it becomes smooth and elastic.
- Bread Machine Adaptation: This recipe can be adapted for a bread machine using half the recipe. The resulting loaf might not have the same traditional shape but will retain its excellent taste and texture. Follow your bread machine’s specific instructions for the “basic white bread” cycle.
- Butter Options: While unsalted butter is specified, salted butter can also be used. Given the small amount, it won’t drastically alter the flavor, but you might consider reducing the added salt to 3/4 teaspoon if you are sensitive to sodium. Vegan butter or margarine are also suitable substitutes.
- Using Fresh Yeast: If you prefer fresh yeast, substitute 2 1/4 teaspoons of instant yeast with 21 grams of fresh yeast (which is approximately 1 1/4 blocks of 0.6-ounce size or about 1/2 block of 2-ounce size fresh yeast).
- Rapid Rise Yeast: Rapid rise yeast is essentially the same as instant yeast and can be used interchangeably without any changes to the recipe or process.
- Flour Type: Both all-purpose and bread flour work wonderfully. Bread flour provides a slightly chewier, more elastic crumb, which some bakers prefer, but all-purpose flour yields a delightfully soft loaf that is more commonly accessible. Avoid using self-rising flour, as it contains leavening agents that will interfere with the yeast. The total flour needed is typically between 4 and 4.5 cups, depending on environmental factors.
- Water Temperature: The “lukewarm” water is critical for yeast activation. It should feel warm to the touch, like a baby’s bath, ideally between 95°F and 110°F (35°C-43°C). Water that is too hot will kill the yeast, while water that is too cold will inhibit its activity.
- Baking Temperature: Yes, the oven temperature of 390°F (200°C) is correct for achieving a beautiful golden crust and a thoroughly baked interior in the specified time.
Craving a whole wheat option? Discover our Hearty Whole Wheat Bread recipe!
Nutrition
Enjoyed this recipe? Please consider rating it and leaving a comment below! Your feedback helps other bakers.