Irresistible Nutella Mousse Cookie Cups: Your New Favorite Indulgence
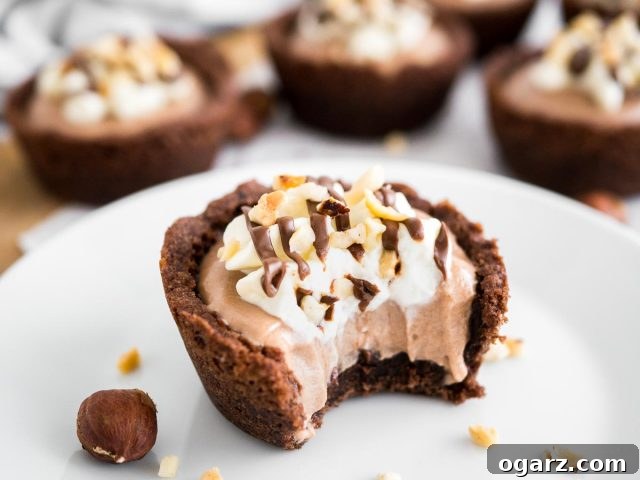
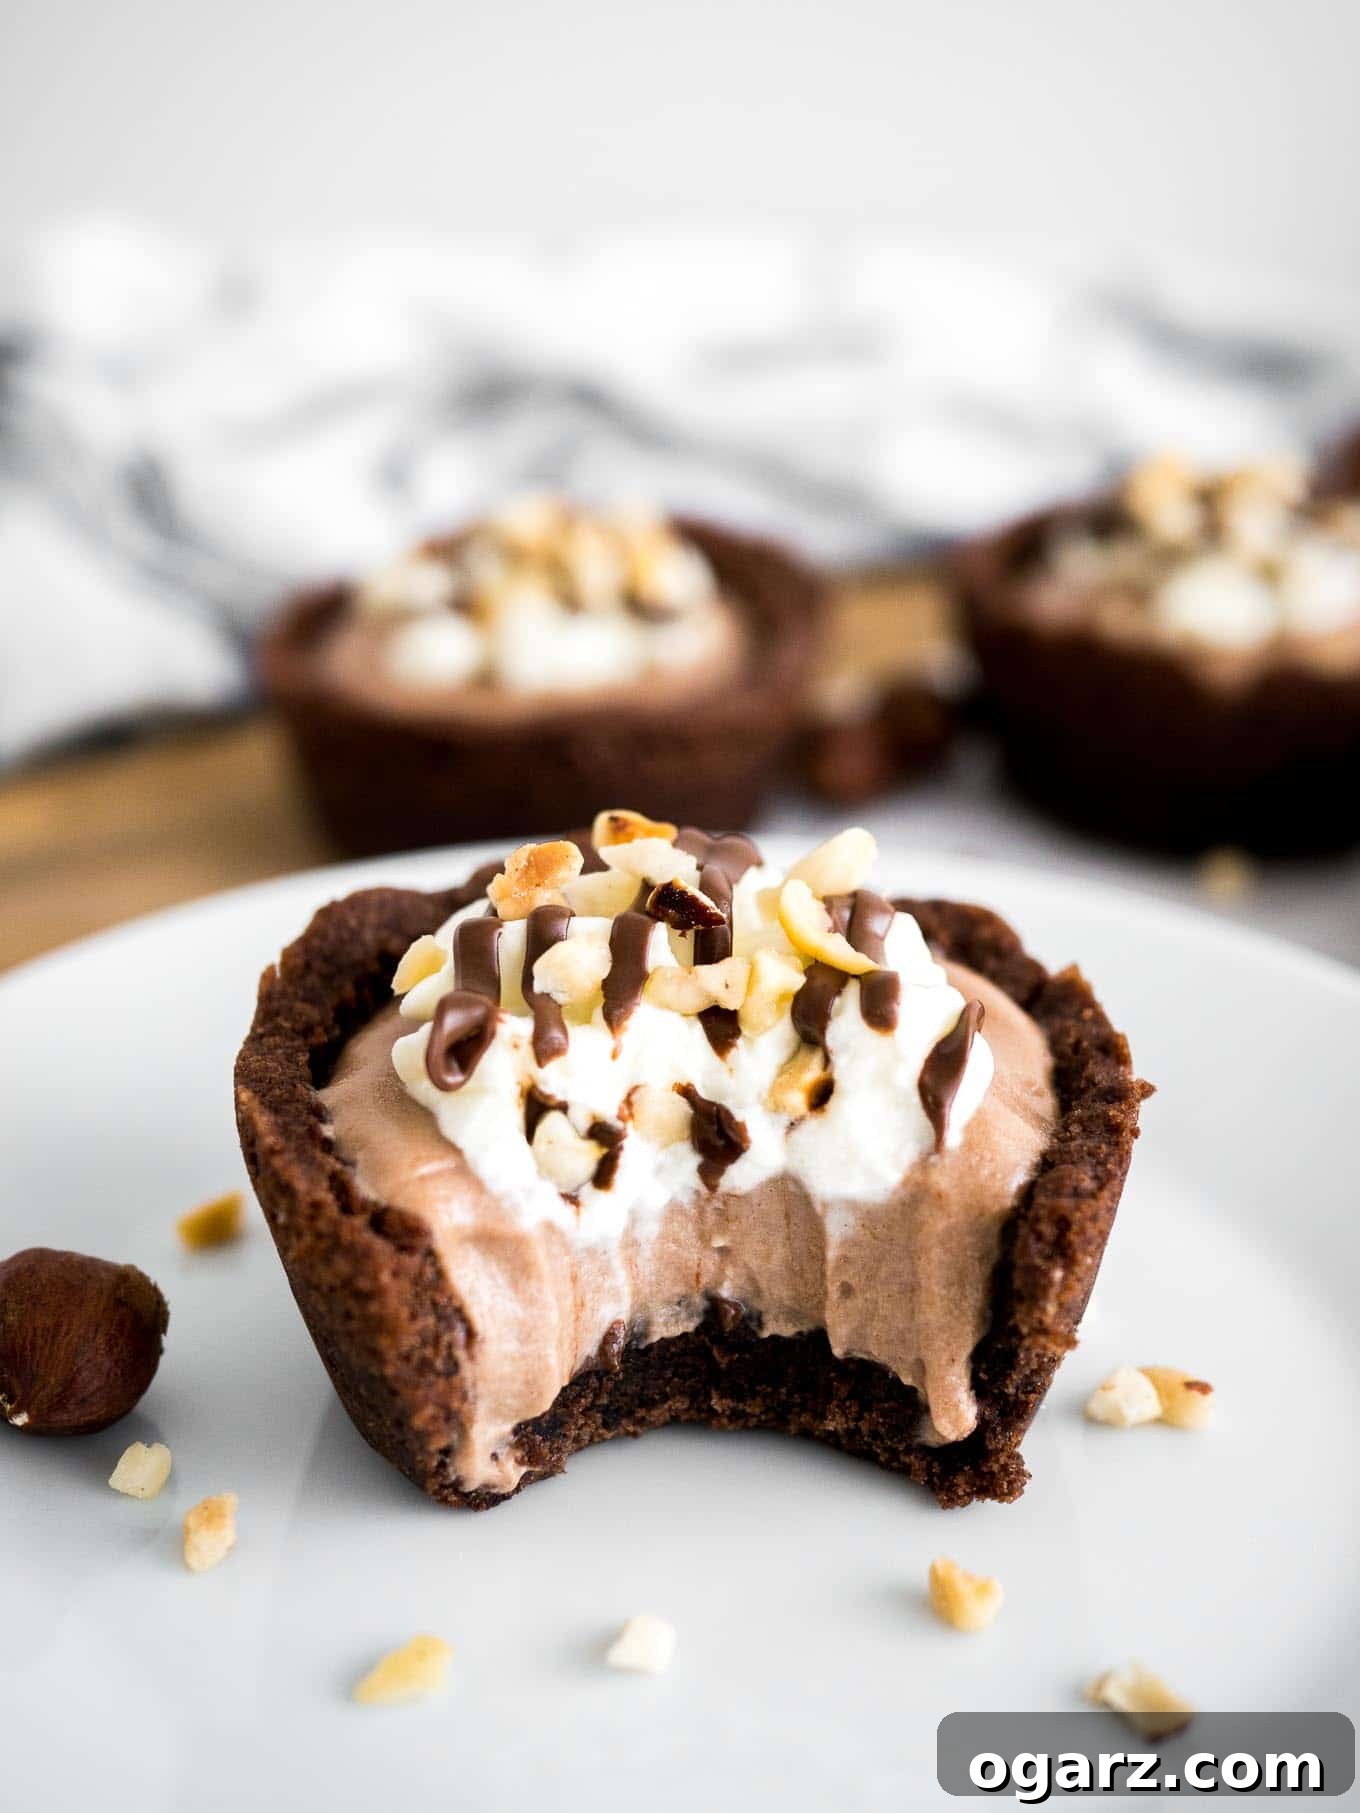
Discover the magic of Nutella Mousse Cookie Cups – a delectable fusion of chewy chocolate cookies and silky smooth Nutella mousse. These treats are unbelievably delicious, effortlessly elegant, and perfect for any occasion, from casual gatherings to special celebrations. Prepare to fall in love with your ultimate Nutella dessert!
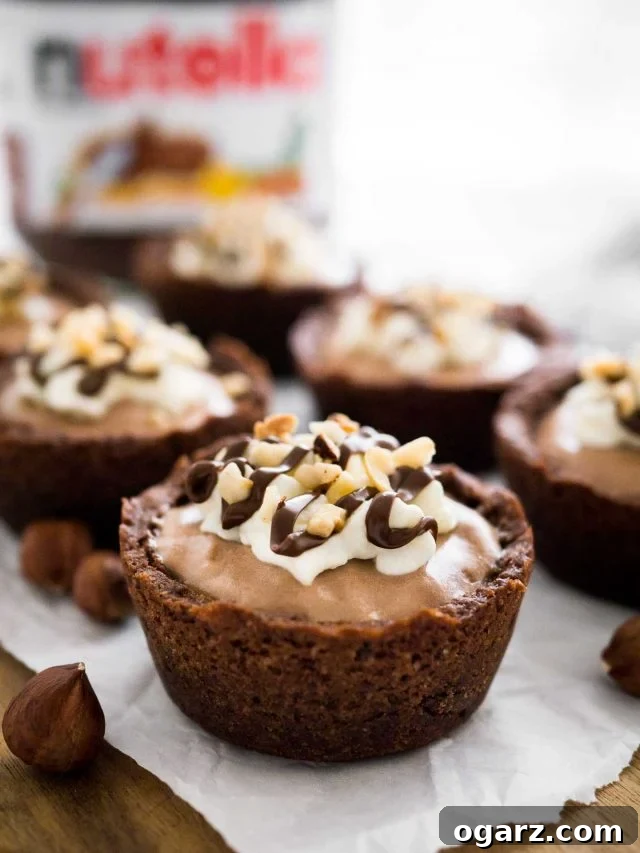
There are very few things in life as universally loved as Nutella, and cookies are definitely one of them. So, when you bring these two delightful elements together, you create something truly extraordinary. That’s precisely what these Nutella Mousse Cookie Cups are – an elevated, intensely satisfying treat that takes the simple pleasure of Nutella and a good cookie to an entirely new level. Far more indulgent than even my favorite Nutella Cookies, these cups are guaranteed to become a household favorite.
I must issue a fair warning: sharing this recipe might just lead to an undeniable addiction! These cute Nutella Cookie Cups have captivated my taste buds like no other dessert. I confess, I’ve enjoyed one for breakfast and another for lunch today, and the craving for more is still incredibly strong. It’s hard to resist their charm and deliciousness, but some things are just too good not to share.
Why You’ll Adore These Nutella Mousse Cookie Cups
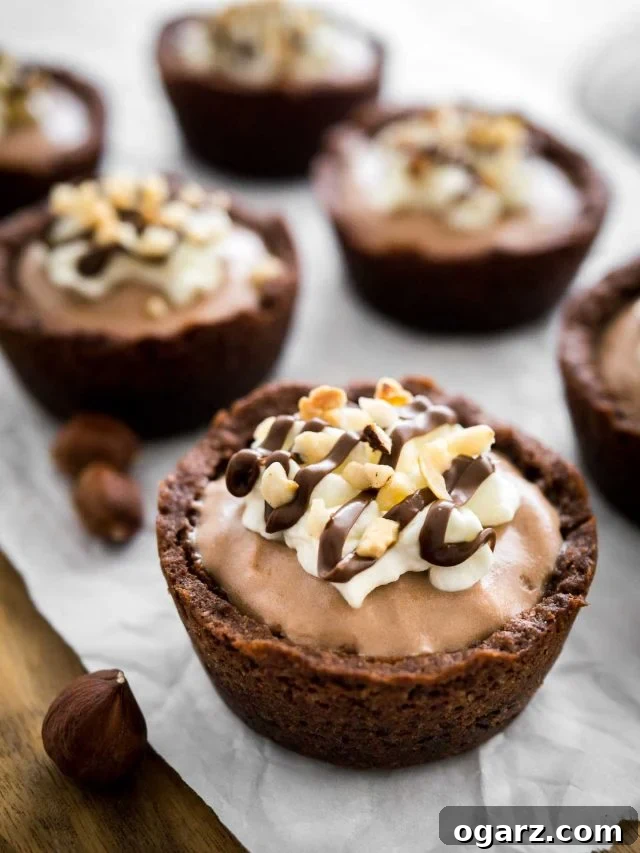
These isn’t just another dessert; it’s an experience. The combination of textures and flavors makes these cookie cups truly stand out. Imagine a perfectly chewy, rich chocolate cookie forming a delicate cup, cradling a light, airy, and intensely flavorful Nutella mousse. It’s a symphony of sweet satisfaction that will leave you wanting more with every bite.
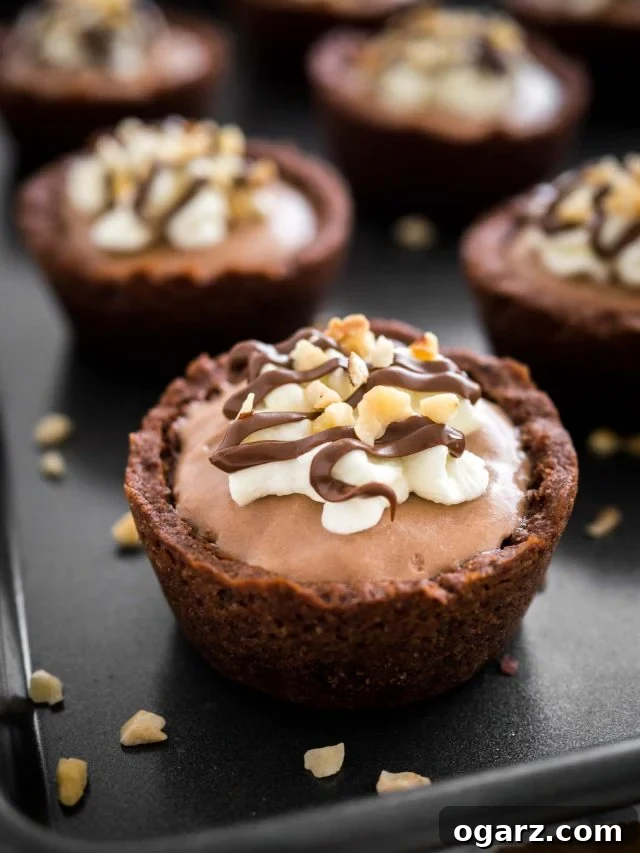
What makes these Nutella Mousse Cookie Cups even more appealing is their homemade charm combined with surprising simplicity. While they taste incredibly gourmet, they are made completely from scratch without any complicated techniques. Baking cookies in a muffin tin is, in my opinion, one of the easiest and most foolproof ways to achieve perfectly shaped cookies every time. You won’t need to worry about chilling the dough for hours or fretting over whether it will spread too much in the oven. This method ensures uniform, perfectly cupped cookies that are ready to be filled with their creamy surprise.
The delightful contrast between the soft, chewy chocolate cookie exterior and the smooth, airy Nutella mousse interior is what truly makes these treats irresistible. Each bite delivers a burst of hazelnut-chocolate goodness, making it an experience that transcends a simple cookie or a basic mousse. This will undoubtedly become your new favorite way to enjoy Nutella. Just be sure to gather some friends or family around, because these are so good, you might find yourself devouring the entire batch solo!
Crafting the Perfect Nutella Mousse Cookie Cups
Creating these Nutella Mousse Cookie Cups requires just a few essential tools and simple steps. The most crucial piece of equipment you’ll need is a reliable non-stick muffin tin. Beyond that, a small jar or a round-ended kitchen utensil will come in handy for forming the signature “cup” shape in your freshly baked cookies.
Key Steps for Success:
The beauty of this recipe lies in its straightforward approach. Here’s a deeper dive into making sure your cookie cups turn out perfectly:
- No Chilling Required: Unlike many cookie recipes, this dough does not need to be chilled before baking. This saves you valuable time and makes the process much quicker.
- Portioning the Dough: For each muffin cup, use approximately 2-3 tablespoons of dough. It might seem like a small amount initially, but remember that when you press the dent into the warm cookie, the dough will naturally rise up the sides, creating a perfect cup shape. Don’t worry about it being too little!
- Baking to Perfection: Bake your cookie cups for 10-12 minutes. Ovens can vary, so it’s essential to keep a close eye on them. The cookies should be mostly set but still slightly soft in the middle. The most critical point here is to avoid overbaking. An overbaked cookie will be too firm to properly make the dent, and you won’t achieve that ideal chewy texture.
- Creating the Dent: As soon as the cookie cups come out of the oven, while they are still warm and pliable, immediately use the rounded tip of a kitchen utensil (like the back of a spoon, a tart tamper, or even a small jar) to gently press a well into the center of each cookie. This creates the perfect cavity for your mousse filling.
- Cooling is Key: Allow the cookie cups to cool completely before attempting to fill them. Cooling ensures they hold their shape and that the Nutella mousse doesn’t melt upon contact. Once cooled, fill them generously with your homemade Nutella Mousse.
Following these steps will ensure you achieve perfectly structured, delicious cookie cups every single time.
Tips for Nutella Mousse Cookie Cup Perfection
- Room Temperature Ingredients: For both the cookie dough and the mousse, ensuring your butter, eggs, and cream cheese are at room temperature will result in a smoother batter and a more uniform, velvety mousse.
- Don’t Overmix: When adding the flour mixture to the wet ingredients for the cookies, mix only until just combined. Overmixing can lead to tough cookies.
- Chill Your Heavy Cream: For the best whipped cream and mousse, make sure your heavy cream is very cold. You can even chill your mixing bowl and whisk attachment for a few minutes before whipping.
- Piping Bag for Filling: While you can spoon the mousse into the cups, a piping bag (with or without a star tip) will give you a much cleaner and more professional-looking finish.
- Garnish Generously: Don’t skip the toppings! A swirl of reserved whipped cream, a drizzle of extra Nutella, and a sprinkle of chopped hazelnuts add both visual appeal and an extra layer of flavor and texture.
- Storage: Store these cookie cups in an airtight container in the refrigerator. They are best enjoyed within 2-3 days, though they might not last that long!
Variations to Delight Every Palate
While the classic Nutella Mousse Cookie Cup is undeniably perfect, there’s always room for creative twists! Experiment with these ideas to customize your treats:
- Cookie Base Variations: Instead of chocolate cookies, try a classic vanilla sugar cookie base, a peanut butter cookie, or even a red velvet cookie cup for a vibrant touch.
- Mousse Flavor Swaps: While Nutella is king here, consider other fillings like a raspberry mousse, a salted caramel mousse, or a simple vanilla bean cream cheese filling.
- Different Toppings: Beyond hazelnuts, try mini chocolate chips, sprinkles, shredded coconut, fresh berries (strawberries or raspberries pair wonderfully), a dusting of cocoa powder, or even a sprinkle of sea salt to enhance the chocolate.
- Mini Cookie Cups: Use a mini muffin tin for bite-sized versions that are perfect for parties and entertaining. Adjust baking time accordingly.
- Spiked Mousse: For an adult-friendly treat, add a tiny splash of hazelnut liqueur (like Frangelico) or coffee liqueur to the Nutella mousse.
Frequently Asked Questions (FAQ)
Q: Can I make the cookie cups ahead of time?
A: Yes, you can bake the cookie cups and store them in an airtight container at room temperature for up to 2-3 days. Prepare the mousse closer to serving time for the freshest taste, then assemble and chill.
Q: How long do Nutella Mousse Cookie Cups last?
A: Because of the cream cheese and whipped cream in the mousse, these should be stored in the refrigerator and are best enjoyed within 2-3 days.
Q: Can I freeze these cookie cups?
A: You can freeze the baked, unfilled cookie cups for up to 1 month in an airtight container. Thaw at room temperature before filling. I do not recommend freezing them once filled with mousse, as the texture of the mousse may change upon thawing.
Q: My cookies are sticking to the muffin tin. What should I do?
A: Ensure you are using a non-stick muffin tin and that you’ve greased it thoroughly with cooking spray or butter. If they are still stubborn, gently loosen the edges with a thin knife while they are still warm.
Q: What if I don’t have a specific tool to make the dent?
A: No worries! The back of a small, round spoon, a shot glass, or even the bottom of a spice jar can work perfectly to create the well in your warm cookie cups.
Q: Can I use store-bought cookie dough?
A: While homemade is always recommended for the best flavor and texture, you could use store-bought sugar or chocolate chip cookie dough if you’re short on time. Just ensure it’s a type that bakes up relatively soft and pliable so you can make the dent. You’ll still need to follow the instructions for baking in a muffin tin and forming the cups.
SOME MORE RECIPES YOU’LL ENJOY!
If you’re as passionate about baking and delicious desserts as I am, be sure to explore my full recipe index. In the meantime, here are a few more of my absolute favorite Nutella-inspired creations:
- Easy Twisted Nutella Danish Recipe
- Classic Nutella Cookies Recipe
- Decadent Nutella Brownies
- Salted Caramel Pretzel Brownies with Nutella
Nutella Mousse Cookie Cups Recipe
These Nutella Mousse Cookie Cups are the perfect way to indulge! A chocolate cookie cup filled with Nutella mousse and topped with whipped cream.
By: Julia Foerster
Prep Time: 20 minutes
Cook Time: 10 minutes
Total Time: 30 minutes
Yields: 12 servings
Ingredients
Chocolate Cookie Cups:
- 1 cup all-purpose flour (125g)
- 1/2 tsp baking powder
- 1/4 cup dutch process cocoa powder, sifted (30g)
- 1/4 tsp salt
- 1 stick unsalted butter, room temperature (115g)
- 1/4 cup granulated sugar (50g)
- 1/2 cup light brown sugar (100g)
- 1 large egg, room temperature
- 1 tsp pure vanilla extract
Nutella Mousse Filling:
- 3/4 cup heavy cream, chilled (180ml)
- 1/4 cup granulated sugar (50g)
- 4 oz full-fat cream cheese, softened (110g)
- 4 tbsp Nutella, room temperature (plus more for decorating)
- 1/4 cup chopped hazelnuts, for decorating
Instructions
- Preheat oven to 350°F (175°C). Spray a 12-cup muffin tin with cooking spray.
- In a small bowl, whisk together the all-purpose flour, baking powder, sifted dutch process cocoa powder, and salt. Set aside.
- In a large bowl, beat the unsalted butter, granulated sugar, and light brown sugar on medium-high speed until the mixture is light and fluffy.
- Add the large egg and pure vanilla extract to the butter mixture. Beat until just combined.
- Gradually add the prepared flour mixture to the wet ingredients. Mix on low speed until the dough is just combined and no dry streaks remain. Be careful not to overmix.
- Divide the cookie dough evenly among the prepared muffin cups using a large cookie scoop (about 2-3 tablespoons per cup). Press the dough down gently to flatten the base.
- Bake for 10-12 minutes, or until the edges are set and lightly firm, but the centers are still slightly soft. Do not overbake.
- Immediately upon removing the cookie cups from the oven, use the rounded tip of a kitchen utensil or a small jar to create a deep well in the center of each warm cookie.
- Allow the cookie cups to cool in the muffin pan for about 10 minutes. Gently twist each cup to loosen it from the pan, then transfer them to a wire rack to cool completely.
- While the cookies are cooling, prepare the Nutella mousse filling. In a clean, chilled bowl, whip the heavy cream until stiff peaks form. Set aside approximately 1/3 of the whipped cream for decorating later.
- In a separate bowl, beat the granulated sugar and softened full-fat cream cheese until the mixture is smooth and lump-free. Add the room temperature Nutella and beat until it is fully incorporated and smooth.
- Gently fold the remaining whipped cream into the Nutella and cream cheese mixture until just combined, creating a light and airy mousse.
- Once the cookie cups are completely cool, pipe the Nutella mousse filling into each cup.
- Refrigerate the filled cookie cups for at least 2 hours, or until the mousse is set.
- Before serving, top each cookie cup with a dollop of the reserved whipped cream, a drizzle of extra Nutella, and a sprinkle of chopped hazelnuts.
- Serve chilled and enjoy within 2-3 days for the best quality.
Nutrition
Calories: 260 kcal per serving
Like this recipe? We’d love to hear your thoughts! Rate and comment below!
Recipe inspired by Liv for Cake