
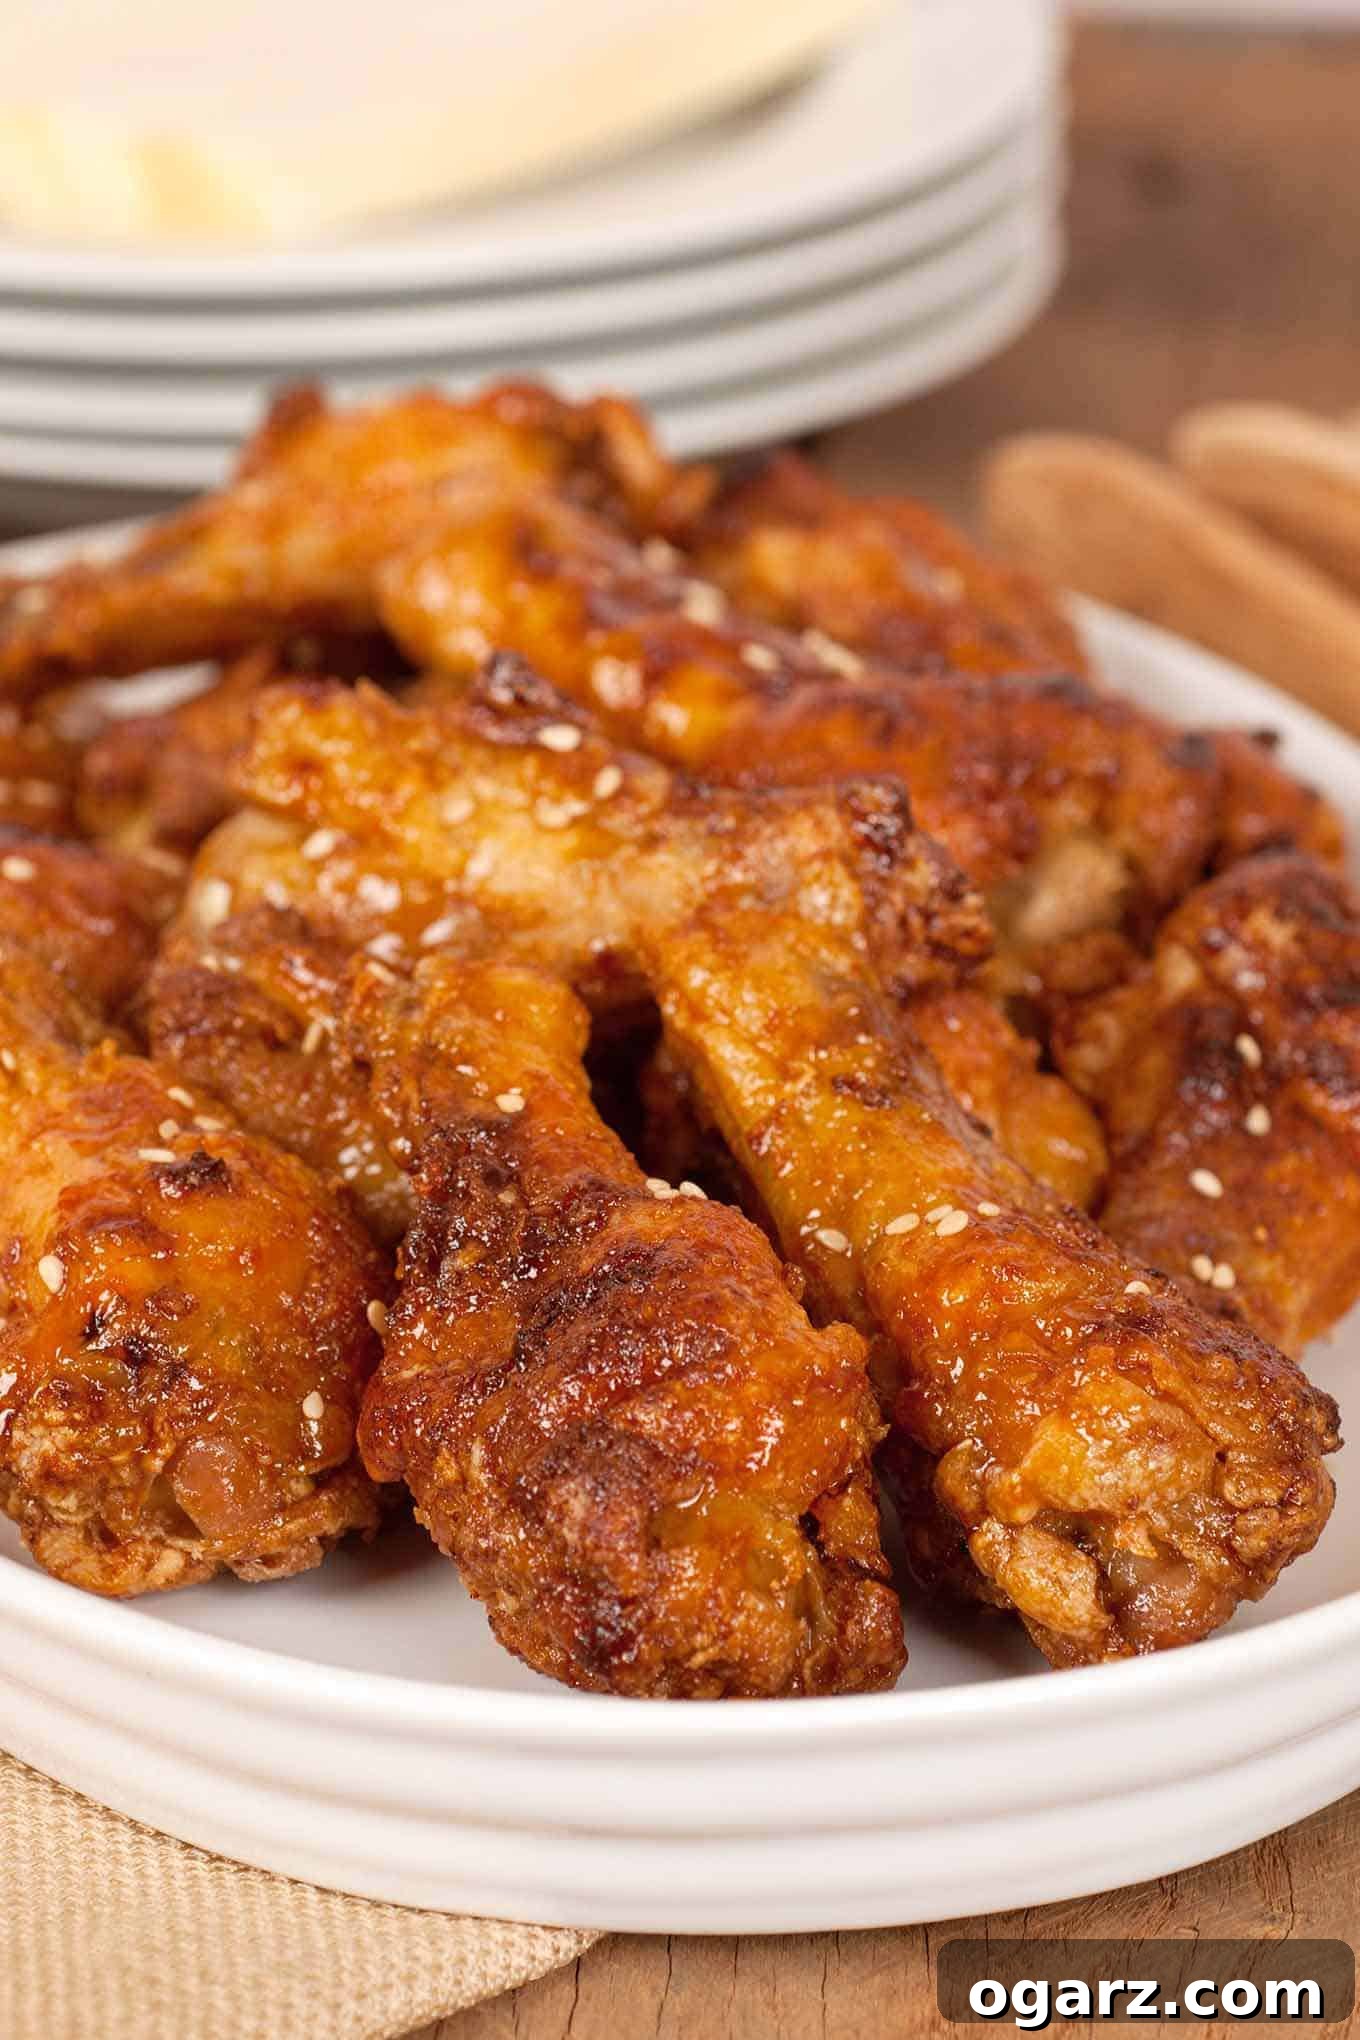
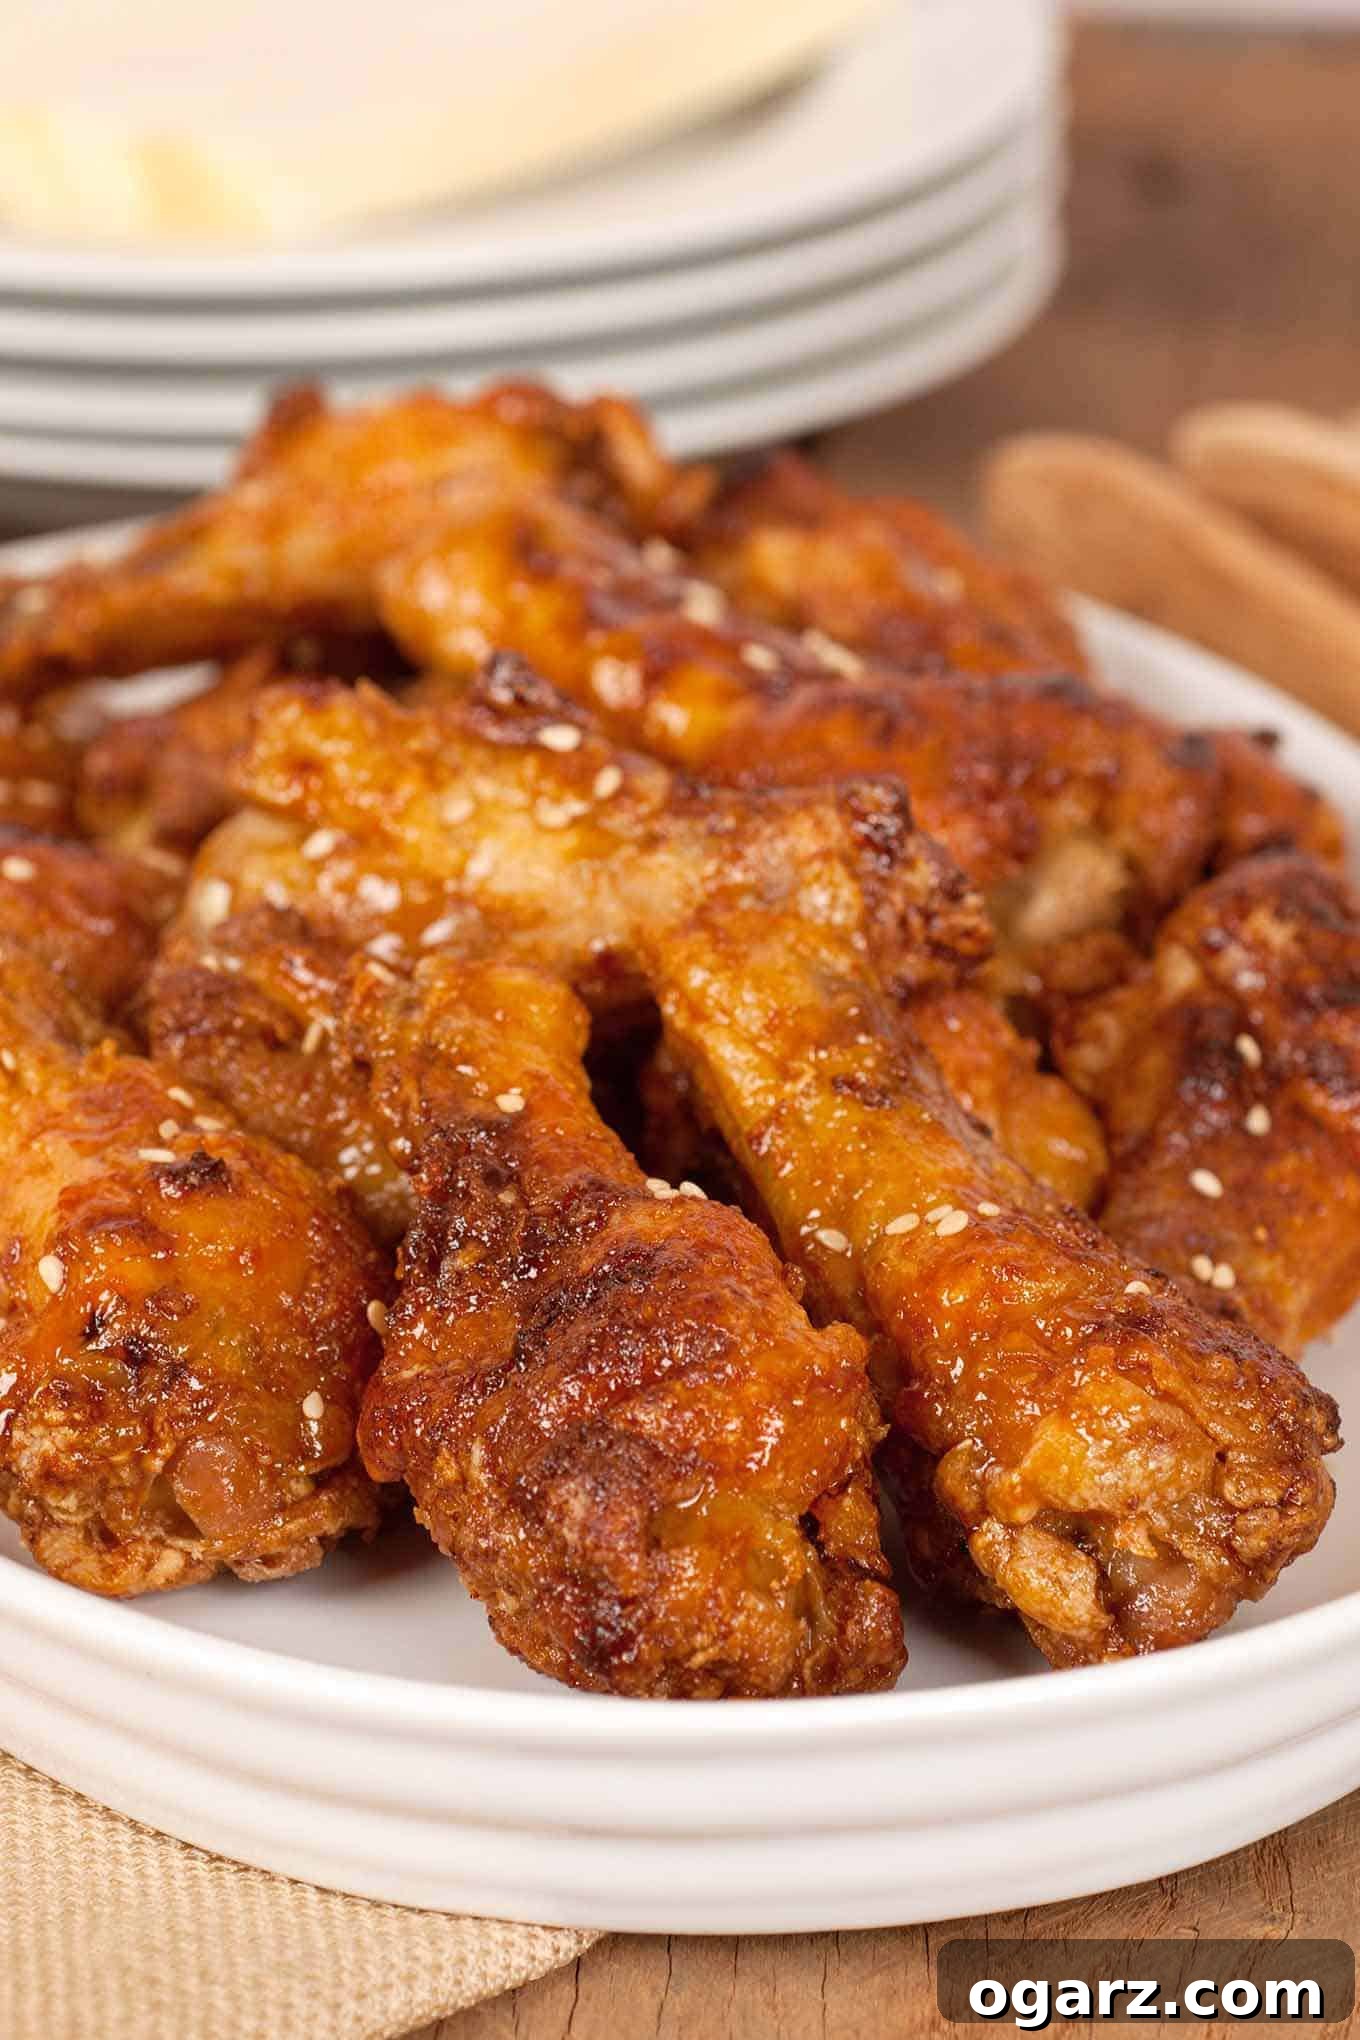
Are you on a quest for truly crispy chicken wings, but want to skip the mess and unhealthiness of deep-frying? Look no further! This updated recipe for our popular Citrus-Soy Chicken Wings reveals the secret to achieving that coveted golden, crunchy skin right in your oven. We’ve harnessed a brilliant technique, championed by culinary experts, that transforms humble oven-baked wings into a crispy sensation, rivaling their deep-fried counterparts. Get ready to elevate your appetizer game with these irresistible, tangy, and perfectly textured drumettes!

Crispy Oven-Fried Citrus-Soy Chicken Wing Drumettes: The Ultimate Appetizer
Lynne Webb
These exquisite chicken wing drumettes are masterfully oven-fried to achieve an incredibly crispy skin, then coated in a vibrant and tangy glaze. Crafted with a harmonious blend of fresh orange juice, savory soy sauce, a hint of sriracha for warmth, and rich brown sugar, they offer an unforgettable flavor experience that makes them the perfect appetizer for any gathering or a delightful main course.
5 mins
1 hr 30 mins
1 hr 35 mins
18 pieces
Enjoyed this recipe? Share it with friends or bookmark it for later! You can also find this and more delicious recipes on our website.
Ingredients for Perfectly Crispy Oven Wings
The magic behind these incredibly crispy wings lies in a simple, often overlooked pantry staple: baking powder. When combined with salt and applied to chicken skin, baking powder works to alter the pH, breaking down proteins and allowing the skin to dry out more effectively during baking. This process creates countless tiny air bubbles on the surface, which then crisp up to a glorious golden crunch, simulating the texture of deep-frying without the added oil or fuss.
- 18 chicken wing drumettes, approximately 2-1/4 lbs (ensure they are thoroughly patted dry for best results)
- 2 tablespoons baking powder (aluminum-free is recommended to avoid any metallic aftertaste)
- 3/4 teaspoon salt (fine sea salt or kosher salt works well)
- 2 teaspoons sesame oil (for a rich, nutty base in the glaze)
- 1 clove garlic, very finely chopped or minced (fresh garlic provides the best flavor)
- 1/2 cup orange juice (freshly squeezed for the brightest citrus notes)
- 1 tablespoon soy sauce (use low-sodium if preferred, or tamari for a gluten-free option)
- 1 teaspoon sriracha, or adjust to your desired level of spice (a little goes a long way!)
- 1 tablespoon rice wine vinegar (adds a subtle tang and balances the sweetness)
- 1/4 cup brown sugar (packed, for a rich, molasses-like sweetness that helps caramelize the glaze)
- Sesame seeds for garnish (toasted sesame seeds add extra flavor and visual appeal)
Step-by-Step Instructions for Crispy Perfection
Follow these detailed steps to create the ultimate oven-fried chicken wing drumettes. Precision in each stage ensures a delicious outcome, from the initial crisping process to the final glistening glaze.
- Prepare Your Baking Setup: Begin by preheating your oven to a precise 250°F (120°C). This initial low-temperature bake is crucial for slowly rendering the fat from the chicken skin without burning, laying the foundation for unparalleled crispiness. Line a shallow baking pan (a half-sheet pan works perfectly) with aluminum foil for easier cleanup. Next, place a wire rack directly inside the prepared baking pan. Lightly coat both the foil and the wire rack with a nonstick cooking spray to prevent the wings from sticking and to ensure easy release. Set this assembly aside.
- Season and Coat the Drumettes: Thoroughly pat your chicken wing drumettes dry with paper towels. This step is critical as excess moisture on the skin will steam rather than crisp. In a large food storage bag (or a spacious bowl), combine the baking powder and salt. Shake the bag well to ensure an even distribution of the drying agents. Add the dried drumettes to the bag, seal it, and shake vigorously until each drumette is evenly coated with the baking powder mixture. This fine coating is the secret ingredient for maximum crispiness. Once coated, transfer the drumettes in a single layer to the prepared wire rack, ensuring they are not touching each other for optimal air circulation.
- The Two-Stage Bake: Place the baking pan with the drumettes into the preheated 250°F oven. Bake for an initial 30 minutes. This slow bake allows the fat to render and the skin to dry out. After 30 minutes, increase the oven temperature to 425°F (220°C). Continue cooking for an additional 45 to 50 minutes. Midway through this higher-temperature cooking time (around 20-25 minutes), carefully open the oven, turn each individual drumette over, and rotate the baking pan 180 degrees. This ensures even browning and crisping on all sides, resulting in a uniformly golden and crunchy exterior.
- Craft the Tangy Glaze: While your drumettes are baking to perfection, prepare the luscious citrus-soy glaze. Heat the sesame oil in a small saucepan over medium heat. Add the finely chopped garlic and sauté gently for about 2 minutes, or until it becomes fragrant and slightly softened. Be careful not to burn the garlic, as this can lead to a bitter taste.
- Thicken the Glaze: To the saucepan with the garlic, add the orange juice, soy sauce, sriracha, rice wine vinegar, and brown sugar. Increase the heat to medium-high. Bring the mixture to a gentle boil, then reduce the heat slightly to maintain a simmer. Continue cooking, stirring frequently, for 3 to 4 minutes, or until the sauce reduces and thickens to a syrupy consistency that will beautifully coat the wings.
- Glaze, Garnish, and Serve: Once the drumettes are cooked and crispy, carefully remove them from the oven. Transfer the thickened sauce to a large bowl. Add the hot, crispy drumettes to the bowl and toss them gently until they are thoroughly coated in the glaze. Return the glazed drumettes to the wire rack in the baking pan. Using a pastry brush, apply any remaining sauce from the bowl evenly over the wings for an extra layer of flavor and shine. Sprinkle generously with sesame seeds for added texture and a nutty aroma. Turn off the oven, and place the drumettes back inside for a final 5 to 7 minutes. This brief period in the residual heat helps to set the glaze, making it beautifully sticky and vibrant. Serve your Crispy Oven-Fried Citrus-Soy Chicken Wing Drumettes immediately and watch them disappear!
Tips for Achieving the Crispiest Oven-Fried Chicken Wings
Creating genuinely crispy oven wings requires a few key techniques. Mastering these tips will ensure your drumettes turn out perfectly golden and crunchy every time, making them a crowd-pleasing hit.
- Dryness is Paramount: Before applying the baking powder, thoroughly pat the chicken wings dry with paper towels. Any residual moisture on the skin will create steam in the oven, preventing crispiness. The drier the skin, the crispier the result.
- Don’t Skimp on Baking Powder: Baking powder is the star ingredient here. It raises the pH of the chicken skin, which helps break down proteins and allows for superior browning and crisping. Ensure an even, light coating over all surfaces of the drumettes.
- Single Layer on the Rack: Arrange the drumettes in a single layer on the wire rack, making sure they do not touch each other. This allows hot air to circulate freely around each piece, promoting even cooking and maximum crisping. Overcrowding the pan will lead to steaming, not frying.
- Two-Stage Baking Method: The initial low-temperature bake (250°F) slowly renders the fat, while the subsequent high-temperature bake (425°F) finishes the job, creating that desired crispy texture and golden-brown color. Don’t skip either stage.
- Rotate and Flip: For truly even crisping, remember to flip the wings halfway through the high-temperature baking phase and rotate the baking pan. This ensures all sides get equal exposure to the heat, preventing one side from becoming overly crispy while another remains soft.
- Internal Temperature Check: Always ensure chicken is cooked to a safe internal temperature of 165°F (74°C) using a meat thermometer inserted into the thickest part of the wing, avoiding the bone.
- Glaze at the End: Apply the glaze towards the end of the cooking process. Sugar in the glaze can burn if baked for too long at high temperatures. Tossing and a quick finish in the turned-off oven allows the glaze to set beautifully without charring.
Flavor Variations and Serving Suggestions
While the Citrus-Soy glaze is undeniably delicious, these crispy oven-fried drumettes serve as an excellent canvas for various flavor profiles. Experiment to find your personal favorite!
Flavor Variations:
- Spicier Kick: For those who love heat, increase the amount of sriracha in the glaze. You could also add a pinch of red pepper flakes along with the baking powder and salt for an all-over spicy crust.
- Honey Garlic: Replace the orange juice and sriracha with a mix of honey, minced ginger, and extra garlic. A splash of apple cider vinegar can still provide a nice tang.
- Lemon Pepper: Skip the glaze entirely and toss the crispy wings with a generous amount of lemon pepper seasoning and a squeeze of fresh lemon juice immediately after baking.
- Teriyaki Twist: Use a high-quality teriyaki sauce instead of making the glaze from scratch. Ensure it’s thick enough to coat the wings well.
- Smoky BBQ: After the initial crisping, toss the wings in your favorite smoky BBQ sauce and return them to the oven for 10-15 minutes to caramelize.
Serving Suggestions:
- Classic Appetizer: Serve these drumettes hot off the rack with a side of cooling ranch or blue cheese dip and celery sticks. They are perfect for game days, parties, or casual get-togethers.
- Light Meal: Pair them with a fresh green salad or a simple coleslaw for a lighter dinner option.
- Asian-Inspired Spread: Complement the citrus-soy flavor with a side of sticky rice, steamed edamame, or a cucumber salad for a complete Asian-themed meal.
- Garnish Galore: Beyond sesame seeds, consider chopped green onions, a sprinkle of fresh cilantro, or a drizzle of extra sriracha for a final flourish.
Why Choose Oven-Fried Over Deep-Fried?
The allure of deep-fried chicken wings is undeniable, but the oven-fried method offers compelling advantages that make it a superior choice for many home cooks.
- Healthier Option: By eliminating the need for copious amounts of oil, oven-frying significantly reduces the fat and calorie content of your wings. You get all the crispiness without the guilt.
- Less Mess, Easier Cleanup: Deep-frying can be a messy affair, involving splattering oil and specialized equipment. Oven-frying keeps the mess contained to a single baking pan, making cleanup a breeze.
- Safer Cooking: Handling hot oil can be dangerous. Oven-frying removes this hazard, making the cooking process much safer, especially for those new to cooking or with children around.
- Hands-Off Approach: Once the wings are in the oven, you’re largely free to attend to other tasks, like preparing side dishes or socializing. Deep-frying demands constant attention.
- Consistent Results: With the two-stage baking method and the baking powder trick, you can achieve consistently crispy results without the guesswork often involved in deep-frying.
- Flavor Penetration: The slower cooking process in the oven allows the flavors of the chicken and seasoning to meld beautifully, creating a more deeply satisfying taste.
Frequently Asked Questions About Oven-Fried Chicken Wings
Here are some common questions about making crispy chicken wings in the oven, along with helpful answers to ensure your success.
Q: Can I use whole chicken wings instead of drumettes?
A: Yes, you absolutely can! If using whole wings, simply separate them into drumettes and flats (wingettes) by cutting through the joint. Discard the wing tips or save them for making chicken stock. The cooking time should remain roughly the same, but always check for crispiness and internal temperature.
Q: What if I don’t have baking powder? Is there a substitute?
A: Unfortunately, baking powder is quite unique in its chemical reaction for crisping the skin. There isn’t a direct substitute that will yield the same level of crispiness. It’s highly recommended to use baking powder for this recipe.
Q: Can I prepare the wings ahead of time?
A: You can pat the wings dry and coat them with the baking powder and salt mixture a few hours in advance, storing them uncovered in the refrigerator. This allows the baking powder more time to work its magic and further dries out the skin. However, it’s best to bake them fresh for optimal crispiness.
Q: How do I store and reheat leftover oven-fried chicken wings?
A: Store leftover wings in an airtight container in the refrigerator for up to 3-4 days. To reheat, arrange them on a wire rack set over a baking sheet and bake in a 375°F (190°C) oven for 10-15 minutes, or until heated through and crispy again. Avoid the microwave, as it will make them soggy.
Q: Can I make this recipe gluten-free?
A: Yes! Simply substitute regular soy sauce with tamari, which is a gluten-free alternative that tastes very similar. Ensure all other ingredients, like sriracha, are also certified gluten-free if strict adherence is necessary.
Q: My wings aren’t as crispy as I hoped. What went wrong?
A: The most common reasons for less-than-crispy wings are: not patting them dry enough, overcrowding the baking sheet (which creates steam), not using a wire rack for air circulation, or not getting an even coating of baking powder. Review the “Tips for Success” section to troubleshoot!
Loved this recipe? Don’t keep it to yourself! Share your thoughts and experience by rating and leaving a comment below. Your feedback helps us and other home cooks discover amazing dishes!