

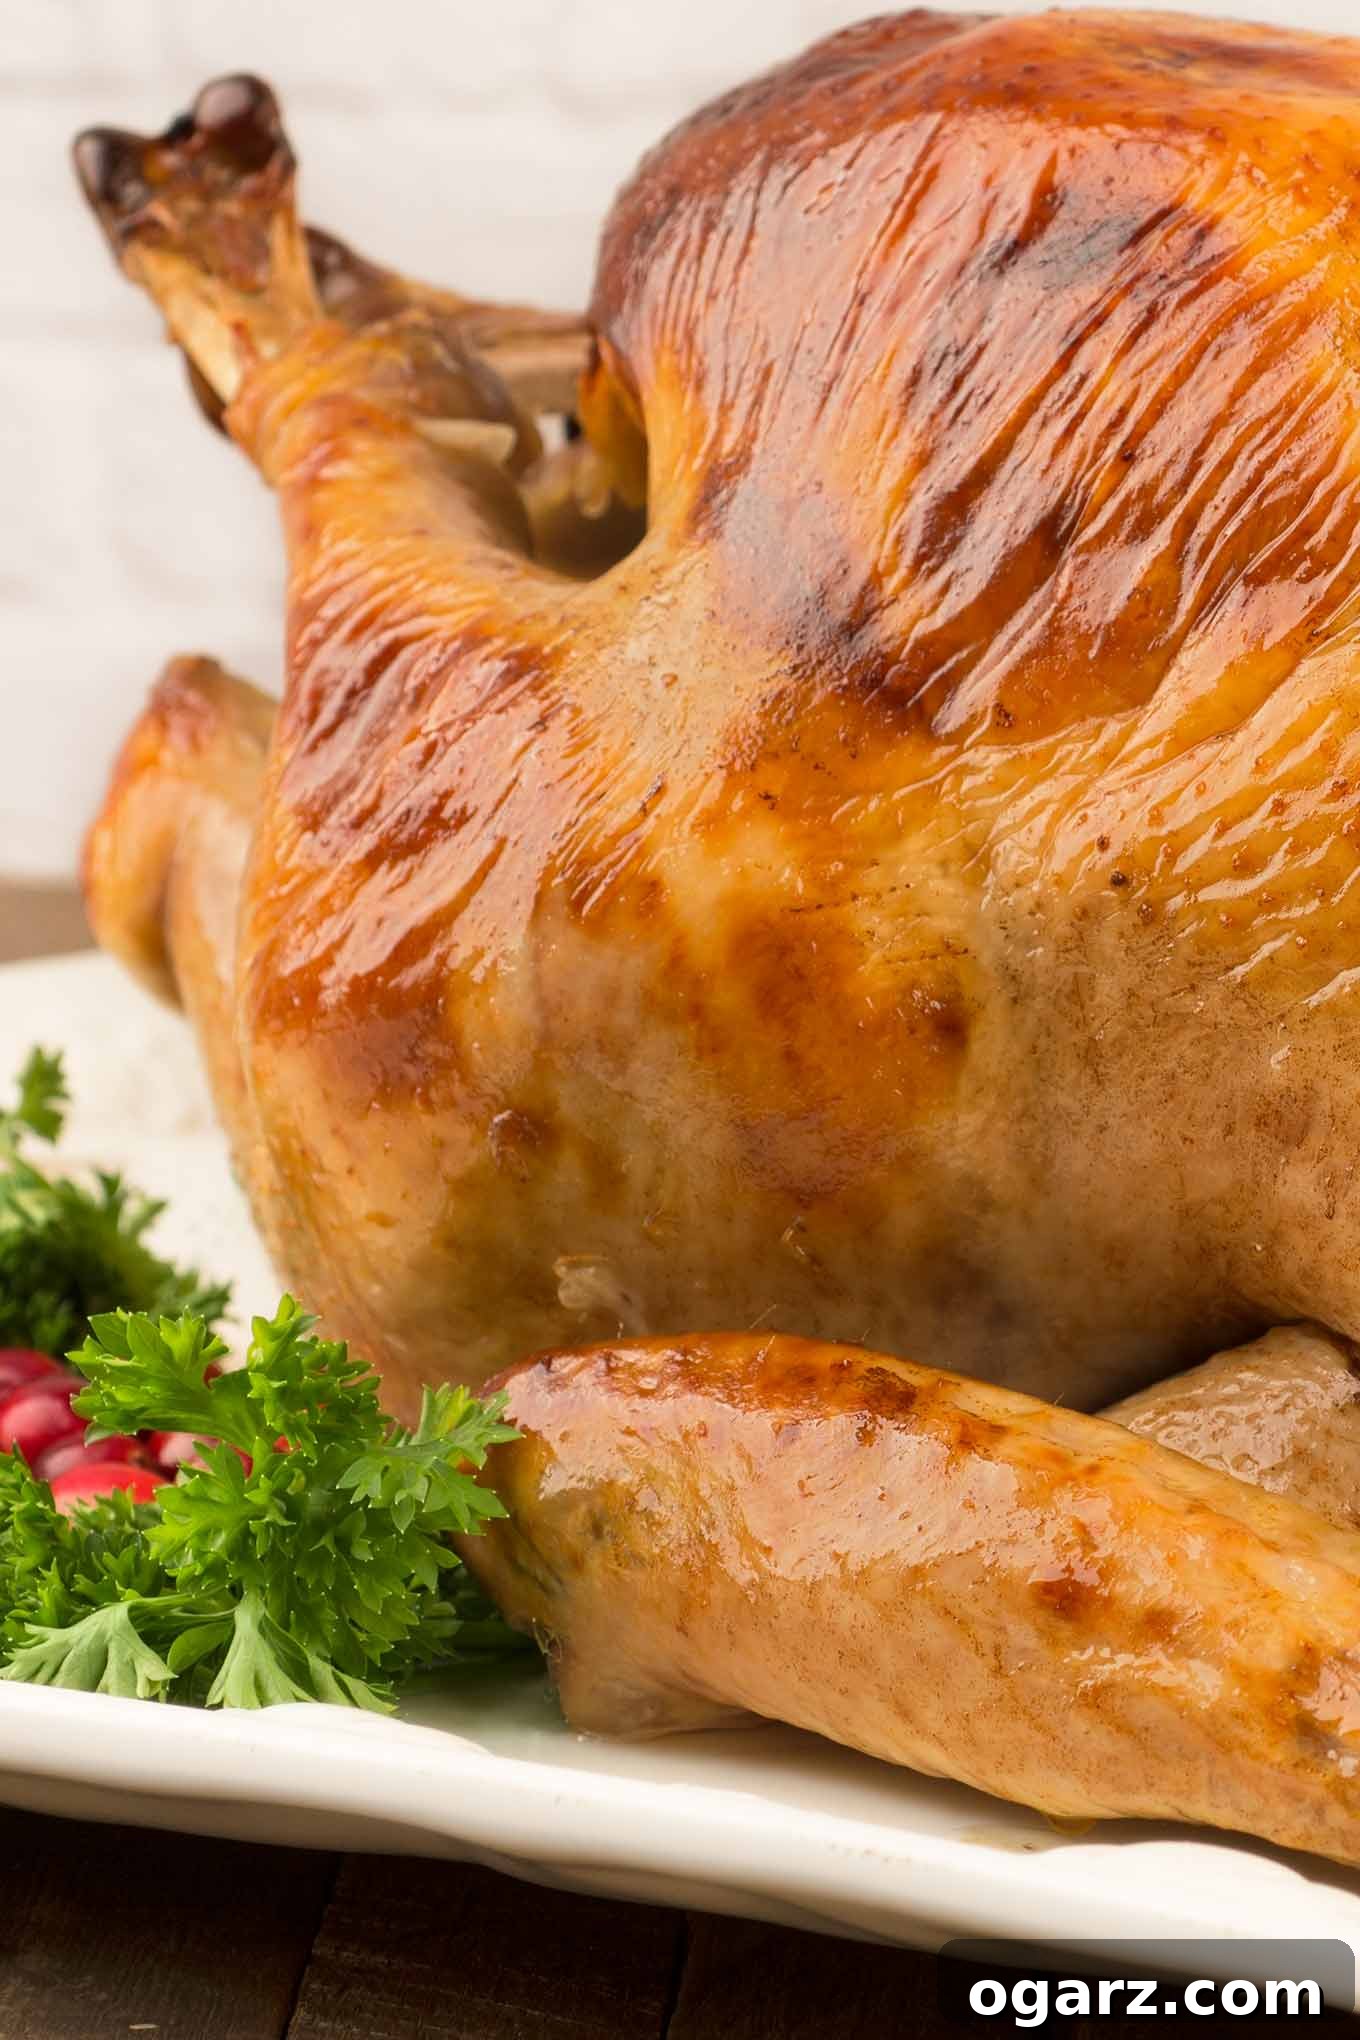
Transform your holiday feast with a turkey that’s unbelievably juicy, tender, and bursting with flavor. Our meticulously tested buttermilk brined turkey recipe is designed to deliver a show-stopping centerpiece that will impress even the most discerning palates. Buttermilk, a long-standing secret for tenderizing meats like fried chicken, brings its magic to turkey, promising a succulent bird every time. We’ve honed this technique to ensure consistent, delicious results, whether you choose a fresh, minimally processed turkey or a commercially frozen one.
In our culinary experiments, we tested this unique brine on two distinct types of turkeys: a pristine, minimally processed fresh turkey and a frozen turkey that had been pre-injected with a up to 7% broth solution. The outcome was nothing short of remarkable. Both turkeys emerged from the oven exceptionally moist, infused with subtle aromatic flavors, and perfectly tender, without any hint of excessive saltiness. This is fantastic news for anyone who desires to experience the profound benefits of brining but might be limited to purchasing an injected frozen turkey.
Our goal is to demystify the brining process, making it accessible and rewarding for all home cooks. Prepare to unlock the secret to a turkey so flavorful and moist, it will become an instant family favorite and a highlight of your holiday table.
Choosing the Perfect Turkey for Your Brine
The journey to a perfect brined turkey begins with selecting the right bird. While our preference leans towards a minimally processed fresh turkey, as it offers the most control over the final flavor profile and texture, we understand that availability can vary. This section provides comprehensive guidance on how to choose your turkey, ensuring optimal results regardless of your purchase.
Minimally Processed Fresh Turkeys: The Ideal Choice
When shopping for a turkey specifically for brining, a fresh, minimally processed bird should be your top priority. These turkeys typically haven’t been pre-treated with any solutions, meaning their natural moisture and flavor are intact. This allows our buttermilk brine to fully penetrate the meat, delivering maximum tenderization and flavor infusion without competing with pre-existing salts or seasonings. Look for labels that explicitly state “no added solutions,” “all natural,” or “minimally processed.” Farmers’ markets or specialty butchers are excellent sources for such turkeys.
Navigating Frozen and Injected Turkeys
Most frozen turkeys found in conventional supermarkets are injected with a solution containing broth, water, and salt. This solution typically constitutes about 7% to 8% of the bird’s total weight. The purpose of this injection is to enhance moisture and flavor, preventing the turkey from drying out during roasting. However, when brining an already injected turkey, special considerations are necessary to prevent it from becoming overly salty.
If you find yourself needing to purchase an injected frozen turkey, fear not – our buttermilk brine can still be successfully used with a simple, yet crucial, adjustment. To avoid an excessively salty result, **reduce the amount of kosher salt in our brine recipe to just 2 teaspoons** instead of the standard 2 tablespoons. This reduction accounts for the salt already present in the turkey’s solution, ensuring a balanced and flavorful outcome.
Important Note on Solution Levels: We strongly advise against brining any turkey that contains higher than an 8% solution. Turkeys with higher percentages of added solution may become unpleasantly salty, even with adjustments to the brine, and the added moisture might interfere with the brine’s tenderizing properties.
Always read the turkey’s label carefully to identify if it has been pre-injected and, if so, the percentage of solution added. By following these guidelines, you can confidently select the right turkey for a truly exceptional buttermilk-brined roast.
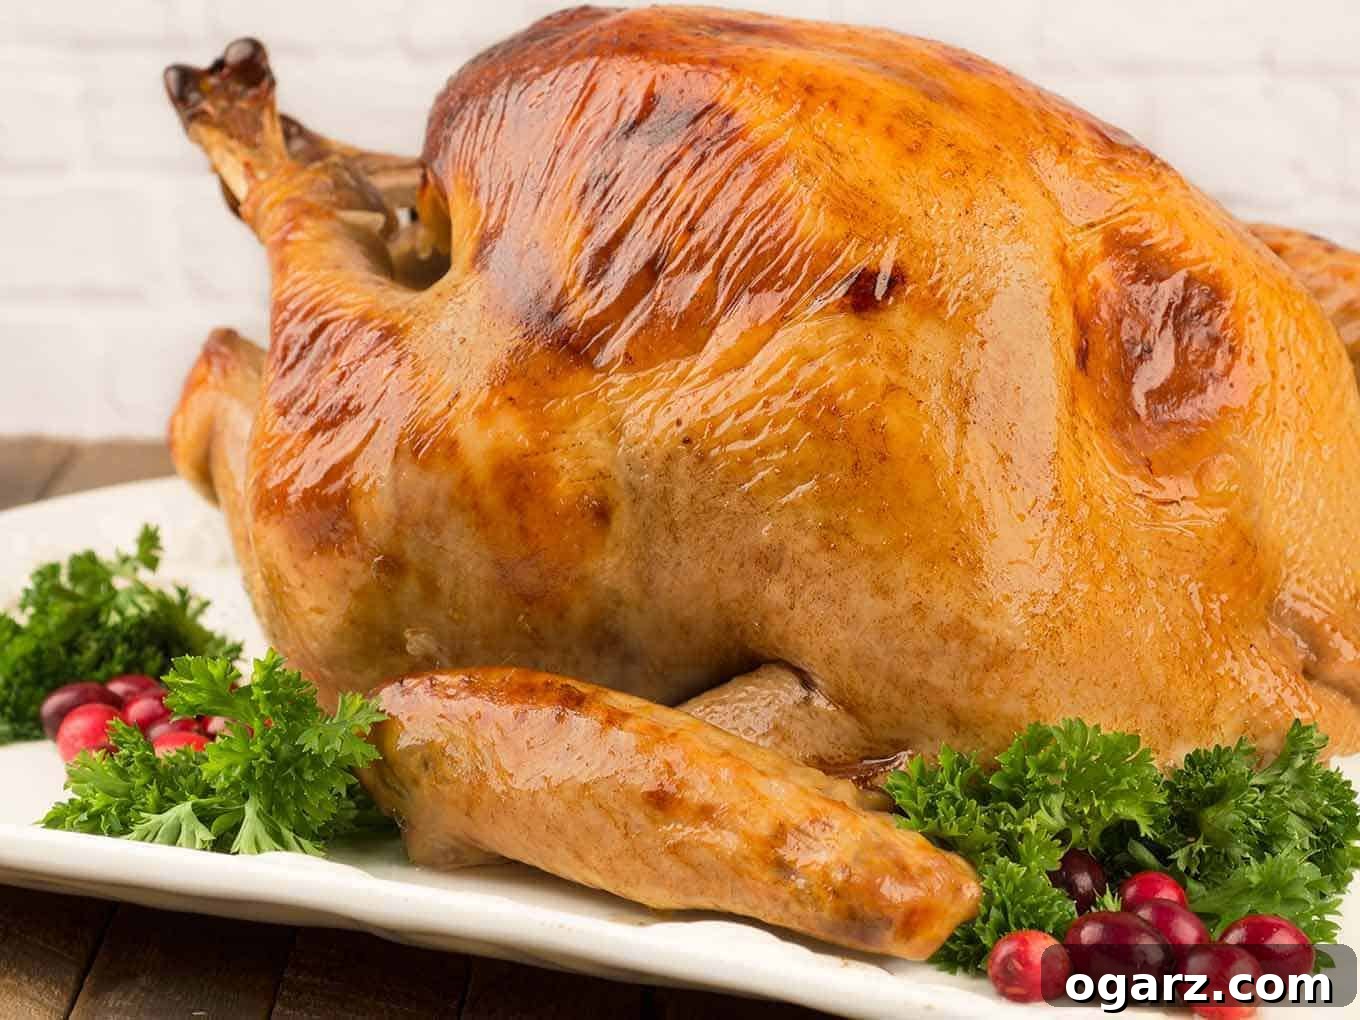
Crafting Our Special Buttermilk Brine: A Symphony of Flavors
The secret to our incredibly tender and flavorful turkey lies in the thoughtfully curated ingredients of our special buttermilk brine. This isn’t just a basic salt solution; it’s a rich concoction designed to imbue the turkey with layers of aroma, subtle sweetness, and a remarkable succulence. Each component plays a vital role in creating a brine that goes beyond mere tenderization, elevating the entire culinary experience.
Our buttermilk brine begins with the foundation of creamy, tangy buttermilk, the star ingredient responsible for the turkey’s exquisite tenderness. To this, we add golden honey, which not only provides a delicate sweetness that balances the tanginess of the buttermilk but also contributes to that coveted, beautifully browned, crispy skin during roasting. The aromatic profile is further enriched with whole spices, including allspice and peppercorns, which release their complex flavors slowly into the brine.
Fresh herbs are indispensable for imparting a fragrant, earthy depth. We incorporate sprigs of robust rosemary, delicate thyme, and fragrant sage leaves, all classic poultry seasonings that beautifully complement the turkey’s natural taste. Finally, the vibrant zest of fresh orange peel, cut into strips, introduces a bright, citrusy note that cuts through the richness and adds an uplifting finish to the overall flavor of the bird.
Together, these ingredients create a brine that works synergistically to ensure every bite of your roasted turkey is moist, tender, and profoundly flavorful. This carefully balanced blend promises a turkey that is not just cooked, but truly celebrated.
Buttermilk and Honey Brined Turkey
Lynne Webb
15 minutes
2 hours
45 minutes
3 hours
6
to 8 servings with leftovers
Rate Recipe
Print Recipe
Ingredients
Brine Ingredients:
- 6 cups water
- 2 tablespoons kosher salt, reduce to 2 teaspoons if using an injected turkey
- 3 tablespoons sugar
- 1/4 cup honey
- Peel from 1 orange, cut into strips
- 3-1/2 to 4 quarts buttermilk
- 1 tablespoon whole allspice
- 1 tablespoon whole peppercorns
- 4 sprigs fresh thyme
- 3 sprigs fresh rosemary
- 12 sage leaves
Turkey and Pan Gravy Ingredients:
- 10 to 12 lb turkey, see buying tips above
- 1 fresh orange, cut into eighths
- 2 sprigs rosemary
- 3 sprigs thyme
- 8 fresh sage leaves
- 3 tablespoons butter, softenend
- Salt and freshly ground black pepper
- 4 to 6 cups chicken broth, divided
- 1/4 cup cornstarch
Instructions
Brining:
-
To begin the brine, combine the water, salt, sugar, honey, and orange peel in a medium saucepan. Bring the mixture to a rolling boil over medium-high heat, stirring continuously to ensure that the sugar and salt completely dissolve. Allow it to boil gently for 2 minutes. Once dissolved, remove the saucepan from the heat and let the mixture cool completely to room temperature. This step is crucial to prevent partially cooking the turkey when it’s added to the brine.
-
Prepare your turkey by removing the neck, giblets, liver, and any other parts from the cavity. These can be reserved for making a flavorful gravy or stock, or discarded as preferred. If using a frozen turkey, ensure it is thoroughly defrosted before proceeding; a partially frozen bird will not brine effectively. Rinse the turkey meticulously, both inside and out, under cold running water. Pat the turkey completely dry with paper towels. Next, carefully place the whole allspice, peppercorns, fresh thyme sprigs, fresh rosemary sprigs, and sage leaves inside the turkey’s cavity. Transfer the prepared bird into a large, food-safe plastic brining bucket or a sturdy brining bag, ensuring it has enough space to be fully submerged.
-
Once the cooled water-salt-sugar mixture is at room temperature, combine it with 1 quart of buttermilk. Pour this initial buttermilk mixture into the bucket or bag containing the turkey. Then, add an additional 2-1/2 to 3 quarts of buttermilk, or more as needed, until the turkey is entirely submerged in the liquid and its cavity is filled. The goal is to ensure every part of the turkey is in contact with the brine for even flavor and tenderness. Securely cover the brining vessel and refrigerate for a minimum of 12 hours, and up to 18 hours. This prolonged soak allows the buttermilk and seasonings to work their magic deep into the meat.
-
After the brining period, carefully remove the turkey from the buttermilk brine. Discard all the brining liquid and any herbs/spices from the cavity. Rinse the turkey thoroughly under cold running water to remove any excess brine from both the exterior and interior of the bird. Pat it completely dry with paper towels – this step is vital for achieving crispy skin. Season the turkey cavity generously with salt and freshly ground black pepper. Stuff the cavity with fresh orange pieces, additional rosemary, thyme, and sage sprigs. Using kitchen twine, tie the ends of the drumsticks together securely. Allow the turkey to sit at room temperature for approximately 1 hour before roasting. This helps the turkey cook more evenly and prevents the breast from drying out.
Roasting:
-
Preheat your oven to a robust 400°F (200°C). While the oven heats, prepare your roasting pan and rack. Spray the rack and the interior of the roasting pan liberally with a nonstick cooking spray. This prevents the turkey from sticking and makes cleanup much easier.
-
Once the turkey has lost its refrigerated chill and is at room temperature, it’s time to prepare the skin. Take about 1/2 tablespoon of softened butter and gently work it under the skin on each side of the turkey breast. Carefully massage the skin from the outside to distribute the butter as evenly as possible over the breast meat. This butter layer will help keep the breast moist and contribute to beautifully golden, crispy skin. Use the remaining softened butter to generously rub onto the outer skin of the breast and each of the drumsticks. This extra butter ensures a rich, flavorful crust all around.
-
Carefully place the buttered turkey onto the prepared roasting rack, ensuring it is breast-side up. To prevent the delicate breast meat from drying out or browning too quickly, create a protective shield. Take a piece of heavy-duty aluminum foil and shape it into a V-form or a tent that can completely cover the entire turkey breast. Spray the inside of this foil shield very thoroughly with nonstick spray to prevent it from sticking to the turkey skin during cooking. Form the foil snugly around the breast, making sure it stays in place. This will allow the legs and thighs to cook while protecting the breast.
-
Pour 2 cups of chicken broth into the bottom of the roasting pan. This broth will add moisture to the oven environment, prevent drippings from burning, and contribute to your pan gravy later. Place the roasting pan with the turkey into the preheated 400°F (200°C) oven and roast for an initial 30 minutes. This high heat helps to crisp the skin. After 30 minutes, reduce the oven temperature to 325°F (160°C) and continue roasting for an additional 1-1/2 to 2 hours. During this period, remember to baste the turkey with the accumulating pan juices every 45 minutes to keep the skin moist and promote even browning. For the final 45 minutes of cooking, remove the aluminum foil shield from the breast to allow it to brown beautifully and evenly.
-
After a total cooking time of approximately 2 hours, begin testing for doneness using a reliable meat thermometer. Insert the thermometer into the thickest part of the turkey thigh, being careful not to touch the bone. The turkey is fully cooked when the internal temperature reaches 165°F (74°C). Once it reaches this temperature, remove the turkey from the oven and transfer it to a large cutting board or serving platter. Loosely tent the turkey with aluminum foil and allow it to rest for a minimum of 20 to 30 minutes before carving. This resting period is crucial; it allows the juices to redistribute throughout the meat, ensuring every slice is incredibly moist and tender.
Easy Pan Gravy:
-
While your magnificent turkey is resting, turn your attention to crafting a delicious pan gravy. Carefully pour all the drippings from the roasting pan into a heatproof measuring cup. Allow the fat to separate and rise to the top, then skim off any excess fat, leaving behind the flavorful pan juices. Add enough chicken broth to the defatted pan juices to achieve a total of 3 cups of liquid. Transfer this liquid to a saucepan and bring it to a gentle simmer over medium heat. In a small bowl, whisk together 1/4 cup of cornstarch with 1/3 cup of cold water until a smooth slurry forms. Gradually whisk this cornstarch mixture into the simmering broth in the saucepan. Continue whisking constantly until the gravy thickens to your desired consistency. Taste the gravy and season it generously with salt and freshly ground black pepper as needed. Once perfect, transfer the rich, savory gravy to a serving bowl or gravy boat, ready to complement your perfectly roasted turkey.
Like this recipe? Rate and comment below!
The Science Behind Buttermilk Brining: Why It Works Wonders
Buttermilk brining isn’t just a culinary trend; it’s a scientifically sound method for achieving unparalleled tenderness and flavor in poultry. Understanding the ‘why’ behind this technique can elevate your cooking and deepen your appreciation for this simple yet powerful process.
The primary component in buttermilk, lactic acid, is a game-changer for tenderizing meat. Unlike harsher acids found in citrus juices or vinegar, lactic acid is milder but highly effective. It slowly works to break down the tough muscle fibers and connective tissues in the turkey. This denaturation of proteins results in meat that is significantly more tender and less prone to chewiness. Crucially, the mild nature of lactic acid means it tenderizes without “cooking” the exterior of the meat, which can happen with stronger acidic marinades, thus preserving the natural texture of the turkey.
Beyond tenderization, the salt in the brine plays an equally vital role in moisture retention. Through osmosis, the salty brine solution is drawn into the turkey’s cells. As the salt dissolves some of the muscle proteins, the muscle fibers relax and can hold onto more liquid. This process, combined with the presence of water, sugar, and other aromatics, ensures that the turkey absorbs extra moisture before cooking. This pre-hydrated state drastically reduces the likelihood of the turkey drying out during the high-heat roasting process, leading to a consistently juicy bird from breast to thigh.
The addition of sugar (honey in our recipe) helps in two key ways: it balances the saltiness, preventing the turkey from tasting overtly briny, and it promotes exceptional browning of the skin during roasting through the Maillard reaction, resulting in that coveted golden, crispy exterior. The whole spices, fresh herbs, and orange peel infuse their aromatic compounds directly into the meat, adding layers of complex flavor that permeate the turkey far beyond the surface seasoning. The result is a turkey that is not only incredibly moist and tender but also deeply flavorful throughout, making every bite a delightful experience.
Top Tips for a Flawless Buttermilk Brined Turkey
Achieving a perfectly roasted buttermilk-brined turkey involves more than just following the steps; it also requires attention to a few critical details that can make all the difference. Here are some expert tips to ensure your holiday turkey is nothing short of spectacular.
Food Safety First: Brining Safely
When brining, especially for extended periods, food safety is paramount. Always ensure your turkey remains at a safe temperature below 40°F (4°C) throughout the entire brining process. Use a food-grade brining bag or a large, clean, non-reactive container (like a plastic bucket or a large stockpot) that can be securely covered. Make sure there is enough space in your refrigerator to accommodate the brining vessel without overcrowding, allowing for proper air circulation to maintain a consistent cold temperature. Never brine at room temperature, as this creates a breeding ground for harmful bacteria. After brining, discard the used brine immediately; it should never be reused or incorporated into your gravy.
Brining Duration: Finding the Sweet Spot
The ideal brining time depends on the size of your turkey. For our recommended 10-12 lb turkey, 12 to 18 hours is perfect. Smaller birds may require slightly less time (e.g., 8-10 hours for a 6-8 lb turkey), while larger birds might benefit from the full 18 hours. Avoid over-brining, as this can lead to a mushy texture or an overly salty flavor, especially in the breast meat. Always check your turkey’s label for any pre-injected solutions and adjust salt levels accordingly, as discussed in the turkey selection section.
Achieving the Crispiest Skin
While brining ensures moist meat, achieving crispy skin requires a few extra steps. First, thoroughly pat the turkey dry after rinsing off the brine. Any residual moisture on the skin will steam rather than crisp. Secondly, allowing the turkey to air-dry uncovered in the refrigerator for a few hours (or even overnight) after brining can further dry out the skin, leading to superior crispness. The initial high heat blast (400°F) in our roasting instructions also kickstarts the browning and crisping process. Lastly, liberally coating the skin with softened butter before roasting, as specified in our recipe, adds flavor and helps create a beautiful, golden-brown crust.
Monitoring Doneness: Trust Your Thermometer
The only reliable way to know when your turkey is perfectly cooked is by using a meat thermometer. Visual cues can be misleading, and nobody wants a dry or undercooked turkey. Insert the thermometer into the thickest part of the thigh, ensuring it doesn’t touch the bone, which can give an inaccurate reading. The target internal temperature is 165°F (74°C). If the breast cooks faster, you can re-apply the foil shield to protect it while the thighs catch up. Remember, the turkey will continue to cook slightly (carryover cooking) during the resting period, so pulling it out exactly at 165°F is ideal.
The Importance of Resting
Do not skip the resting period! This is perhaps the most crucial step for a juicy turkey. When meat cooks, its muscle fibers contract, pushing juices to the center. Resting allows these fibers to relax and the juices to redistribute throughout the entire bird. If you carve immediately, all those delicious juices will run out onto your cutting board, leaving you with dry meat. Tent the turkey loosely with foil to keep it warm, and let it rest for at least 20-30 minutes for a 10-12 lb bird. For larger turkeys, you might extend this to 40 minutes. You’ll be amazed at the difference it makes.
Frequently Asked Questions About Buttermilk Brining
Can I use this brine for a smaller chicken or turkey breast?
Absolutely! This buttermilk brine works wonderfully for smaller poultry cuts. For a whole chicken (3-5 lbs), reduce the brining time to 6-8 hours. For a bone-in turkey breast (4-6 lbs), brine for about 8-10 hours. Always ensure the poultry is fully submerged and adjust the amount of buttermilk as needed. The salt reduction for injected poultry still applies.
What if I don’t have buttermilk? Can I make a substitute?
While real buttermilk is recommended for its specific lactic acid content and thicker consistency, you can create a decent substitute. For every 1 cup of buttermilk needed, combine 1 cup of regular milk (dairy or non-dairy) with 1 tablespoon of white vinegar or lemon juice. Let it sit for 5-10 minutes until it slightly thickens and curdles. For this recipe’s large volume, you would need several batches. This substitute will offer some tenderizing properties, but the authentic flavor and efficacy of cultured buttermilk are superior.
Can I add other herbs or spices to the brine?
Yes, feel free to customize the brine to your taste! Bay leaves, whole cloves, star anise, or even a few slices of fresh ginger can add unique aromatic notes. For herbs, consider marjoram or parsley. Just be mindful not to overpower the delicate turkey flavor. A general rule is to add whole spices and tougher herbs to the heated water mixture, and softer herbs like parsley towards the end of cooling, or directly into the cavity.
How do I store leftover turkey?
Carve your leftover turkey meat off the bone and store it in airtight containers in the refrigerator for up to 3-4 days. You can also freeze cooked turkey meat for up to 3 months. For best results, slice or shred the meat before freezing, and consider freezing it with a little gravy or broth to prevent it from drying out when reheated.
Serving Suggestions for Your Buttermilk Brined Turkey
A beautifully brined and roasted turkey deserves an equally impressive spread of side dishes. Here are some suggestions to create a harmonious and unforgettable meal:
- Classic Gravy: Our easy pan gravy recipe is a must-have, making the most of those flavorful drippings.
- Cranberry Sauce: A tangy homemade cranberry sauce provides a vibrant contrast to the rich turkey.
- Creamy Mashed Potatoes: Fluffy, buttery mashed potatoes are the quintessential accompaniment, perfect for soaking up gravy.
- Sourdough Stuffing or Dressing: A savory stuffing, perhaps with apples, sausage, and herbs, adds texture and flavor.
- Roasted Root Vegetables: Carrots, parsnips, and sweet potatoes roasted with herbs and a touch of honey complement the turkey beautifully.
- Green Bean Casserole: A classic and comforting side that always delights.
- Fresh Salad: A light, crisp green salad with a vinaigrette can offer a refreshing palate cleanser.
- Dinner Rolls: Soft, warm dinner rolls are ideal for sopping up every last bit of gravy and pan juices.
With these thoughtful pairings, your buttermilk brined turkey will be the star of a truly memorable feast.
Conclusion: Your Juiciest Turkey Awaits!
Embarking on the journey of buttermilk brining might seem like an extra step, but the results speak for themselves. This method guarantees a turkey that is not only profoundly tender and moist but also infused with a depth of flavor that traditional roasting simply cannot achieve. By tenderizing with lactic acid and enriching with honey and aromatic herbs, our recipe transforms an ordinary bird into an extraordinary culinary masterpiece.
Whether you’re preparing for a grand holiday celebration or a special family dinner, this buttermilk brined turkey promises to be the undisputed highlight. With our comprehensive guide, including detailed selection tips, step-by-step instructions, and expert advice, you have all the tools to achieve a succulent, golden-brown turkey that will earn rave reviews. Don’t just cook a turkey; craft an experience. Your juiciest, most flavorful turkey awaits!