
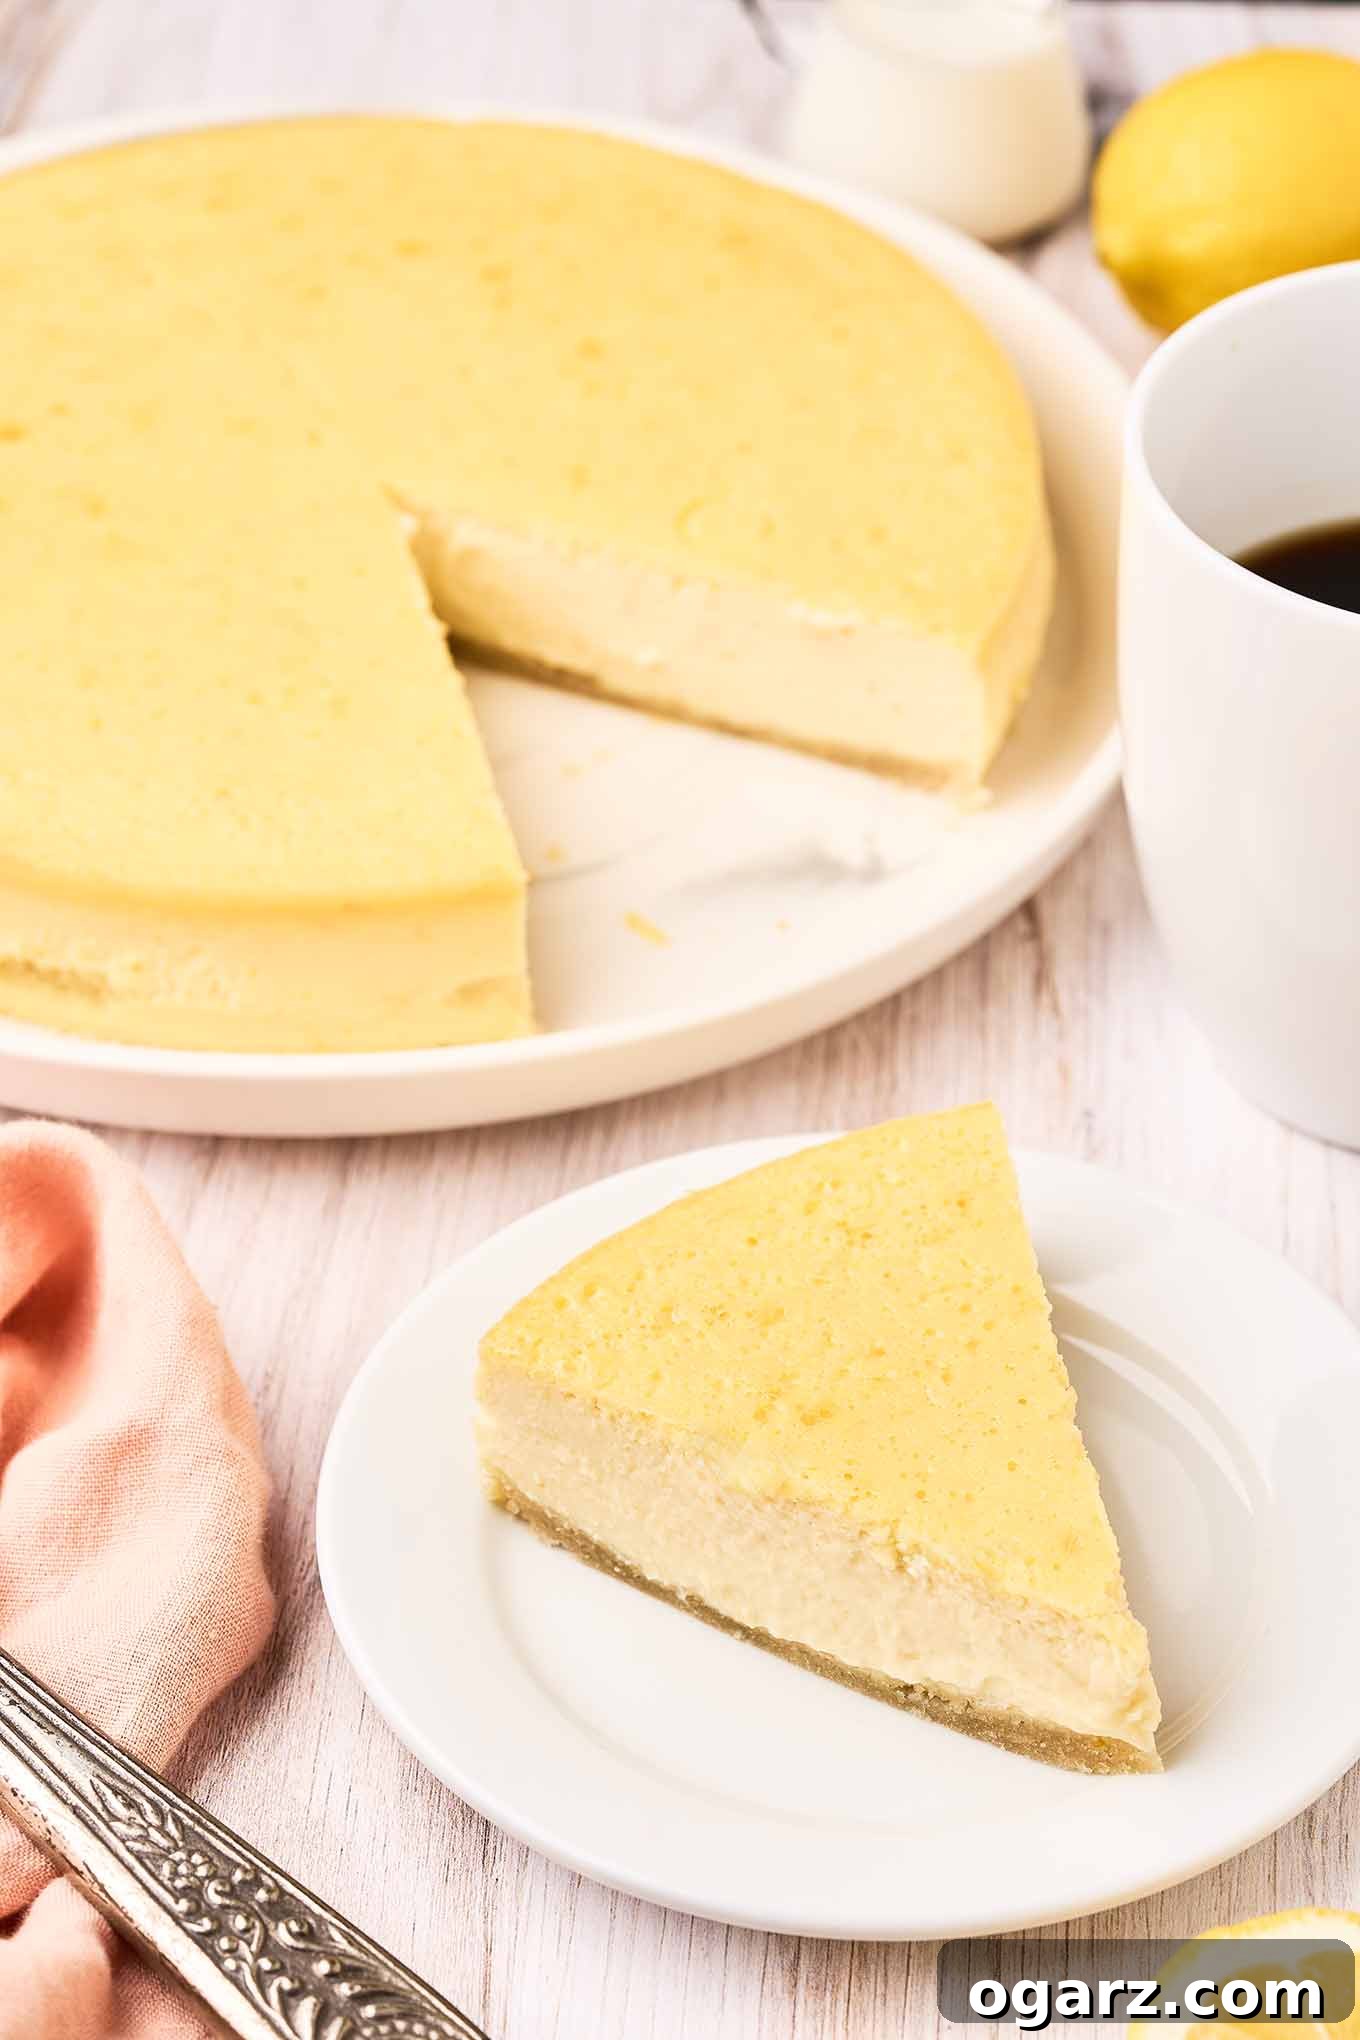
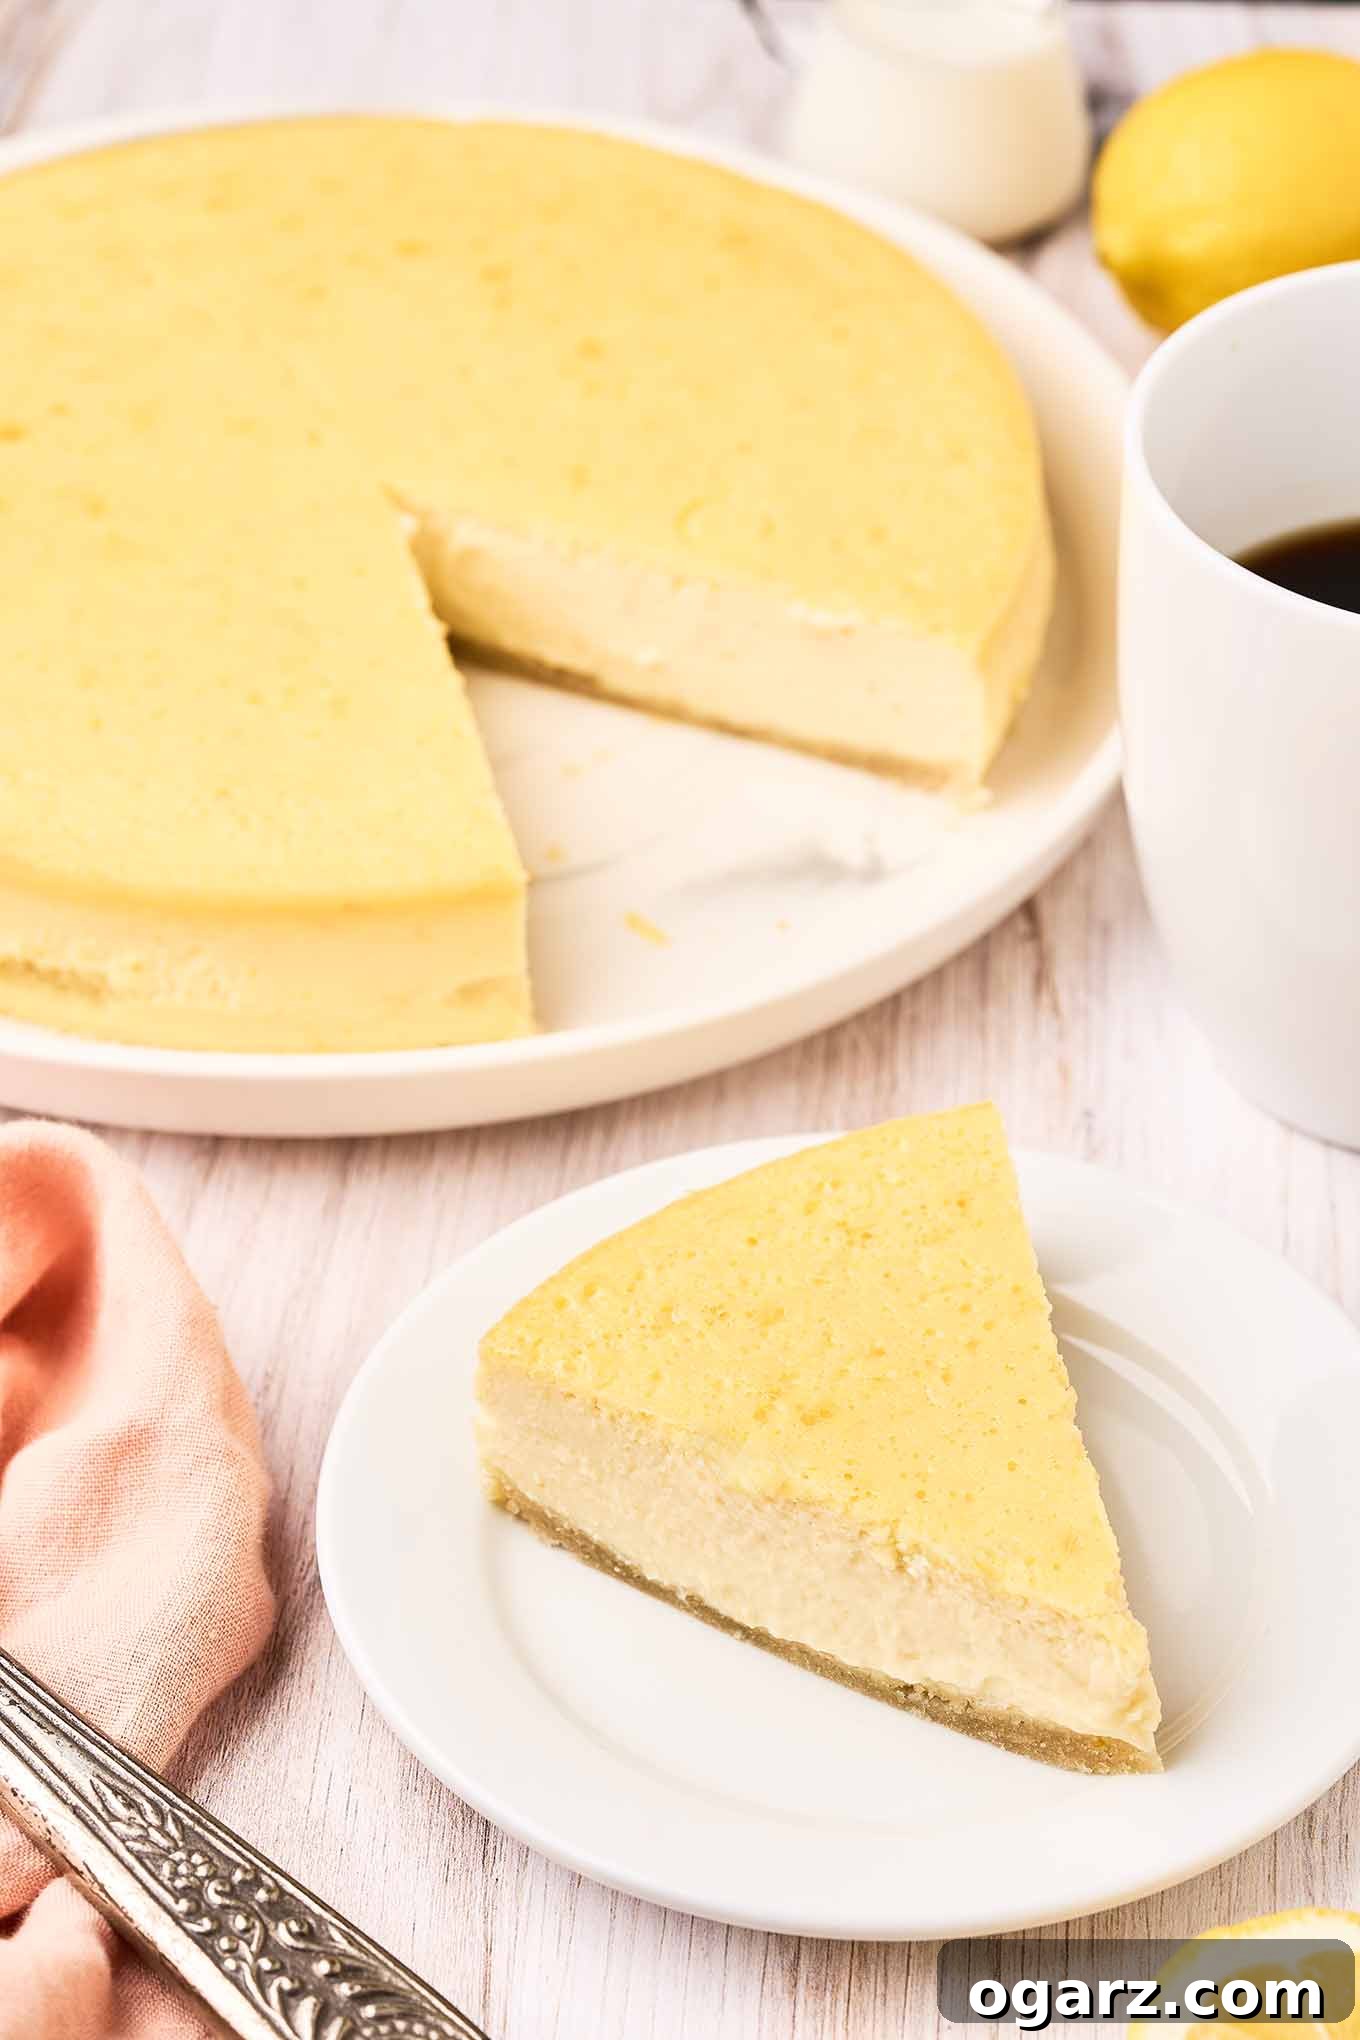
Traditional Italian Ricotta Pie: A Delicate Dessert Masterpiece
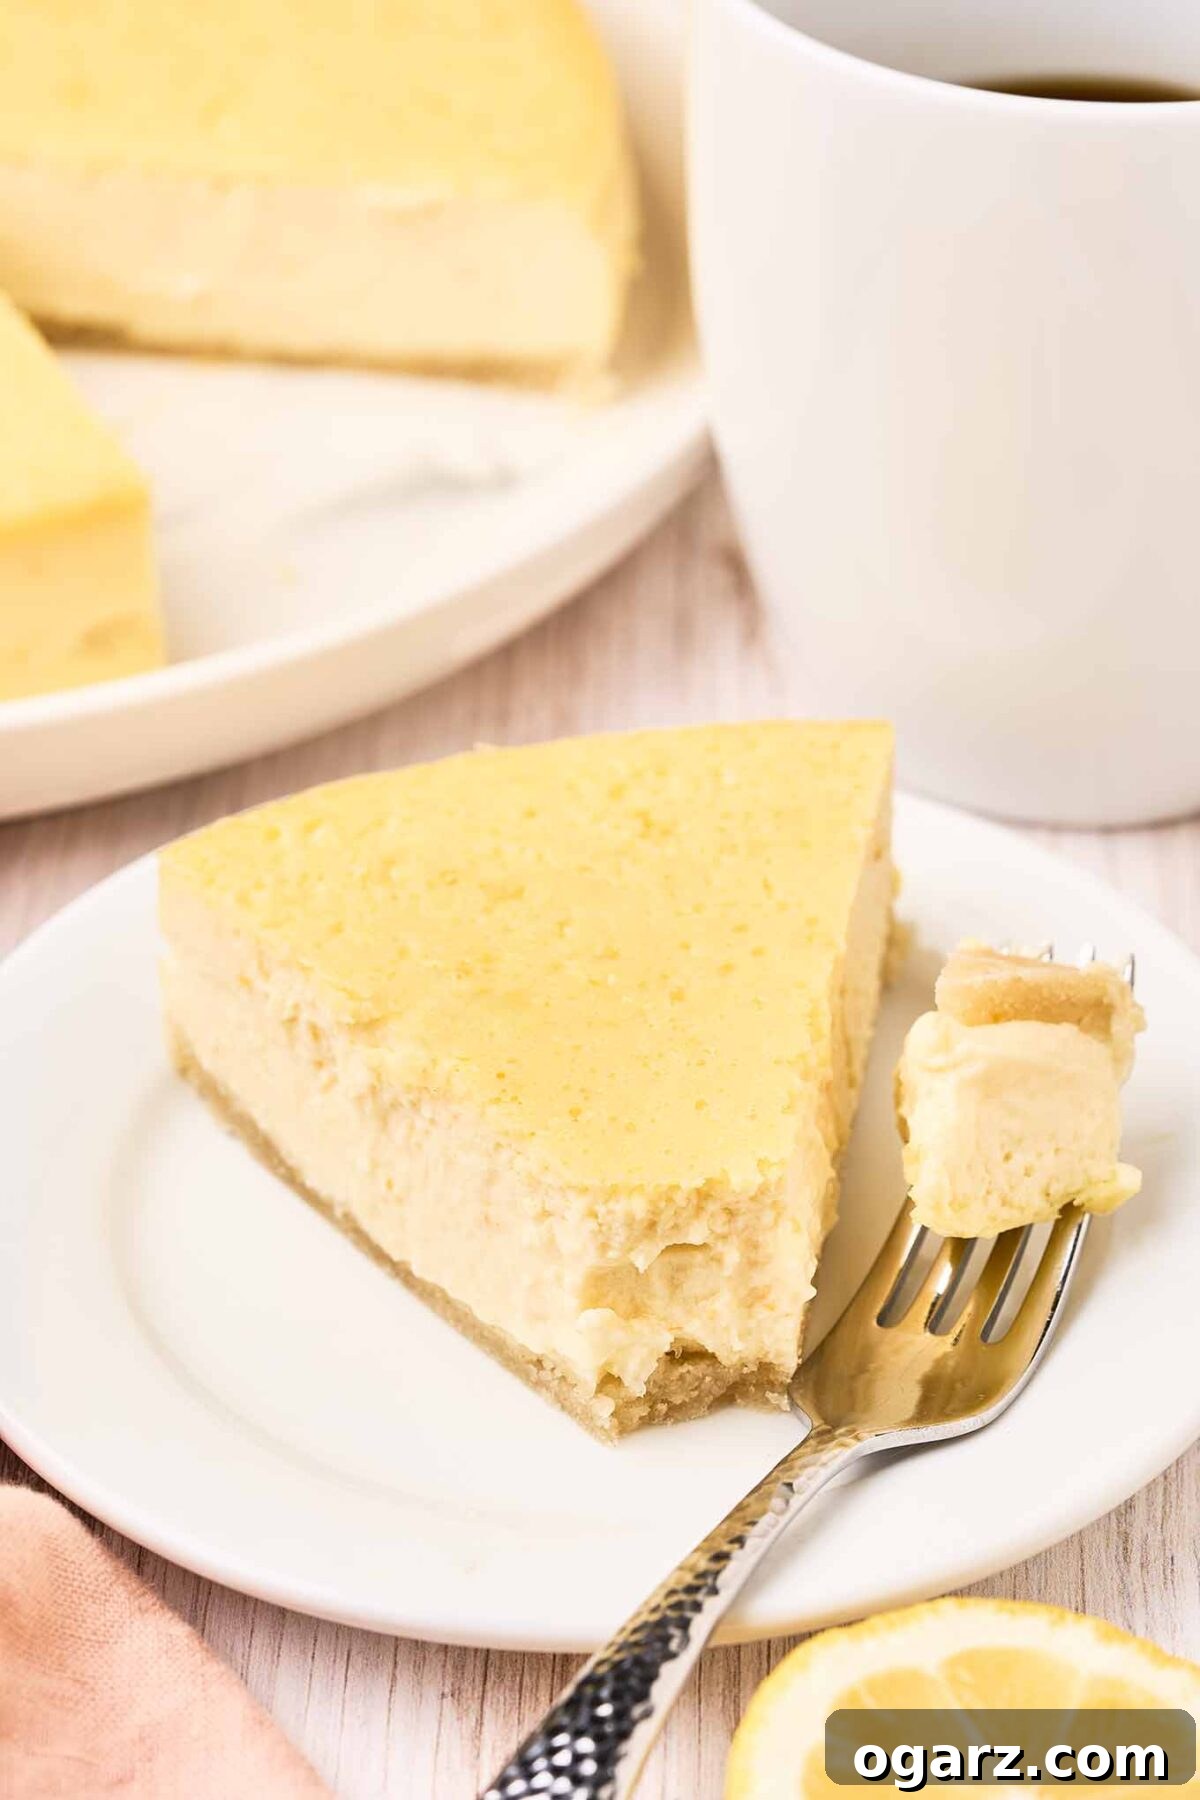
Italian ricotta pie, known as pizza di ricotta, is a beloved traditional dessert, particularly cherished during Easter celebrations. Often likened to a cheesecake, its texture offers a refreshingly lighter, custard-like consistency that sets it apart. This exquisite pie features a subtly sweet, creamy ricotta cheese filling nestled within a perfectly baked pastry crust. We find its delicate flavor and silky texture are best enjoyed unadorned, allowing its inherent charm to shine through.
Achieving a harmonious balance of flavors and textures, this Italian ricotta pie captivates with its gentle sweetness, mellow citrus notes, and incredibly creamy filling. It has long been a treasured favorite in our home, offering a sophisticated yet comforting conclusion to any meal without leaving you feeling overly full. Furthermore, it boasts excellent keeping qualities, remaining delightful in the refrigerator for several days – if it manages to last that long!
Unveiling the Key Ingredients for a Perfect Ricotta Pie
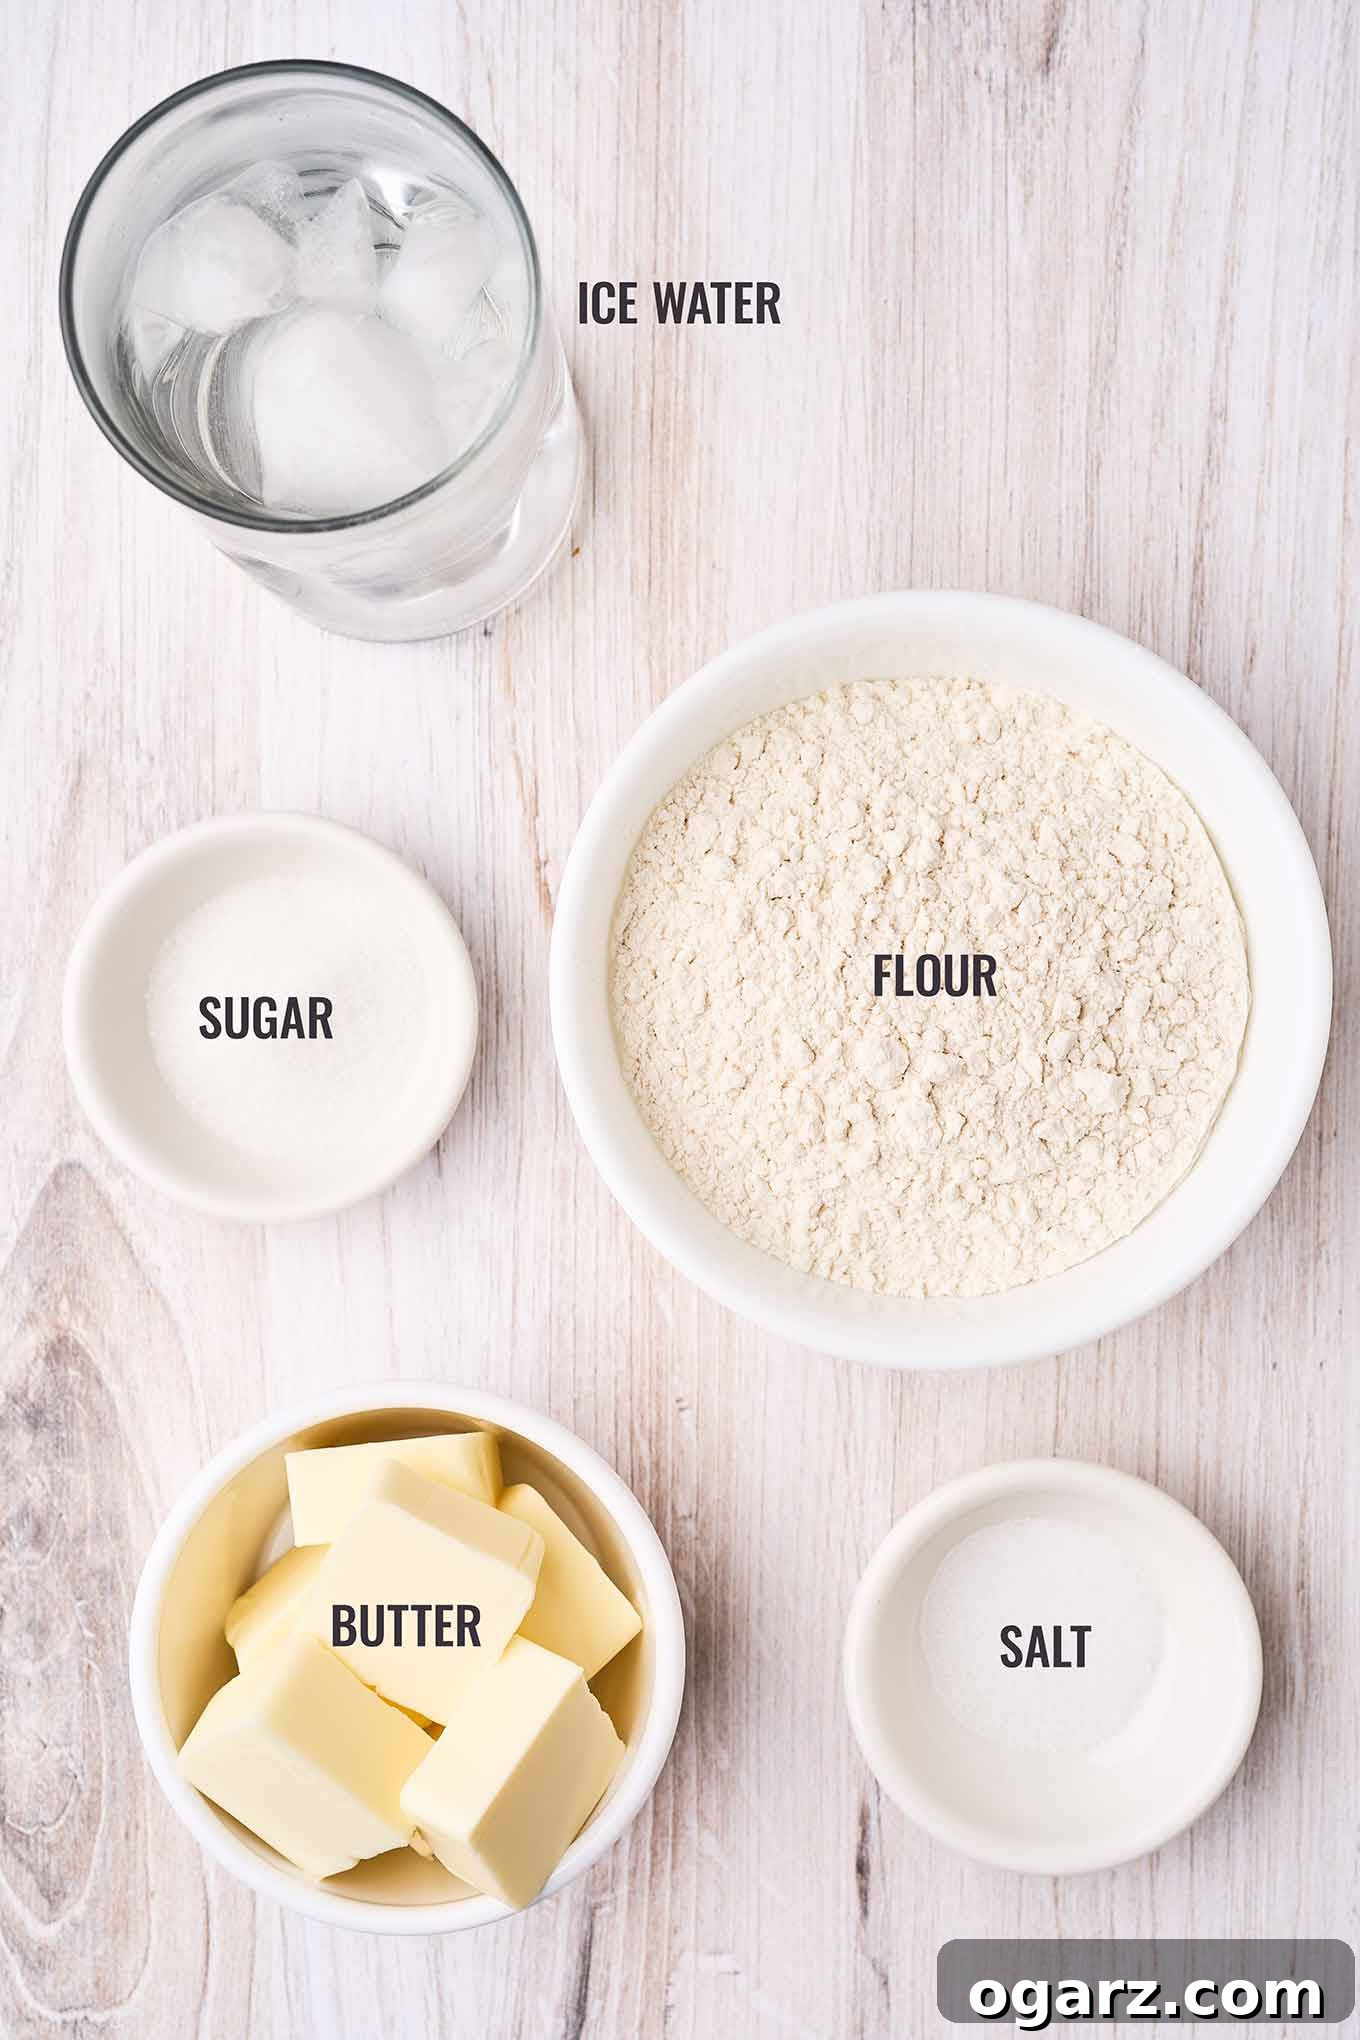
Understanding the role of each component is vital for crafting an authentic and delicious Italian ricotta pie. Here’s an in-depth look at the key ingredients. The full list, including precise quantities, is available in the printable recipe card below.
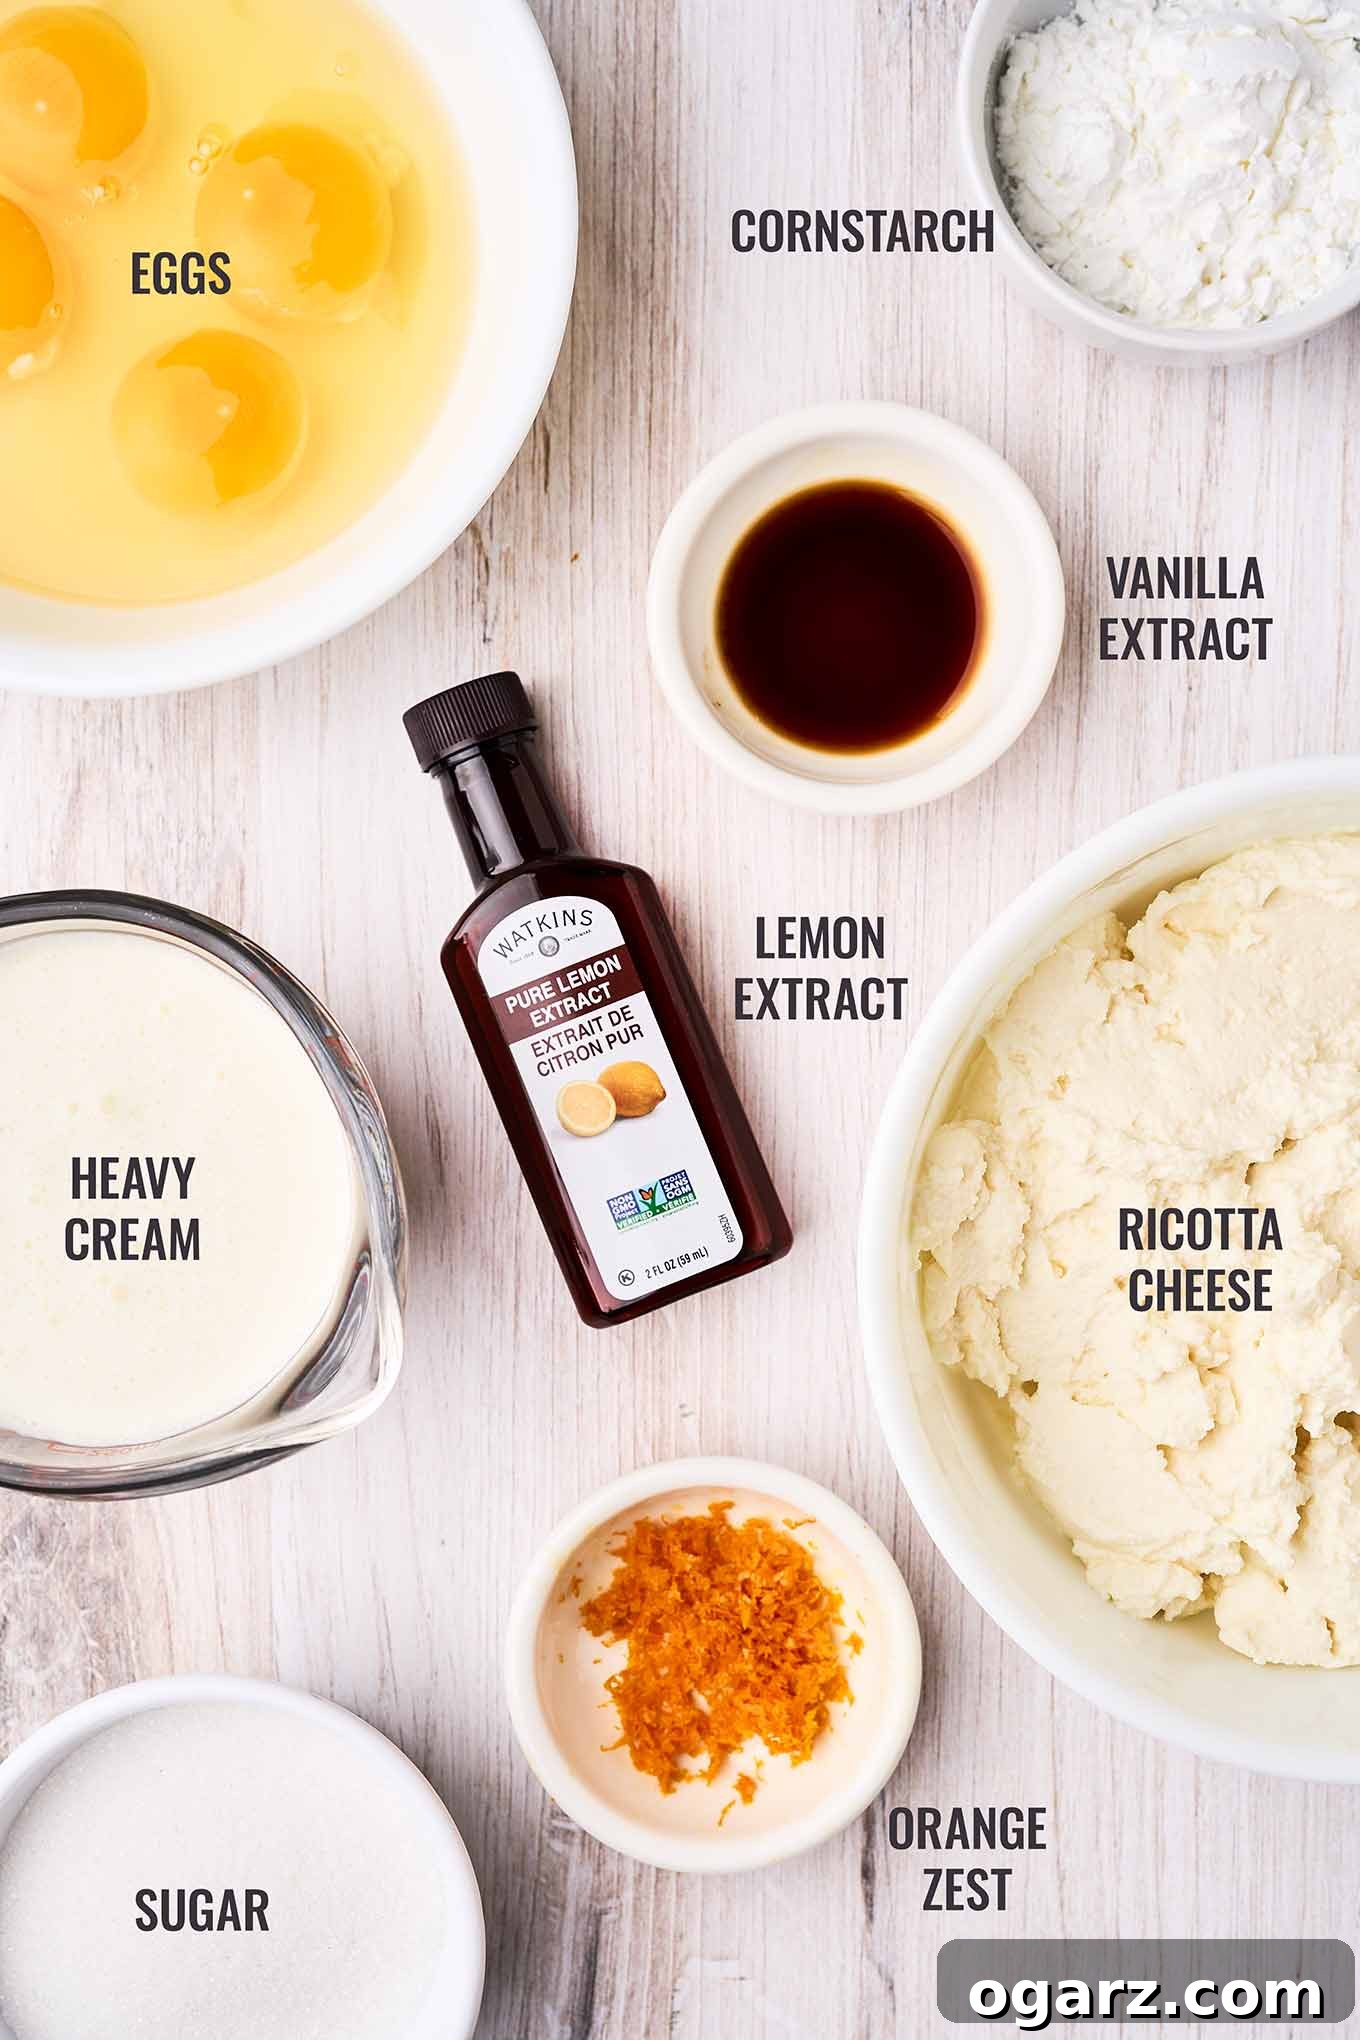
WHOLE MILK RICOTTA CHEESE: The foundation of this pie, whole milk ricotta is non-negotiable for achieving the desired rich, creamy texture. Its higher fat content is crucial, ensuring the filling sets beautifully and maintains its smooth, luxurious mouthfeel during baking. Skimping on fat here can lead to a less decadent and potentially watery pie. An essential step, often overlooked, is properly draining the ricotta in advance. This removes excess moisture, preventing a loose or “weepy” filling and guaranteeing a firm, custard-like consistency.
HEAVY CREAM: Heavy cream is another indispensable ingredient that contributes significantly to the body and texture of the ricotta filling. It enriches the mixture, helping it to set into that coveted silky, custard-like consistency. We strongly advise against any substitutions for heavy cream, as alternatives may compromise the final texture and richness of the pie.
LEMON AND VANILLA EXTRACTS: These two extracts create a sophisticated flavor profile that perfectly complements the creamy ricotta without overwhelming it. The vanilla offers a classic sweetness and warmth, while the lemon extract introduces a bright, subtle tang. This delicate balance is ideal for a dessert designed to be gently flavored and not overly sweet, highlighting the natural goodness of the ricotta.
ORANGE ZEST: When paired with lemon extract, fresh orange zest infuses the pie with a wonderfully sweet and aromatic citrus depth. It provides a nuanced flavor that is both vibrant and mellow. For those who prefer a touch more tartness, substituting lemon zest for orange zest is an excellent alternative, allowing you to customize the citrus intensity to your preference.
EGGS: Eggs act as a vital binder in the filling, providing structure and ensuring the pie sets properly. They contribute to the custard-like texture, creating a smooth and cohesive filling that holds its shape beautifully once cooled.
CORNSTARCH: A small amount of cornstarch is added to the filling for extra stability. It helps to thicken the mixture and reinforces the custard-like consistency, ensuring the pie is firm yet tender and doesn’t become runny.
SUGAR: Granulated sugar provides the delicate sweetness that characterizes traditional Italian ricotta pie. The quantity is carefully balanced to enhance, rather than dominate, the natural flavors of the ricotta and citrus.
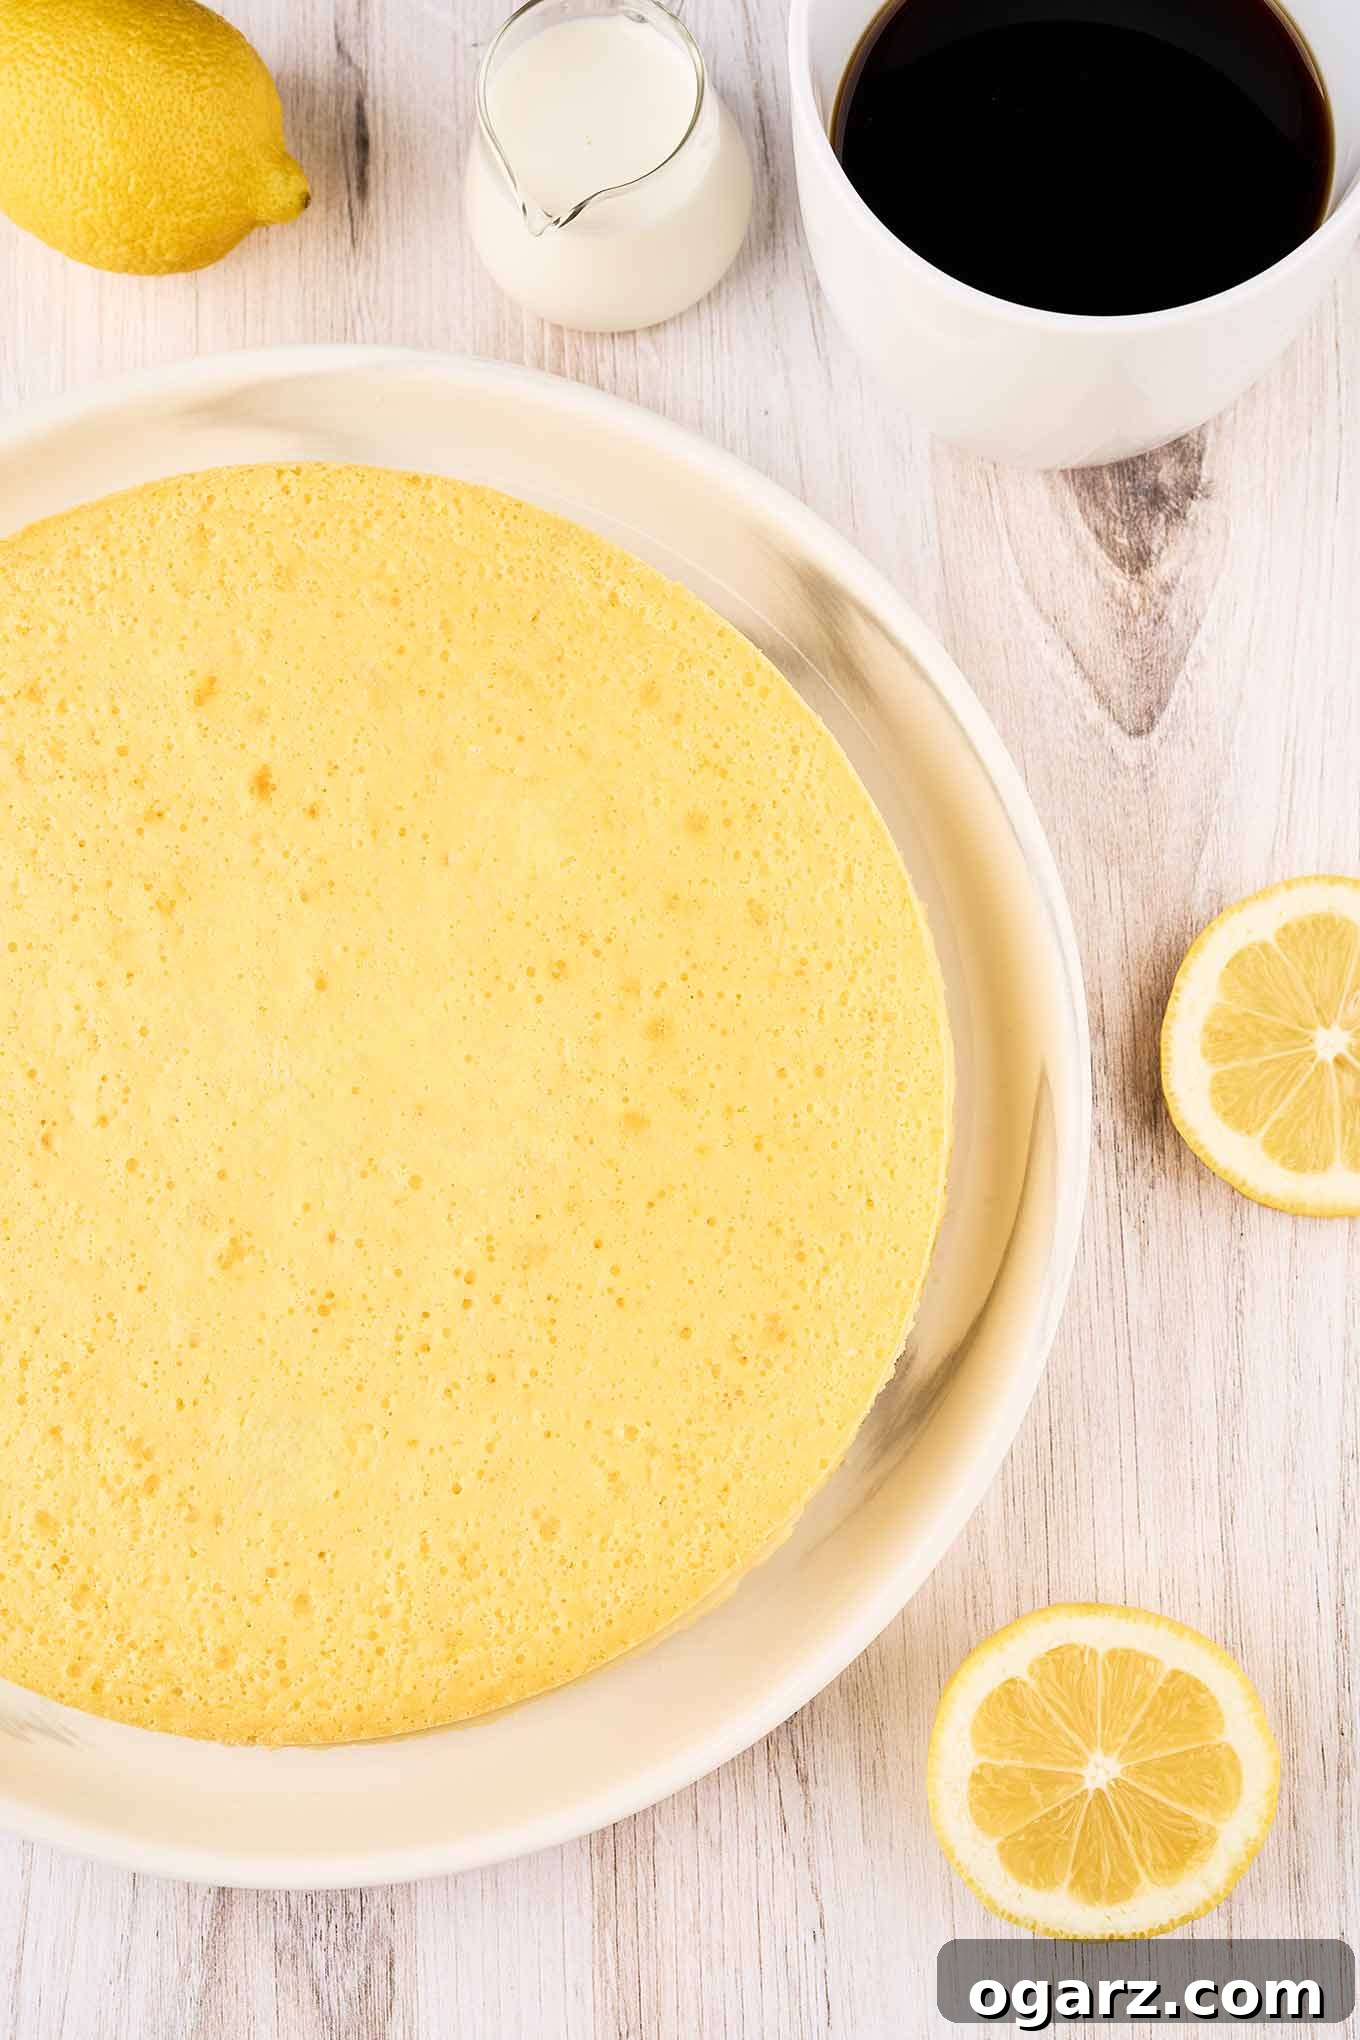
Prep Overview
Crafting Your Own Homemade Italian Ricotta Pie: A Detailed Guide
Embarking on this delightful baking journey? Here’s a quick overview of the process. For detailed, step-by-step instructions and precise measurements, please refer to the printable recipe card below.
1. Preparing the Ricotta: The Secret to a Firm Filling
The crucial first step, requiring a bit of foresight, is draining the ricotta. This should be done well in advance, ideally for at least four hours, but preferably overnight. This simple yet essential action removes excess whey, which is key to achieving a firm, creamy, and perfectly set custard-like texture once baked. Do not skip this!
2. The Flaky Pastry Crust: A Food Processor Marvel
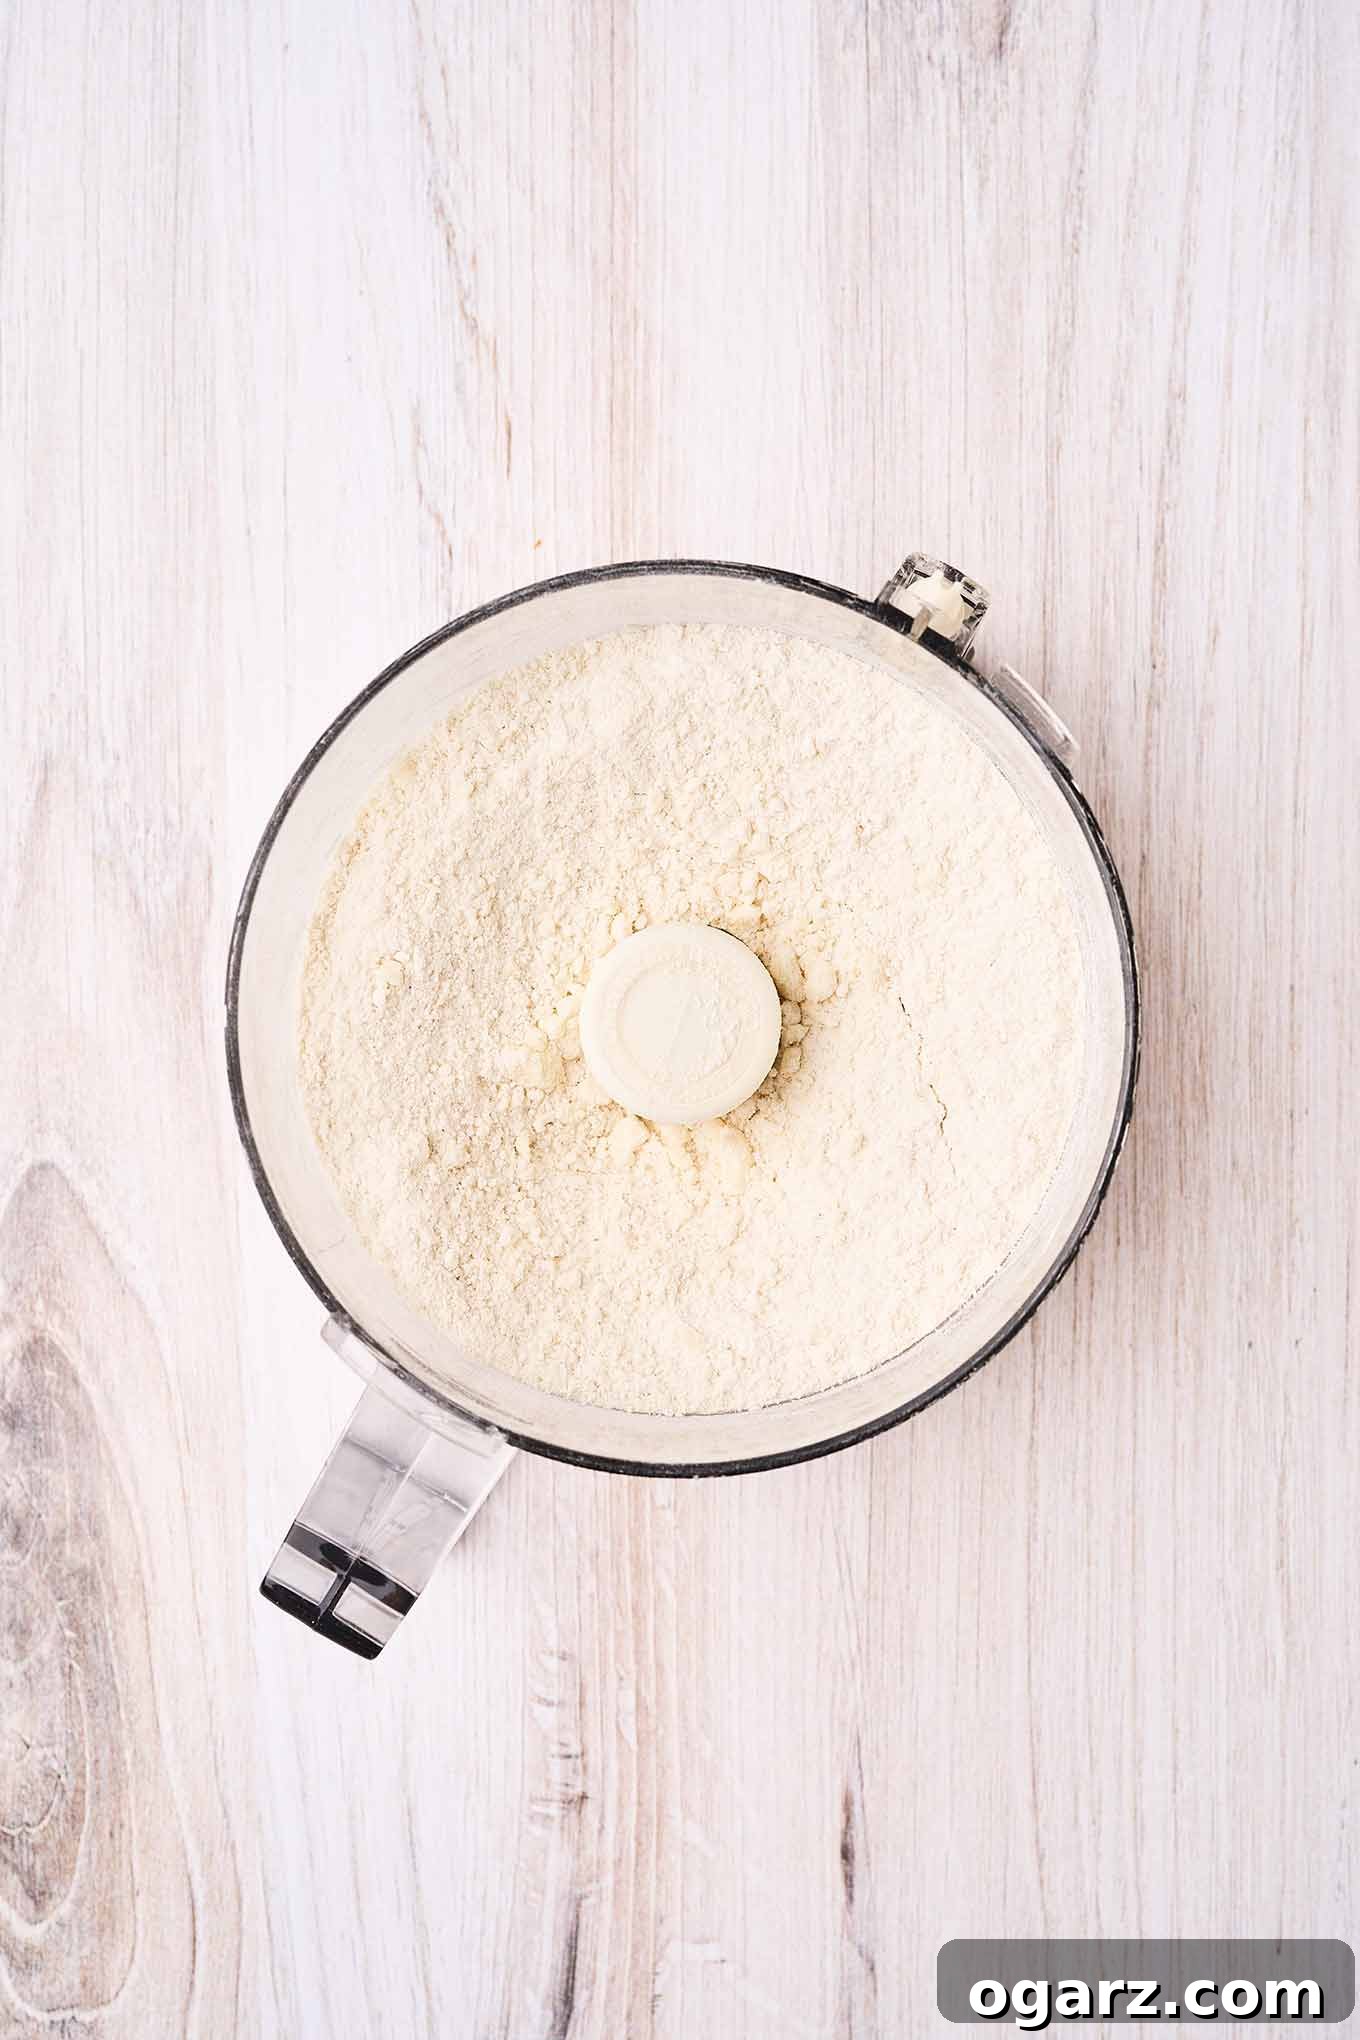
The pie crust comes together with remarkable ease in a food processor. Simply pulse together flour, sugar, salt, and cold, cubed butter until the mixture resembles coarse crumbs, with pieces roughly the size of small peas. Then, gradually add ice water, a tablespoon at a time, until the dough just begins to clump together. The key is to avoid overworking the dough, which can lead to a tough crust.
3. Shaping and Par-Baking the Crust
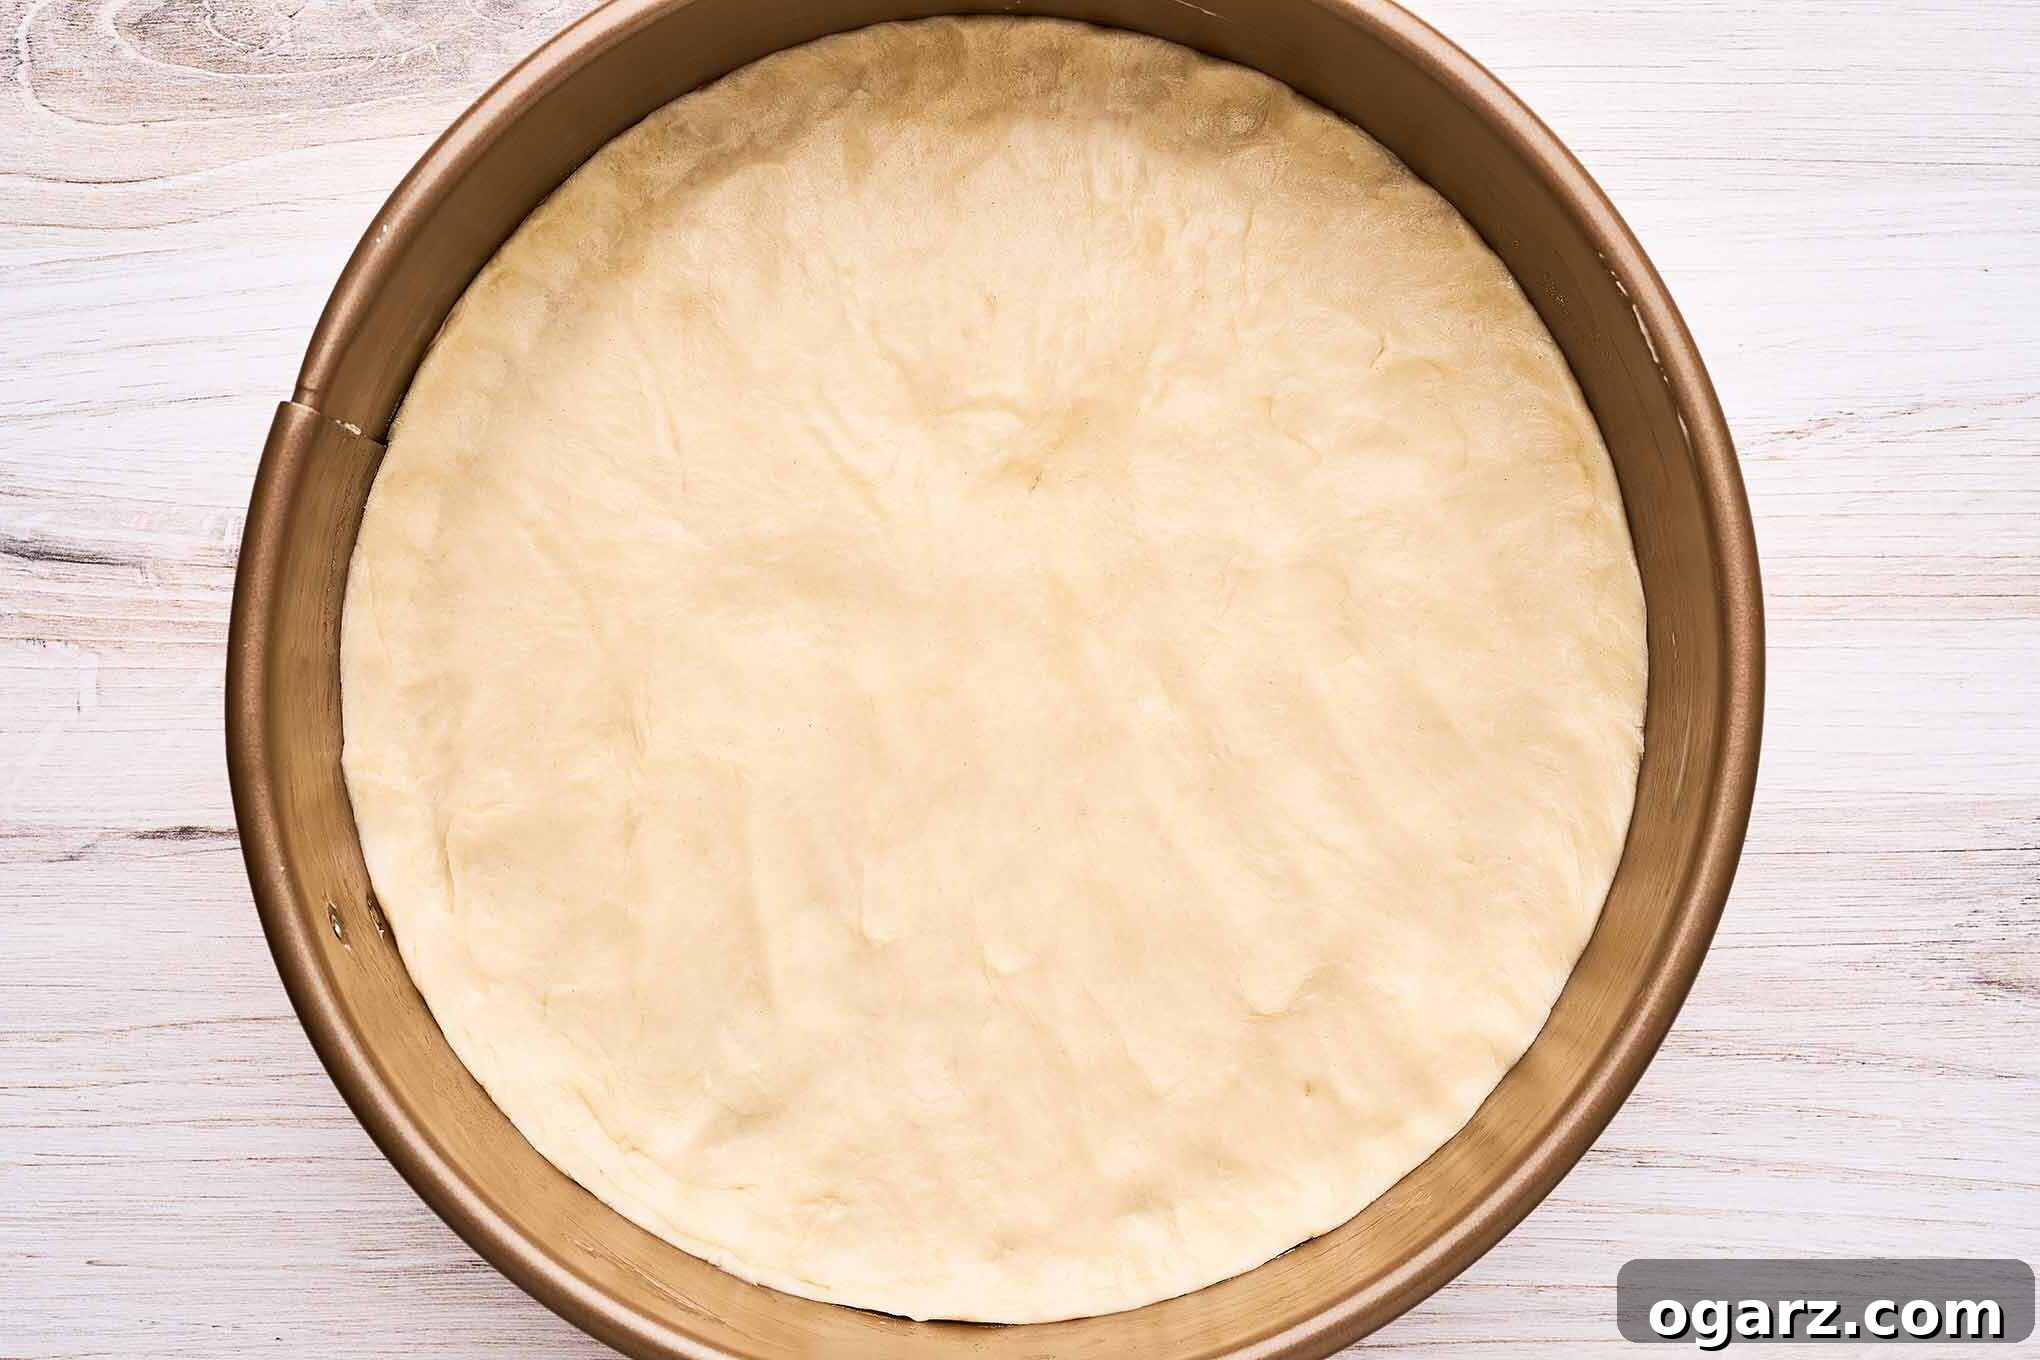
After a brief chilling period, the dough is rolled out and carefully trimmed to fit a 9-inch springform pan. Pressing the dough slightly up the sides of the pan helps create a secure seal when the pan is assembled, preventing any potential leaks. Next, the crust undergoes a partial bake, known as par-baking, which ensures it achieves the perfect crispness and texture, preventing a soggy bottom once the filling is added.
4. Crafting the Silky Ricotta Filling
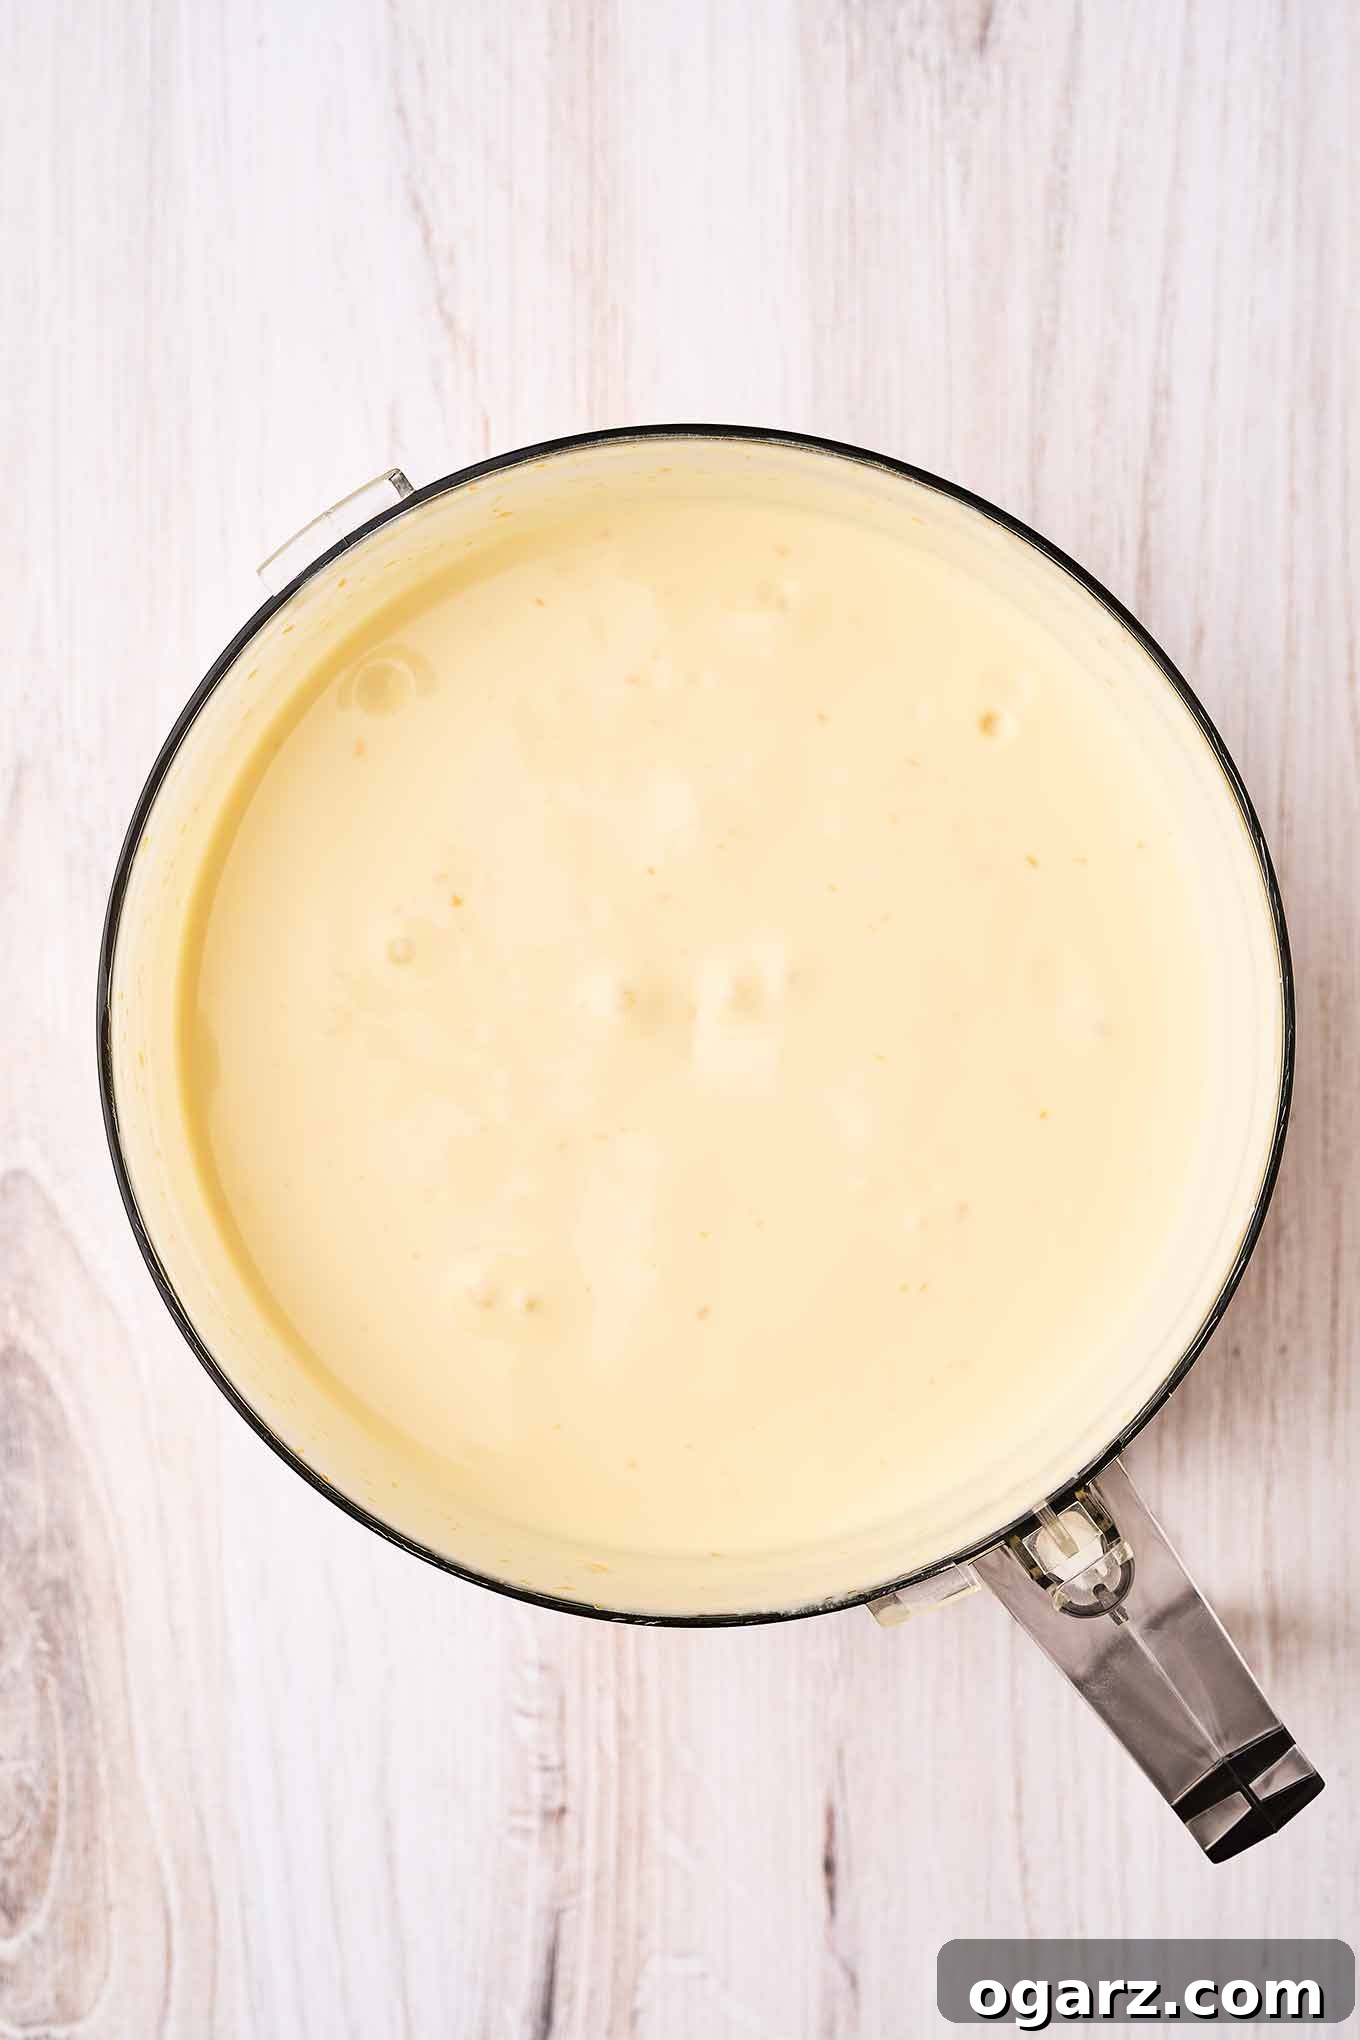
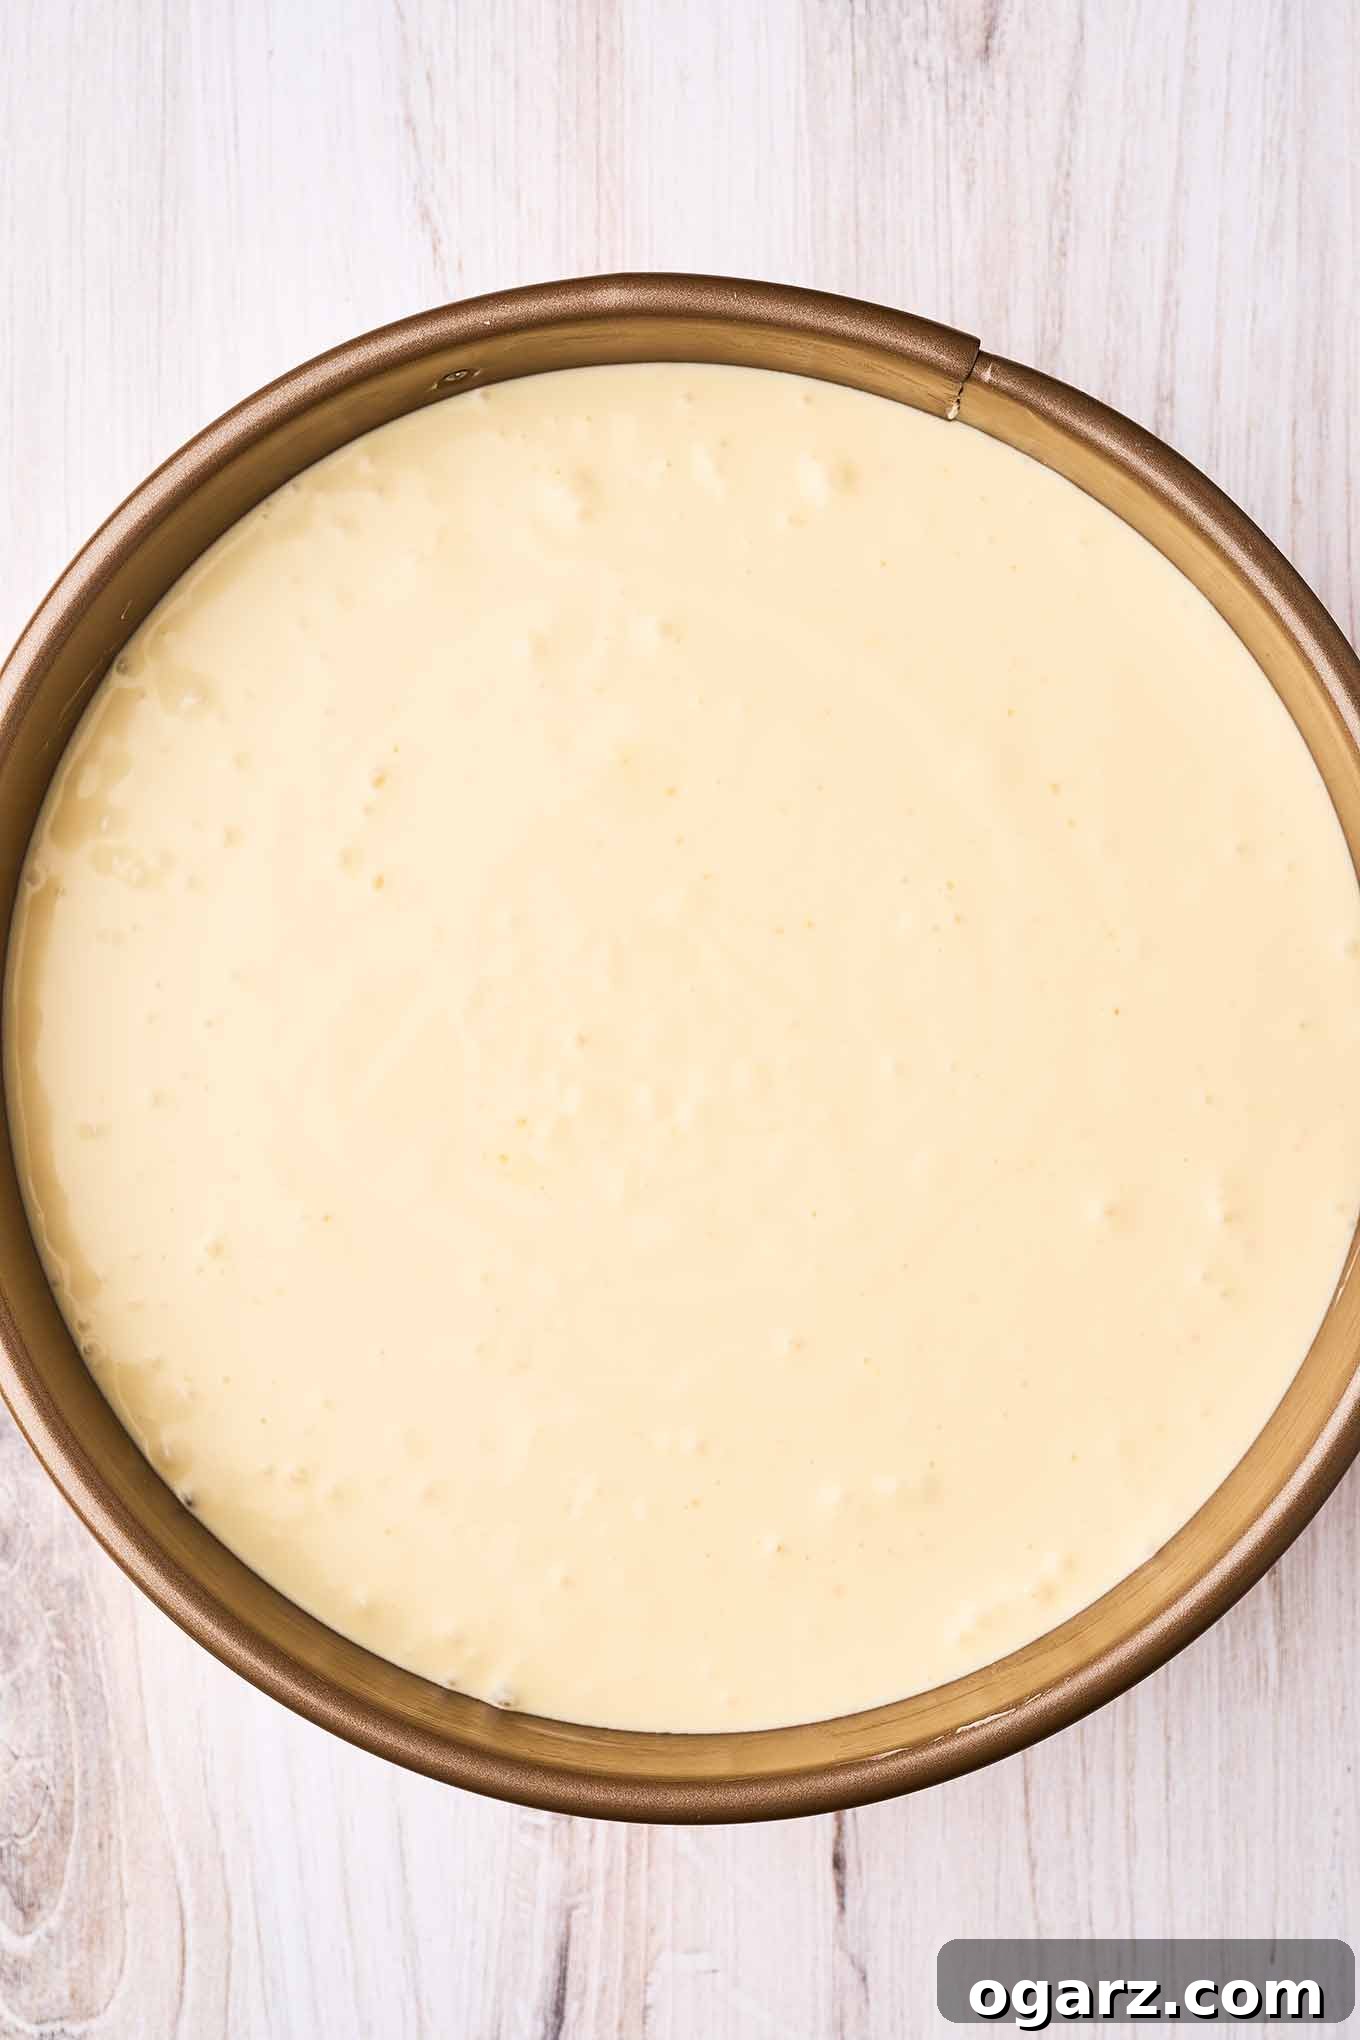
For the luxurious filling, the meticulously drained ricotta is combined in a food processor with eggs, sugar, a harmonious blend of lemon and vanilla extracts, and vibrant orange zest for that signature subtle citrus note. A small mixture of heavy cream and cornstarch is then incorporated, lending crucial stability and contributing to the pie’s exquisite, silky-smooth texture. The entire mixture is processed until it achieves a uniformly smooth consistency, ready to be poured into the par-baked crust.
5. The Art of the Water Bath: Baking to Perfection
The ricotta pie is baked in a water bath (bain-marie), a technique that is essential for ensuring a delicate, evenly cooked texture and preventing the pie from cracking on top. The gentle, moist heat of the water bath protects the edges from over-browning and allows the center to set slowly and smoothly. After baking, the pie is carefully removed from the water bath and allowed to rest briefly in the turned-off oven with the door partially ajar, a step that further aids in preventing cracks before it cools completely to room temperature.
6. Cooling and Serving Your Masterpiece
Once fully cooled, patience is rewarded. The pie is ready to be served, and many agree it’s even more delicious after a few hours of chilling in the refrigerator. This allows the flavors to meld and the texture to firm up perfectly. Slice and enjoy!
Explore More Creamy Dessert Delights
If you find yourself craving more sweet and creamy indulgences, these easy dessert recipes are sure to hit the spot and expand your baking repertoire.
- Florida Key Lime Pie is a wonderfully tart and creamy classic, renowned for its simple preparation and irresistible flavor. It’s one of the easiest yet most rewarding desserts you can whip up.
- Fruit-Topped Greek Yogurt Pie offers a smooth, tangy filling that provides a fantastic canvas for your favorite fresh fruits, vibrant berries, or luscious cherries. It’s a lighter option that doesn’t compromise on flavor.
- For a comforting and nostalgic New England treat, delve into Grape Nut Custard Pudding. This lightly sweet, creamy dessert uniquely forms its own delightful crust as it bakes, offering a textural surprise.
- And when time is of the essence, No-Bake Cheesecake Parfaits come together quickly with minimal effort and simple ingredients. They are perfect for a last-minute dessert or when you need an elegant treat without turning on the oven.

Italian Ricotta Pie
Lynne Webb
40 mins
1 hr 10 mins
1 hr
2 hrs 50 mins
8 servings
Rate Recipe
Print Recipe
Equipment
-
Food processor
-
9″ springform pan
-
Roasting pan or other container for water bath (see notes)
Ingredients
For the filling:
- 20 ounces ricotta (about 2-1/2 cups), drained
- 4 eggs, lightly beaten
- 1/2 cup sugar
- 1/2 teaspoon lemon extract
- 1 teaspoon vanilla extract
- Zest of 1 orange
- 1 cup heavy cream
- 2 tablespoons cornstarch
For the crust:
- 4 tablespoons ice water, or more if needed
- 1-1/4 cups all-purpose flour
- 2 teaspoons sugar
- 1/4 teaspoon salt
- 8 tablespoons unsalted butter, cut into small cubes
Instructions
-
At least 4 hours in advance (preferably overnight), add the ricotta to a fine strainer positioned over a bowl to drain. Cover with plastic wrap and refrigerate. This is an important step to ensure that the filling will set properly, preventing a watery consistency.
Make the crust:
-
Fit the work bowl of your food processor with the steel blade. Add the flour, sugar, and salt, then scatter the cold, cubed butter on top. Using the pulse function, process in short bursts until the mixture is crumbly, with butter pieces roughly the size of small peas. This ensures a flaky crust.
-
With the processor running, gradually add the ice water through the feed tube in 1 tablespoon increments until the dough just begins to gather into one or two large pieces. Run the processor for an additional 10 to 15 seconds, just long enough for the dough to form a ball. Be careful not to over-process, as this can make the crust tough.
-
Remove the dough from the processor, gently flatten it into a 1/2-inch thick circle, wrap it tightly in plastic wrap, and chill in the refrigerator for at least 30 minutes. This chilling step makes the dough easier to roll and helps prevent shrinkage during baking.
-
After chilling, lightly dust both your rolling surface and the top of the dough with flour. Gently roll the dough from the center outwards, aiming for a diameter of about 11 inches. Dust with a little additional flour as needed to prevent sticking. Place the bottom of a 9-inch springform pan on top of the rolled dough and trim away any excess dough with a knife.
Par-bake the crust:
-
Position an oven rack in the center of your oven and preheat to 350°F (175°C).
-
Generously butter the bottom and sides of the springform pan. Carefully place the trimmed dough onto the base of the pan. Assemble and securely lock the springform pan. Then, using your fingers, gently press the dough into the edges of the pan and up the side about 1/4-inch. This action helps to seal the seam of the pan, preventing the filling from leaking.
-
Prick the bottom of the dough all over with the tines of a fork. Bake for 10 minutes, then remove the par-baked crust from the oven and set it aside to cool slightly.
Make the filling:
-
Place the drained ricotta, lightly beaten eggs, sugar, lemon extract, vanilla extract, and orange zest into the work bowl of a food processor fitted with the steel blade. Process until the mixture is smooth, about 30 seconds. In a small separate bowl, whisk the heavy cream and cornstarch together until they are well blended and smooth. Add this cream-cornstarch mixture to the ricotta mixture in the food processor and process for an additional 45 seconds, or until the entire filling is silky smooth and thoroughly combined.
Prepare the water bath:
-
Put a kettle of water on to boil. Securely wrap the bottom and sides of the springform pan with several layers of heavy-duty foil. This is crucial to prevent any water from seeping into the pan through the seam during the water bath baking process.
-
Position the foil-wrapped springform pan (containing the par-baked crust) in the center of a larger outer container, such as a roasting pan. Pour the prepared ricotta filling into the par-baked crust. Carefully and slowly add boiling water to the outer container until it reaches a depth of about 2 inches, or halfway up the sides of the springform pan.
-
Carefully transfer the roasting pan, with the springform pan inside, to the preheated oven. The pan will be quite heavy and filled with hot water, so exercise extreme caution to avoid sloshing any water over the sides of the springform pan, which could ruin the pie.
Bake the ricotta pie:
-
Bake the ricotta pie for 55 to 60 minutes. The pie is done when the filling has risen, and the center barely jiggles when you gently shake the pan. Another reliable test is to gently insert a butter knife into the center of the pie; if it comes out clean, your pie is perfectly baked.
Cool and serve:
-
Remove the pie from the water bath (the foil can remain in place). Return the pie to the oven with the oven door partially open and allow it to cool in the residual heat for 15 minutes. This slow cooling helps significantly in preventing cracks on the surface of the pie. After 15 minutes, remove the pie from the oven and allow it to cool for an additional 45 minutes at room temperature. Once sufficiently cooled, carefully remove the sides from the springform pan.
-
Transfer the completely cooled pie to a serving plate. For optimal flavor and texture, allow the pie to cool completely to room temperature before slicing and serving. It’s often even better after a few hours in the fridge. Refrigerate any leftovers promptly to maintain freshness.
Notes for Success
Preparing A Water Bath (Bain Marie)
Find a roasting pan or another oven-safe dish that’s large enough to comfortably hold your springform pan with at least an inch of space all around and deep enough to contain about 2 inches of boiling water. A metal container is generally preferable to ceramic or glass for its superior heat conductivity, which helps in even cooking.
Essential Tips for a Flawless Italian Ricotta Pie
DRAIN THE RICOTTA THOROUGHLY: While it requires some advance planning, we cannot overstate the importance of draining the ricotta for at least 4 hours, or ideally overnight. Not every batch of ricotta will release a significant amount of liquid, but most will. This liquid, if not removed, can result in a weepy, loose, or even grainy filling, compromising the pie’s delicate texture.
USE CHILLED BUTTER FOR THE CRUST: Keeping the butter very cold when making the crust is paramount for achieving that desirable flaky texture. Cold butter creates pockets of steam during baking, which separate the layers of dough, resulting in a light and airy crust. Warm butter can lead to a heavy or tough crust.
CHILL THE DOUGH ADEQUATELY: Chilling the pie dough after preparation makes it significantly less sticky and much easier to roll out evenly. More importantly, it helps prevent the crust from shrinking excessively during baking, ensuring your pie maintains its intended shape and size.
NEVER SKIP THE WATER BATH: The water bath is a game-changer for ricotta pie. It surrounds the pie with a consistent, gentle heat, which is key to preventing the delicate filling from browning too quickly on the outside or cracking on top as it cools. Beyond aesthetics, we firmly believe it dramatically improves the overall silky and tender texture of the filling.
BE PATIENT WITH THE COOLING PROCESS: Rushing the cooling process can lead to unsightly cracks on the surface of your beautiful pie. Returning the ricotta pie to the oven with the door partially open allows for a slow, gradual cool-down, which minimizes cracking. Just remember to remove it from the water bath first to halt the cooking. Then, ensure the pie cools completely to room temperature before attempting to remove the sides of the springform pan. This patience will be rewarded with a perfect, unblemished pie.
Nutrition Information (per serving)
Calories:
432
,
Total Fat:
33g
,
Cholesterol:
182mg
,
Sodium:
174mg
,
Carbohydrates:
21g
,
Sugar:
15g
,
Protein:
12g
Nutrition information is automatically calculated and should be used only as an approximation.
Enjoyed this recipe? Share your thoughts below!
Your feedback helps others discover delicious dishes.