
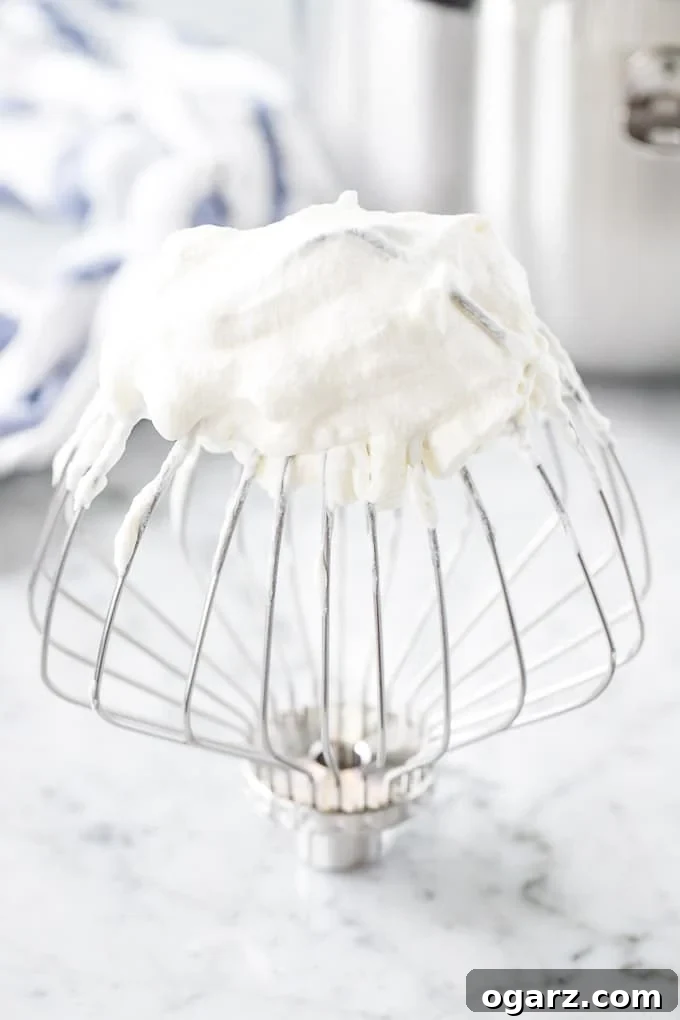
Unlock the secret to creating the most delectable **Homemade Whipped Cream** – a simple pleasure that elevates any dessert. Forget the store-bought versions; this from-scratch recipe is not only surprisingly easy but also incredibly superior in taste and texture. In less than 5 minutes, you can transform a couple of staple ingredients into a cloud of light, airy, and perfectly sweetened cream, ready to adorn your favorite treats.
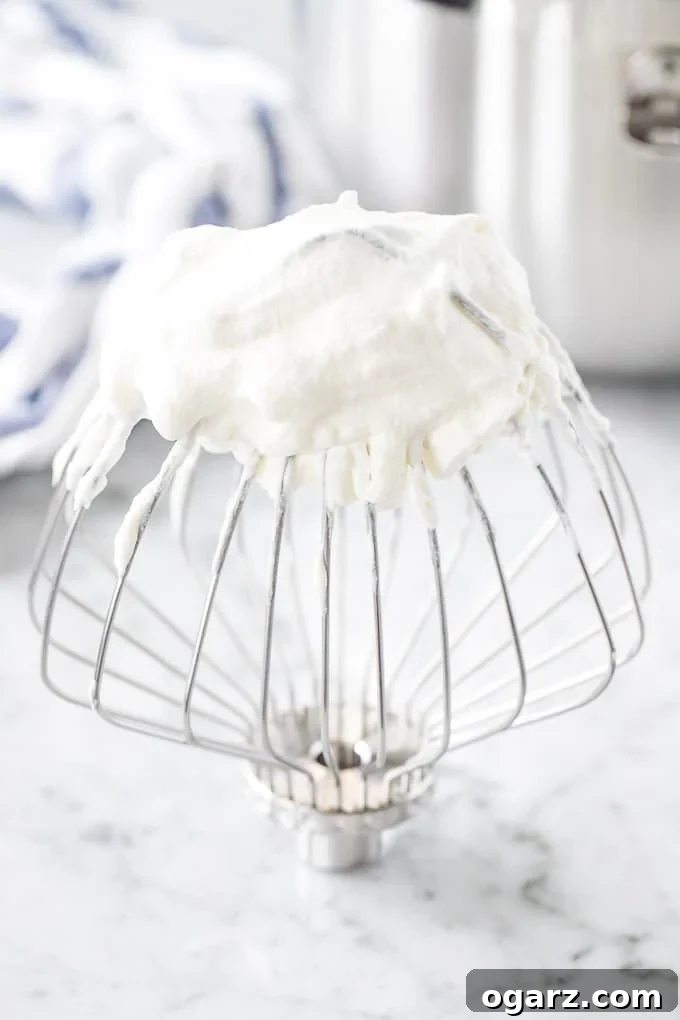
Crafting flawless whipped cream at home is a culinary skill everyone can master, and this **two-ingredient recipe** serves as your foolproof guide. With just a few expert tips and tricks, you’ll achieve consistent, delightful results every single time. Imagine a generous dollop gracing your Apple Crumble Pie, adding a luxurious finish to a slice of cake, or simply enhancing a bowl of fresh berries. Its versatility knows no bounds, making it an essential accompaniment for countless desserts and beverages.
While making fresh whipped cream might seem daunting to some, it’s a routine practice in many parts of the world, including Germany where I grew up. The process truly is straightforward, requiring nothing more than **cold heavy cream, a touch of powdered sugar, and impeccably chilled metal mixing equipment**. Despite its simplicity, I frequently hear from readers who encounter challenges. This comprehensive guide aims to demystify the art of whipping cream, sharing all my tried-and-true secrets to ensure your homemade whipped cream is always a resounding success, ready in mere minutes.
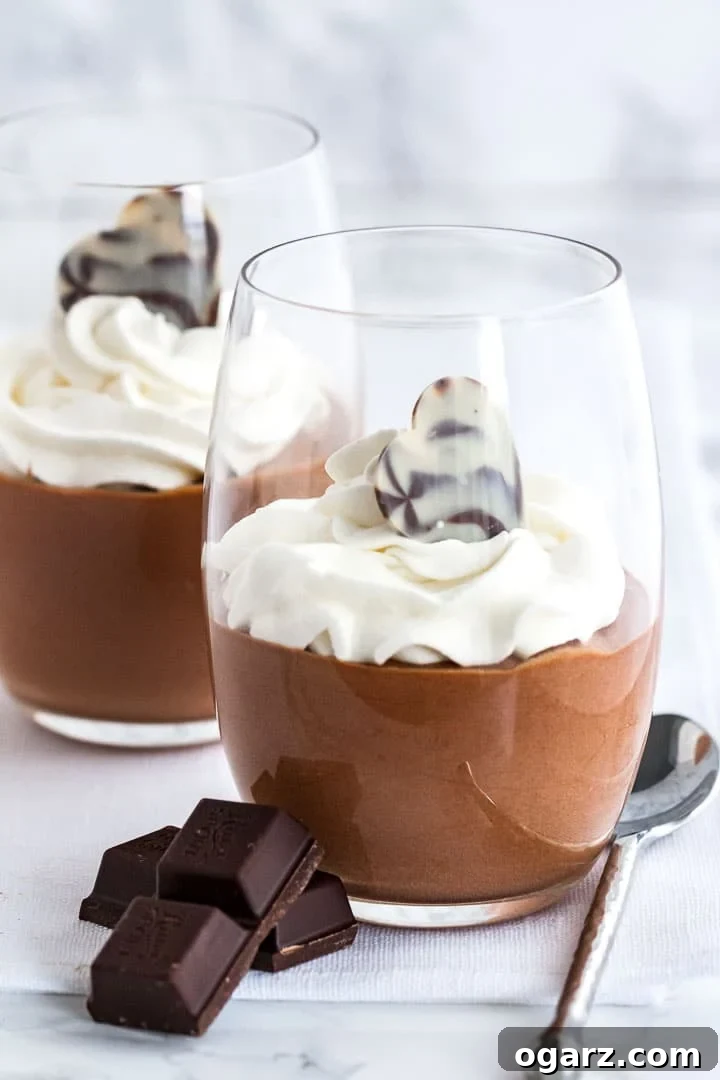
The irresistible allure of freshly whipped cream is featured in many of my cherished recipes, from the indulgent Easy Chocolate Mousse and the zesty Lemon Mousse to the classic Black Forest Cake and the refreshing No-Bake Key Lime Pie. Discover how this simple topping elevates each dish to new heights.
Essential Ingredient Notes for Perfect Whipped Cream
Creating the perfect, airy whipped cream starts with understanding your ingredients. While the recipe calls for just two main components, selecting the right ones makes all the difference in achieving that ideal light and fluffy texture.
Heavy Cream – The Foundation of Fluffiness: The choice of cream is paramount. You’ll typically find “whipping cream” or “heavy cream” at the grocery store, and understanding their differences is key. Heavy cream, often labeled as “heavy whipping cream,” contains a minimum of 36% milk fat. This higher fat content is crucial because it’s the fat globules that trap air when beaten, forming a stable emulsion. The more milk fat, the more readily the cream will whip, and the longer it will hold its shape without deflating. Whipping cream, or light whipping cream, typically contains 30% to 35% milk fat (in Canada, it’s usually 33-36%). While it can be whipped, it results in a slightly lighter, less stable product that may not hold its peaks as firmly or for as long as heavy cream. For truly decadent, stable whipped cream, always opt for heavy cream or heavy whipping cream.
Sugar – The Sweetness Factor: While you can use granulated sugar, **powdered sugar (confectioners’ sugar)** is my preferred choice for homemade whipped cream. Its finely milled texture ensures it dissolves instantly into the cold cream, preventing any grainy mouthfeel and contributing to a wonderfully smooth, velvety texture. Granulated sugar can be used in a pinch, but it might require longer mixing to fully dissolve, increasing the risk of over-whipping. For an extra layer of flavor, consider using vanilla sugar or adding a dash of pure vanilla extract alongside your powdered sugar. The amount of sugar can also be adjusted to your preference – typically two to four tablespoons per cup of cream provides a balanced sweetness without overpowering the natural flavor of the cream or the dessert it accompanies.
Julia’s Expert Tips for Flawless Whipped Cream
Achieving perfectly light and airy whipped cream is simpler than you think when you follow these golden rules. These tips are designed to ensure your success every time, yielding a stable and delicious topping that impresses.
- Prioritize High-Fat Cream: Always choose **heavy cream** (or heavy whipping cream) over lighter whipping cream varieties. The higher milk-fat content is the key to creating a stable, luscious whipped cream that holds its shape beautifully and resists deflating.
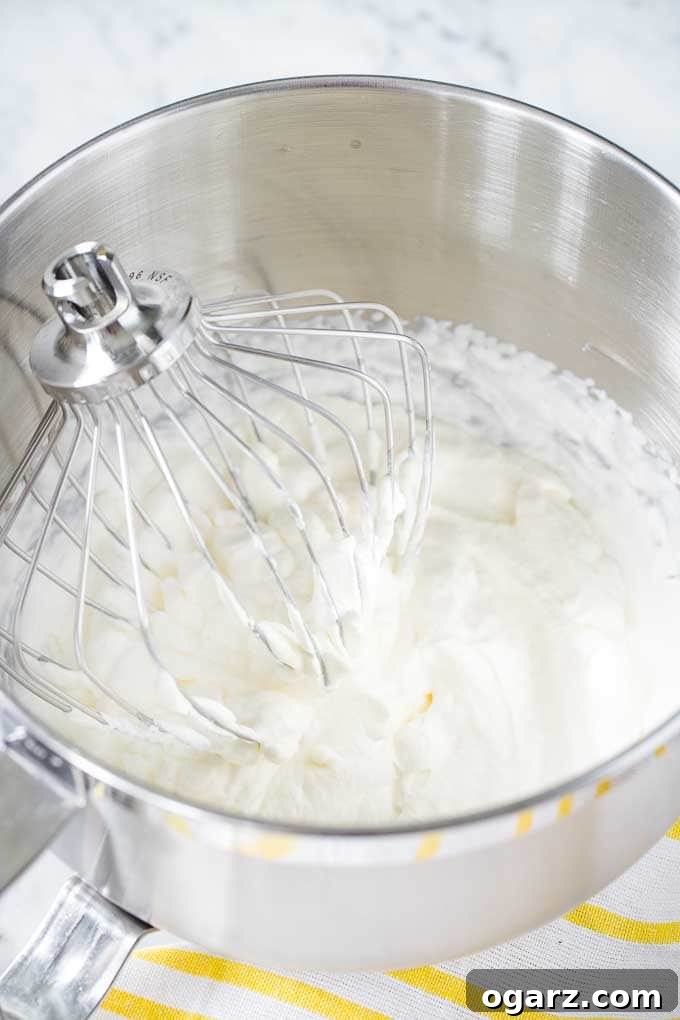
- The Power of Chill: Temperature is your best friend when making whipped cream. For optimal results, **chill your metal mixing bowl and beaters (or whisk attachment) in the freezer for at least 10-15 minutes** before you begin. A cold environment helps the fat globules in the cream emulsify more efficiently, leading to faster whipping and a more voluminous, stable end product.
- Choose Your Weapon Wisely: While whipping cream by hand is technically possible (and a great arm workout!), an electric mixer is highly recommended for consistency and ease. A **stand mixer with a whisk attachment works best**, providing steady, powerful agitation. A good quality hand mixer is also an excellent option. Using an immersion blender with a whisk attachment can also yield quick results for smaller batches.
- Avoid Manual Whipping (Unless You Love a Challenge): While doable, whipping cream entirely by hand with a simple whisk can be quite strenuous and time-consuming. It’s best reserved for those who enjoy a physical challenge or are whipping a very small amount.
- Strategic Sugar Addition: Resist the urge to add sugar at the very beginning. Introduce the powdered sugar (and any flavorings like vanilla extract) **only after the cream has started to thicken and form soft peaks**. Adding sugar too early can sometimes inhibit the cream from whipping properly and reaching its full potential volume.
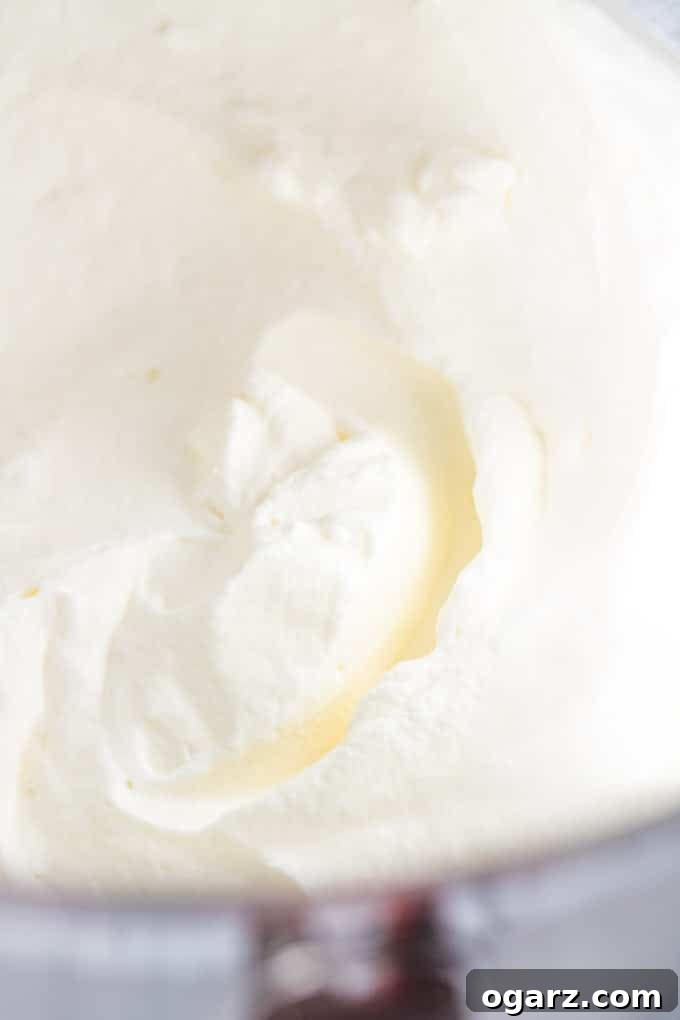
- Vigilance is Key – Avoid Over-beating: This is perhaps the most crucial tip. Always keep a close eye on your cream as it whips. The process moves quickly, especially with an electric mixer. You’re aiming for medium-stiff peaks that hold their shape when the whisk is lifted but are still creamy and smooth.
- Recognize the Signs of Over-beating: If you continue to beat the cream past the medium-stiff peak stage, it will first become grainy, then begin to separate into **butter and liquid (buttermilk)**. This irreversible process signifies that you’ve gone too far. While you’ve essentially made butter, it’s no longer whipped cream!
- Freshness is Best: Homemade whipped cream is truly at its peak when **served immediately or on the same day it’s made**. While it can be stored in an airtight container in the refrigerator for a day or two, its light and airy texture will gradually diminish. For longer-lasting whipped cream, consider stabilization techniques.
- Customize Sweetness: The beauty of homemade whipped cream is the ability to tailor its sweetness. A general guideline is **two to four tablespoons of powdered sugar per cup of heavy cream**, but feel free to adjust this based on your personal preference and the sweetness of the dessert you’re pairing it with. For very sweet desserts, use less sugar; for tart or unsweetened dishes, you might want a little more.
- Mind the Temperature of Your Dessert: Be aware that **whipped cream will melt quickly if placed on a warm or hot dessert**. For best presentation and texture, allow hot dishes to cool slightly before adding your fresh, cold whipped cream topping.
Recipe FAQs: Your Whipped Cream Questions Answered
No, you cannot successfully make traditional whipped cream with milk. Milk contains a significantly lower percentage of milk fat compared to heavy cream (typically around 3-4% for whole milk versus 36% for heavy cream). The fat content is essential for creating the stable air pockets that give whipped cream its light and fluffy structure. Without sufficient fat, milk will simply not whip up into the desired consistency, no matter how long or vigorously you beat it.
If your cream isn’t whipping, don’t despair! Several factors could be at play, and most are easily remedied. First and foremost, **ensure your bowl, whisk, and heavy cream are all thoroughly chilled**. Warm temperatures are the enemy of whipped cream. You can place your bowl and whisk in the freezer for 10-15 minutes and ensure your cream has been refrigerated for at least several hours. Secondly, confirm you are using the **correct type of cream – heavy cream or heavy whipping cream** – as these have the necessary milk fat content. Whipping cream with less fat will take longer and yield less stable results. Finally, **check your sugar and flavoring addition**. Adding sugar or flavorings too early, or adding too much sugar, can sometimes inhibit the cream from thickening. If you’ve added them prematurely, try whipping the cream further. High humidity or very warm ambient temperatures can also make whipping more challenging, so consider a cooler environment if possible.
The primary difference lies in their composition and stability. **Homemade whipped cream** is a simple, natural product made from heavy cream, sugar, and sometimes a flavoring like vanilla. It offers a fresh, rich dairy flavor and a delicate, airy texture that is best enjoyed fresh. **Cool Whip**, on the other hand, is a non-dairy whipped topping that contains a blend of water, corn syrup, hydrogenated vegetable oil, and various stabilizers, emulsifiers, and artificial flavors. It’s designed for extended shelf life and greater stability, making it less prone to melting or deflating than homemade whipped cream. While convenient, Cool Whip lacks the pure, natural taste and texture of real cream. Making whipped cream at home gives you complete control over the ingredients, sweetness level, and flavorings.
Absolutely, yes! Over-whipping is a common pitfall that can quickly ruin your efforts. As you whip cream, it progresses through several stages: soft peaks, medium peaks, and finally stiff peaks. If you continue to beat it beyond the stiff peak stage, the cream will first become **grainy and look curdled**, indicating the fat globules are beginning to separate. Continue further, and it will become **watery with distinct lumps of butter forming**. At this point, you’ve essentially made butter and buttermilk, which are no longer suitable for a light whipped topping. It’s crucial to watch the cream carefully and stop whipping as soon as it reaches your desired consistency – typically medium-stiff peaks for most dessert applications.
Stabilizing Whipped Cream: Make it Last
While fresh whipped cream is truly divine, its delicate nature means it can quickly deflate, especially in warmer conditions. Fortunately, there are several effective ways to stabilize it, allowing it to hold its shape for longer periods, perfect for piping decorations, filling cakes, or preparing desserts in advance.
- Gelatin Method: This is one of the most reliable ways to stabilize whipped cream. For every 1 cup of heavy cream, bloom 1 teaspoon of unflavored gelatin in 1 tablespoon of cold water for about 5 minutes until it thickens. Gently heat the bloomed gelatin (either in a microwave for a few seconds or over a double boiler) until it’s completely dissolved and clear, ensuring it doesn’t boil. Let it cool slightly, then slowly drizzle the warm gelatin mixture into your cream as it’s whipping, just after it starts to form soft peaks and when you add the sugar. Continue whipping until stiff peaks form. The gelatin will set as the cream chills, providing excellent stability.
- Cream of Tartar Method: Cream of tartar, an acidic salt, helps stabilize the protein structure of the cream. Add 1/4 teaspoon of cream of tartar per 1 cup of heavy whipping cream along with the powdered sugar when the cream begins to form soft peaks. Whip until medium-stiff peaks are achieved. This method is simpler than gelatin and provides good, though slightly less robust, stability.
- Dr. Oetker – Whip It (or similar commercial stabilizers): Many commercial whipped cream stabilizers, such as Dr. Oetker’s “Whip It,” are available. These typically contain a blend of modified starches and sugars designed to prevent deflation. Follow the package instructions carefully, usually adding the powder to the cream along with the sugar when it begins to thicken. These are a convenient option for guaranteed stability.
- Cornstarch or Dry Milk Powder: For a quick and easy stabilizer, you can add 1-2 teaspoons of cornstarch or dry milk powder per cup of heavy cream when you add the sugar. These powders absorb moisture and help to thicken and stabilize the whipped cream, giving it a firmer texture.
Creative Ways to Flavor Your Whipped Cream
While plain whipped cream is a classic, infusing it with different flavors can open up a world of new dessert possibilities. Tailoring the flavor profile of your whipped cream can perfectly complement your dessert, adding an extra layer of gourmet delight.
The simplest way to flavor whipped cream is by adding **1/2 to 1 teaspoon of your favorite extract** per cup of heavy cream, depending on the intensity you desire. Classic choices include pure vanilla extract, which enhances almost any dessert. But don’t stop there! Experiment with almond extract for nutty notes, coconut extract (a must for coconut cream pie!), peppermint for festive treats, or even a hint of rum or brandy extract for an adult twist. Lemon or orange zest can add a bright, fresh aroma and flavor when finely grated and folded in.
For a decadent variation, transform it into **chocolate whipped cream by adding 1 tablespoon of unsweetened cocoa powder** per cup of heavy cream, alongside the sugar. Sift the cocoa powder to prevent lumps, ensuring a smooth, rich chocolatey topping. You can also experiment with a pinch of espresso powder to deepen chocolate flavors, or a dash of cinnamon or nutmeg for a warm, spiced cream that pairs wonderfully with autumn desserts.
Mastering the Art of Hand-Whipped Cream
While an electric mixer certainly speeds up the process, don’t let a lack of equipment deter you. You can **absolutely whip cream by hand**, just as generations before us did! It’s a rewarding process that delivers a wonderfully light and airy texture, along with a satisfying arm workout.
For the best results when whipping by hand, ensure all your components are as cold as possible: your heavy cream, your metal mixing bowl, and your whisk. A stainless steel bowl and a balloon whisk are ideal. Place the bowl over an ice bath (a larger bowl filled with ice and a little water) to maintain a consistently cold temperature throughout the process. Start whisking vigorously in a circular motion, incorporating as much air as possible. Begin with slow, steady strokes to prevent splattering, then gradually increase your speed and incorporate a wide, sweeping motion that brings the whisk through all parts of the cream. You’ll notice the cream slowly thickening. Add your powdered sugar and any flavorings once soft peaks begin to form. Continue whisking until you reach your desired medium-stiff peaks. This method will undoubtedly take longer than an electric mixer – expect anywhere from 5 to 15 minutes, depending on your strength and technique – but the effort is well worth it for the satisfaction of a truly homemade, perfectly textured topping.
Troubleshooting Common Whipped Cream Woes
Even with the best intentions, things can sometimes go awry when making whipped cream. Here’s how to address the most common issues:
Whipped cream gets grainy: If you’ve whipped a little too long and your whipped cream is starting to show a slightly grainy or curdled texture, there’s still hope! This indicates you’re on the verge of over-whipping, but it’s not yet separated. To fix this, simply **add a few tablespoons of cold, liquid heavy cream to the mixture and gently fold it in** with a hand whisk or rubber spatula. Mix just until the grainy texture smooths out and it returns to the desired creamy consistency. Be very careful not to over-mix at this stage.
Whipped cream is separating: Unfortunately, if the cream has **already started to completely separate** into distinct little lumps of butter floating in a watery liquid (buttermilk), the “add more cream” technique will no longer work. Once the emulsion breaks and actual butter forms, it cannot be reverted back to light, airy whipped cream. In this scenario, there is no way to fix it for dessert topping purposes. However, don’t waste it! You can continue to mix the separated cream until you have a clear distinction between the **butter and buttermilk**. Drain the buttermilk (which can be used in baking or enjoyed as a drink) and rinse the butter with cold water to remove any remaining buttermilk solids. You’ve just made homemade butter!
Serving Suggestions: What Pairs Perfectly with Whipped Cream
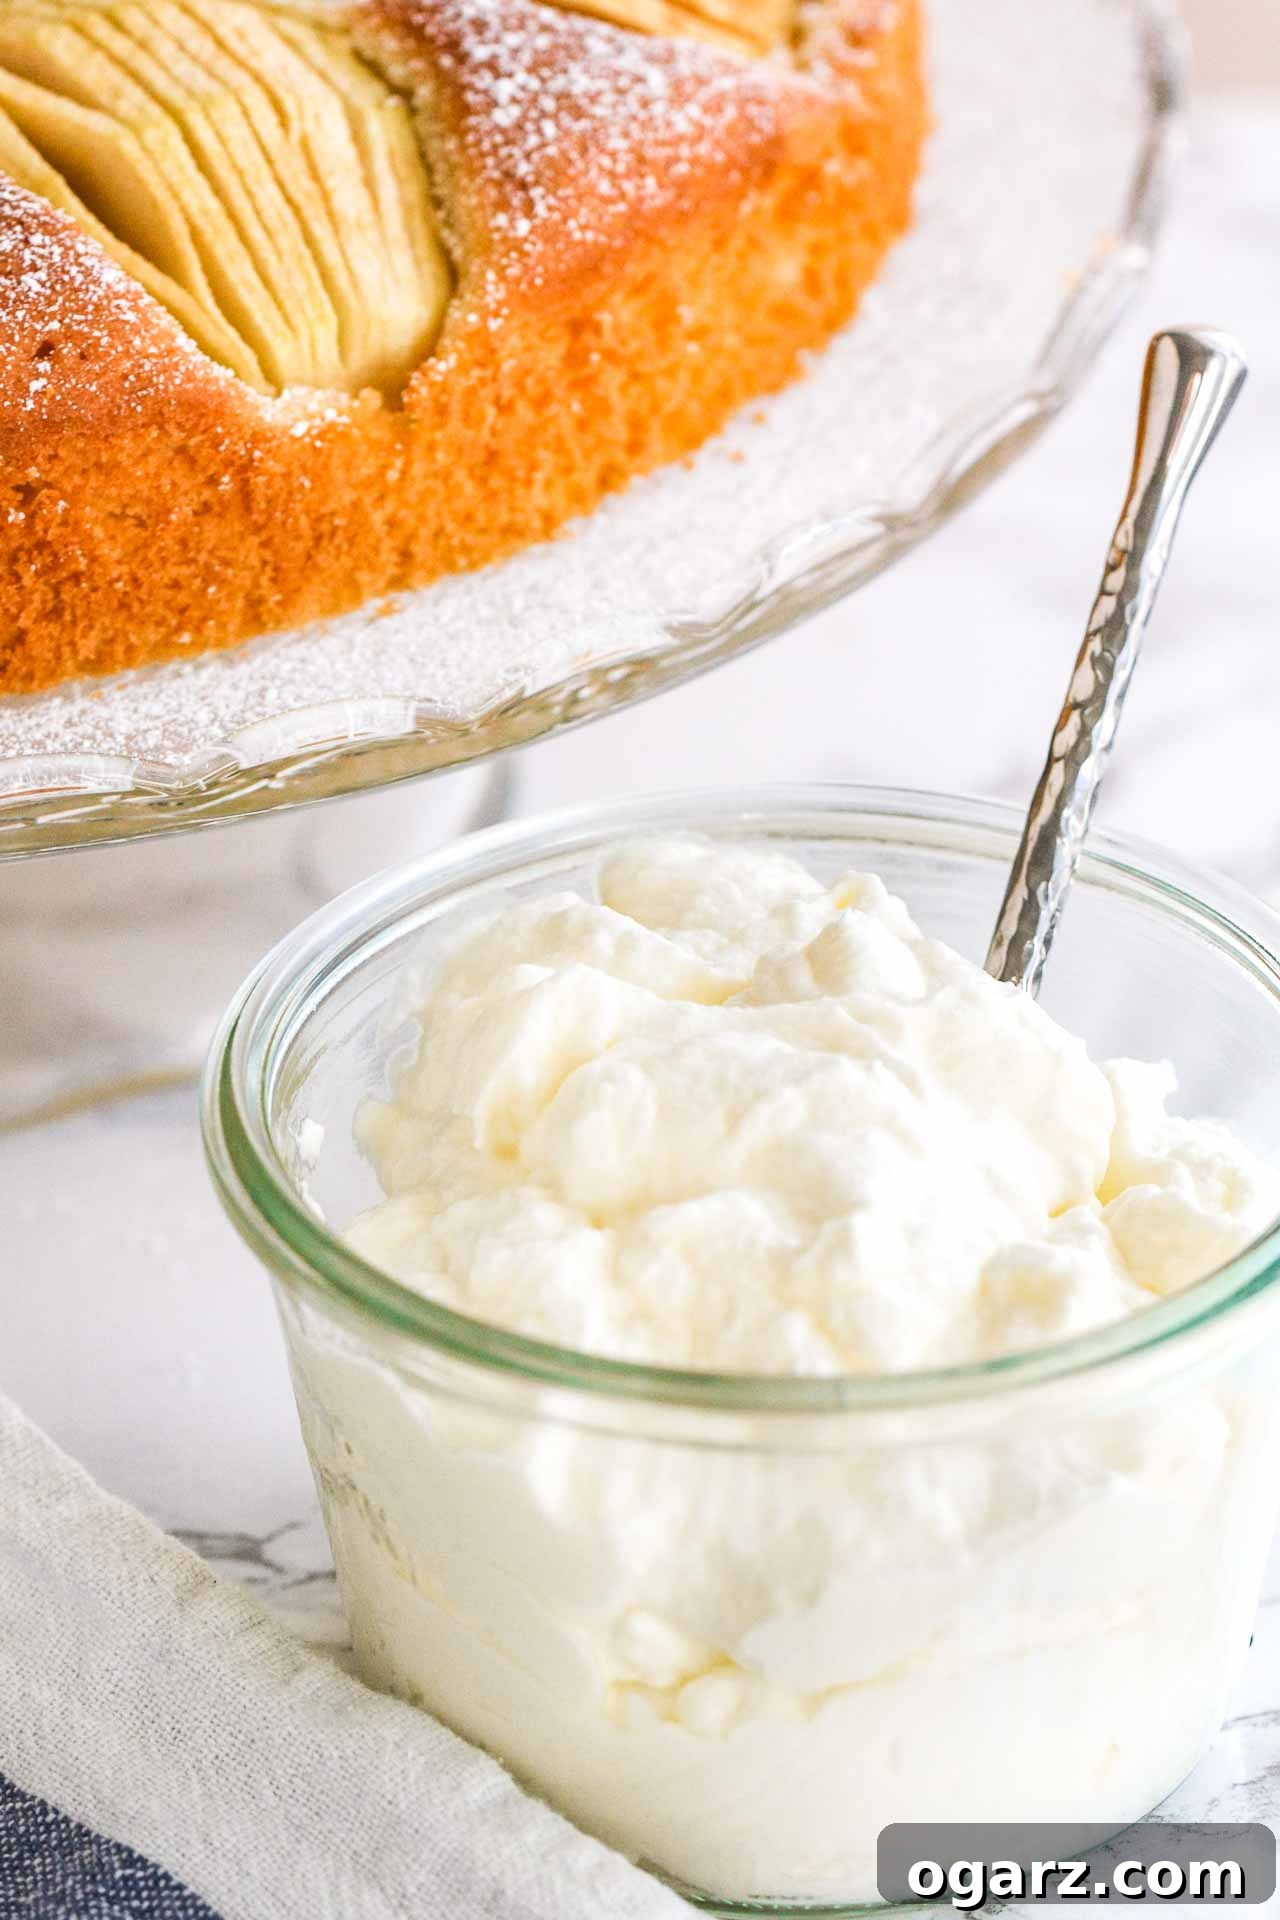
Homemade whipped cream is a universally loved topping, capable of transforming simple dishes into extraordinary treats. Its light, sweet, and creamy texture makes it an ideal accompaniment for a vast array of desserts and beverages, much like our versatile vanilla sauce.
One of the most classic and delightful pairings is with **fresh fruit**. Think juicy strawberries, plump blueberries, sliced peaches, or a vibrant fruit salad. It also elevates breakfast and brunch items such as fluffy pancakes, golden waffles, and French toast. For baked goods, whipped cream is the perfect partner for almost any fruit-based cake or pie, including the comforting German Apple Cake, the summery Fresh Strawberry Pie, classic pound cake, or any cake that isn’t already heavily frosted, like a Spice Cake or Coca-Cola Cake. Don’t forget how it can crown a rich hot chocolate, a spiced latte, or a decadent ice cream sundae. The possibilities are truly endless, making homemade whipped cream an indispensable addition to your culinary repertoire.
Air Fryer
Air Fryer Peach Crisp
Breakfast & Brunch
Dutch Baby Pancake
Cakes
Apple Strudel Recipe
Pies, Crisps, & Tarts
Easy Strawberry Rhubarb Crisp
Pin
Whipped Cream
Ingredients
- 1 cup heavy cream
- 2 Tbsp powdered sugar
Instructions
-
Place a metal mixing bowl and whisk into the freezer for 10 minutes.
-
Add heavy cream to the bowl and start the mixer at low speed, then increase speed to medium-high and beat until soft peaks form, about 1 minute.
-
Pause the mixer and add sugar and flavorings if using.
-
Start the mixer again and beat at medium-high speed for about 2–3 minutes until medium-stiff peaks form.
Notes
- I recommend using heavy cream because it has a higher milk-fat content!
- Chill the mixing bowl and beaters in the freezer for 10 minutes before starting
- A stand mixer works best for this recipe, but you could also use a hand mixer.
- Always keep an eye on the cream while beating it so you don’t over-beat it.
- Over-beating results in the separation of the cream into butter and liquid.
- Fresh whipped cream is best served the day it is made – it’s not meant to keep for longer-term storage.
- Add more or less sugar, depending on the dish the sweetened cream is for. Using two to four tablespoons of sugar per cup of whipping cream adds a perfect sweetness that is not overpowering.
- Keep in mind that whipped cream will melt if you put it on a warm or hot dessert
Nutrition
Like this recipe? Rate and comment below!