
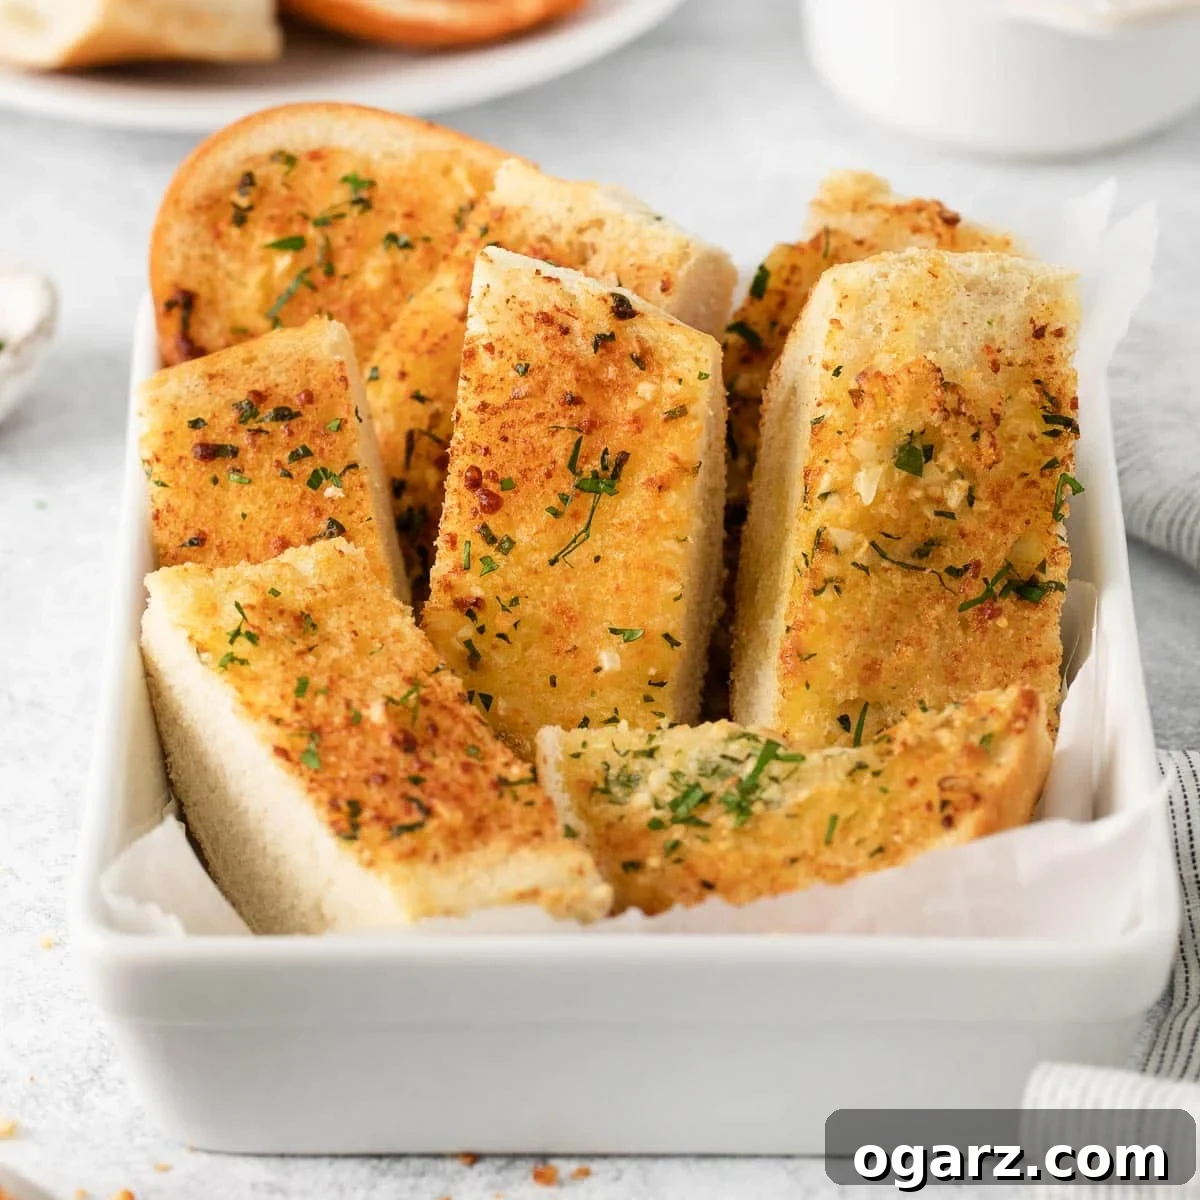
The Ultimate Air Fryer Garlic Bread: Crispy, Buttery & Irresistibly Easy

Few dishes command such universal love and adoration as a classic slice of garlic bread. It’s the quintessential side, elevating everything from a simple weeknight pasta to an elaborate grilled feast. Imagine that perfectly crisp exterior, yielding to a wonderfully soft, fluffy interior, all infused with rich butter, fragrant garlic, and a hint of fresh herbs. Now, picture achieving this culinary perfection in mere minutes, with minimal fuss and effortless cleanup. That’s the magic of Air Fryer Garlic Bread.
This recipe isn’t just about convenience; it’s about unlocking the absolute best texture and flavor profile for your garlic bread. The air fryer circulates hot air, creating an unparalleled crispness on the outside while ensuring the inside remains beautifully tender. Forget soggy centers or uneven browning; with the air fryer, every slice is a masterpiece of golden-brown delight. Whether you’re serving it alongside creamy salmon pasta, hearty Air Fryer meatloaf, or simply as a standalone snack, this easy-to-make garlic bread will quickly become your go-to recipe. It’s undeniably delicious, incredibly flavorful, and astonishingly versatile.
Why Air Fryer Garlic Bread Will Be Your New Favorite
- Unbeatable Speed and Simplicity: Craving that warm, garlicky goodness but short on time? This recipe is your answer. With just 5 minutes of prep and another 5 minutes in the air fryer, you’ll have perfectly cooked garlic bread ready to enjoy. It’s ideal for busy weeknights or unexpected guests.
- Irresistible Flavor Profile: The combination of a crusty French bread, generously slathered with a homemade butter mixture featuring freshly minced garlic and vibrant parsley, creates a symphony of flavors that truly satisfies. Each bite delivers a burst of aromatic goodness.
- Perfect Texture Every Time: The air fryer excels at achieving that desired contrast: a beautifully golden, delightfully crispy crust that gives way to a soft, warm, and buttery interior. This balance of textures is what sets air-fried garlic bread apart from other methods.
- Incredibly Versatile Side Dish: Garlic bread is the ultimate chameleon of side dishes. It complements almost any meal imaginable. Pair it with Italian classics, robust stews, fresh salads, grilled meats, or even just a comforting bowl of soup. There’s no wrong way to enjoy a slice of this homemade delight.
- Less Mess, Easy Cleanup: Unlike traditional baking methods that can sometimes lead to grease-splattered baking sheets, the contained environment of the air fryer means minimal mess. Enjoy delicious results without the hassle of a big cleanup afterward.
Essential Ingredients for Perfect Air Fryer Garlic Bread
Crafting the best garlic bread starts with selecting quality ingredients. Here’s a closer look at what you’ll need and why each component is important. Detailed measurements are available in the recipe card below.
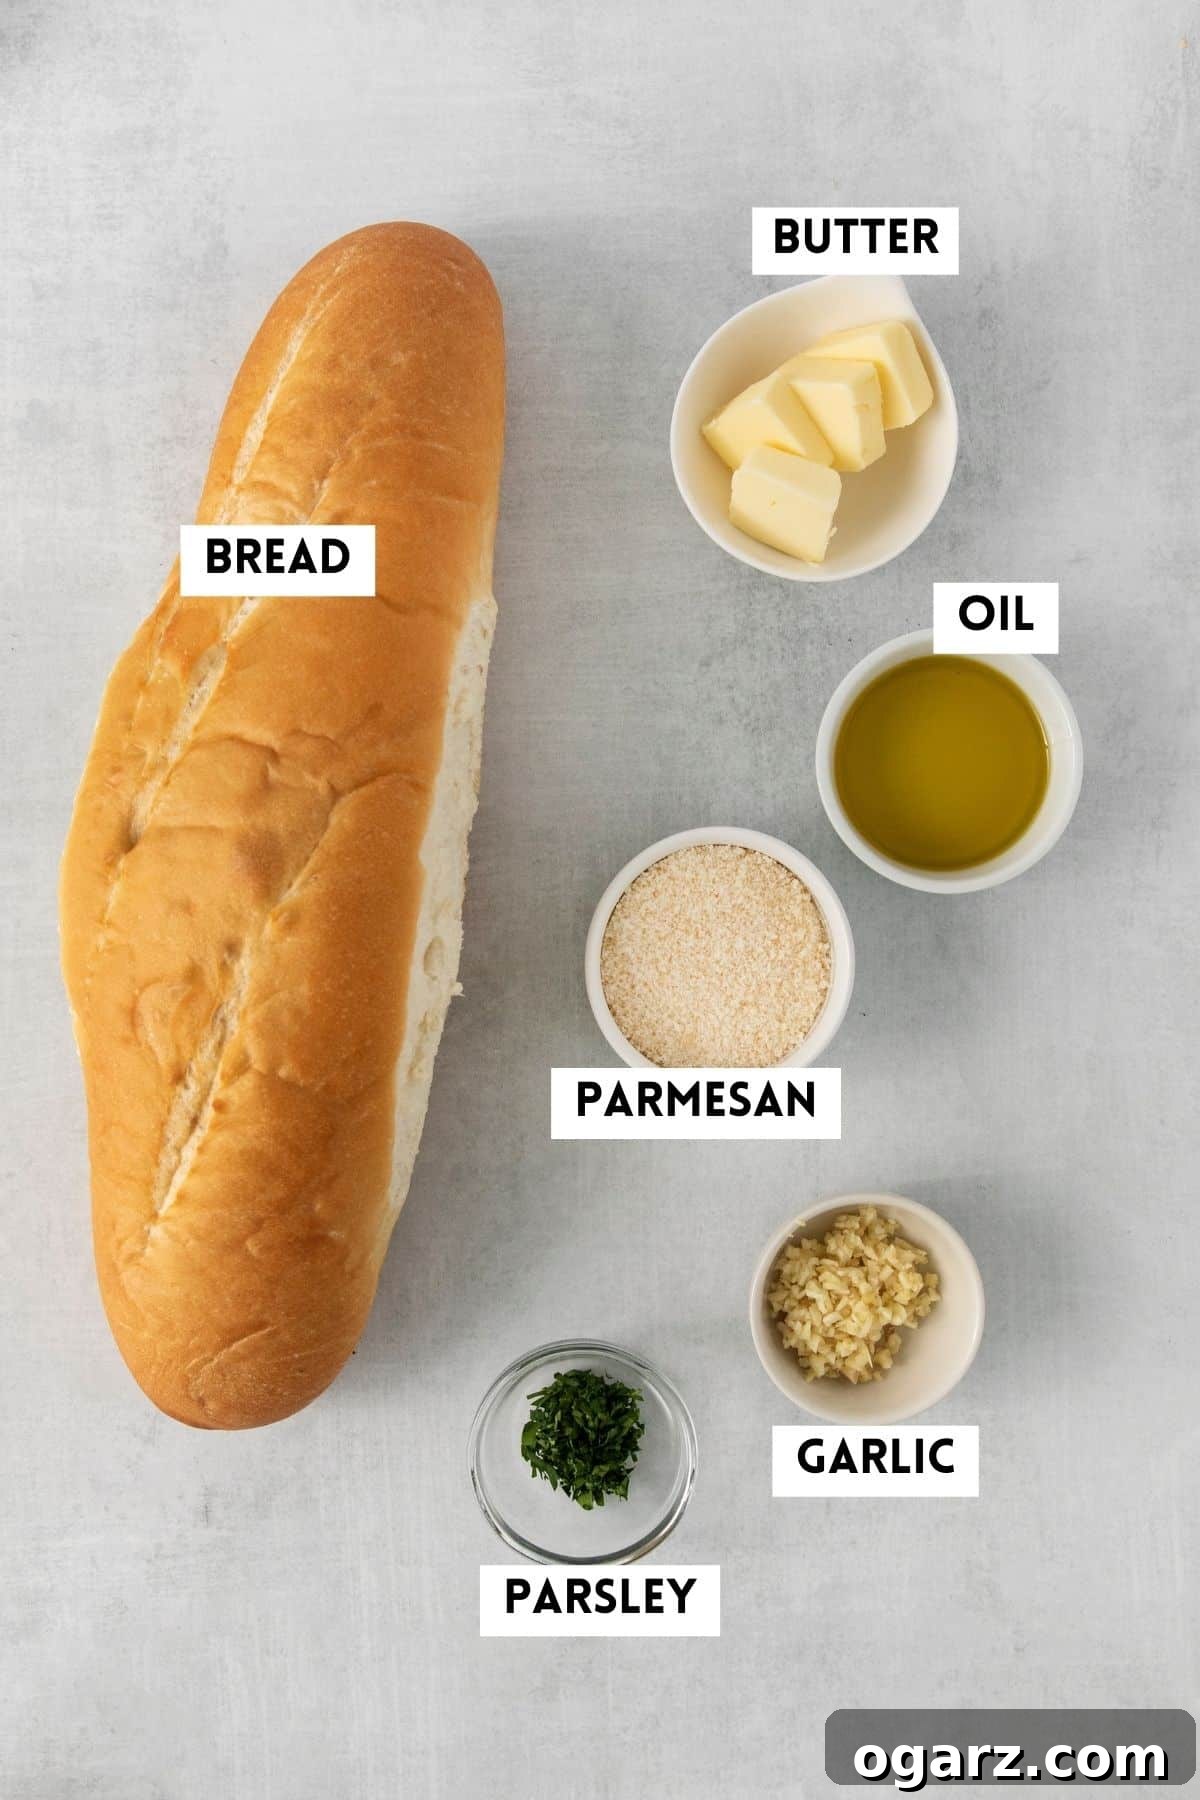
- Bread: The foundation of great garlic bread! I highly recommend an 8-inch loaf of French bread or a baguette for its ideal crust-to-crumb ratio and ability to crisp up beautifully. However, this recipe is adaptable. Feel free to use other hearty breads like sourdough, ciabatta, or thick-cut Texas toast. Just keep in mind that denser or thinner breads may require slight adjustments to cooking time.
- Butter and Olive Oil: This dynamic duo forms the heart of our garlic butter spread. Unsalted butter provides richness and a classic creamy texture when softened, while a good quality extra virgin olive oil adds a subtle fruity note, helps prevent the butter from burning too quickly, and contributes to that desirable crispy finish. Ensure your butter is softened to room temperature for easy mixing.
- Fresh Garlic: This is non-negotiable for truly exceptional garlic bread. While garlic powder has its place, nothing compares to the pungent, aromatic kick of freshly minced garlic. It infuses the butter with an authentic, vibrant flavor that dried garlic simply cannot replicate. Aim for finely minced garlic to ensure even distribution and maximum flavor in every bite.
- Fresh Parsley: A sprinkle of fresh, finely minced parsley adds a delightful pop of color and a fresh, herbaceous counterpoint to the richness of the butter and garlic. It brightens the overall flavor and adds a professional touch. Don’t skip it!
- Parmesan Cheese (Optional, but Recommended): For those who love a cheesy garlic bread, grated Parmesan is a fantastic addition. Its salty, umami flavor deepens the overall taste and creates a lovely crispy, cheesy crust when air-fried. Other delicious cheese options include Asiago, mozzarella, or cheddar. If you prefer a dairy-free version, simply omit the cheese.
- Salt and Black Pepper (to taste): While not explicitly listed in the original ingredients, a pinch of salt helps to enhance all the flavors, and a touch of freshly ground black pepper can add a subtle warmth. Adjust according to your preference.
Crafting Your Perfect Air Fryer Garlic Bread: A Step-by-Step Guide
Making this Air Fryer Garlic Bread is remarkably simple and yields incredibly satisfying results. Follow these easy steps to create the ultimate crispy and flavorful side dish.
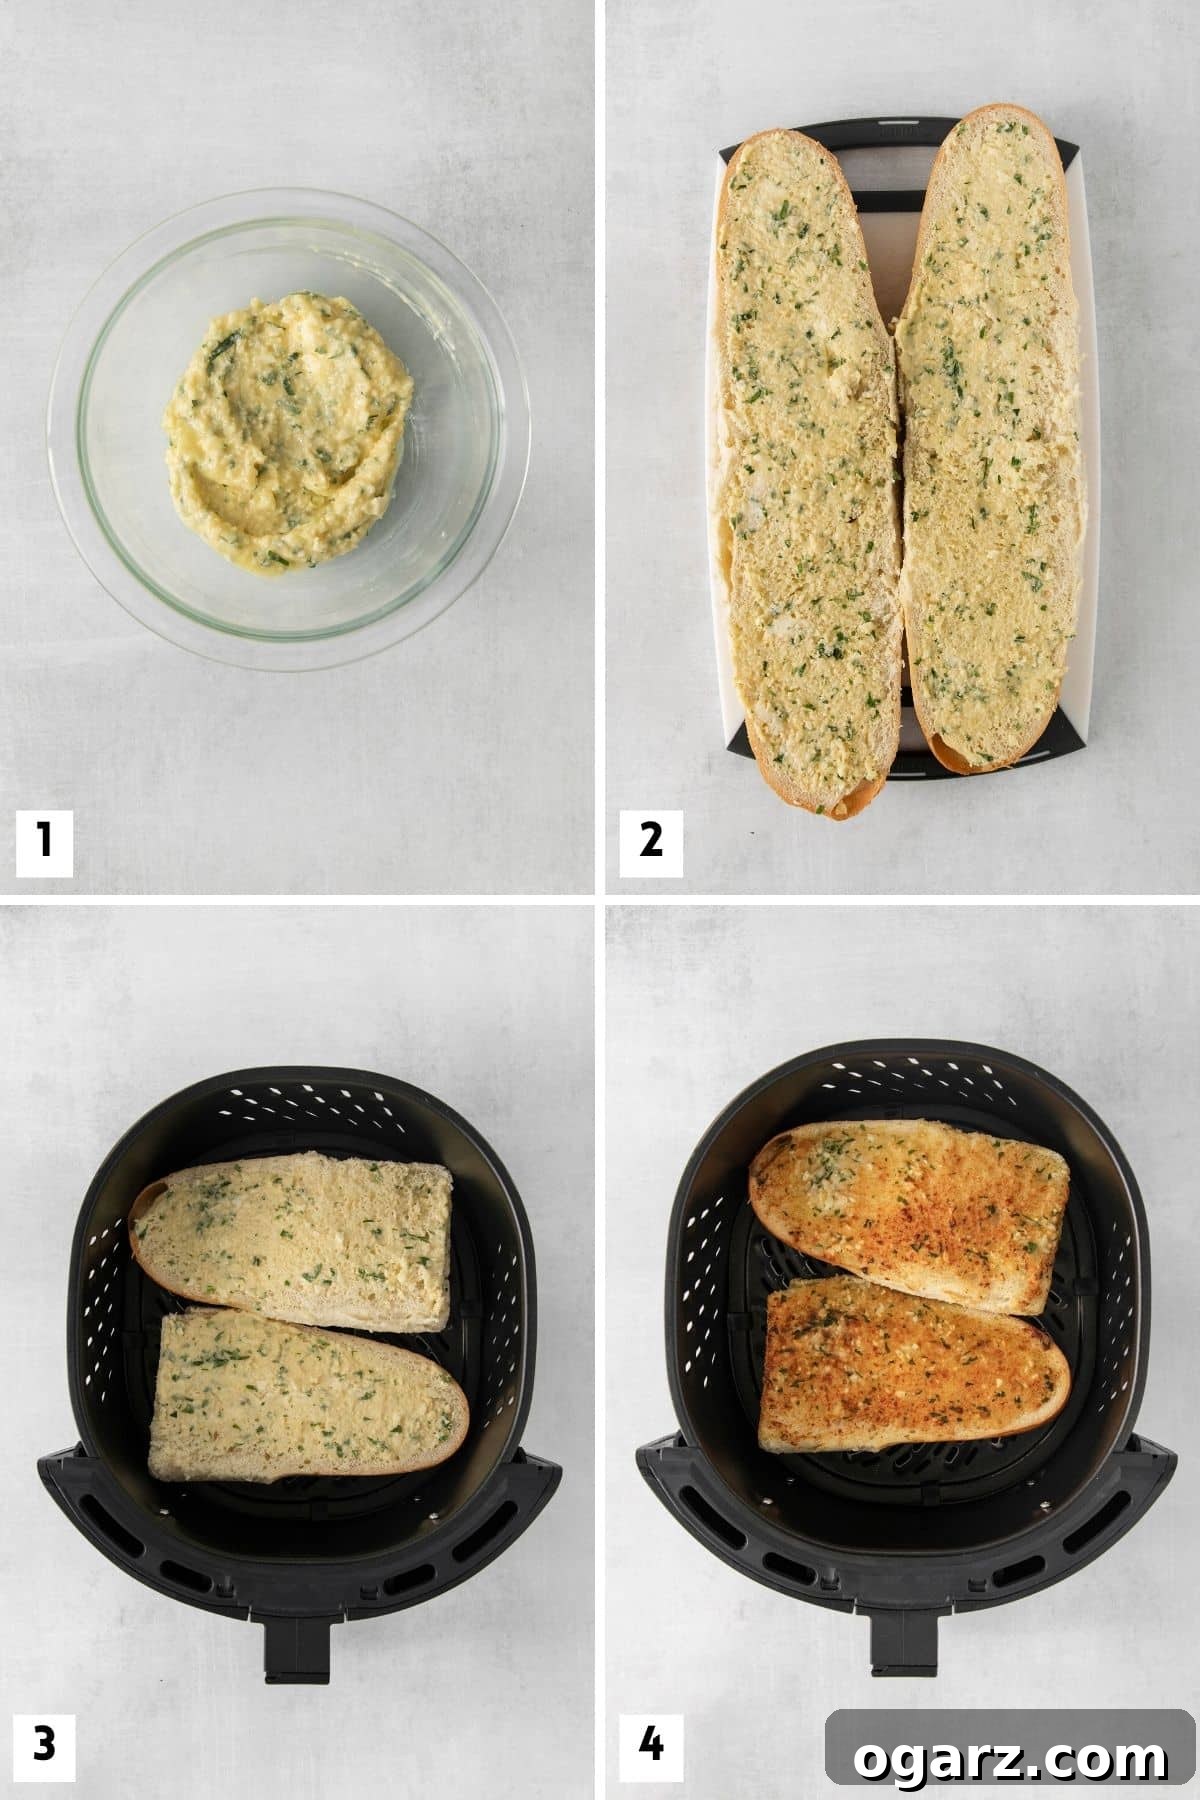
- Prepare the Bread: Begin by slicing your chosen loaf of bread (French bread or baguette works wonderfully) in half lengthwise. This creates two long halves with a generous surface area for your garlic butter. Place the cut sides facing up on a clean work surface.
- Create the Garlic Butter Blend: In a small mixing bowl, combine the softened unsalted butter, olive oil, freshly minced garlic, minced fresh parsley, and grated Parmesan cheese (if you’re using it). Stir all the ingredients together thoroughly until you have a smooth, well-combined garlic butter spread. The butter should be soft enough to mix easily but not completely melted.
- Generously Spread the Flavor: Using a spoon or a small spatula, generously spread the prepared garlic butter mixture evenly over the entire cut surface of each bread half. Ensure every inch is covered for maximum flavor.
- Ready for the Air Fryer: Lightly spray your air fryer basket with a little oil spray to prevent sticking. Now, carefully place the buttered bread halves into the air fryer basket with the cut, buttered side facing up. Depending on the size of your bread and your air fryer basket, you may need to cut the bread into smaller pieces to ensure it fits without overcrowding. If necessary, cook in batches to allow for proper air circulation.
- Air Fry to Golden Perfection: Set your air fryer to 350 degrees Fahrenheit (175 degrees Celsius) and cook for approximately 5 minutes. Keep a close eye on it, as air fryer models can vary. You’re looking for a beautiful golden-brown color on the buttered surface and a crispy texture. If you prefer it extra crispy, you can add another minute or two, checking frequently.
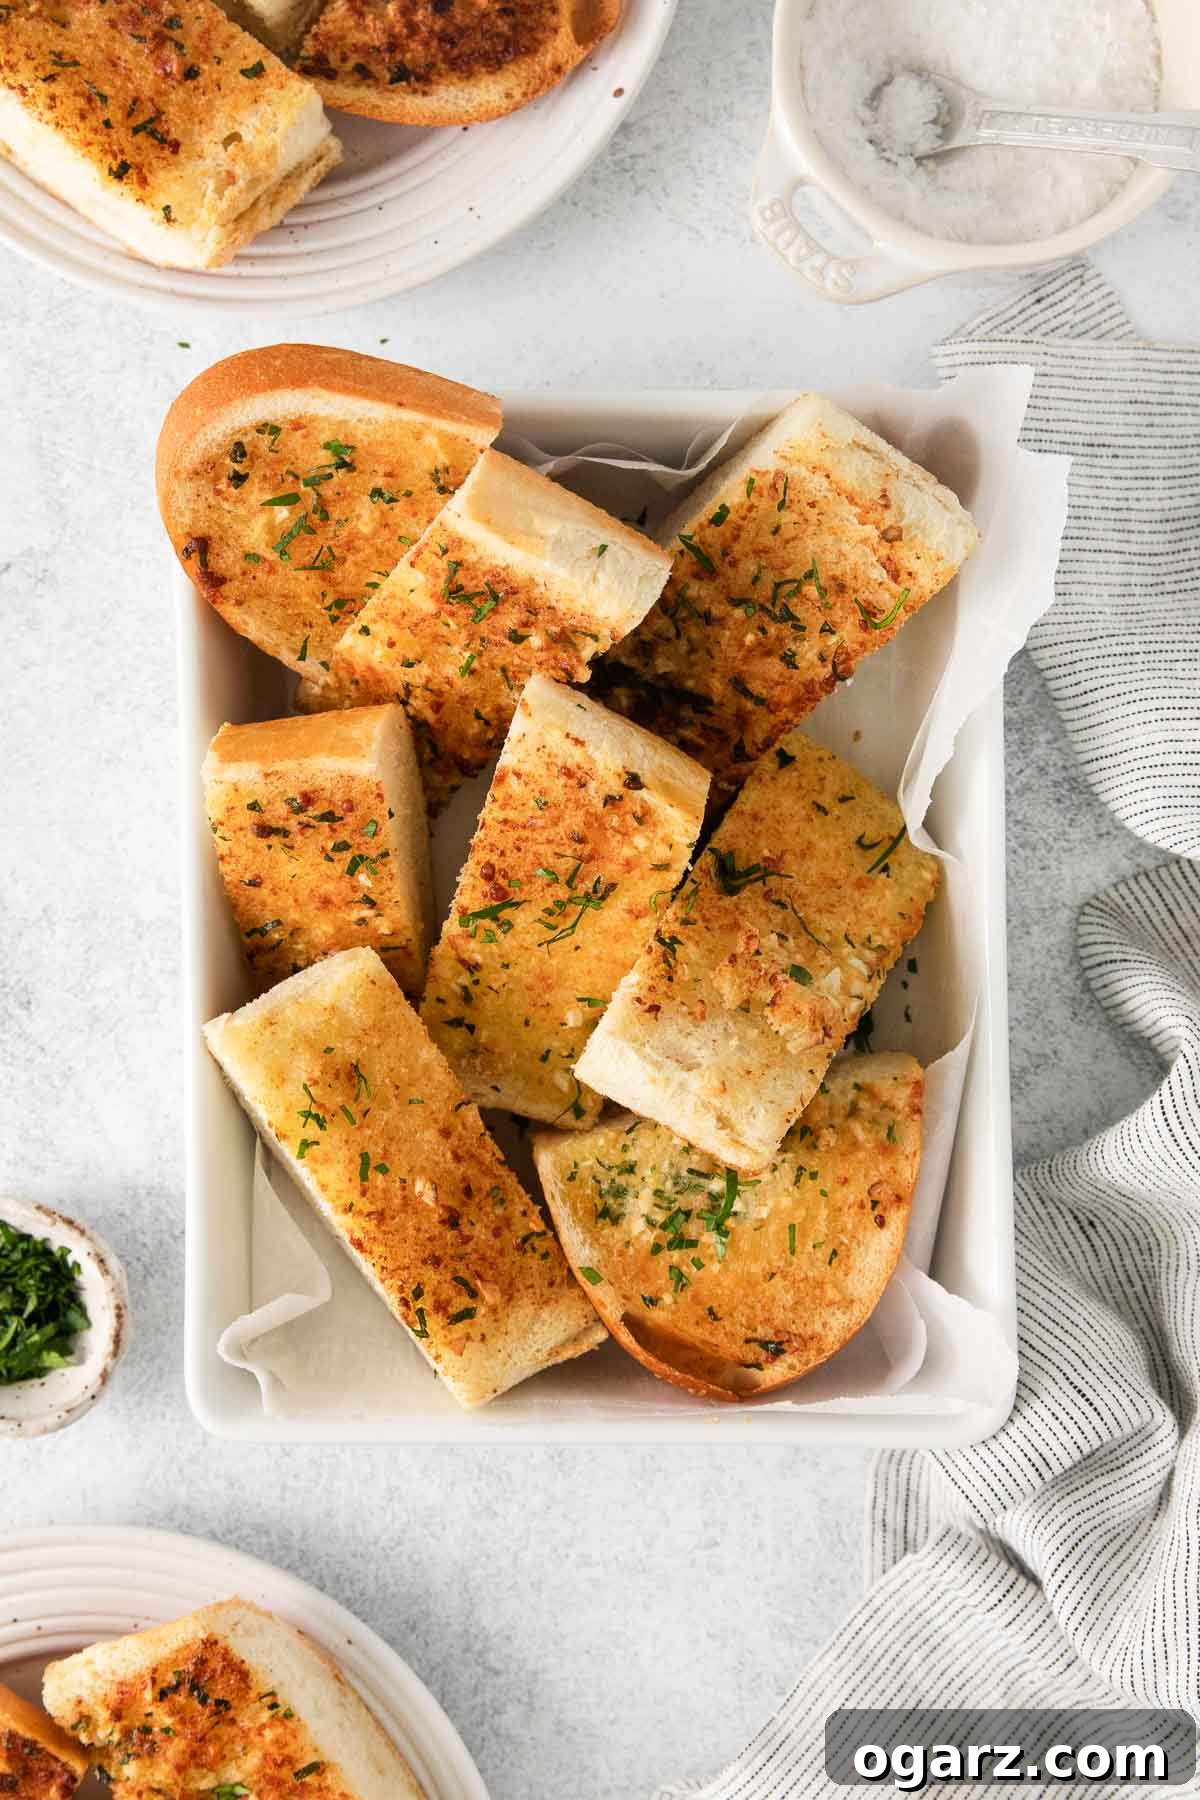
- Slice and Serve Immediately: Once the garlic bread reaches your desired crispness and golden hue, carefully remove it from the air fryer. Transfer it to a cutting board, slice it into individual portions, and serve it hot. The aroma alone will be enough to entice everyone to the table!
Pro Tips for Air Fryer Garlic Bread Mastery
Achieving truly exceptional garlic bread in your air fryer is simple, but a few expert tips can elevate your results from great to absolutely outstanding. Pay attention to these details for perfect garlicky goodness every time:
- Accommodating Your Air Fryer Size: If your baguette or loaf is too long to fit into your air fryer basket, don’t force it! Simply cut the bread into shorter sections. You can then air fry these smaller pieces in batches. To keep the finished batches warm while the others cook, you can place them in a lightly preheated oven set to its lowest temperature.
- Always Cook Cut-Side Up: This is a crucial step for achieving the best crispy top. Placing the buttered side up ensures direct exposure to the circulating hot air, resulting in that irresistible golden-brown crust and perfectly toasted garlic butter.
- Embrace the Single Layer Rule: For optimal texture and even cooking, always arrange your garlic bread in a single layer within the air fryer basket. Overlapping or stacking the bread will block the hot air circulation, leading to uneven cooking and potentially soggy spots. Cook in batches if necessary; it’s worth the extra minute or two for superior results.
- Serve It Fresh and Hot: Garlic bread is undoubtedly at its peak when served immediately after coming out of the air fryer. The warmth, the crispness, and the vibrant flavors are best enjoyed right away. Plan your cooking so the garlic bread finishes just as your main course is ready.
- Customize Your Texture: The beauty of the air fryer lies in its precise control. If you love an extra-crispy garlic bread, extend the cooking time by a minute or two, watching carefully to prevent burning. If you prefer a softer, chewier texture, reduce the cooking time slightly. After your first batch, you’ll quickly learn what works best for your preferences and your specific air fryer model.
- Make it Vegan-Friendly: Adapting this recipe for a vegan diet is incredibly simple. Just swap out the regular unsalted butter for a high-quality vegan butter. If you’re adding cheese, simply omit the Parmesan or use a plant-based grated cheese alternative.
- Boost the Cheese Factor: For the ultimate cheesy garlic bread experience, consider adding a sprinkle of shredded mozzarella cheese on top of the Parmesan (or instead of it) before air frying. The mozzarella will melt and become deliciously gooey and browned.
- Don’t Rush the Softening Butter: Ensure your butter is properly softened to room temperature. This makes it much easier to mix evenly with the other ingredients, creating a smooth spread that coats the bread beautifully without clumping.
Common Questions About Air Fryer Garlic Bread
While my personal favorite is a French baguette due to its fantastic ability to become crispy on the outside while maintaining a soft, buttery interior, many other hearty breads work wonderfully. Ciabatta, sourdough, or even focaccia are excellent choices. Just remember that different types of bread have varying densities and crusts, so you might need to adjust the cooking time by a minute or two to achieve your desired crispness.
Generally, I plan for about 5 minutes of air frying time at 350°F (175°C). However, the exact timing truly depends on how crispy you prefer your garlic bread and the specific model of your air fryer. If you like a slightly softer loaf, aim for 3-4 minutes. For an extra crunchy exterior, you might need to add an additional minute or two. I always recommend checking the bread early and adding time as needed until it’s just right for your taste.
While you technically *can* use dried garlic or garlic powder, I strongly advise against it for this particular recipe. The vibrant, pungent, and fresh flavor of freshly minced garlic is what truly makes this garlic bread shine. Dried garlic will yield a much duller, less authentic flavor profile, and you’ll miss out on the incredible aroma and taste that fresh garlic provides.
Absolutely! You can prepare the garlic butter mixture a day or two in advance. Store it in an airtight container in the refrigerator. When ready to use, let it sit at room temperature for about 30 minutes to soften slightly, making it easier to spread on the bread.

Serving Suggestions: What Pairs Best with Air Fryer Garlic Bread
Garlic bread’s incredible versatility makes it the ultimate companion to a vast array of dishes. It effortlessly complements so many meals, acting as a delicious sponge for sauces or a comforting bite alongside lighter fare. Feel free to serve it with whatever entrées your heart desires, but here are some of my favorite pairings that truly sing:
- Classic Italian Fare: It’s almost a crime to have spaghetti and meatballs, lasagna, or creamy Alfredo pasta without a side of garlic bread. It’s perfect for soaking up every last drop of that rich, flavorful sauce.
- Hearty Soups and Stews: A warm, crusty slice of garlic bread is the ideal accompaniment to virtually any soup or stew. Think classic tomato soup, French onion soup, minestrone, or a beef stew. It adds texture and substance to your meal.
- Grilled Meats and Roasted Vegetables: Serve it alongside grilled chicken, juicy steaks, or tender pork chops. It also pairs beautifully with vibrant roasted vegetables, adding a savory, buttery contrast.
- Fresh Salads: Elevate a simple green salad or a hearty Caesar salad with the addition of warm garlic bread. It brings a comforting, savory element that makes the meal more substantial.
- As an Appetizer or Snack: Sometimes, a warm piece of garlic bread is a satisfying treat all on its own! It’s also great for dipping into marinara sauce or a cheesy spinach dip.
Storing & Reheating Your Homemade Garlic Bread
While Air Fryer Garlic Bread is best enjoyed immediately, leftovers can be stored for future enjoyment. Place any cooled leftover garlic bread in an airtight container or a resealable bag and store it in the refrigerator for up to 2 days. To bring it back to life, simply pop it back into your air fryer at 300-325°F (150-160°C) for 2-4 minutes, or until warmed through and re-crisped to perfection. This method ensures it regains its delightful crispness without becoming soggy.
More Air Fryer Recipes to Try
Sides & Salads
Air Fryer Roasted Potatoes
Air Fryer
Air Fryer Toast
Air Fryer
Air Fryer Pickles
Air Fryer
Air Fryer Chickpeas
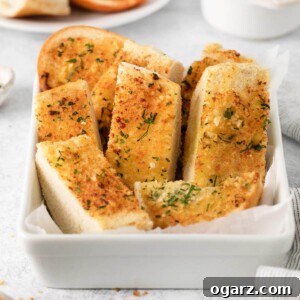
Air Fryer Garlic Bread
Equipment
-
Air Fryer
Ingredients
- 1 loaf French bread, about 8-inches long
- 4 tablespoons unsalted butter, softened
- 2 tablespoons olive oil
- 1 tablespoon garlic, minced
- 1 tablespoon fresh parsley, minced (plus more for garnish)
- ¼ cup grated Parmesan, optional
Instructions
-
Slice the French bread in half lengthwise and place it on your work surface cut side up.
-
In a small bowl, stir together the softened butter, olive oil, minced fresh garlic, minced fresh parsley, and grated Parmesan (if using).
-
Generously spread the garlic butter mixture over the cut side of each half of the bread.
-
Lightly spray your air fryer basket with oil spray. Place the bread, cut side up, into the air fryer. Depending on the size of your bread and air fryer, you may need to cut the bread to fit and cook in batches.
-
Cook the garlic bread in the air fryer at 350 degrees F (175 degrees C) for 5 minutes, or until golden brown and crispy.
-
Carefully remove from the air fryer, slice the garlic bread into your desired size, and enjoy immediately.
Notes
- Batch Cooking: If your bread doesn’t fit in one go, cut it into smaller pieces and air fry in batches. Keep cooked pieces warm in a low oven.
- Crispy Top: Always cook with the buttered, cut side facing up for the best crispy texture.
- Even Circulation: Avoid stacking; cook in a single layer to allow hot air to circulate freely around the bread for uniform crispness.
- Serve Hot: For the best flavor and texture, serve your air fryer garlic bread immediately after cooking.
- Texture Control: Adjust cooking time to your preference: a minute or two longer for extra crispy, or slightly less time for a softer loaf.
- Vegan Option: Easily make this recipe vegan by using a plant-based butter substitute and omitting the Parmesan cheese.
- Extra Cheesy: For an even cheesier experience, add a sprinkle of mozzarella cheese alongside or instead of Parmesan before air frying.
Nutrition
Carbohydrates: 36g |
Protein: 9g |
Fat: 15g |
Saturated Fat: 6g |
Polyunsaturated Fat: 1g |
Monounsaturated Fat: 6g |
Trans Fat: 0.3g |
Cholesterol: 24mg |
Sodium: 476mg |
Potassium: 97mg |
Fiber: 2g |
Sugar: 3g |
Vitamin A: 326IU |
Vitamin C: 1mg |
Calcium: 77mg |
Iron: 3mg