
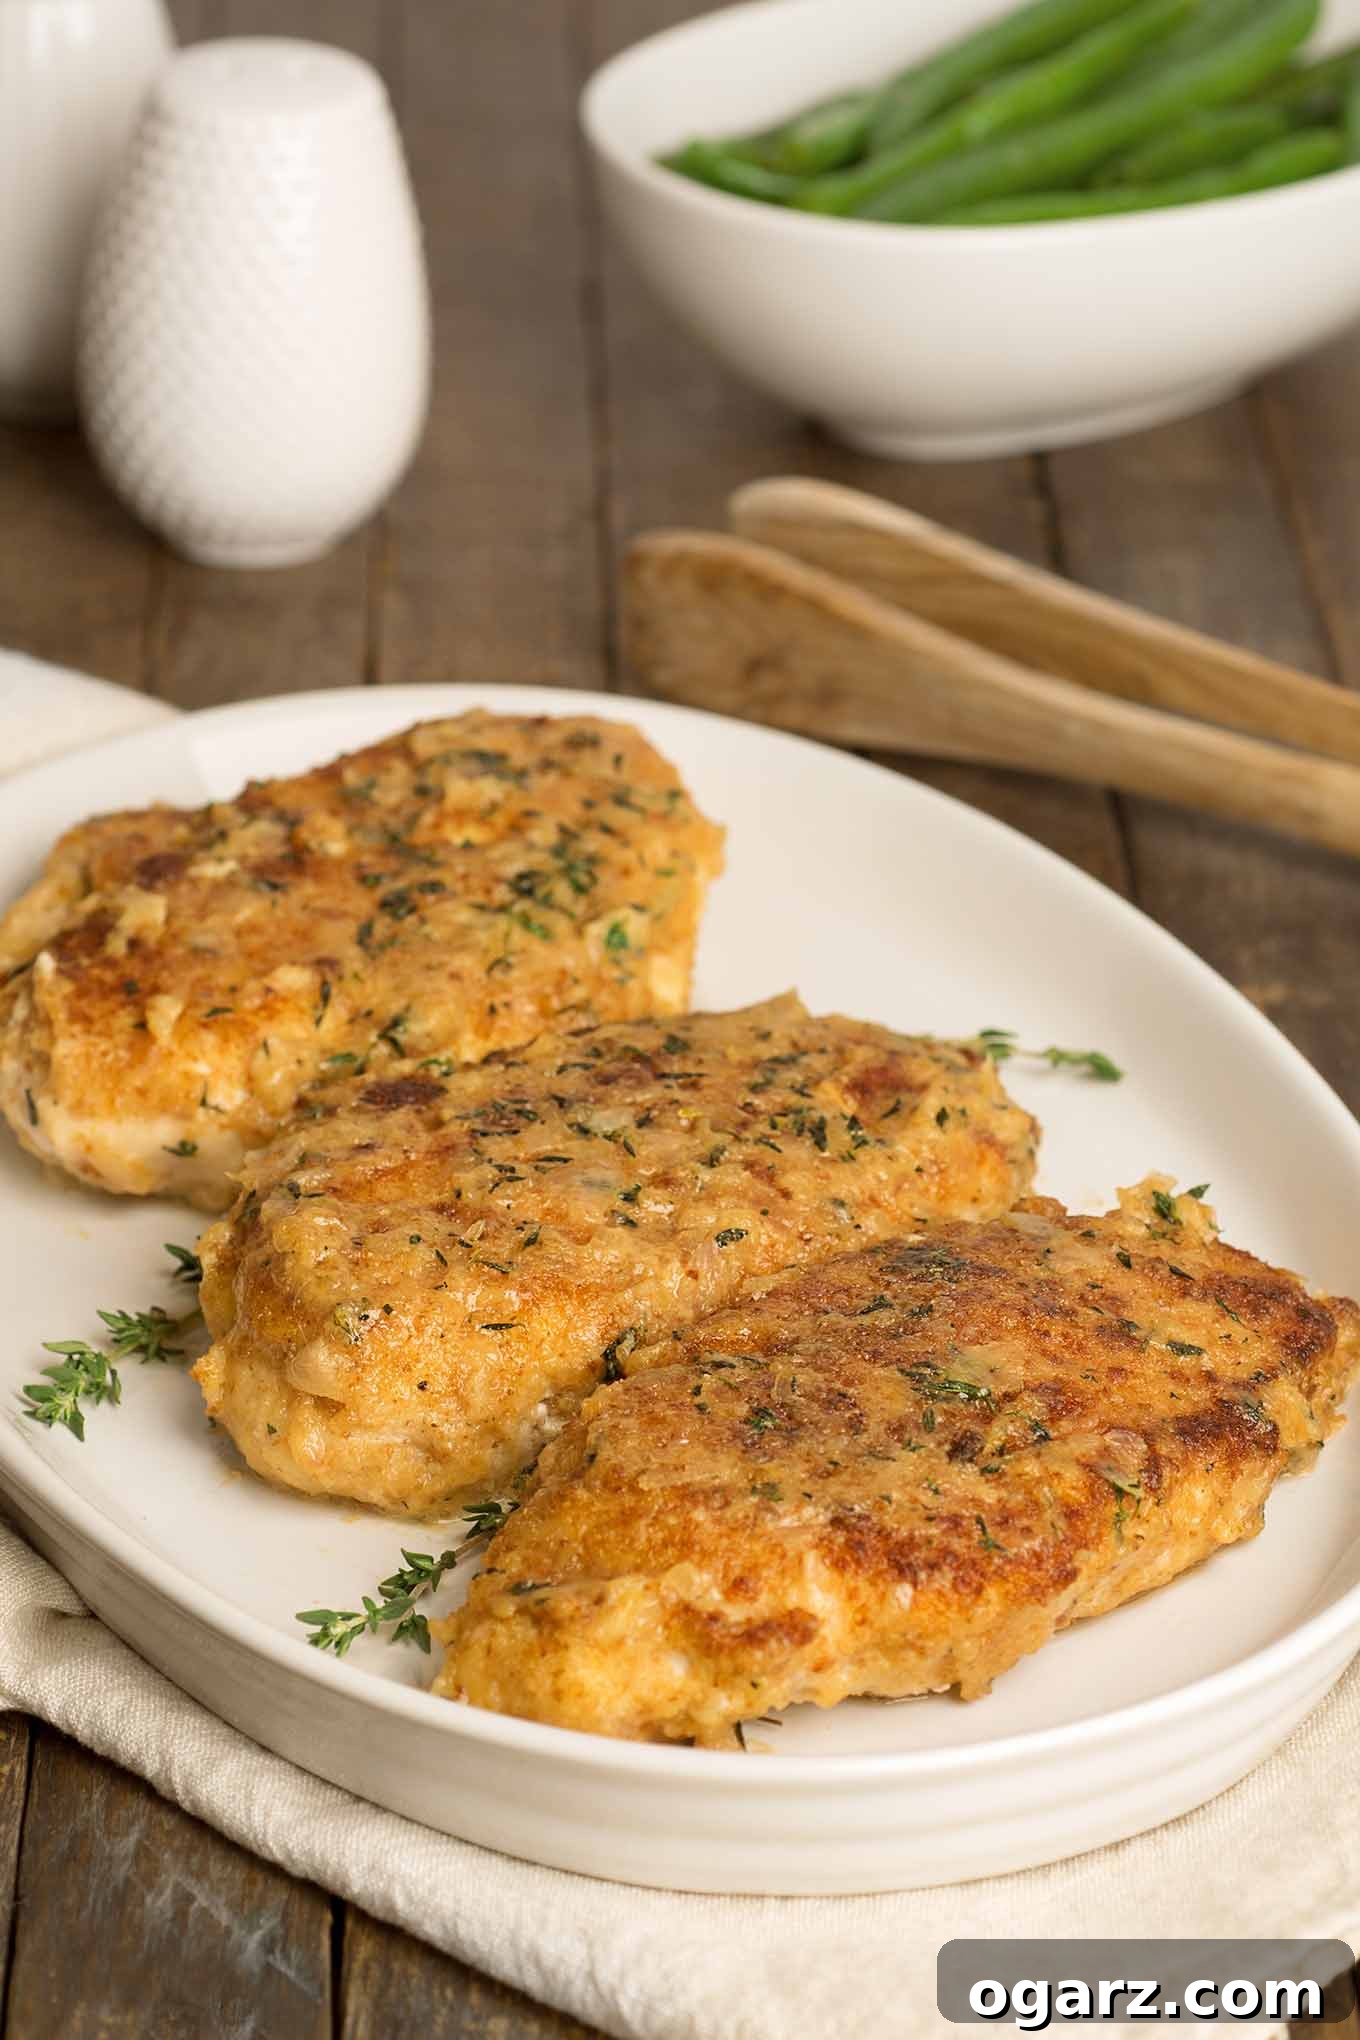
Elevate Your Weeknight: Crispy Breaded Chicken Cutlets with Sweet & Savory Shallot-Honey Glaze
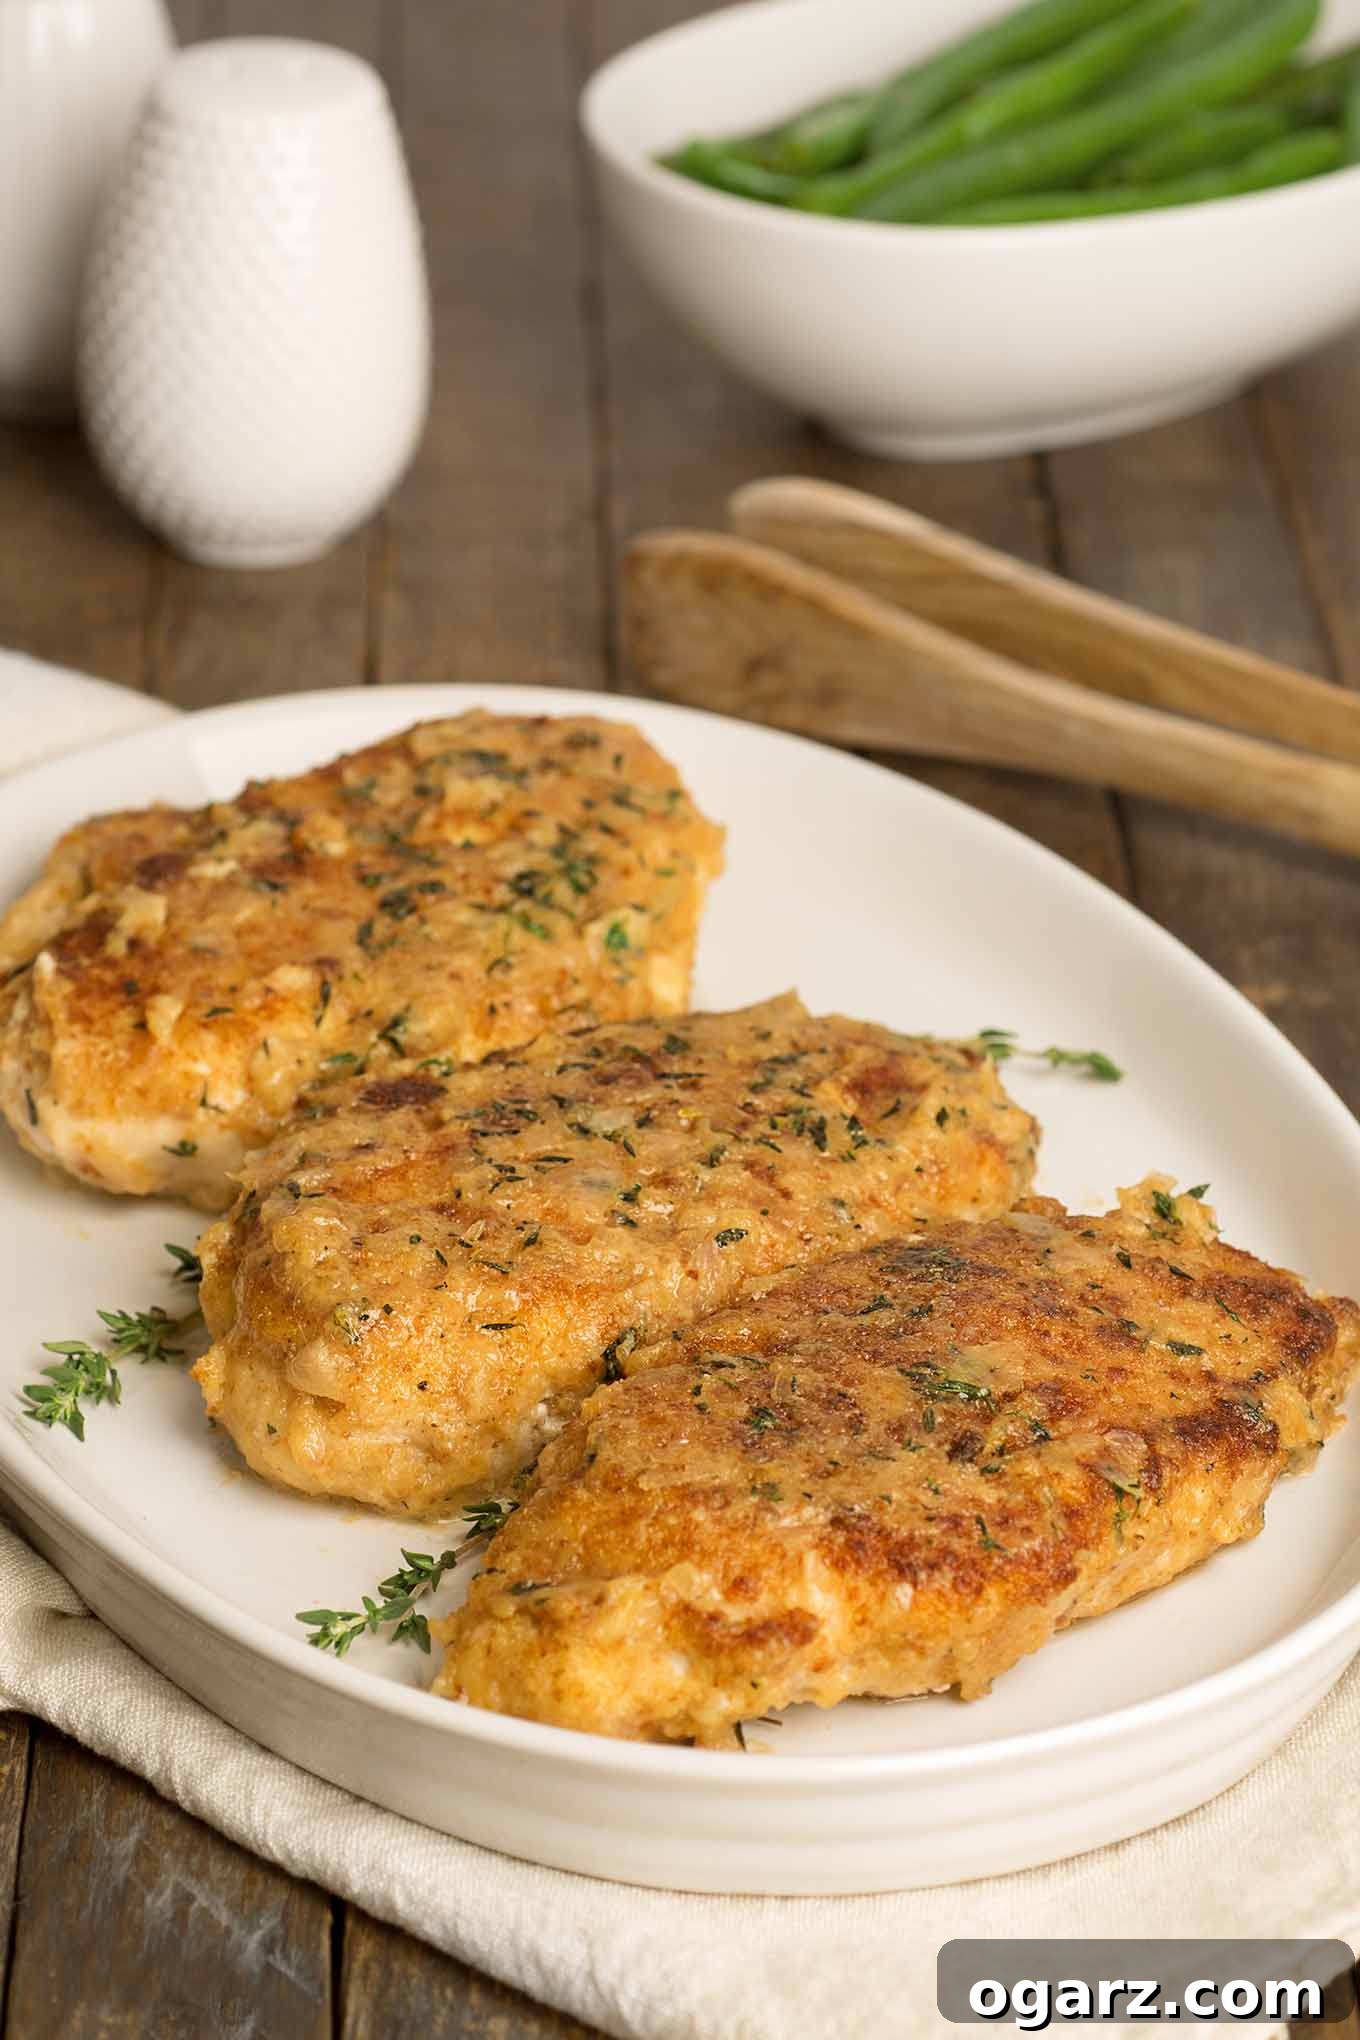
Transform your dinner routine with these exquisite, yet deceptively simple, breaded chicken cutlets. A true testament to comfort food elevated, this recipe takes classic shallow-fried chicken breasts – celebrated for their satisfying crisp exterior and tender, juicy interior – and infuses them with an unforgettable depth of flavor. What makes these breaded chicken cutlets truly stand out is a quick, luscious drizzle crafted from sautéed shallots, golden honey, and fragrant fresh thyme. This sweet and savory glaze adds a sophisticated touch, distinguishing it from your everyday pan-fried chicken and turning a familiar favorite into a truly gourmet experience.
This dish is the perfect solution for those seeking an approachable yet impressive dinner. It’s designed with the busy weeknight in mind, requiring only a handful of readily available ingredients and utilizing a straightforward shallow-frying technique that’s easy to master and endlessly versatile. The outcome is a meal that strikes a beautiful balance between comforting nostalgia and culinary refinement, promising a delightful dining experience for the entire family. Whether you’re a seasoned home cook or just starting your culinary journey, these crispy chicken cutlets with their unique shallot-honey glaze will quickly become a cherished recipe in your collection, offering both speed and sensational taste.
Unlocking Flavor: A Deeper Look at Key Ingredients & Smart Substitutions
Understanding your ingredients is the first step to culinary success. Here’s a detailed guide to the key components of this recipe, along with practical tips and clever substitutions. The complete list, including exact quantities, can be found in the printable recipe card below.
The Star: Boneless, Skinless Chicken Breasts
For this recipe, boneless, skinless chicken breasts are undoubtedly the preferred choice due to their lean profile and ability to cook quickly. When selecting your chicken, aim for pieces that are relatively uniform in size, ideally around 5 ounces each. This ensures that all your cutlets cook at the same rate, preventing some from drying out while others are still cooking. The crucial step of pounding the chicken to an even 1/2-inch thickness isn’t just about quick cooking; it also tenderizes the meat, breaks down tough muscle fibers, and creates a larger, more consistent surface area for the breading to adhere to. This results in uniformly tender and juicy cutlets with a perfectly crisp crust. If you prefer, you can also use chicken thighs, which offer a richer flavor, or even turkey cutlets for a leaner alternative, though cooking times and fat content will vary slightly. Always ensure chicken is fresh and free from blemishes for the best taste and texture.
The Crispy Coat: Dry Breadcrumbs
While panko breadcrumbs are fantastic for an extra-crunchy, airy texture, traditional dry breadcrumbs are specified here for a reason. Standard breadcrumbs offer a finer texture that adheres more effectively to the chicken, creating a delicate yet robust coating that crisps beautifully without becoming overly dense. They also absorb just enough moisture and flavor from the chicken and the frying oil, complementing the light shallot-honey drizzle rather than competing with it. We recommend unseasoned breadcrumbs to give you full control over the flavor profile, allowing the shallot-honey glaze to shine. However, if you’re making a dish like chicken Parmesan, seasoned breadcrumbs are an excellent shortcut. For a homemade touch and even fresher flavor, you can easily make your own dry breadcrumbs by lightly toasting stale bread (such as baguettes or sandwich bread) and processing it into fine crumbs in a food processor.
Aromatic Foundation: Shallots
Shallots are a true culinary gem, offering a delicate, subtle sweetness and a mild, sophisticated onion flavor that is less pungent and more refined than regular onions. These characteristics make them the ideal choice for our honey-thyme drizzle, providing a foundational sweetness without overpowering the other ingredients. When sautéed gently, shallots soften and caramelize beautifully, releasing their fragrant oils and contributing a nuanced depth to the sauce. If shallots are unavailable or you’re looking for an alternative, finely minced yellow onion can be used in a pinch. Be aware that yellow onion has a sharper, more assertive flavor, so you might use slightly less or sauté it a bit longer to mellow its intensity. Sweet onions like Vidalia or Walla Walla could also work for a milder taste, providing a similar gentle sweetness to the glaze.
Liquid Gold: Honey
Honey plays a pivotal role in balancing the savory notes of the shallots and the herbaceousness of the thyme in our glaze. Its natural sweetness provides a beautiful counterpoint, creating a harmonious sweet and savory profile that is both comforting and intriguing. To ensure it enhances the dish without dominating, opt for a light, mild-flavored honey, such as clover, acacia, or orange blossom. These varieties have a delicate sweetness that integrates seamlessly. Darker, more robust honeys like buckwheat or manuka can introduce a stronger, more assertive, molasses-like flavor that might shift the overall taste profile significantly. For those who prefer alternatives, pure maple syrup or agave nectar could also be used, offering their own distinct, yet complementary, sweetness to the drizzle, each imparting a slightly different character.
Fresh Herbs: Thyme
Fresh thyme is indispensable in this recipe, lending an earthy, slightly floral, and distinctly herbaceous depth to the shallot-honey drizzle. Its small, fragrant leaves release their aromatic oils readily when gently heated, infusing the sauce with a warmth that pairs exquisitely with both chicken and honey. The vibrancy and freshness of the herbs are key here, so we strongly recommend against using dried thyme for the glaze, as its flavor will be less bright, more concentrated, and can sometimes be dusty. If you’re eager to experiment with different herb profiles, fresh rosemary could provide a more piney, robust note, while fresh tarragon would offer a subtle anise-like complexity. Both pair beautifully with chicken and offer distinct variations to the glaze. For a more Mediterranean twist, fresh oregano could also be considered, adding a pungent, peppery flavor.
Prep Overview
Mastering the Art of Crispy Chicken: A Step-by-Step Guide
Ready to create this delectable meal? Here’s a comprehensive overview of the process, designed to guide you to culinary success. Detailed, step-by-step instructions, including precise measurements, are provided in the printable recipe card at the bottom of this page.
Step 1: Preparing the Chicken for Optimal Crispness and Tenderness
The foundation of a perfect breaded chicken cutlet begins with proper preparation. Start by trimming any excess fat from your boneless, skinless chicken breasts. If present, gently remove the tenderloins, as they are thinner and can cook faster, leading to dry results. The next critical step is to pound the chicken to an even 1/2-inch thickness. This not only ensures uniform cooking but also tenderizes the meat, resulting in incredibly juicy cutlets. Place each chicken piece between two sheets of plastic wrap or in a large zip-top bag and use a meat mallet or the flat side of a heavy pan to gently, but firmly, pound them out. The goal is an even thickness across the entire cutlet, preventing thin edges from burning and thick centers from remaining undercooked. Don’t forget to lightly season the chicken with salt and pepper at this stage.
Step 2: The Perfect Breading Station
Achieving that coveted crispy exterior requires a well-executed breading technique. Set up a simple dredging station with three shallow dishes: one with whisked egg and milk (the “egg wash”), and another with seasoned dry breadcrumbs. While some recipes call for a flour dredge first, for these cutlets, the egg wash provides sufficient adhesion for the breadcrumbs. Dip each pounded chicken piece into the egg mixture, ensuring it’s fully coated, then lift and allow any excess egg wash to drip off, ensuring a light, even coating. Immediately transfer the chicken to the breadcrumbs, pressing firmly on both sides to ensure every part is thoroughly coated. This firm press creates a secure, crisp crust that locks in moisture during frying. For even better adhesion, consider refrigerating the breaded cutlets for 15-20 minutes before frying.
Step 3: Shallow-Frying to Golden Perfection
Shallow-frying is the key to a beautifully golden and crispy crust without the fuss and excessive oil of deep-frying. Heat about 1/8 to 1/4 inch of neutral-flavored vegetable oil (like canola, grapeseed, or sunflower oil) in a large, heavy-bottomed skillet over medium-high heat. The oil should be shimmering and hot enough that a tiny test breadcrumb sizzles immediately when dropped in. Carefully place the breaded chicken cutlets in a single layer in the hot oil. Avoid overcrowding the pan, as this lowers the oil temperature and can lead to steamed, soggy breading. Fry for approximately 3 minutes per side, or until the cutlets are deeply golden brown and crispy. Use an instant-read thermometer to check that the internal temperature reaches 160°F (71°C). Cook in batches, transferring finished cutlets to a paper-towel-lined platter to drain excess oil.
Step 4: The Essential Rest & Drizzle Finish
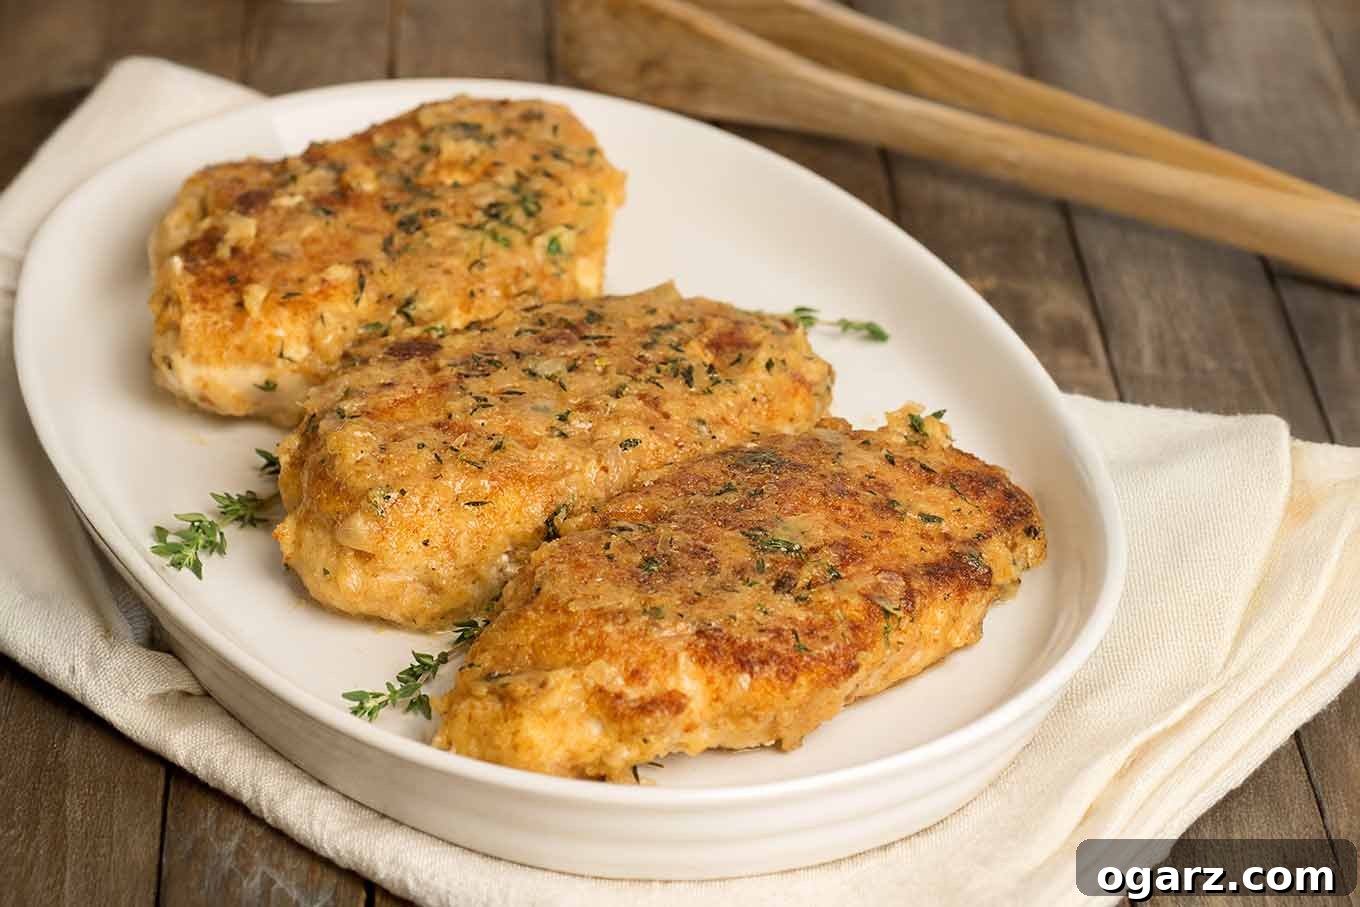
Once fried, it’s crucial to let the chicken cutlets rest. Loosely tent them with foil on a clean platter and allow them to sit for about 5 minutes. This resting period allows the internal juices to redistribute evenly throughout the meat, resulting in a significantly juicier chicken. The residual heat will also continue to cook the chicken, bringing the internal temperature up to a safe 165°F (74°C). While the chicken rests, quickly prepare the irresistible shallot-honey drizzle. Carefully wipe out the frying pan (or use a fresh small saucepan), melt unsalted butter, and sauté minced shallots until soft and golden. Stir in honey and fresh thyme, then whisk in a splash of cream or half-and-half until the sauce is smooth and lightly thickened. Drizzle this exquisite glaze generously over the warm, rested chicken cutlets just before serving. This final touch adds a layer of sweet, savory, and herbaceous complexity that truly elevates the dish, transforming it into a memorable meal.
Expert Tips for Perfectly Crispy & Juicy Breaded Chicken Cutlets
Achieving consistently delicious results with breaded chicken cutlets is simpler than you might think, especially with these tried-and-true techniques. Follow these expert tips to ensure your shallow-fried chicken is always golden, crisp, and wonderfully moist, making every meal a success.
- Achieve Uniform Thickness for Even Cooking: This is perhaps the most critical step for perfectly cooked chicken. Gently but consistently pound each chicken breast to approximately 1/2 inch thick across its entire surface. This ensures that every part of the cutlet cooks at the same rate, preventing thinner edges from drying out while thicker sections remain undercooked. Uniform thickness also contributes to a more appealing presentation and a consistently tender bite in every morsel.
- Don’t Rush the Oil — Temperature is Key: Patience is a virtue when heating your frying oil. Wait until the oil in your skillet is shimmering and hot enough that a tiny pinch of breadcrumb sizzles immediately upon contact. If the oil isn’t hot enough, the breading will absorb too much oil, resulting in a greasy, soggy coating that can fall off. Conversely, oil that’s too hot will burn the breading before the chicken cooks through. Aim for a consistent medium-high heat.
- Handle with Care to Preserve the Coating: Once breaded, the delicate crust can be easily scraped off if mishandled. When turning the chicken, use a thin, flexible spatula in one hand to gently lift and support the cutlet, while using a pair of tongs in the other hand to carefully flip it. This two-tool approach minimizes disruption to the crisp breading and ensures it stays intact.
- Prevent Overcooking for Maximum Juiciness: Chicken breasts can dry out quickly if overcooked. Remove the cutlets from the pan when their internal temperature reaches 160°F (71°C) as measured by an instant-read meat thermometer inserted into the thickest part. Tent them loosely with foil and let them rest for at least 5 minutes. During this resting period, the residual heat will continue to cook the chicken, bringing it up to a safe 165°F (74°C), while the juices redistribute, ensuring a remarkably moist and tender result.
- Season Liberally (and Appropriately): Don’t forget to season the chicken itself with salt and freshly ground black pepper before breading. Additionally, lightly season the dry breadcrumbs with a pinch of salt and pepper, or even a dash of garlic powder, to build layers of flavor from the inside out, creating a more delicious final product.
- Ensure Excellent Breading Adhesion: For the best, most secure crust, make sure the chicken is patted very dry with paper towels before dipping it into the egg wash. After coating in breadcrumbs, press firmly and evenly to create a dense, uniform layer. If time allows, refrigerating the breaded cutlets for 15-20 minutes before frying helps the coating set and adhere even better, reducing the chance of it falling off in the pan.
- Choose the Right Frying Oil: Opt for a neutral-flavored oil with a high smoke point for shallow frying, such as canola oil, grapeseed oil, sunflower oil, or refined avocado oil. These oils can withstand the necessary medium-high heat without breaking down or imparting undesirable flavors to your crispy chicken. Avoid oils with low smoke points like extra virgin olive oil for frying.
- Master Batch Frying: If cooking multiple cutlets, always work in batches to avoid overcrowding the pan. Overcrowding dramatically drops the oil temperature, leading to steamed rather than crispy chicken with a less appealing texture. Frying in smaller batches ensures the oil stays consistently hot, producing uniformly golden and crisp results every time.
- Consider Fresh vs. Dried Herbs: While dried herbs can be used in some applications, for the shallot-honey drizzle, fresh thyme is paramount. Its bright, aromatic flavor cannot be replicated by dried herbs. Always opt for fresh herbs when creating a vibrant sauce or glaze like this one.
Beyond the Basic: Creative Ways to Enjoy Breaded Chicken
If you’ve fallen in love with the satisfying crispness and golden texture of these shallow-fried breaded chicken cutlets, you’ll be delighted to discover the endless possibilities this technique unlocks. The versatile foundation of a perfectly breaded and fried chicken breast can be adapted into a myriad of delicious meals. Here are a few more inspiring ideas to put that same shallow-frying technique to work, taking your chicken creations to the next level and expanding your culinary repertoire:
- Classic Comfort: Shallow-Fried Chicken with Southern Tomato Gravy: Elevate your comfort food game with our Shallow-Fried Chicken with Southern Tomato Gravy. In this delightful rendition, cornmeal-crusted chicken breasts achieve a hearty crispness, then are generously smothered in a rich, creamy, and tangy Southern-style tomato gravy. It’s a soulful dish that’s perfect for a cozy family dinner, combining the familiar crunch of fried chicken with a unique, savory topping that brings a taste of the South to your table.
- Spice it Up: Crispy Chicken Sandwich with Sriracha Mayo: Transform your next batch of crispy chicken cutlets into a sensational sandwich experience. Build a gourmet-style Crispy Chicken Sandwich with Sriracha Mayo by layering your golden cutlet with crisp lettuce, thinly sliced red onion, and a vibrant, sweet-and-spicy sriracha-cilantro mayonnaise spread. This sandwich is bursting with texture and flavor, offering a satisfying crunch and a delightful kick, making it a perfect lunch or casual dinner option.
- Globally Inspired: Spicy Pan-Fried Chicken Tenders: For a delightful appetizer or a fun main course, explore our Spicy Pan-Fried Chicken Tenders. These tenders showcase a unique blend of exotic spices, including cumin, coriander, oregano, a hint of cinnamon, and smoked paprika, all infused into the crispy crumb coating. The result is a vibrant, aromatic, and incredibly flavorful take on fried chicken, perfect for dipping or serving as part of a globally-themed meal.
- Italian Favorite: Quick Chicken Parmesan: Use your perfectly shallow-fried chicken cutlets as the base for a quick and easy Chicken Parmesan. Simply top them with your favorite marinara sauce, a generous layer of fresh mozzarella cheese, and a sprinkle of grated Parmesan, then bake in the oven until the cheese is bubbly and golden. Serve with a side of pasta or a fresh green salad for a complete, comforting Italian-inspired meal that comes together faster than traditional versions.
- Japanese Inspired: Delectable Chicken Katsu: For a taste of Japan, adapt your breaded chicken cutlets to make a delicious Chicken Katsu. Serve thick slices of the crispy chicken over a bed of fluffy steamed rice, generously drizzled with a rich, savory, and slightly sweet Japanese curry sauce. This combination creates a wonderfully satisfying and flavorful dish that’s both comforting and exotic, offering a unique culinary adventure right at home.

Breaded Chicken Cutlets (Easy Shallow-Fried) with Shallot-Honey Glaze
Lynne Webb
20
15
35
4 servings
Print Recipe
Ingredients
- 1-1/2 lbs boneless, skinless chicken breasts, (4 pieces, about 5 ounces each)
- 1 large egg
- 1-1/2 tablespoons milk
- 1-1/4 cups dry breadcrumbs, unseasoned (ensure they are not Panko for best results)
- Salt and freshly ground black pepper (to taste, for seasoning chicken and breadcrumbs)
- Vegetable oil (such as canola or grapeseed, for shallow-frying)
For the Shallot and Honey Drizzle (Optional but Highly Recommended):
- 1 tablespoon unsalted butter
- 2 tablespoons minced shallot (about 1 small shallot)
- 1-1/2 tablespoons light, mild honey
- 1 to 2 tablespoons chopped fresh thyme leaves (finely chopped for best release of flavor)
- 3 tablespoons heavy cream or half-and-half
Instructions
-
1. Prepare the Chicken: If your chicken breasts have tenderloins attached, carefully remove them and set aside for another use (or shallow-fry them as mini cutlets). Place each chicken breast between two sheets of plastic wrap or in a large freezer bag. Gently pound them with a meat mallet or the flat side of a heavy pan to an even 1/2-inch thickness. This ensures uniform cooking and tender results. Season both sides of the pounded chicken lightly with salt and freshly ground black pepper.
-
2. Set up Breading Station: In a shallow dish, whisk together the large egg and milk until well combined. In a second shallow dish, place the unseasoned dry breadcrumbs. You can lightly season the breadcrumbs with a pinch of salt and pepper for extra flavor if desired.
-
3. Bread the Cutlets: Dip each seasoned chicken piece first into the egg mixture, ensuring it’s fully coated, then lift and allow any excess egg wash to drip off. Immediately transfer the chicken to the breadcrumbs, pressing firmly on both sides to ensure a complete and even coating. Place the breaded cutlets on a clean plate or baking sheet. For best results, you can chill the breaded chicken in the refrigerator for 15-20 minutes to help the coating adhere.
-
4. Shallow-Fry the Chicken: Heat approximately 1/8 to 1/4 inch of vegetable oil in a large, heavy-bottomed skillet over medium-high heat. The oil is ready when it shimmers and a small test breadcrumb sizzles immediately upon contact. Carefully place the breaded chicken cutlets in a single layer in the hot oil. Avoid overcrowding the pan; if necessary, fry in batches to maintain the oil temperature and ensure crispness. Fry for about 3 minutes per side, or until the chicken is deeply golden brown and crispy, and an instant-read thermometer inserted into the thickest part reads 160°F (71°C).
-
5. Rest the Chicken: Transfer the fried chicken cutlets to a platter lined with paper towels to drain any excess oil. Loosely tent the platter with aluminum foil and let the chicken rest for 5 minutes. This crucial resting period allows the juices to redistribute throughout the meat, resulting in a more tender and juicy cutlet, and the internal temperature will rise to a safe 165°F (74°C).
-
6. Prepare the Shallot-Honey Drizzle (Optional): While the chicken rests, carefully wipe out the skillet. Add the butter to the pan and melt it over medium heat. Add the minced shallots and sauté for 3 to 4 minutes, or until they are soft and lightly golden. Stir in the honey and chopped fresh thyme. Finally, whisk in the cream or half-and-half until the sauce is smooth, slightly thickened, and heated through.
-
7. Serve: Spoon the warm shallot-honey drizzle generously over the rested breaded chicken cutlets just before serving. Enjoy immediately with your favorite side dishes!
Nutrition
Total Fat: 16g,
Cholesterol: 144mg,
Sodium: 698mg,
Carbohydrates: 11g,
Fiber: 1g,
Sugar: 6g,
Protein: 33g
Please note: Nutrition information is an estimate based on ingredients and preparation methods. It is calculated automatically and should be used as an approximation only.
Like this recipe? We’d love to hear from you!
Share your thoughts and ratings below to help other home cooks discover this delicious dish.