
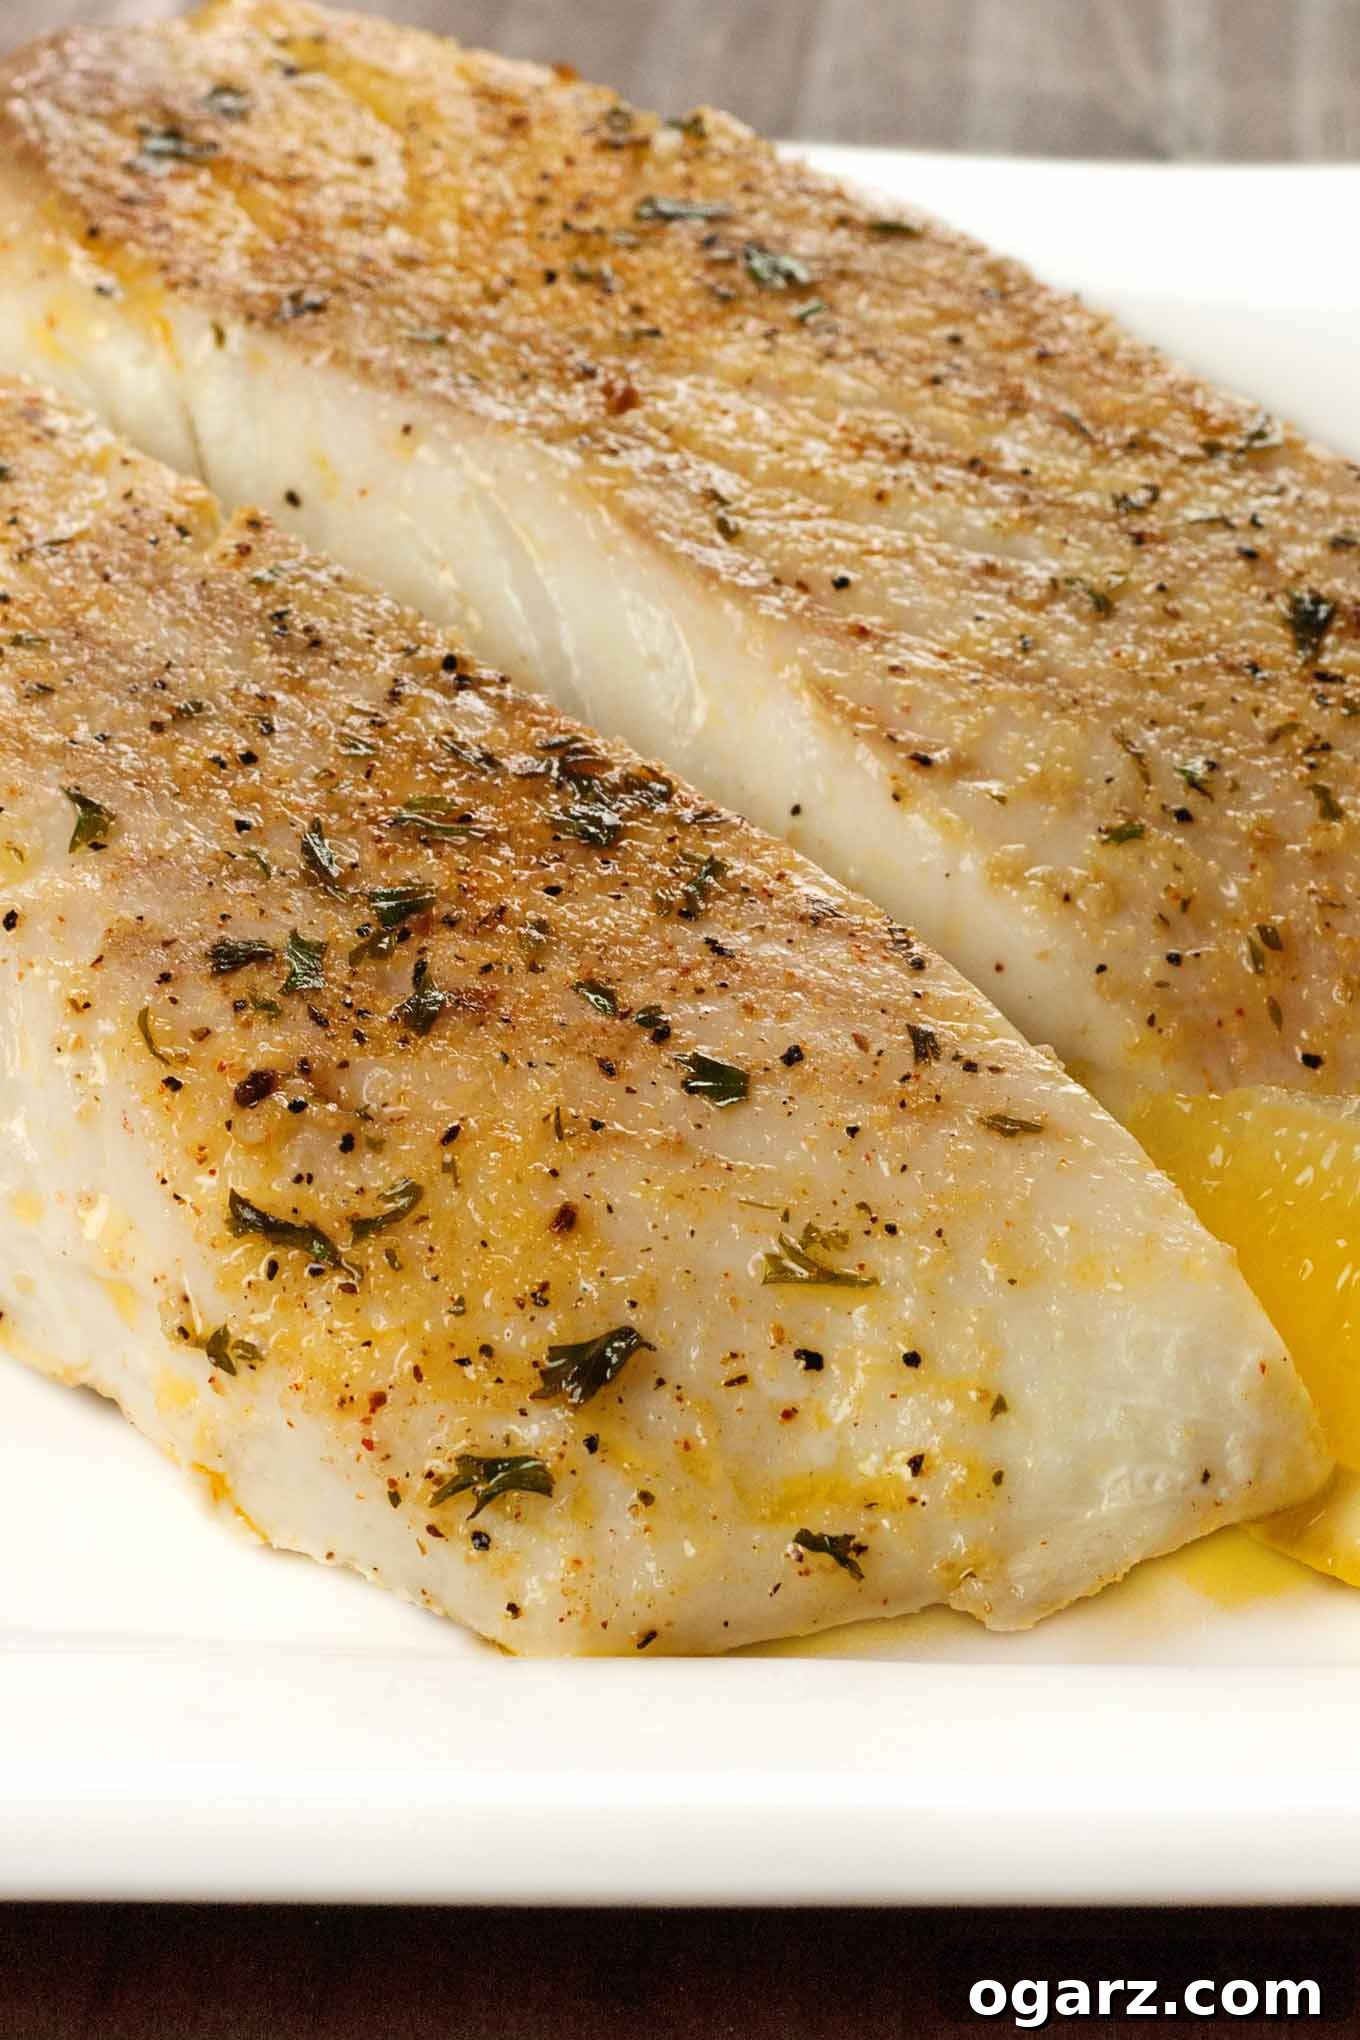

Mastering the Art of Broiling Fish for Delicious and Healthy Meals
Broiling fish is an exceptionally simple, swift, and healthy method for preparing a variety of seafood. It harnesses intense, direct heat to cook fish quickly, resulting in a beautifully seared exterior and a tender, flaky interior. This technique is not only a fantastic alternative to grilling, especially when outdoor cooking isn’t an option, but also a cornerstone for countless healthy weeknight dinners. By following a few fundamental guidelines, you can consistently achieve delectable results, transforming even the most basic fish fillet into a gourmet experience. Whether you’re a seasoned chef or a kitchen novice, mastering the broiler will open up a world of culinary possibilities, guaranteeing delicious, perfectly cooked fish every time.
The beauty of broiling lies in its versatility and efficiency. Nearly any recipe for grilled fish can be effortlessly adapted for the broiler, making it an indispensable tool in your kitchen. This comprehensive guide will walk you through the essential steps and expert tips to ensure your broiled fish is nothing short of perfection, from selecting the right fish to understanding precise cooking times and even tackling common challenges.
Understanding Your Broiler: The Basics of High-Heat Cooking
Before diving into specific techniques, it’s crucial to understand how your broiler works. Broiling involves cooking food directly under a high heat source, typically located in the upper part of your oven. This intense, radiant heat cooks food quickly from the top down, creating a crispy, caramelized surface while keeping the interior moist. Most ovens have a broiler setting, and some even feature a dedicated broiler drawer below the main oven compartment.
The key to successful broiling is controlling the heat and distance. Unlike baking, which uses ambient heat, broiling is all about direct exposure. This means careful monitoring is essential to prevent burning. Familiarize yourself with your oven’s broiler settings and how quickly it heats up. Remember, the goal is a rapid cook that seals in juices and develops flavor, not slow roasting.
Safety First: Broiler Best Practices
Due to the high heat involved, a few safety precautions are always recommended when using your broiler. Always ensure your oven is clean to prevent smoke from accumulated grease. Never line the bottom of your oven with aluminum foil, as this can trap heat and interfere with oven performance. Keep an eye on your food throughout the broiling process, as things can go from perfectly cooked to burnt in a matter of seconds. Using oven mitts is a must, and never leave your broiler unattended.
10 Expert Tips for Making Perfect Broiled Fish
Many types of fish are incredibly suitable for broiling. By adhering to these simple yet effective guidelines, you’re guaranteed to achieve delicious results every time you use your broiler for fish. These tips cover everything from preparation to execution, ensuring your fish is cooked to perfection.
- Always Preheat Your Broiler Thoroughly: For optimal results, preheat your broiler for at least 7 to 10 minutes before placing any fish inside. This ensures the heating element is at its maximum temperature, creating a consistent, searing heat that locks in moisture and promotes even cooking. Without proper preheating, your fish may cook unevenly or dry out.
- Prepare Your Broiler Pan Thoughtfully: Line the bottom half of your broiler pan with aluminum foil. This simple step makes cleanup significantly easier, as fish can sometimes stick or drip. Lightly oiling the foil or the broiler rack itself with a high-smoke-point oil (like olive oil or avocado oil) will further prevent sticking, ensuring your fish lifts off cleanly.
- Oil Both Sides of the Fish Fillets: Even if you plan to baste your fish with butter or a marinade during cooking, always rub a small amount of extra-virgin olive oil or another suitable oil into both sides of each fish fillet beforehand. This creates a protective barrier, helps prevent sticking, and contributes to a beautiful, golden-brown crust.
- Consider the Weight for Whole Fish: When broiling whole fish, it’s best to keep the total weight to no more than 2 pounds. Larger whole fish may cook unevenly under direct high heat, with the exterior potentially burning before the interior is fully cooked. For larger fish, consider alternative cooking methods or filleting.
- Prick the Skin of Whole Fish: To prevent the skin on a whole fish from curling excessively or blistering during broiling, gently prick it a few times with a skewer or the tines of a fork. This allows steam to escape, helping the skin to crisp up nicely and keeping the fish flat for even cooking.
- Slash Skin-On Fillets Strategically: If you’re broiling skin-on fillets, make a few shallow slashes (2-3) through the skin. This technique prevents the skin from shrinking and pulling the fillet out of shape as it cooks. Always broil skin side up first, allowing the skin to crisp to perfection.
- Adjust Distance from Heat Based on Thickness: The distance between your fish and the broiler’s heat source is critical and should be determined by the thickness of the fish. As a general rule, allow approximately 2 inches of distance from the heat for every 1/2-inch of fish thickness. Thicker cuts need more distance to cook through without charring the surface.
- Move Thicker Fish Further from the Heat: For thicker fish fillets (e.g., those over 1 inch thick), it’s advisable to place them slightly further away from the broiler element. This allows the internal temperature to rise gradually and cook completely before the surface becomes overcooked or burnt. This prevents a raw center and a dry exterior.
- Follow a General Rule of Thumb for Broiling Times: A good starting point for broiling times is to allow approximately 2 minutes per side for each 1/2-inch of fish thickness. This is a guideline, so always use visual cues and a meat thermometer to confirm doneness. Fish is cooked when it flakes easily with a fork at its thickest part.
- Choose the Right Fish Varieties: Not all fish are created equal for broiling. Excellent choices include firm-fleshed fish such as salmon, halibut, sole, swordfish, mahi-mahi, and trout. These varieties hold up well under high heat and develop a beautiful texture and flavor. Avoid very delicate or thin fillets unless you reduce cooking time significantly.
Setting Realistic Expectations: Home Broilers vs. Restaurant Broilers
It’s important to understand that home broilers typically do not achieve the intense temperatures of commercial restaurant broilers. While you can still get fantastic results at home, don’t try to achieve the deep golden-brown, almost charred exterior you might find on restaurant-broiled fish by simply cooking it longer than the recommended times. Doing so will almost certainly lead to overcooked, dry, and unappetizing fish. Focus instead on achieving a beautifully cooked interior and a pleasantly seared surface within the suggested cooking window, ensuring your fish remains moist and flavorful.
Choosing and Preparing Your Fish for Broiling
The success of your broiled fish begins long before it hits the heat. Selecting the right fish and preparing it properly are foundational steps to a delicious meal.
Selecting the Perfect Fish
When choosing fish for broiling, look for fillets or steaks that are relatively uniform in thickness, which promotes even cooking. Freshness is paramount; opt for fish with bright, clear eyes (if whole), firm flesh that springs back when pressed, and a mild, fresh scent (not “fishy”). Both fatty fish (like salmon and mackerel) and lean fish (like cod and halibut) can be broiled successfully, though fatty fish are more forgiving and less prone to drying out.
Prepping Your Fillets and Steaks
- Pat Dry: Always pat your fish thoroughly dry with paper towels before seasoning. Excess moisture on the surface will steam the fish rather than sear it, preventing that desirable golden crust.
- Seasoning: Keep it simple or get creative! A sprinkle of salt and freshly ground black pepper is often all that’s needed to let the fish’s natural flavor shine. You can also add garlic powder, onion powder, paprika, or your favorite dried herbs.
- Marinades: For extra flavor and moisture, a quick marinade (30 minutes to an hour) can work wonders. Acidic marinades (lemon juice, vinegar) should be used sparingly and for short durations, as they can start to “cook” the fish.
- Oil Application: As mentioned in the tips, a light coating of oil on both sides of the fish is crucial for preventing sticking and encouraging browning.
Step-by-Step Butter-Basted Broiled Halibut Fillets Recipe
This recipe, pictured above, offers a simple yet elegant way to prepare succulent halibut fillets, enhanced by the richness of butter. It’s a quick and easy dish perfect for any night of the week.
Yields: 2 servings
Prep time: 5 minutes
Cook time: 8 minutes
Ingredients:
- 2 halibut fillets (about 6-8 ounces each), 1 to 1.5 inches thick
- 1 tablespoon extra-virgin olive oil
- Salt and freshly ground black pepper to taste
- 2 pats of unsalted butter (about 1 tablespoon total)
- Lemon wedges for serving (optional)
- Fresh parsley, chopped, for garnish (optional)
Instructions:
- Prepare Your Broiler and Pan: Begin by preheating your broiler for at least 7 to 10 minutes. While it preheats, line a broiler pan with aluminum foil for easy cleanup, then lightly coat the foil or the broiler rack with nonstick spray or a thin layer of oil to prevent the fish from sticking.
- Prepare the Halibut: Inspect the halibut fillets. If there’s any skin, carefully remove it with a sharp knife if desired, or leave it on (and score it if left on). Cut the halibut into serving-sized pieces if they are too large. Pat the fillets thoroughly dry with paper towels to ensure a good sear.
- Season and Oil the Fish: Rub some extra-virgin olive oil into both sides of the dry fillets. Season generously with salt and freshly ground black pepper. Place one pat of unsalted butter on top of each piece of seasoned halibut. This butter will melt and baste the fish as it cooks, infusing it with rich flavor and moisture.
- Position and Initial Broil: Carefully place the prepared halibut fillets on the oiled broiler pan. Position the pan under the preheated broiler, ensuring the fish is about 4 inches from the heat source. Broil for 4 minutes. This initial broil will begin to cook the fish through and create a lovely golden crust on the top.
- Flip, Baste, and Finish Broil: After 4 minutes, very carefully turn the fish fillets over using a thin spatula. The melted butter will have dripped into the pan; spoon some of this flavorful butter over the now-exposed side of the fish to baste it. Return the pan to the broiler and broil for an additional 4 minutes, or until the fish is opaque throughout and flakes easily with a fork at its thickest point.
- Serve Immediately: Once cooked, remove the halibut from the broiler. Transfer the fillets to serving plates. Garnish with fresh lemon wedges and chopped parsley, if desired. Serve immediately to enjoy the fish at its peak freshness and flavor.
Beyond Halibut: Creative Seasoning and Marinade Ideas
While butter-basted halibut is classic, don’t hesitate to experiment with different flavor profiles to keep your weeknight fish dinners exciting. Here are a few ideas:
- Lemon-Herb: Combine fresh lemon zest, chopped dill, parsley, and a hint of garlic with olive oil.
- Spicy Garlic: Mix minced garlic, red pepper flakes, smoked paprika, and olive oil for a fiery kick.
- Asian-Inspired: A quick marinade of soy sauce, ginger, a touch of sesame oil, and a dash of rice vinegar works wonders, especially on salmon or mahi-mahi.
- Mediterranean: Rub with oregano, thyme, a pinch of crushed coriander, and olive oil, then finish with a squeeze of fresh lemon.
Troubleshooting Common Broiling Mistakes
Even with the best tips, sometimes things don’t go as planned. Here’s how to troubleshoot common issues when broiling fish:
- Overcooked/Dry Fish: This is the most common mistake. Often due to cooking too long or placing the fish too close to the heat. Use a timer, check for doneness early, and ensure adequate distance from the broiler. Fatty fish are more forgiving.
- Uneven Cooking: If one part of the fish is raw and another burnt, your broiler might have hot spots, or the fish wasn’t uniform in thickness. Rotate the pan halfway through cooking or consider scoring thicker parts slightly.
- Fish Sticking to the Pan: Usually a result of insufficient oil on the pan or the fish itself. Always oil both surfaces liberally. Using a non-stick broiler pan or parchment paper (if oven-safe to broiler temperatures) can also help.
- Fish Curling: Primarily happens with skin-on fillets or whole fish. Score the skin as recommended to release tension and steam, keeping the fish flat.
- Fish Not Browning: If your fish isn’t developing a nice sear, it might be too far from the heat source, or your broiler wasn’t sufficiently preheated. Adjust distance or extend preheating time.
Easy Fish Recipes: 7 Healthy Weeknight Fish Dinners
Fish is an incredible source of lean protein, healthy fats, and essential nutrients, making it an ideal choice for quick and nutritious weeknight meals. Its fast-cooking nature means you can have a delicious and healthy dinner on the table in under 30 minutes. Here are some inspiring recipes that showcase the versatility of fish, perfect for a busy schedule.
- Broiled Catfish with Fresh Corn and Tomato Salsa: A vibrant, flavorful dish pairing flaky catfish with a summery salsa.
- Oven-Fried Fish with Lemon-Basil Butter: Get the crispiness of fried fish without the mess, elevated by aromatic lemon-basil butter.
- Honey Garlic Salmon Bowl: A wholesome and satisfying bowl featuring perfectly cooked salmon with a sweet and savory glaze.
- Orange and Bourbon Glazed Salmon: A sophisticated yet simple salmon recipe with a rich, tangy, and slightly sweet glaze.
- Grilled Swordfish with Lemon-Basil Butter: While specified for grilling, this robust fish is also excellent broiled, especially when paired with bright lemon-basil butter.
- Baked Cod with Herbs and Lemon: A light and flaky option, baked to perfection with simple seasonings.
- Sheet Pan Tilapia with Roasted Vegetables: A one-pan wonder for minimal cleanup, combining protein and veggies effortlessly.
Conclusion: Embrace the Broiler for Healthy, Delicious Fish
Broiling fish is an invaluable cooking technique that empowers you to create quick, healthy, and incredibly flavorful meals with minimal effort. By understanding your broiler, preparing your fish correctly, and following these expert tips, you can consistently achieve that coveted seared exterior and moist, tender interior. From the delicate flakes of halibut to the rich flavor of salmon, the broiler unlocks a world of culinary possibilities, making gourmet fish dinners accessible on any weeknight. Don’t be intimidated by high heat; embrace the broiler as your secret weapon for delicious, perfectly cooked fish every time. Experiment with different fish types, seasonings, and marinades, and soon you’ll be a broiling master, enjoying healthy and impressive meals that nourish both body and soul.